Settings
The Settings module is organised into five sections for configuring X-Pos Terminal
| Section | Description |
|---|---|
| General | Configure payment behaviour, POS screen options, and counter-closing controls |
| Hardware | Configure USB backup, receipt printer, barcode scanner, payment provider, customer display, and weight scale |
| Advanced | Configure local synchronisation, SQL Account posting, bill-number formats, report templates, and database maintenance |
| Shortcuts Configuration | Assign keyboard shortcuts for title commands, action buttons, and payment methods |
| About | Maintain company and location information |
Select a section from the left menu, then select the required setting card. Use Apply to save changes
- Some setting pages are read-only, as their values are synced from metadata
- Some setting pages can be edited locally, and changes are saved directly on the terminal
- Some setting pages can be edited locally, but clicking Restore Default will revert the values back to those synced from metadata, discarding any local changes
General
Payment
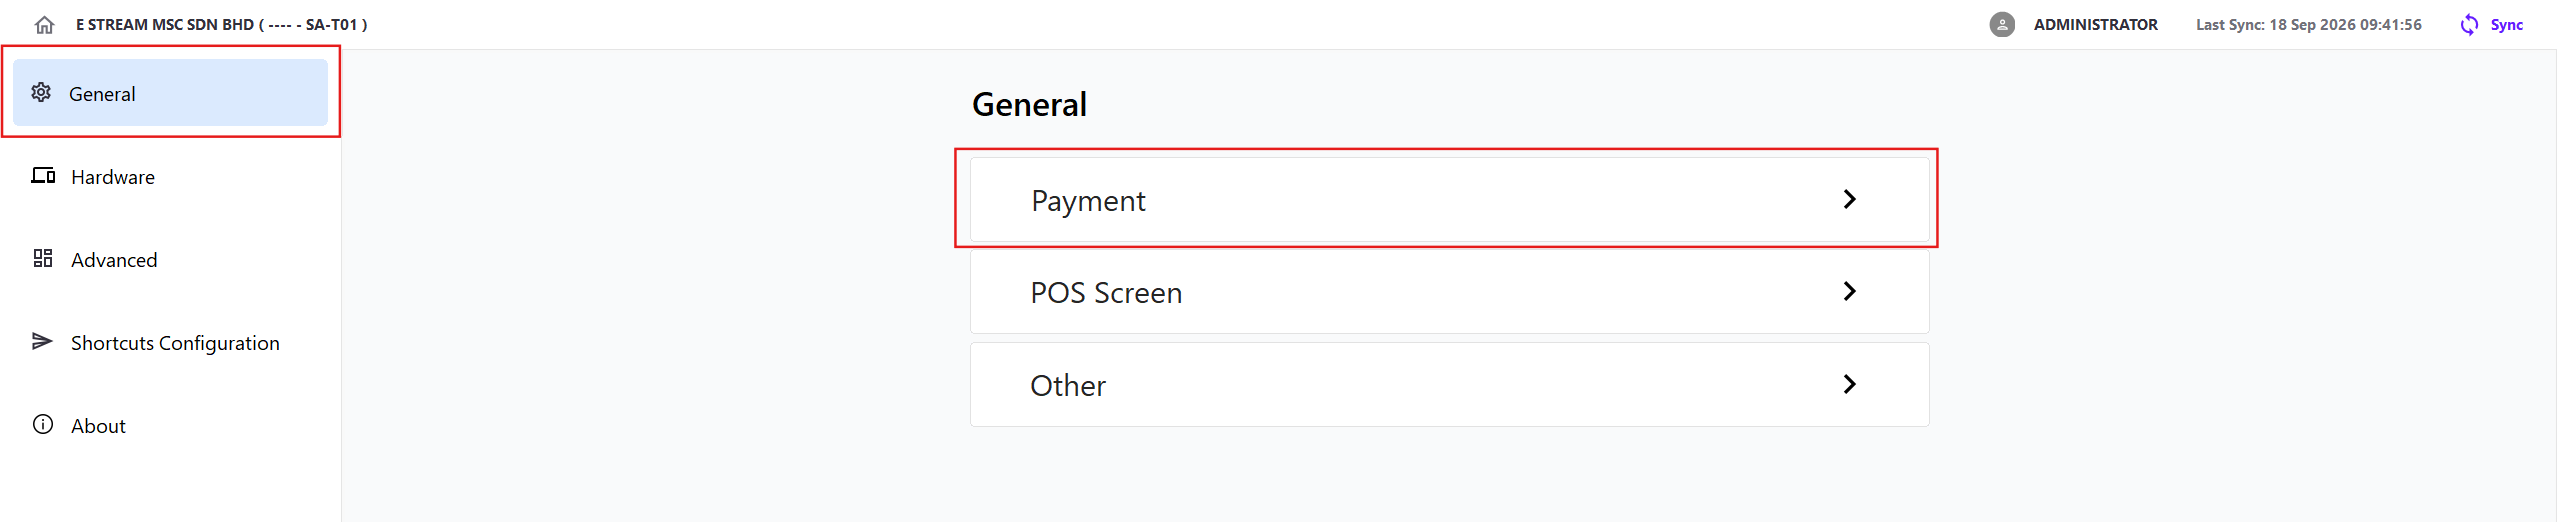
Click General → Payment
These settings are identical to the options described in X-Pos Guide - Payment
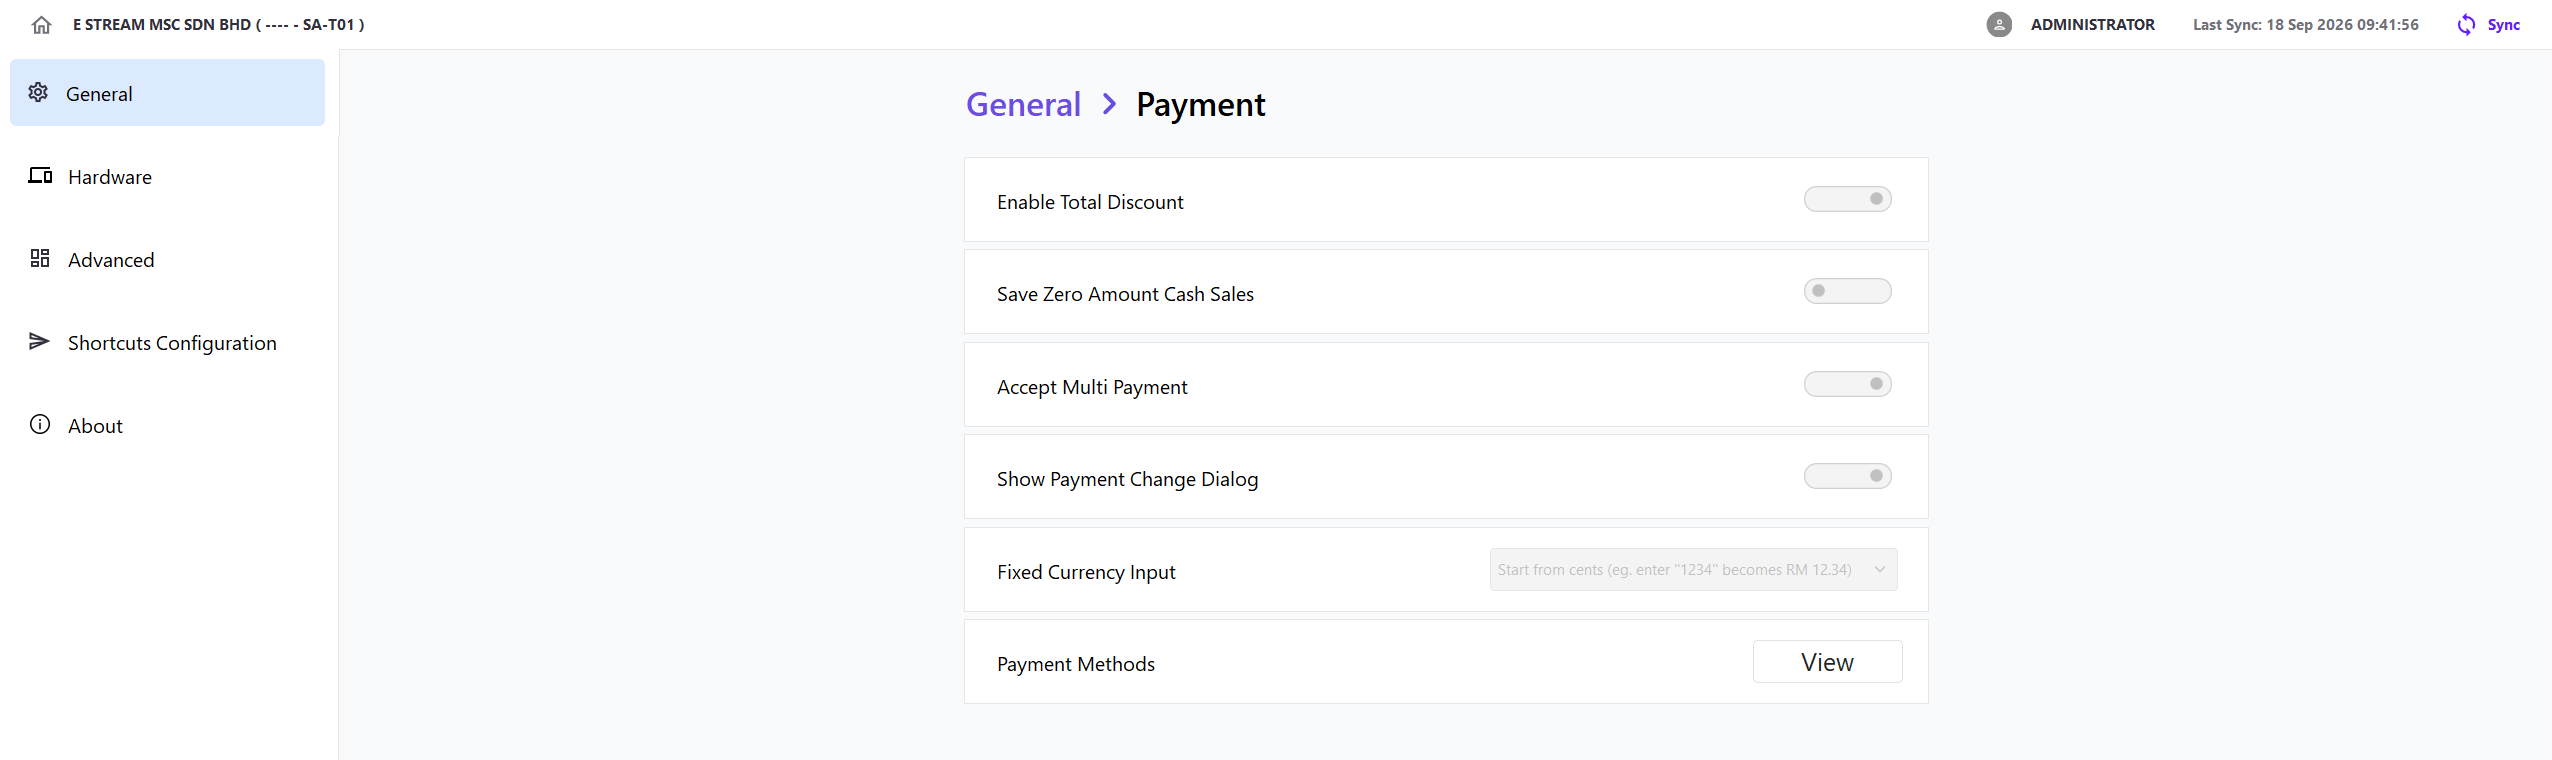
View Payment Methods
-
Click Payment Methods → View
-
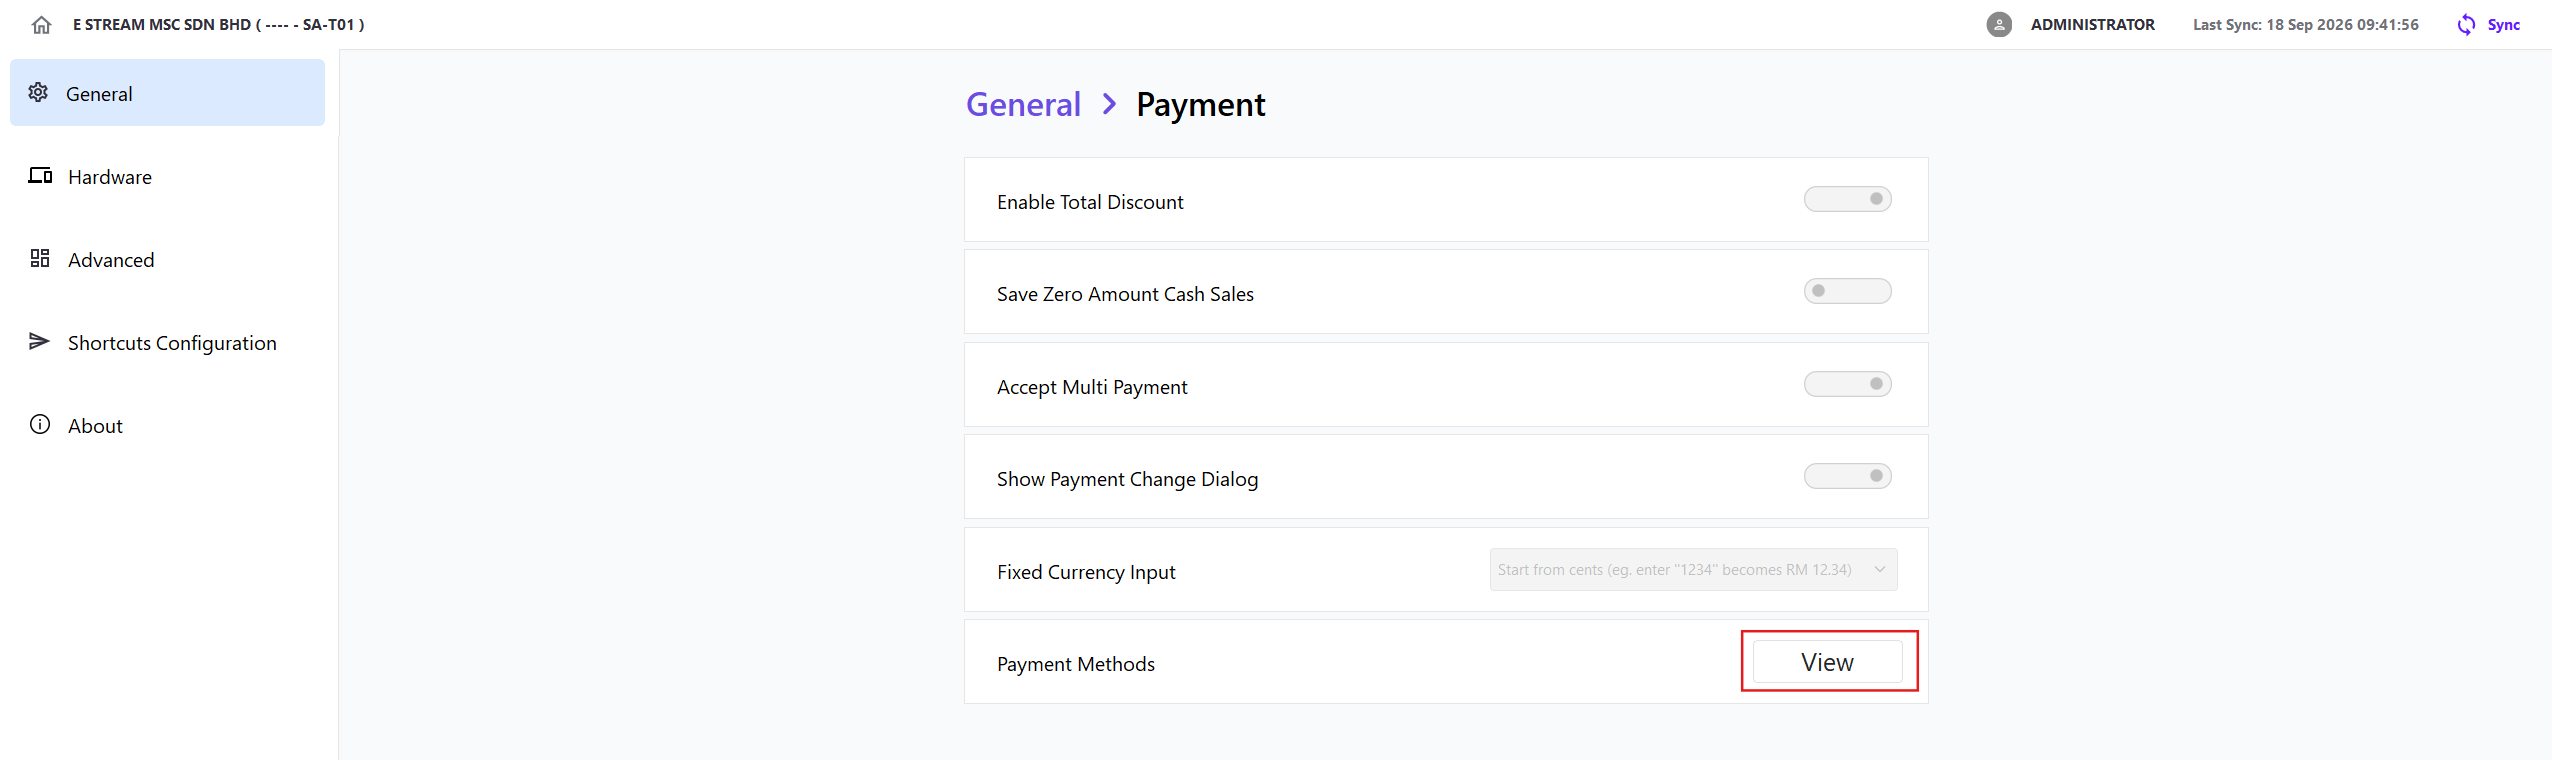
Select a payment method from the list
-
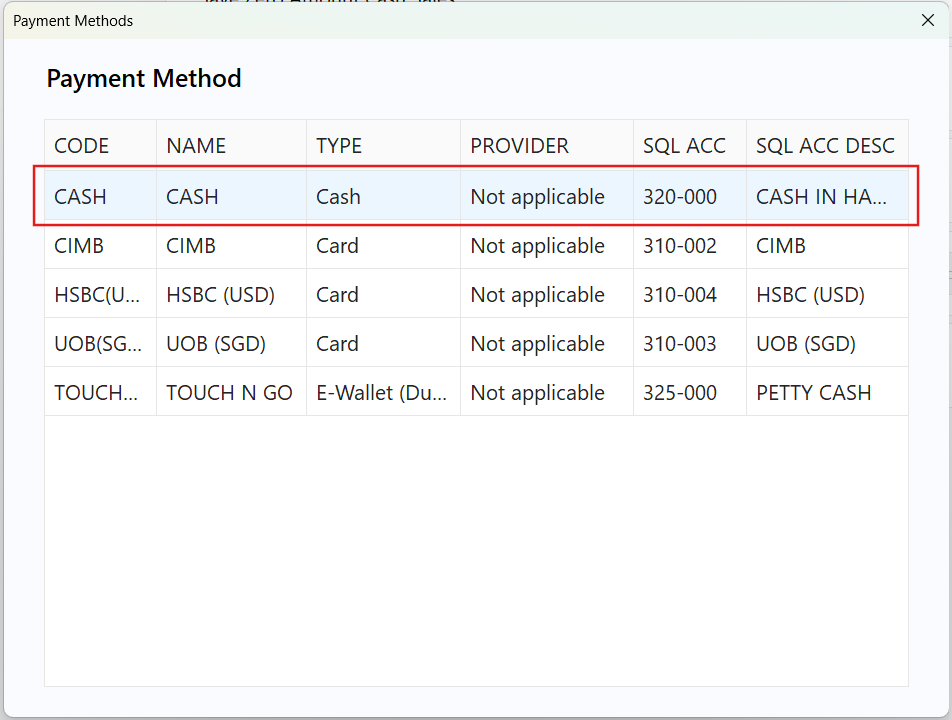
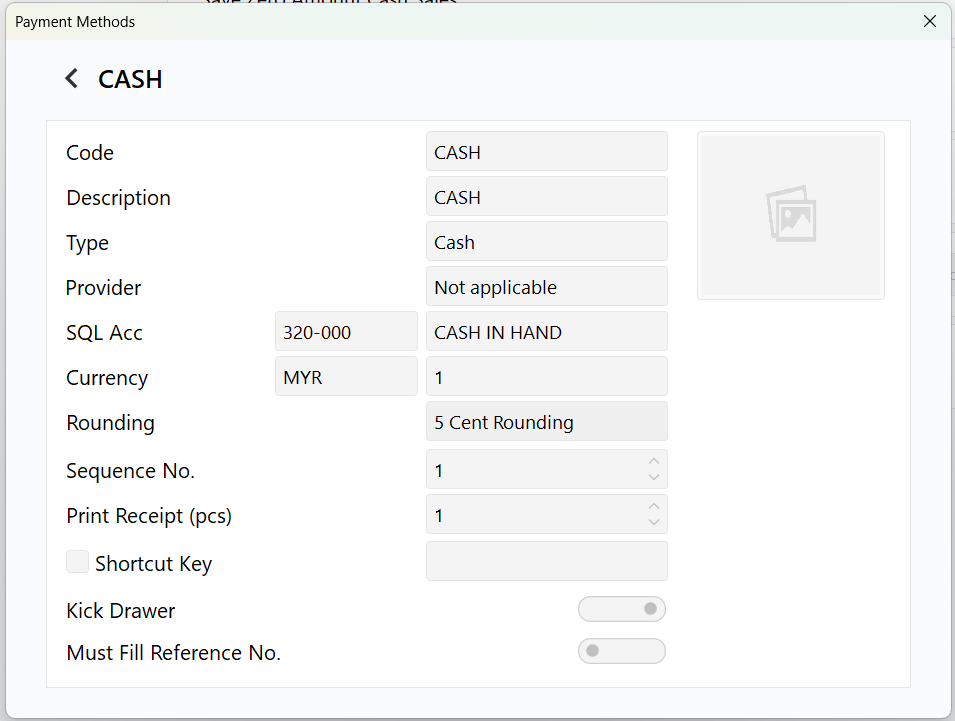
View payment method details
For details on payment method fields, please refer to the X-Pos Guide - POS Payment Options
POS Screen
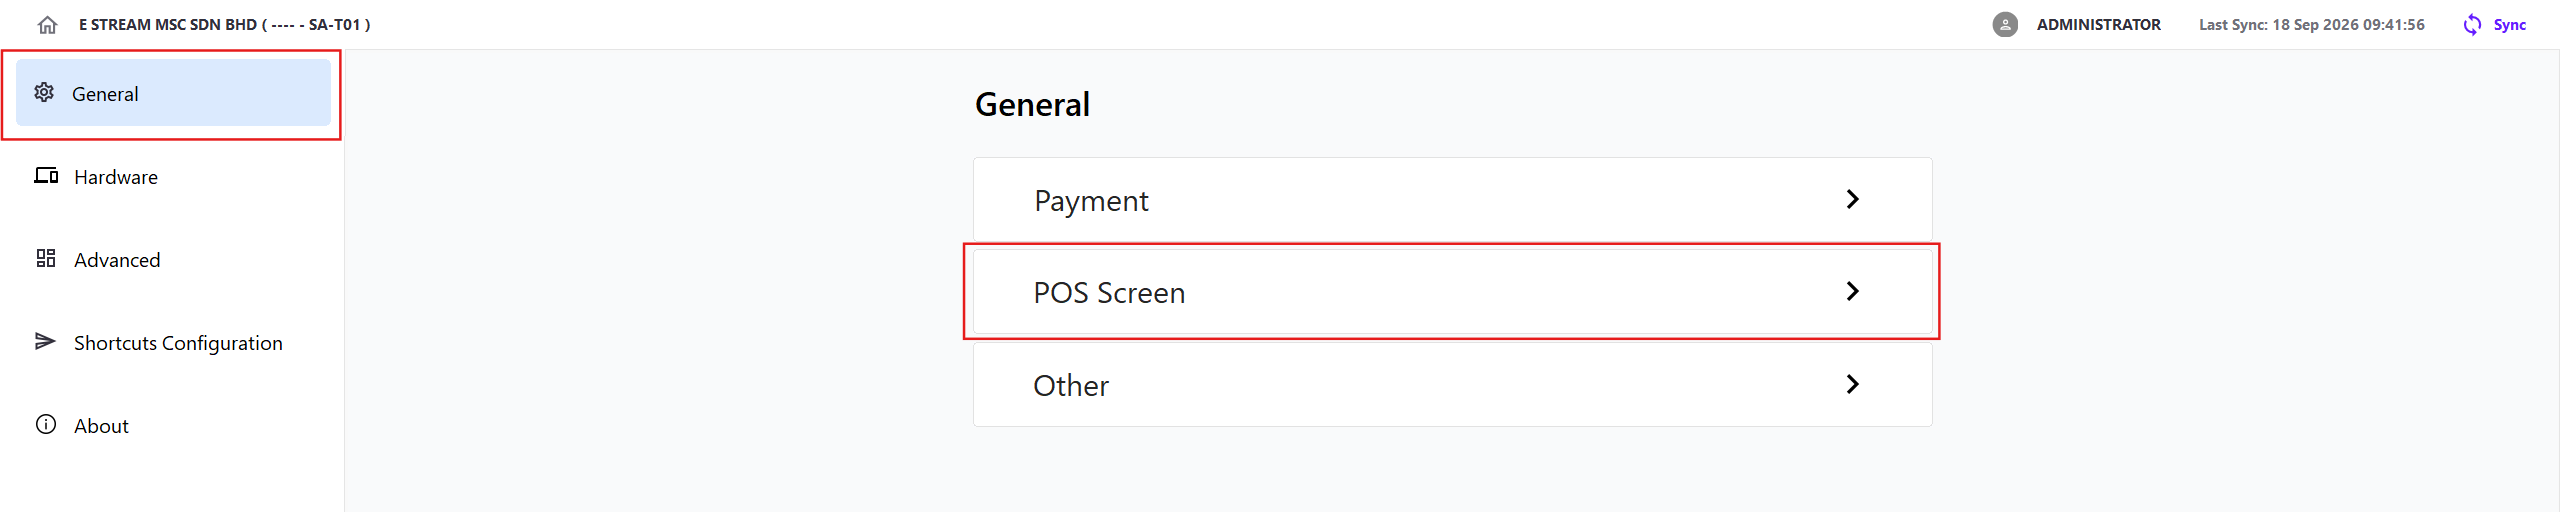
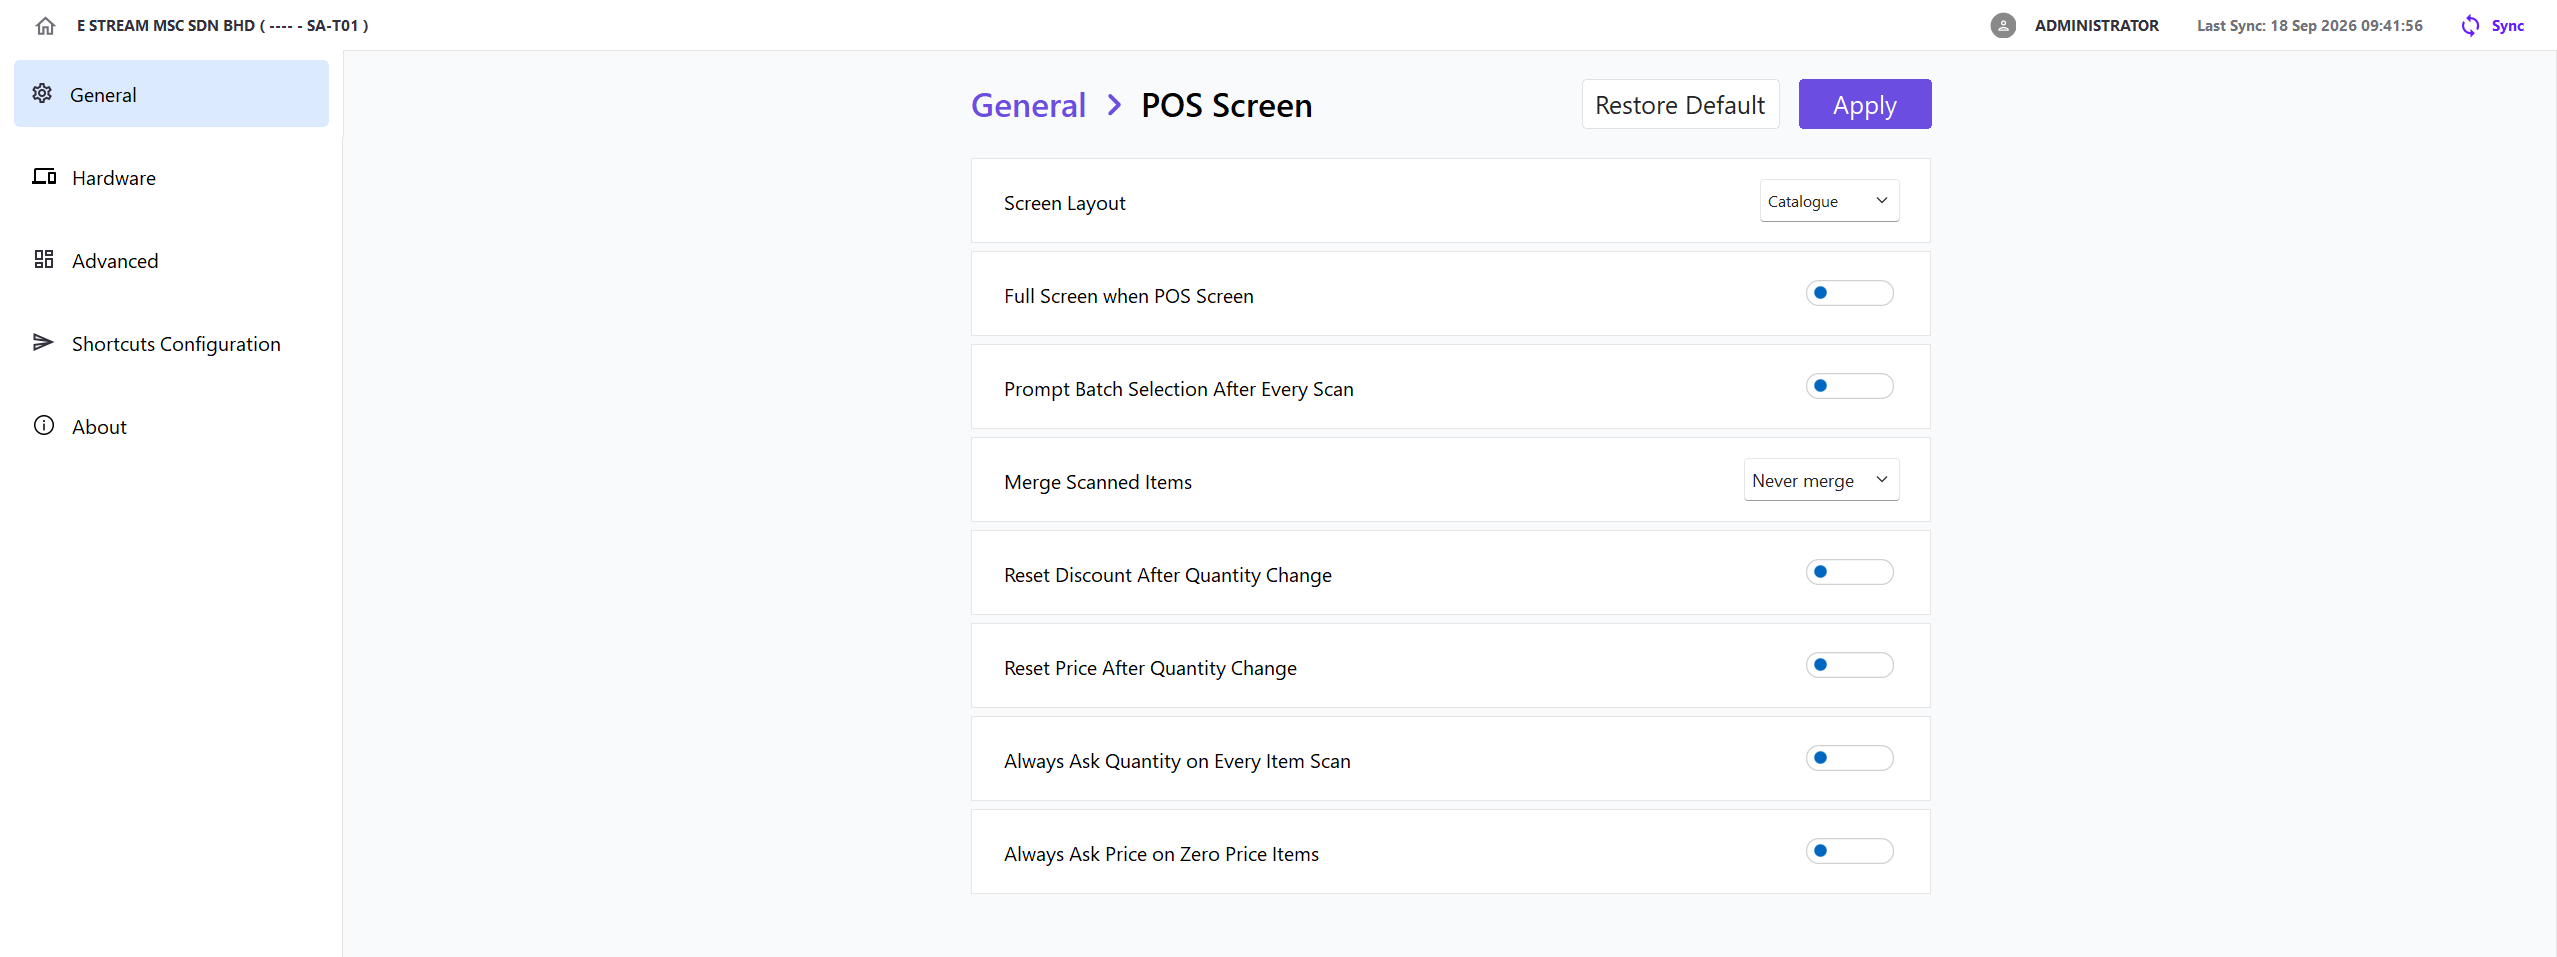
Click General → POS Screen
These settings are identical to the options described in X-Pos Guide - POS Screen
Other
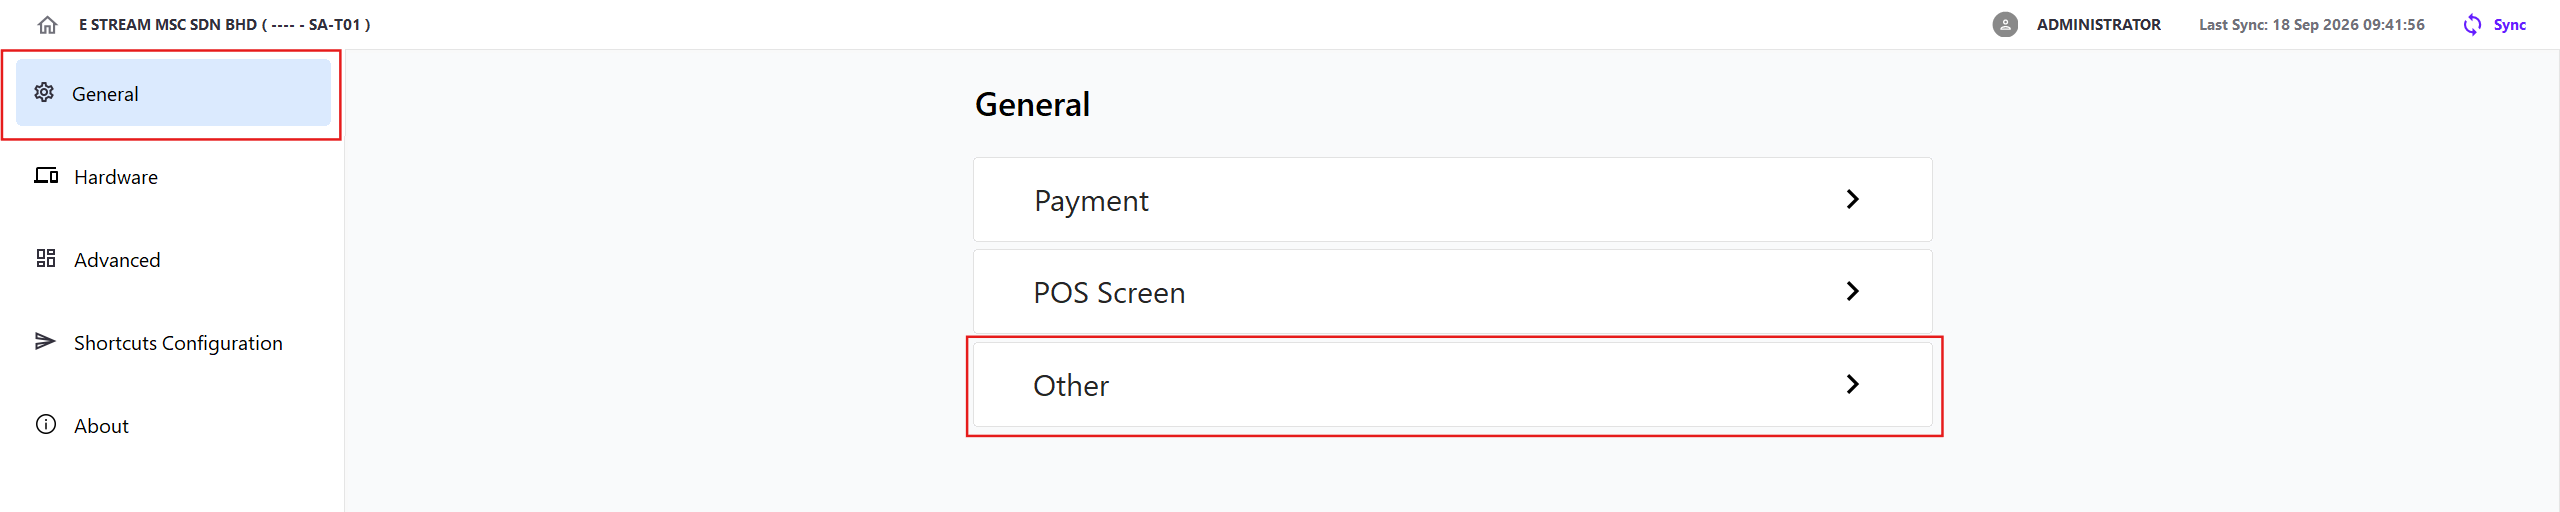
Click General → Other
These settings are identical to the options described in X-Pos Guide - Other

Hardware
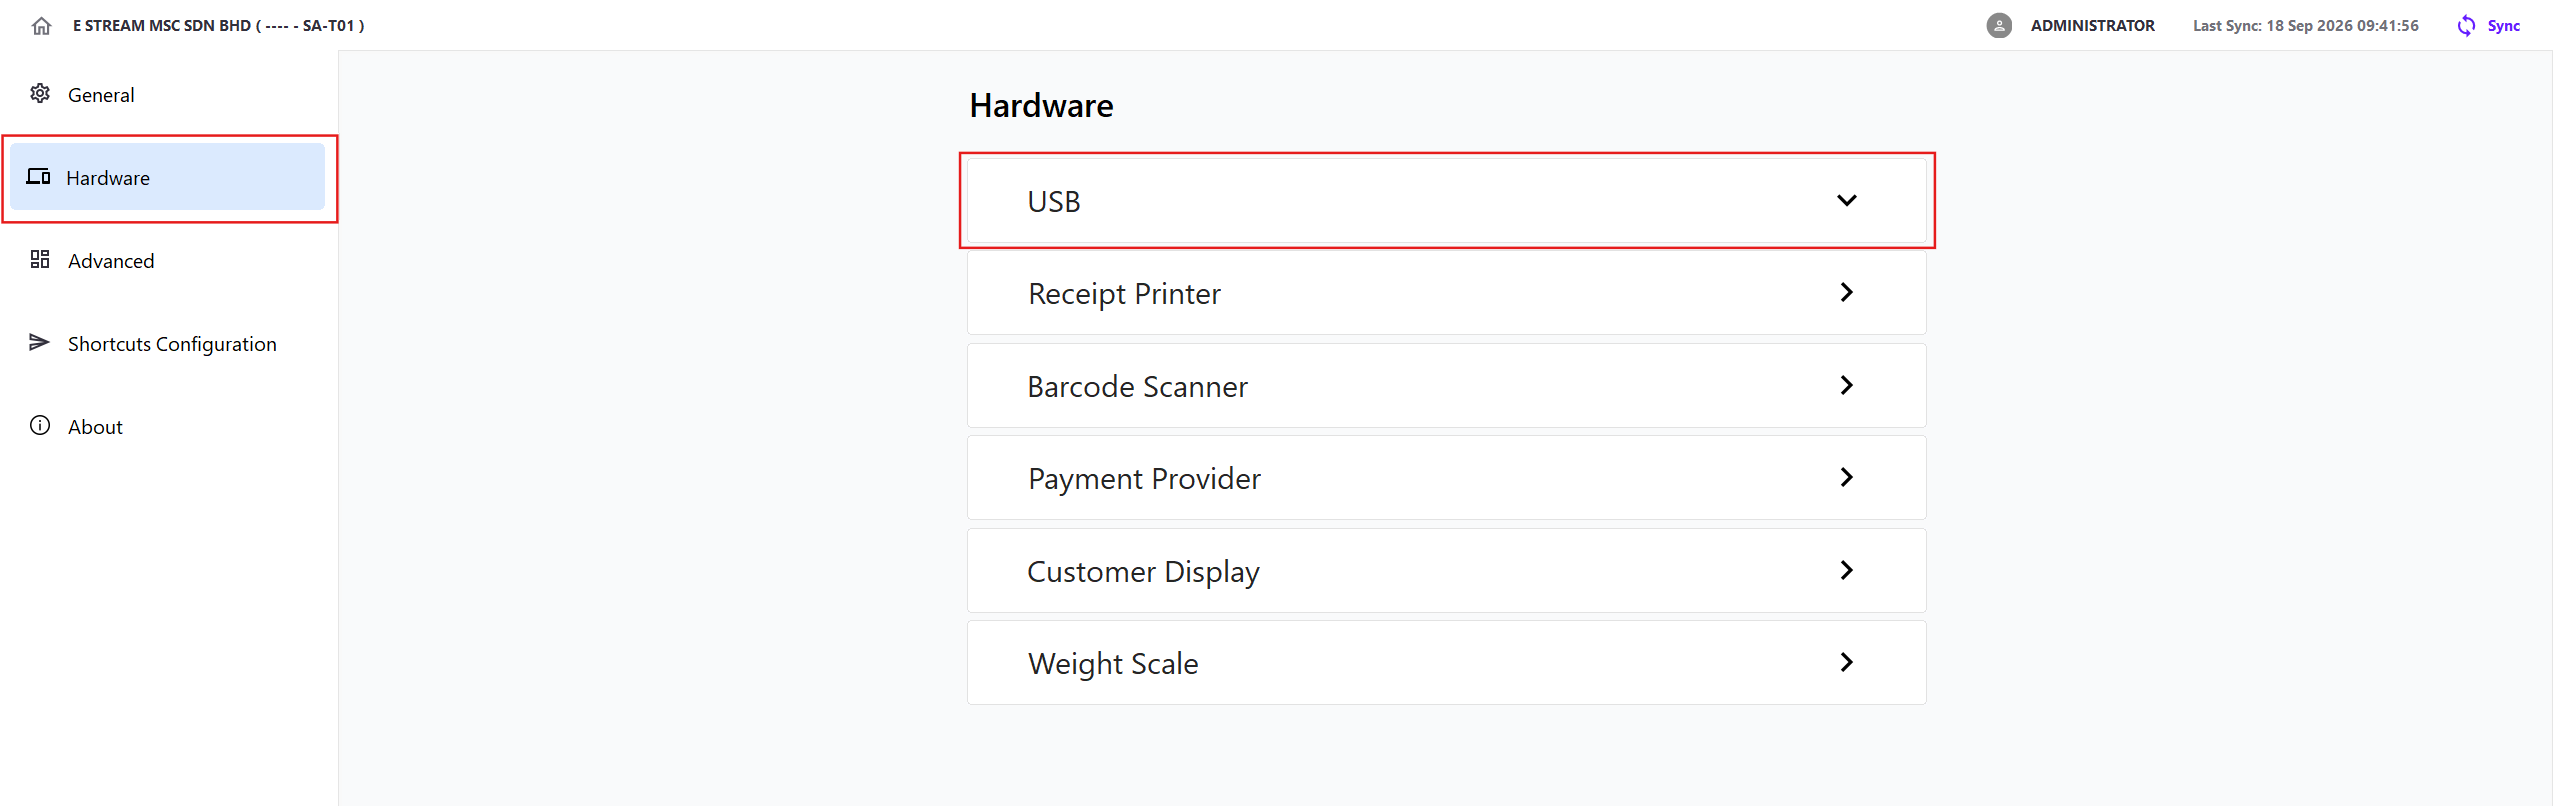
USB
Click Hardware → USB
- Enable USB backup
- Select the required drive
- Confirm that the drive status is detected
- Click Save
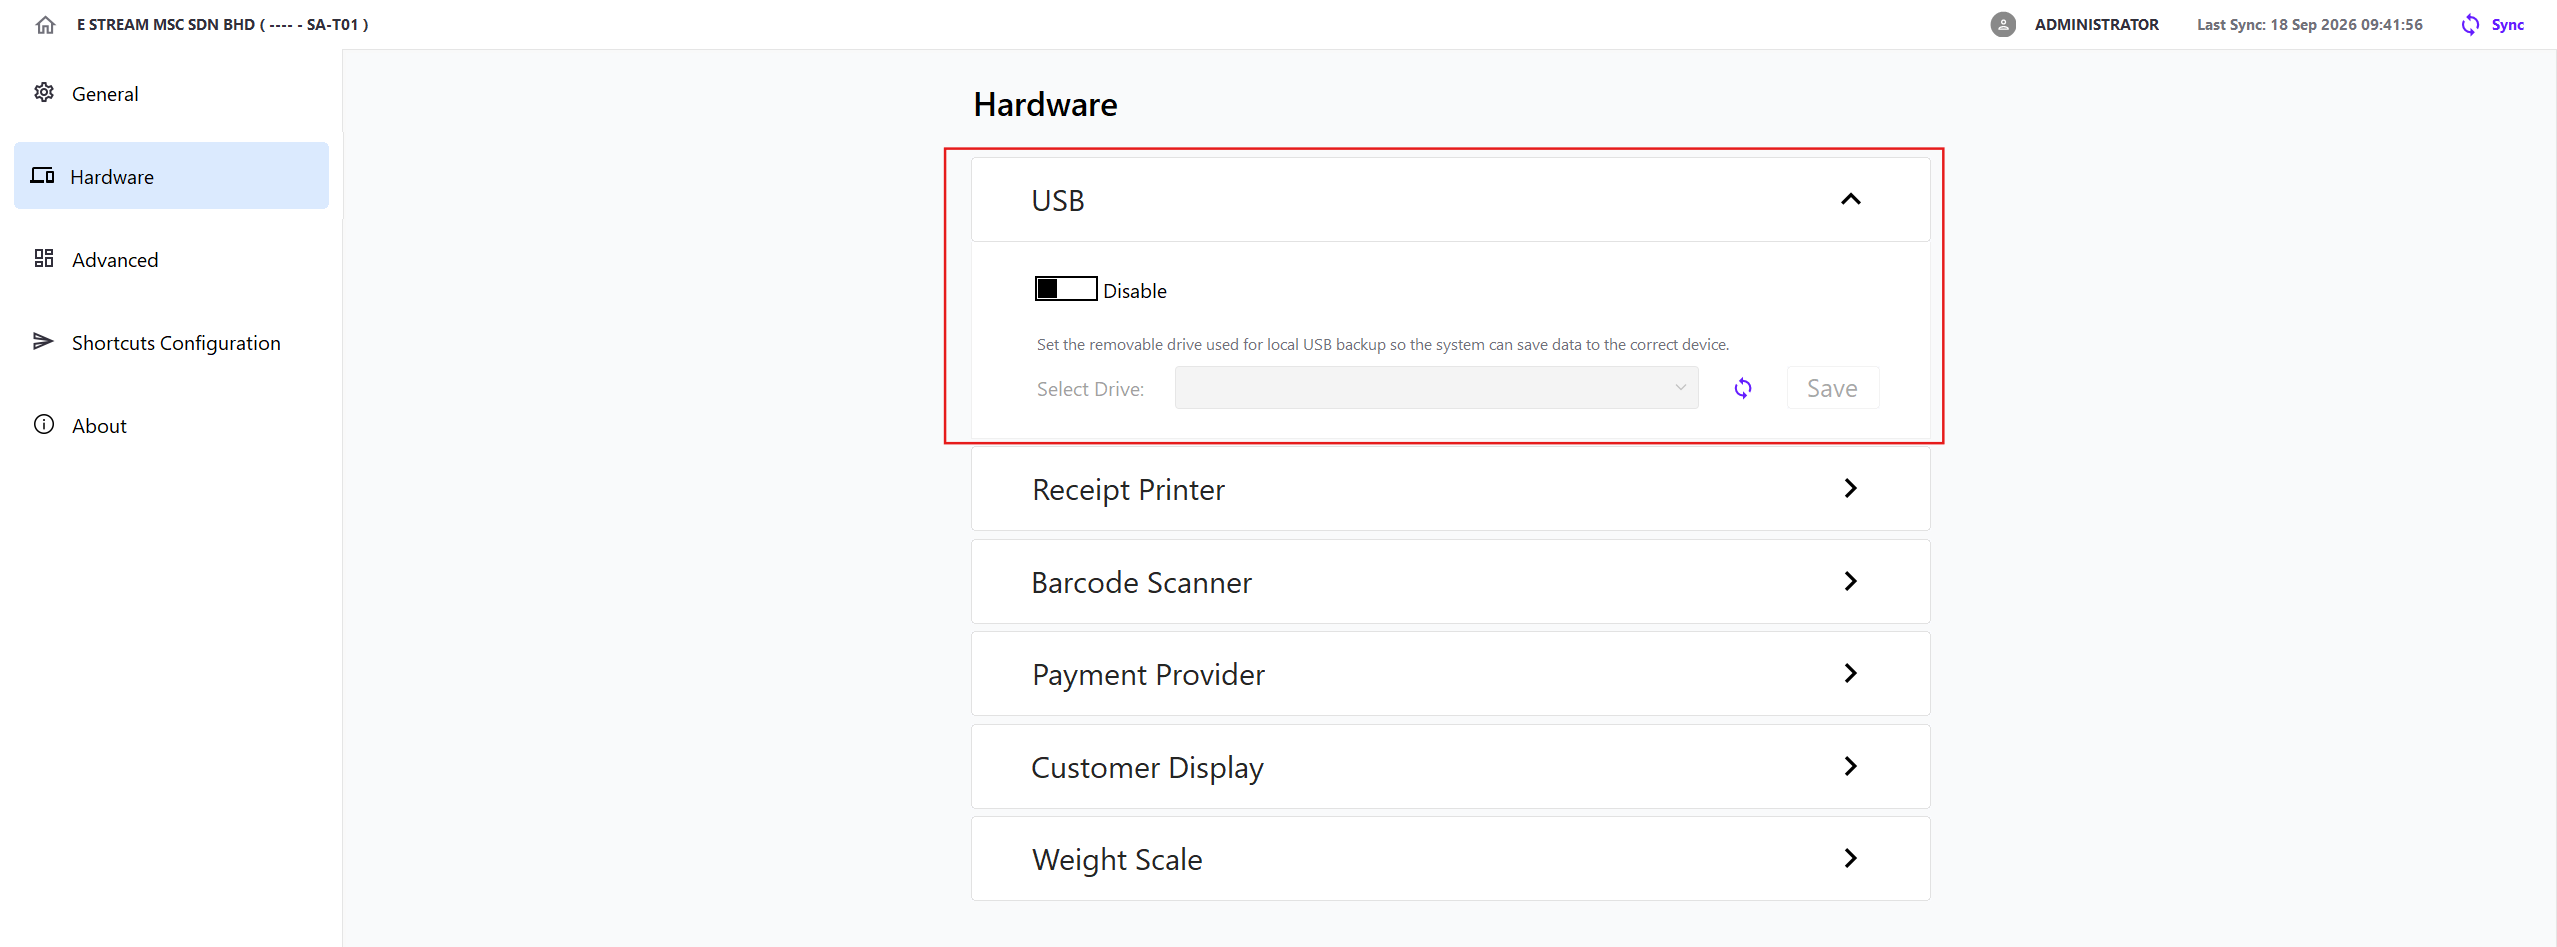
Once enabled, a backup zip file is saved to the POS_Metadata folder on the selected USB drive each time a sync is completed
Receipt Printer
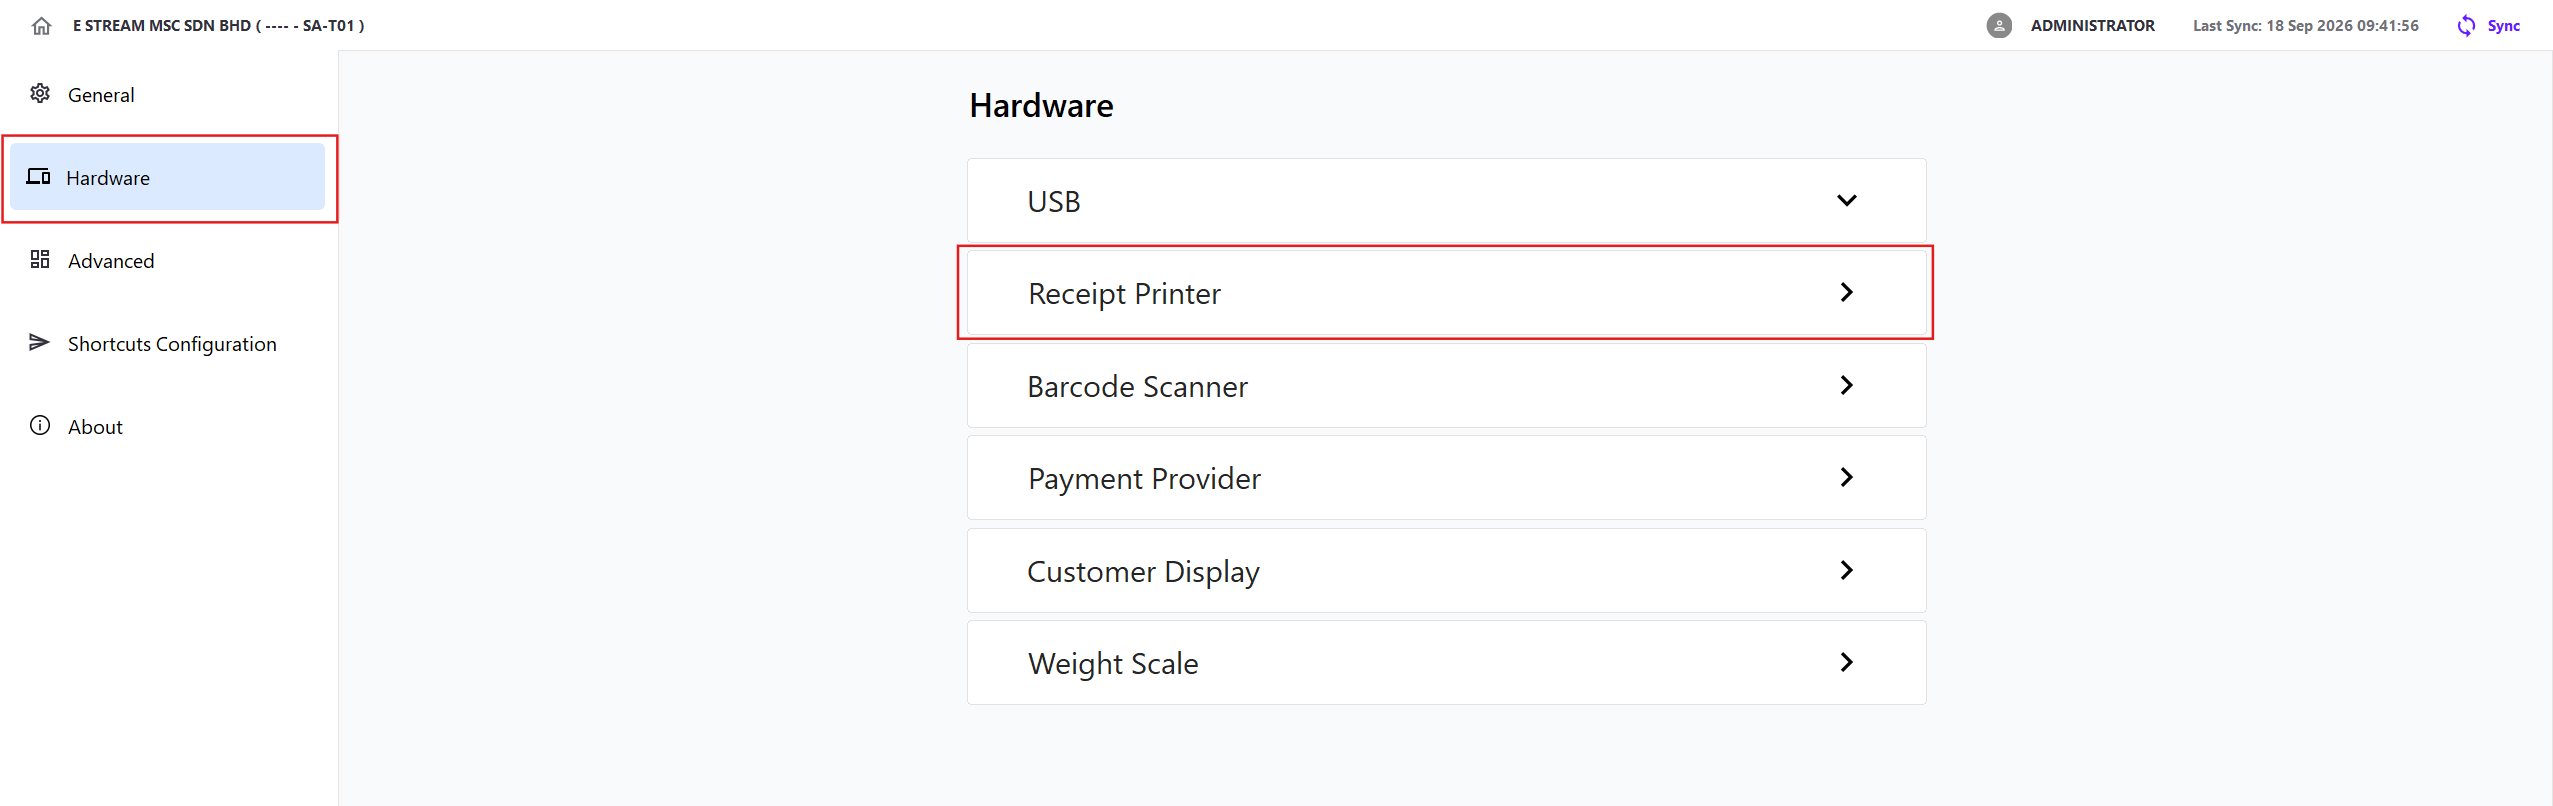
Click Hardware → Receipt Printer
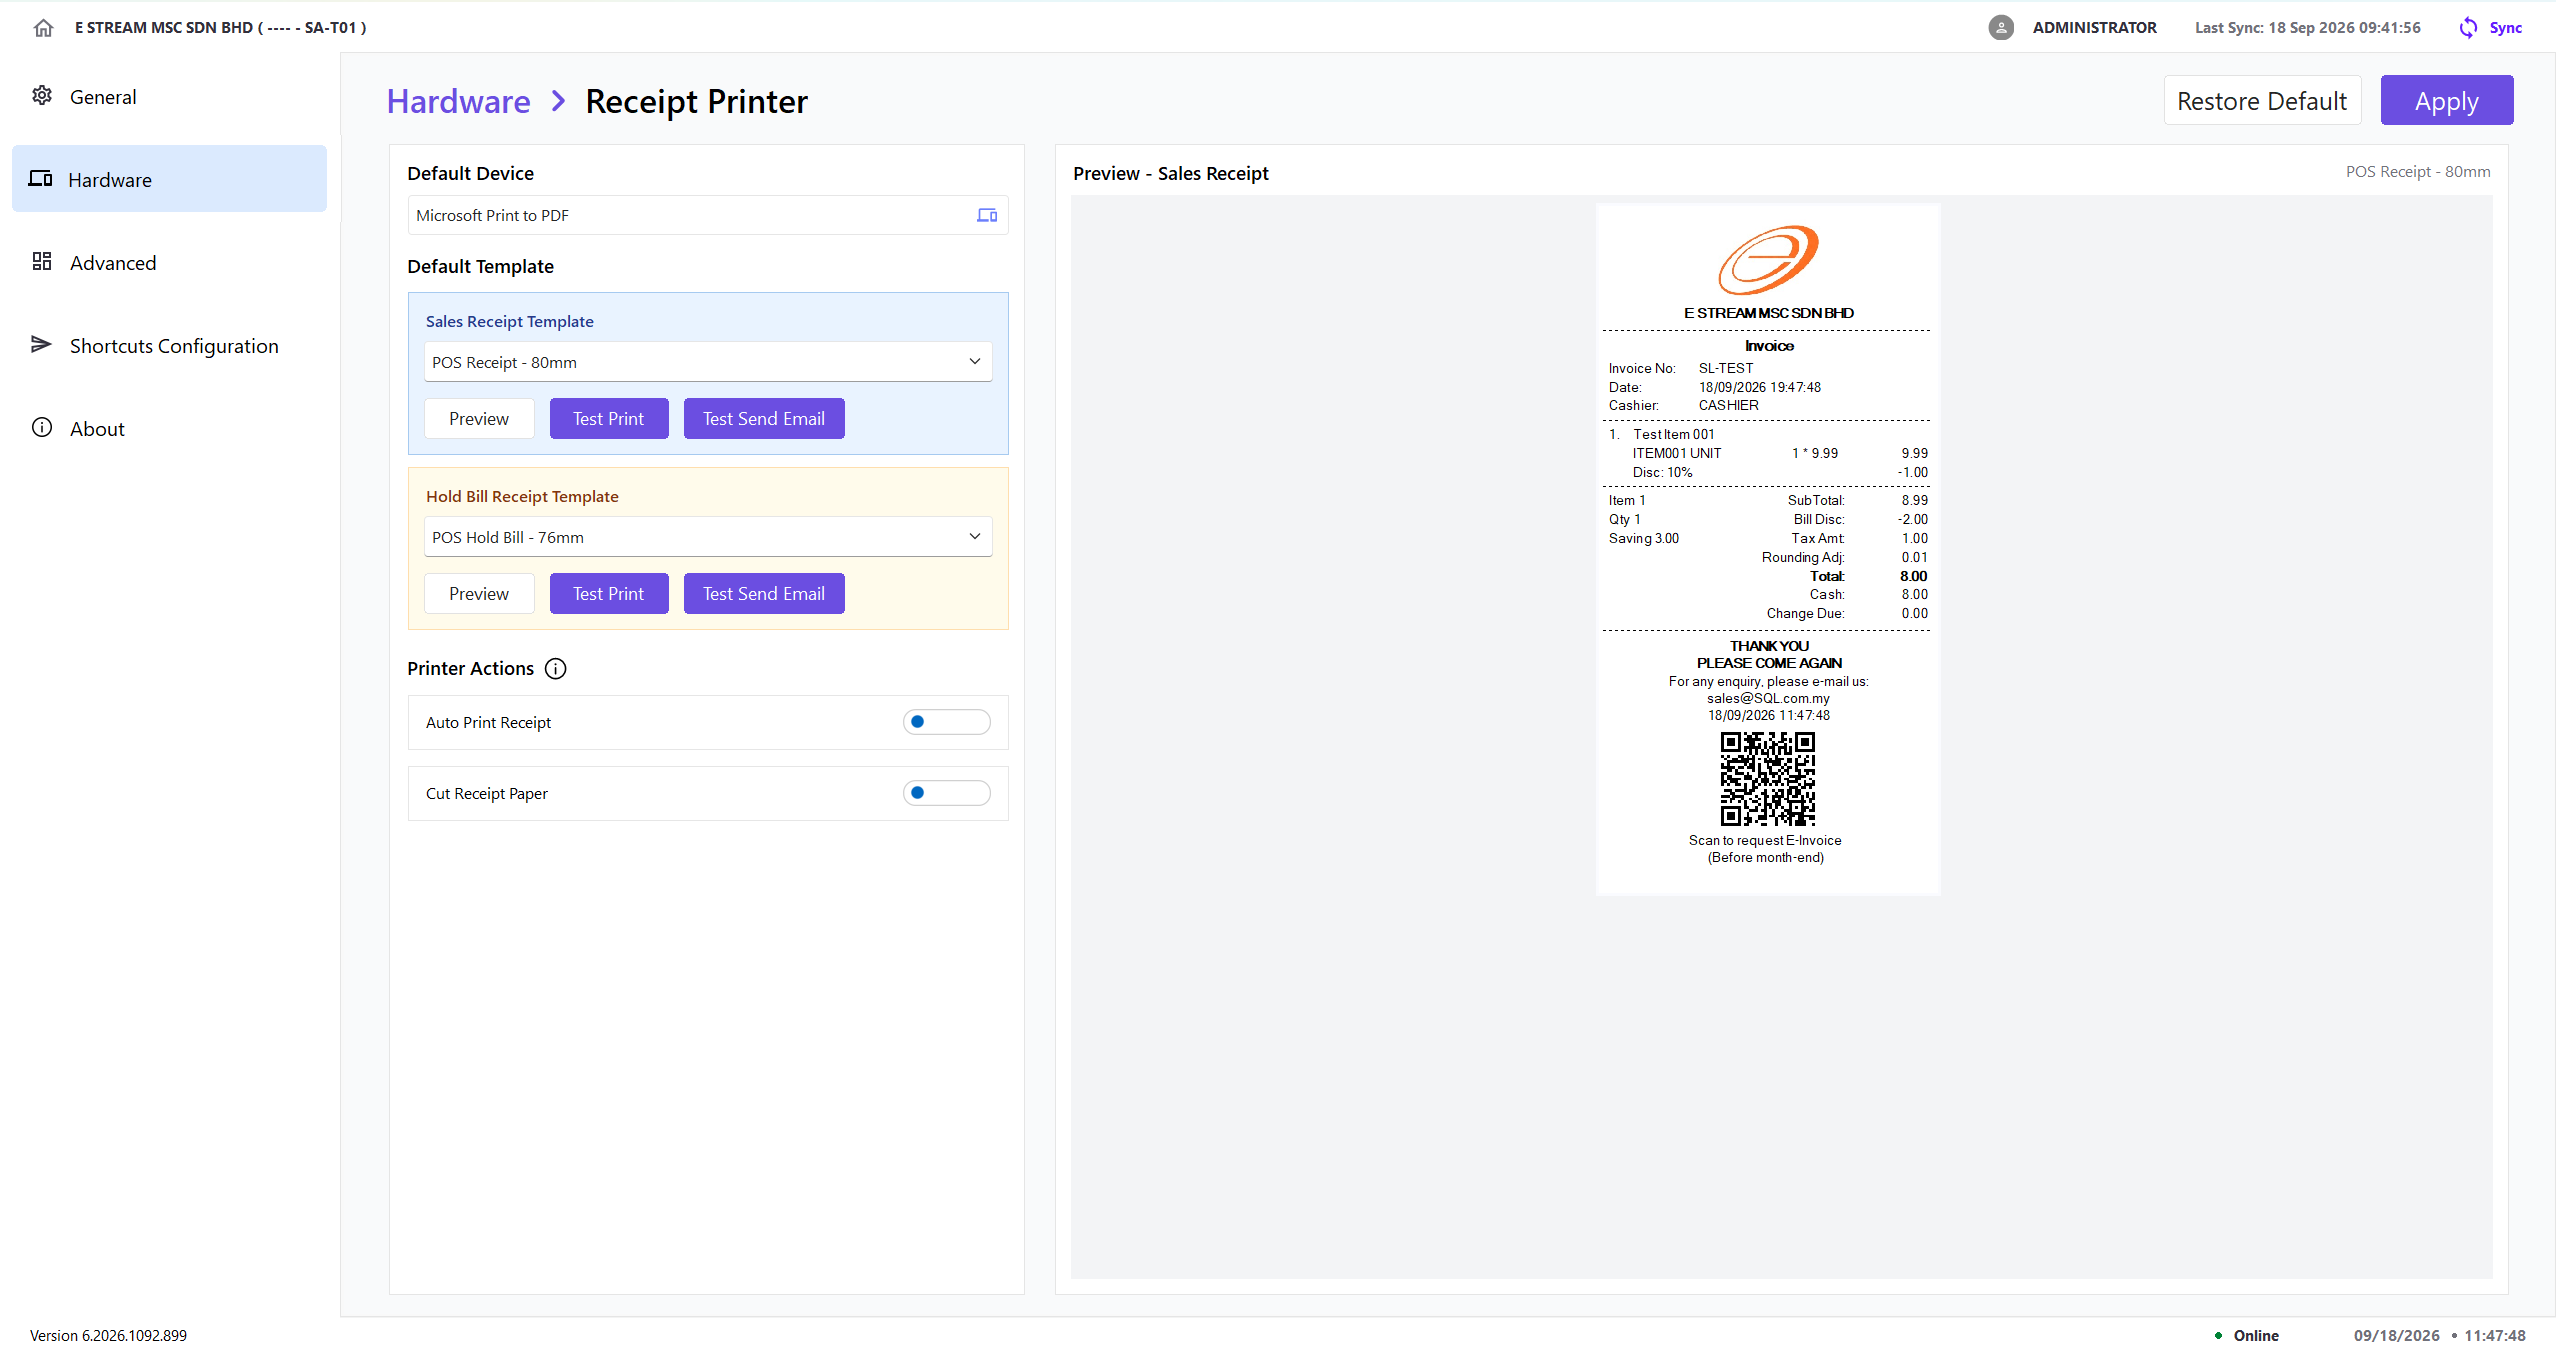
| Setting | Description |
|---|---|
| Default Device | Default printer used to print receipts |
| Sales Receipt Template | Default report template used when printing a completed sales receipt |
| Hold Bill Receipt Template | Default report template used when printing a hold-bill receipt |
| Preview | Displays a preview of the selected receipt template |
| Test Print | Prints a sample receipt using the selected template and default printer |
| Test Send Email | Sends a sample receipt as a PDF attachment to test the email receipt configuration |
Printer Actions
These settings are identical to the options described in X-Pos Guide - Receipt Printer
Cut Receipt Paper may conflict with the Windows printer-driver setting. If automatic paper cutting is enabled in both X-Pos and the printer driver, the printer may perform two cut actions for each receipt
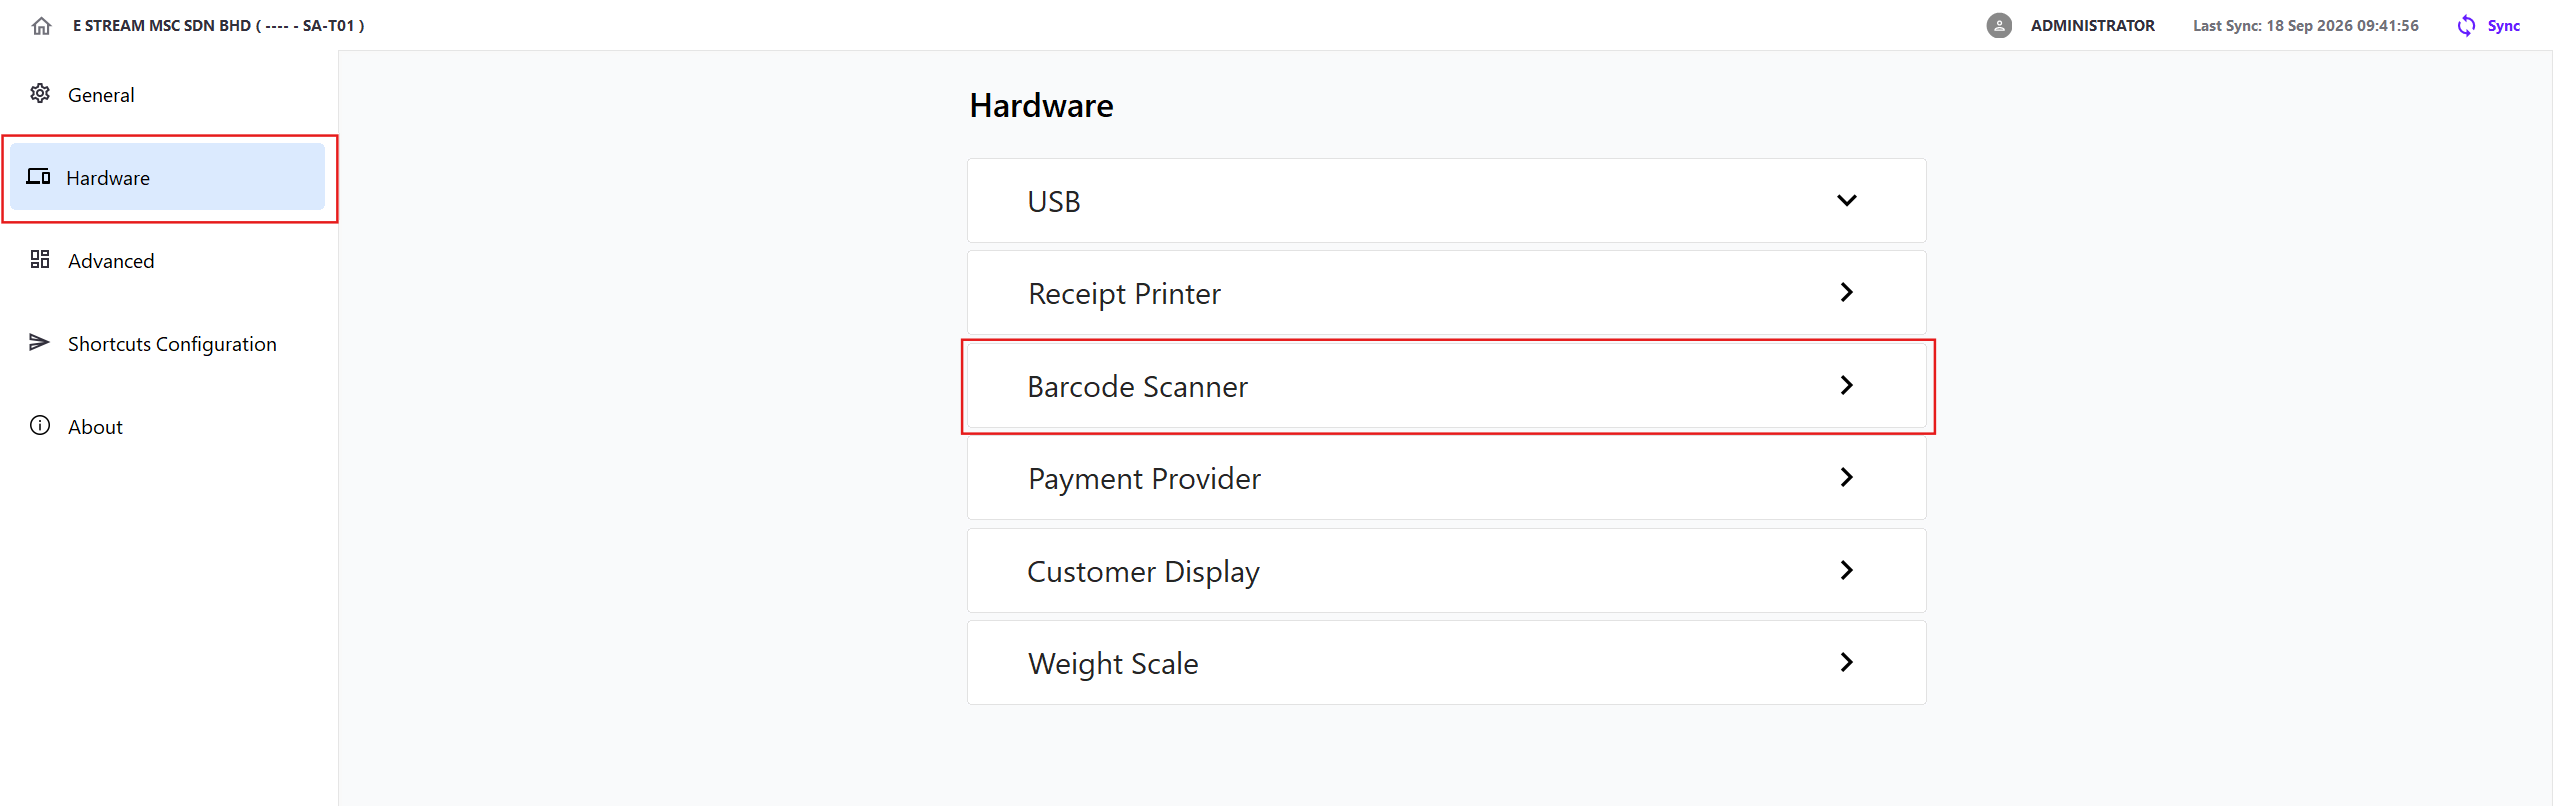
Barcode Scanner
Click Hardware → Barcode Scanner
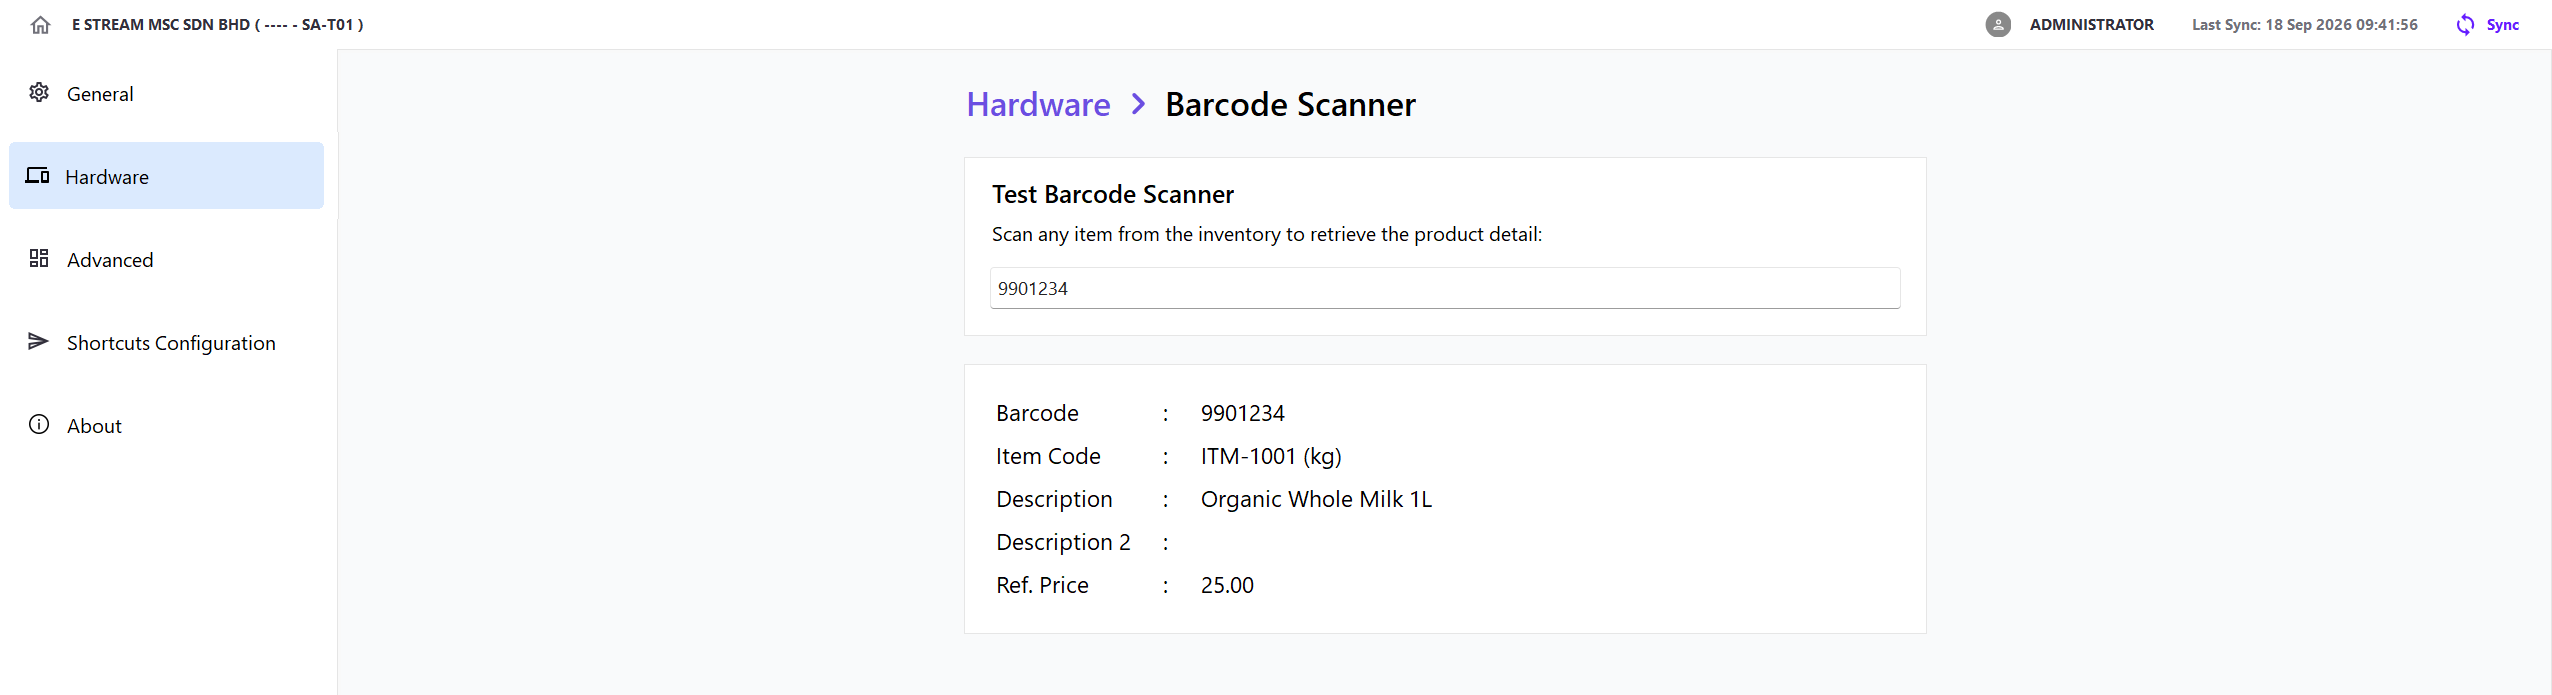
- Scan an item barcode from the inventory
- Display Barcode, Item Code, Description, Description 2, and Reference Price information
Payment Provider
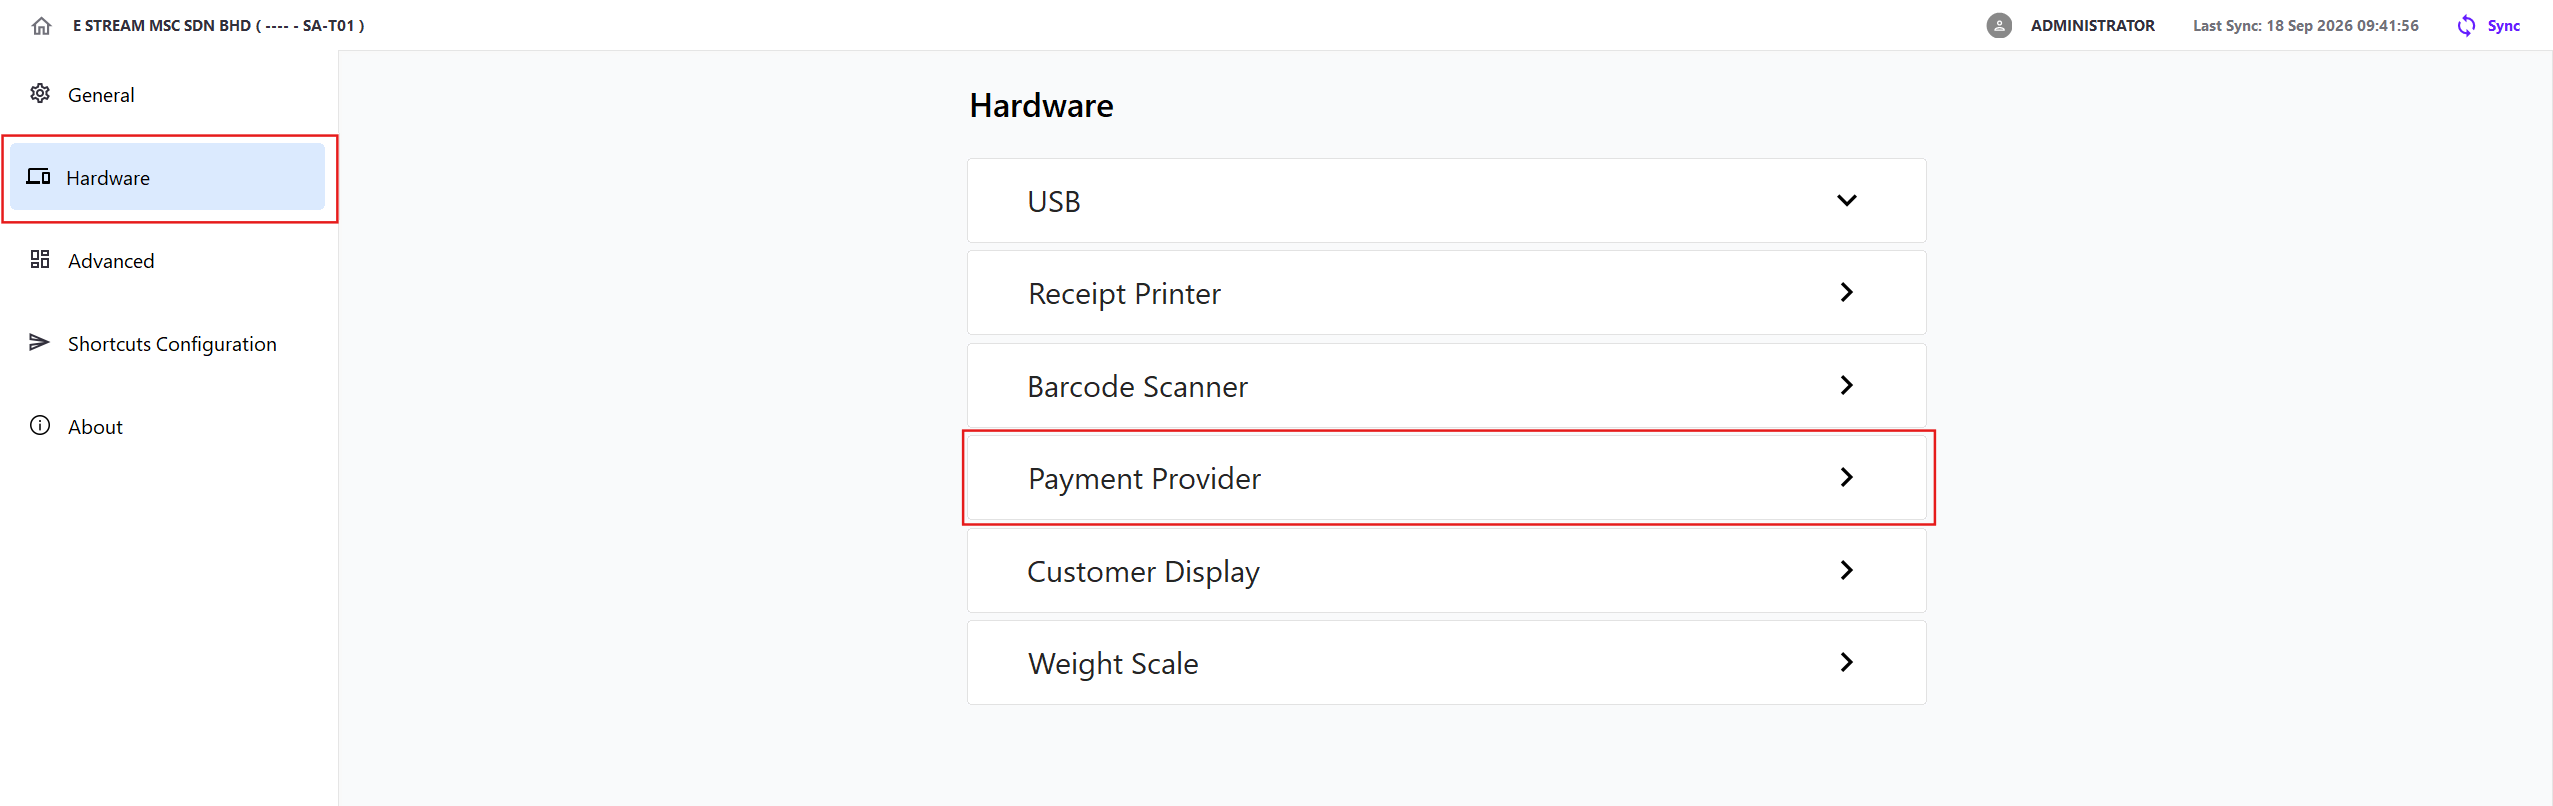
Click Hardware → Payment Provider
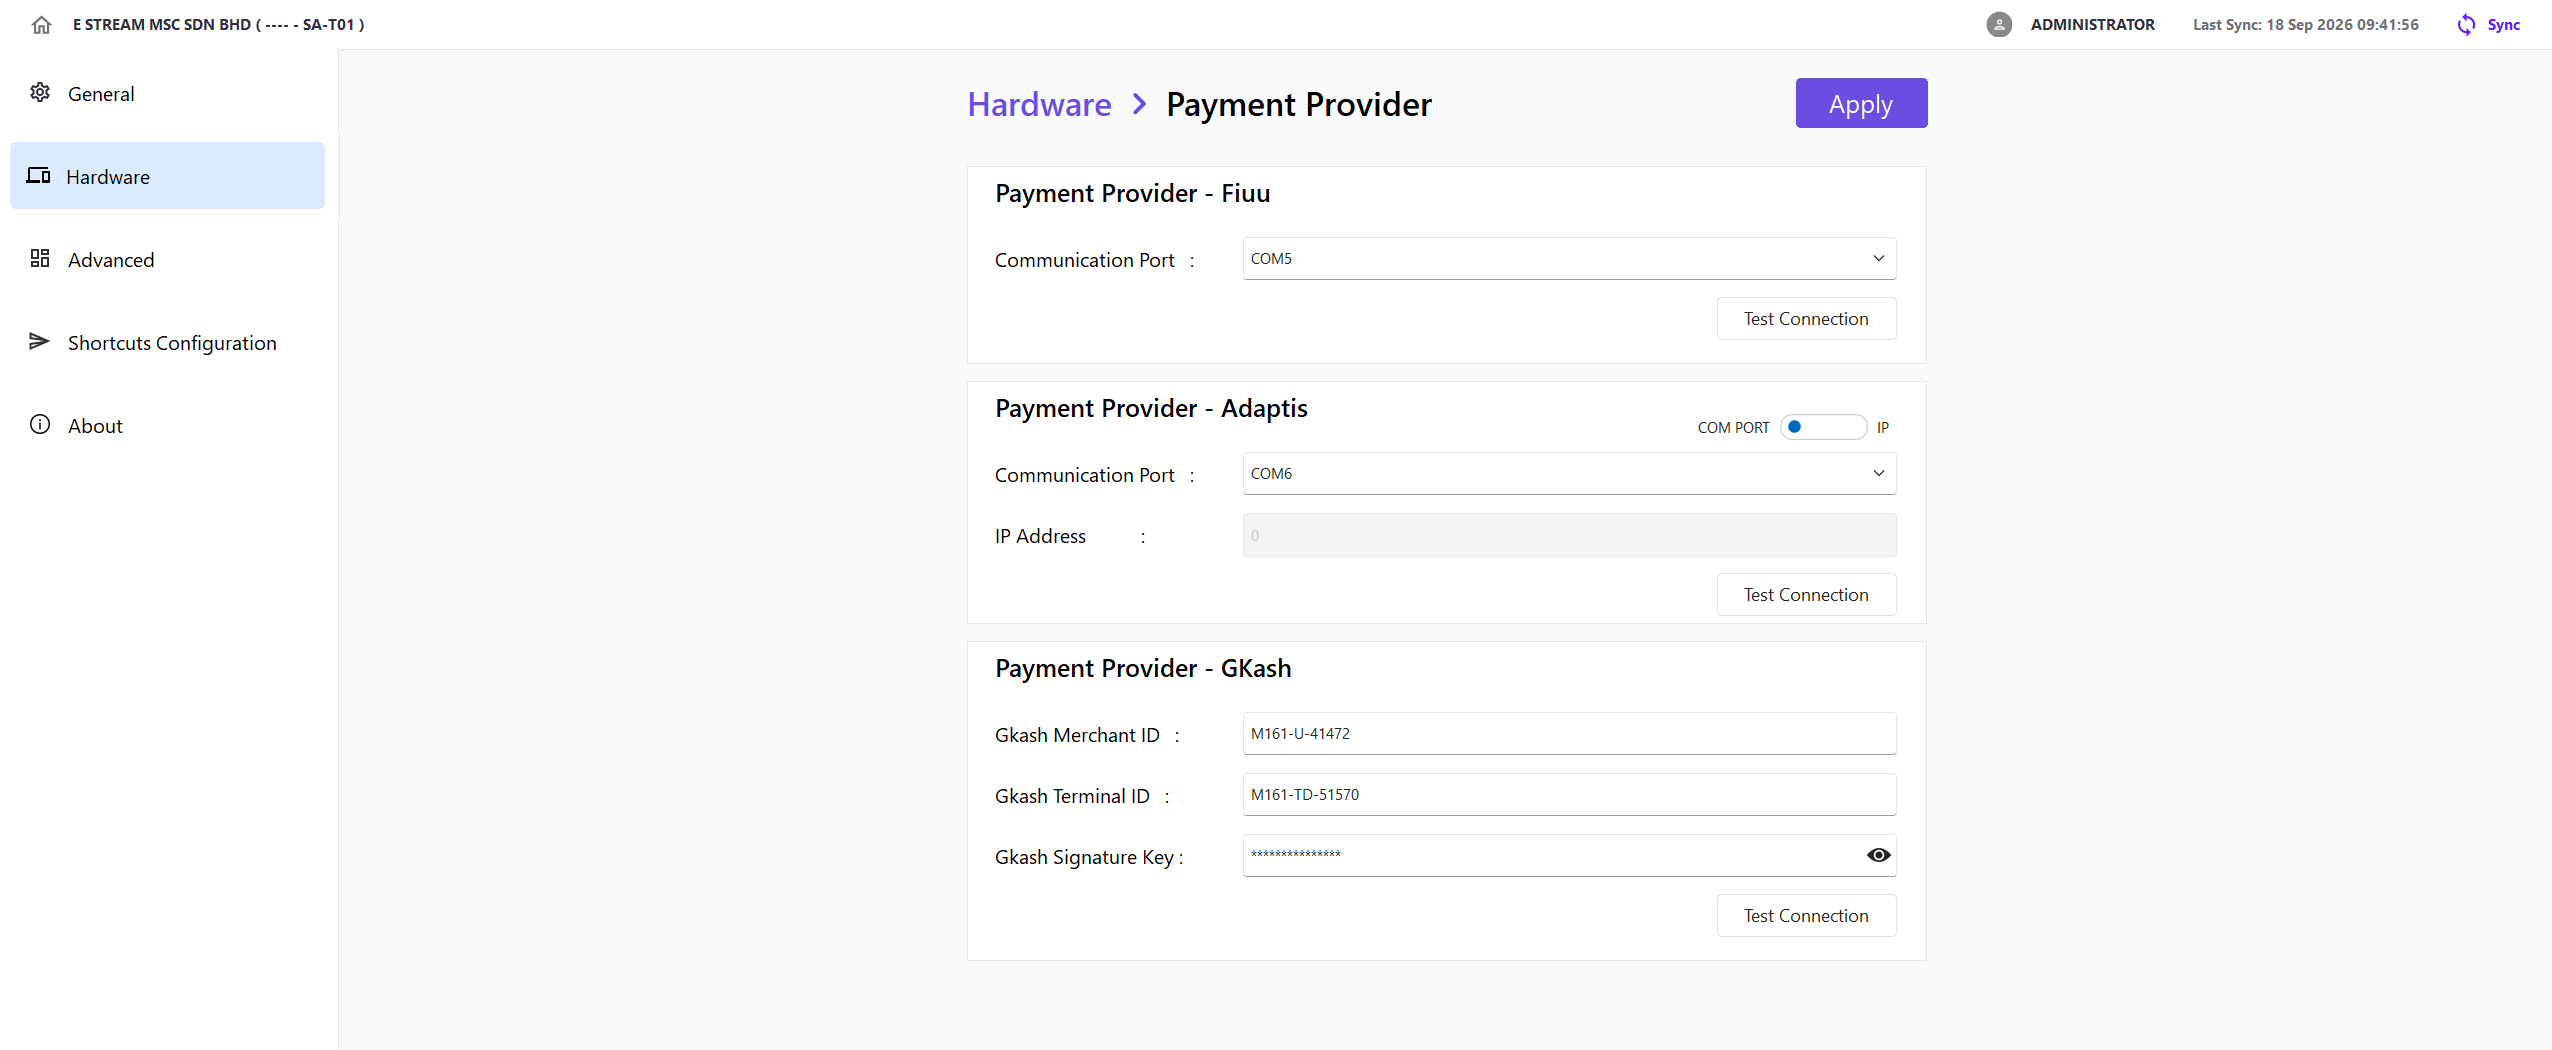
Configure the connection details for each payment provider used by the terminal. X-Pos supports Fiuu, Adaptis, and Gkash
| Provider | Setting | Description |
|---|---|---|
| Fiuu | Communication Port | COM port used by the Fiuu payment terminal |
| Adaptis | COM PORT / IP | Selects whether the Adaptis terminal connects through a USB virtual COM port or the network |
| Adaptis | Communication Port | COM port used when COM PORT is selected |
| Adaptis | IP Address | Terminal IP address used when IP is selected. Enter the address without a port number; X-Pos uses port 33898 |
| Gkash | Gkash Merchant ID | Merchant identifier supplied by Gkash |
| Gkash | Gkash Terminal ID | Identifier of the Gkash payment terminal |
| Gkash | Gkash Signature Key | Secret key used to authenticate Gkash payment requests |
Configure and Test a Provider
- Enter the required settings for the provider
- Turn on the payment terminal and confirm that it is connected to the terminal or network
- Click Test Connection in the provider section
- Complete any instructions displayed by X-Pos or the payment terminal
- Confirm that the connection test is successful
- Click Apply to save the settings
- Keep the Gkash Signature Key confidential
- The Fiuu and Gkash connection tests create a temporary RM0.10 DuitNow request and cancel it. Do not approve or complete the test payment
Configuring this page does not assign a provider to a payment method. In SQL Account, assign Fiuu, Adaptis, or Gkash to the required payment method, then synchronise to the terminal
Customer Display
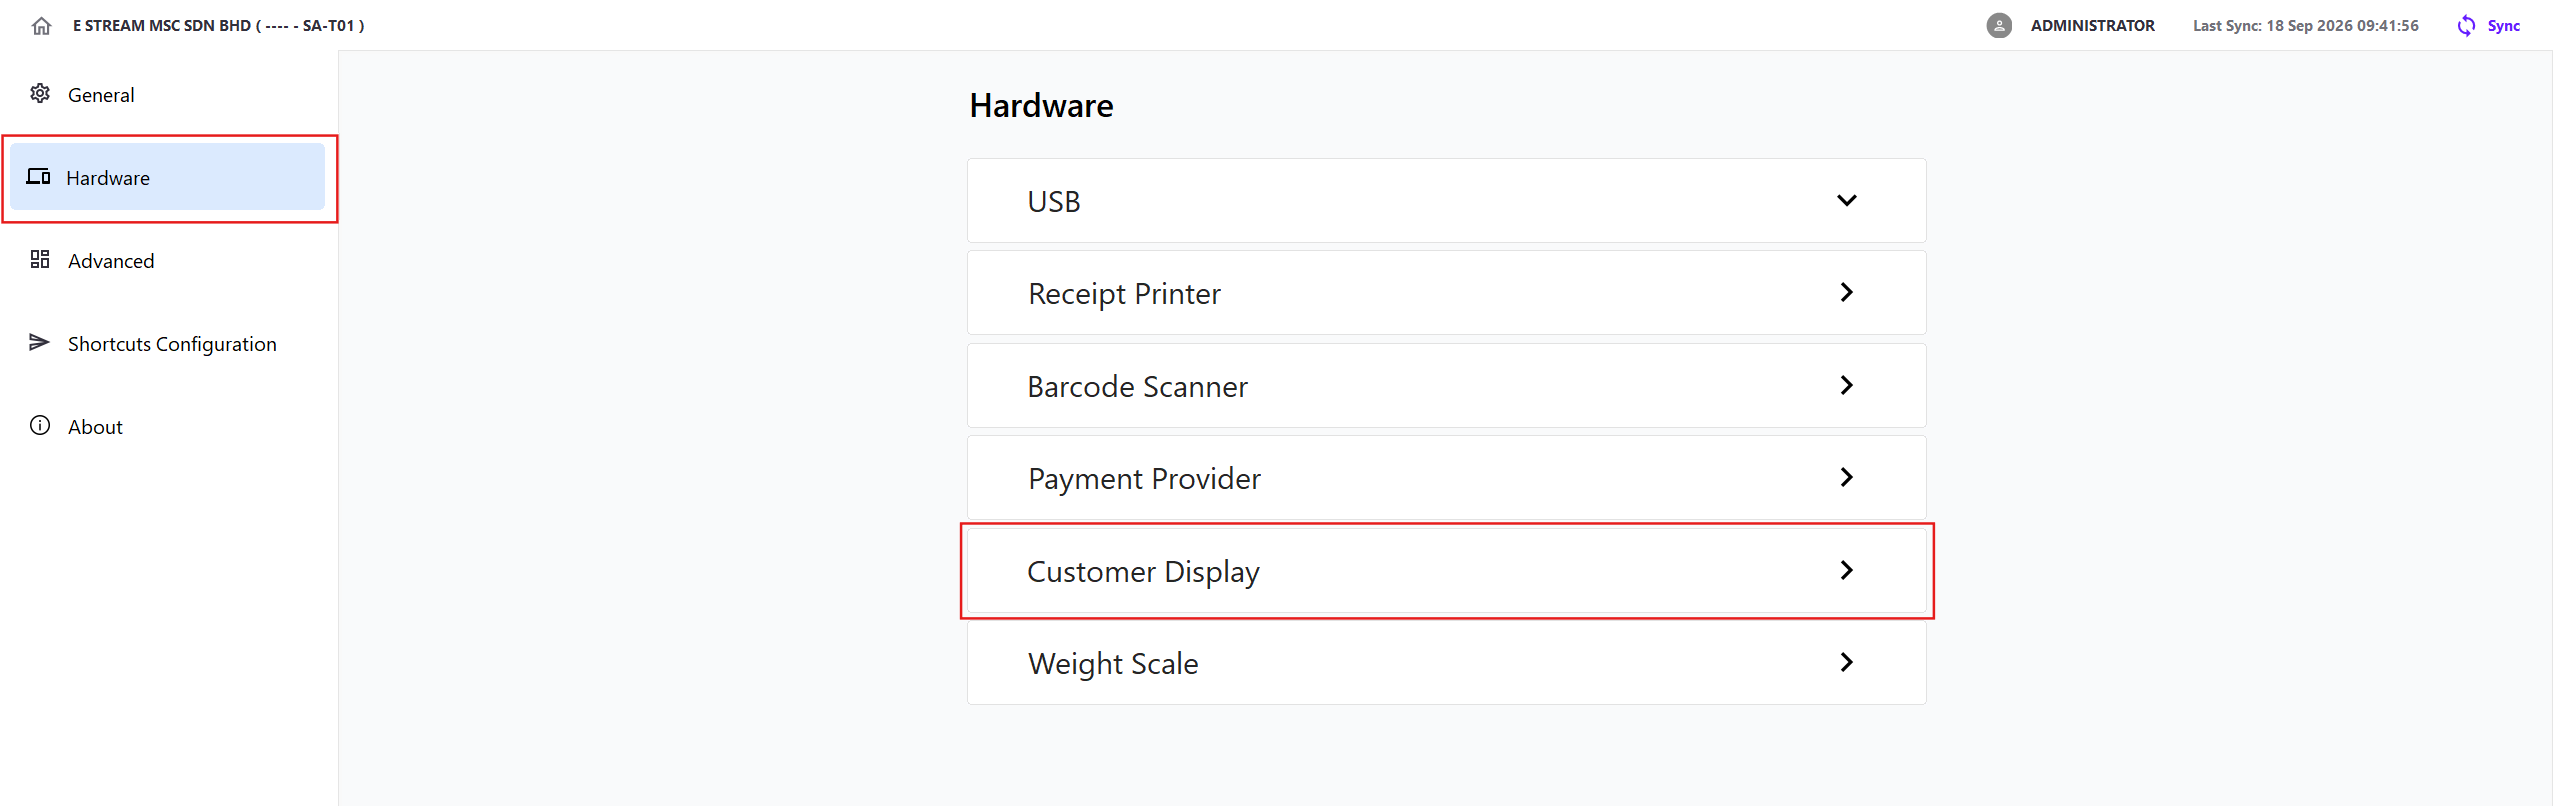
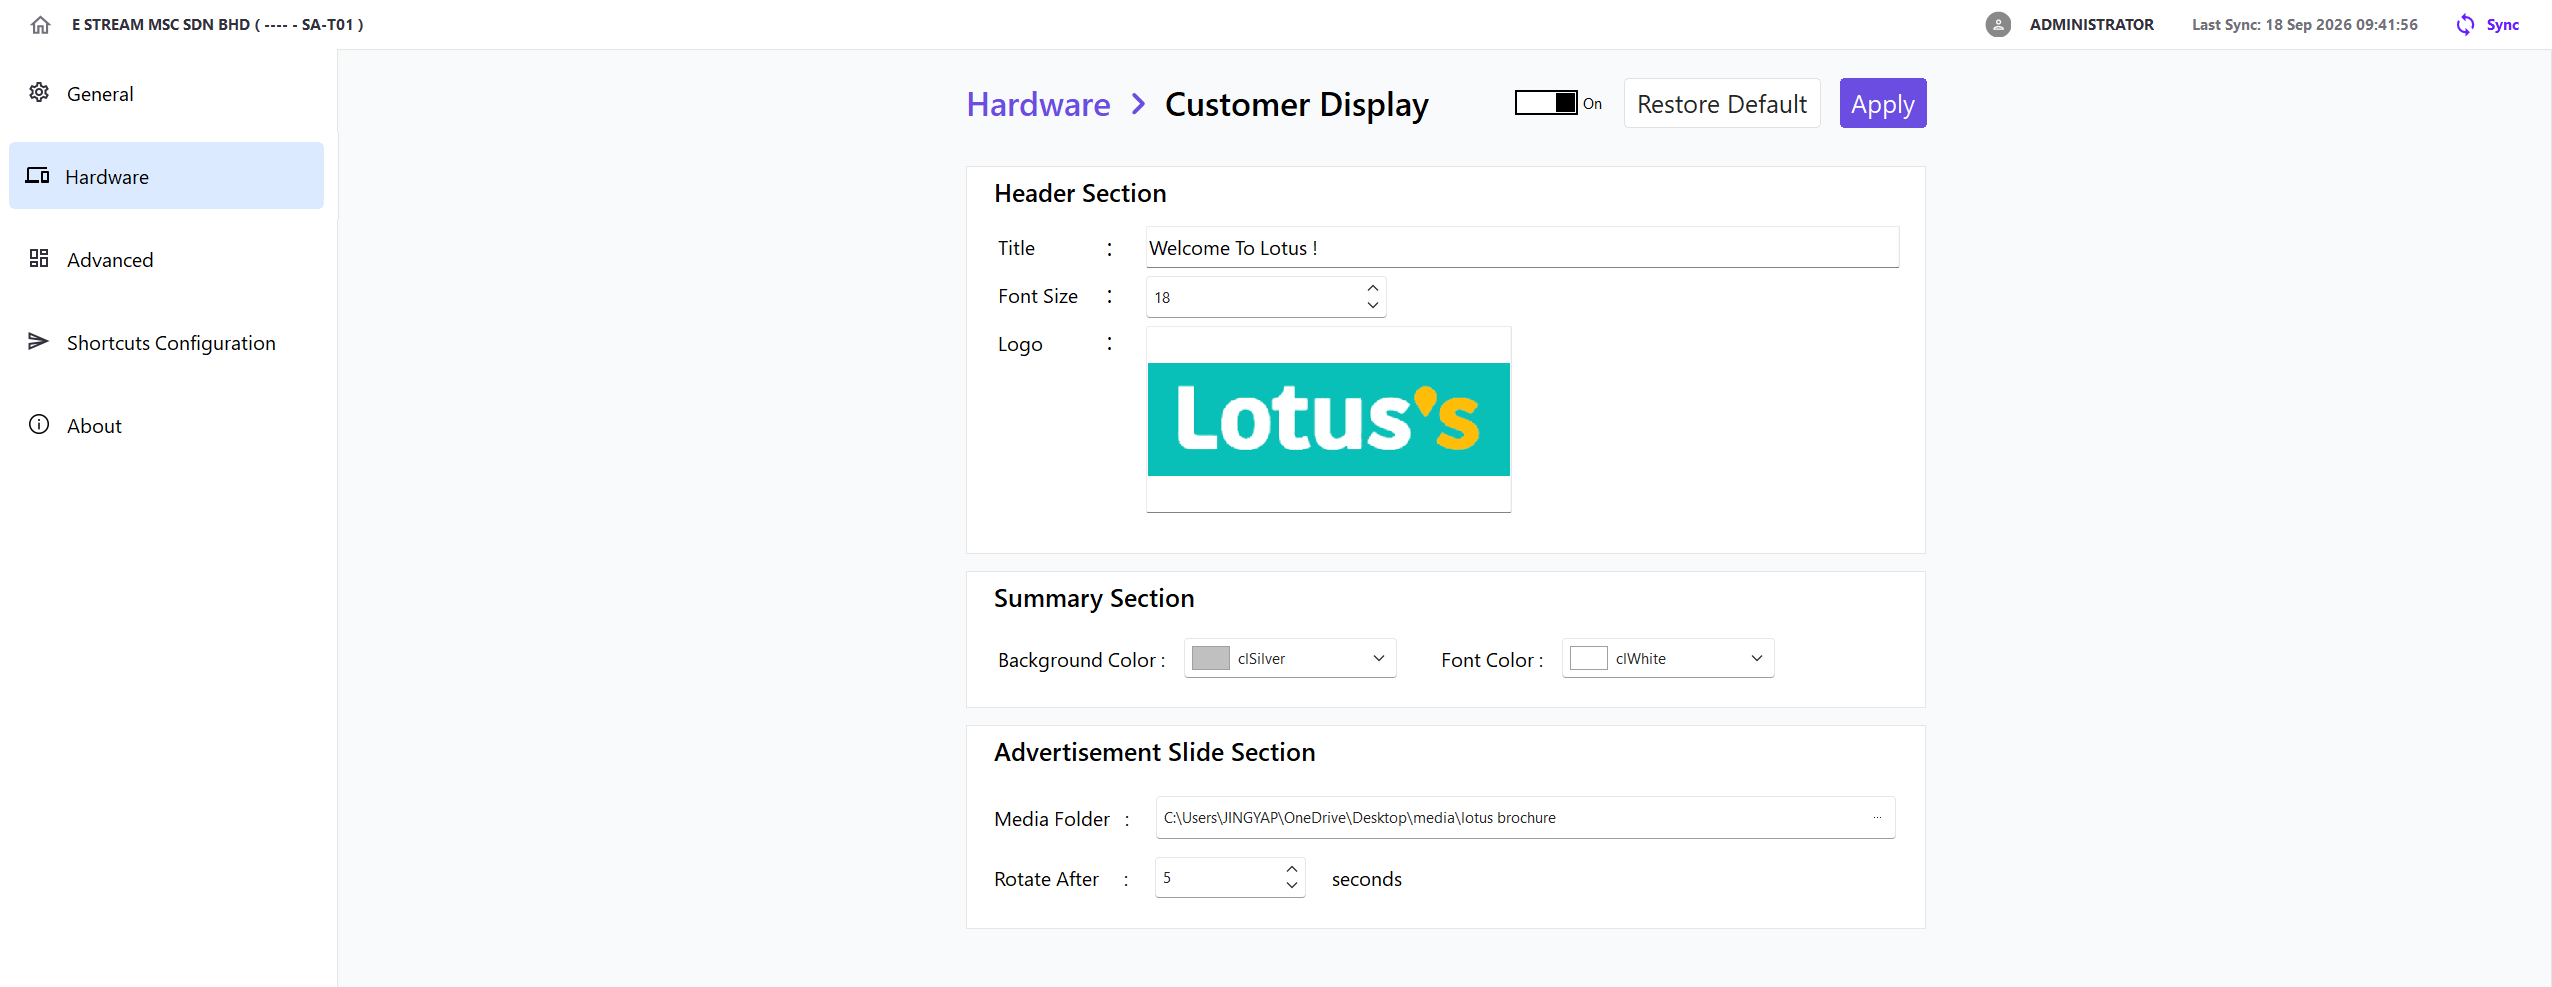
Click Hardware → Customer Display
| Section | Configuration |
|---|---|
| Header Section | Set the display title, logo, and font size |
| Summary Section | Set the font colour and background colour for the sales summary |
| Advertisement Slide Section | Select the media folder and slide rotation interval |
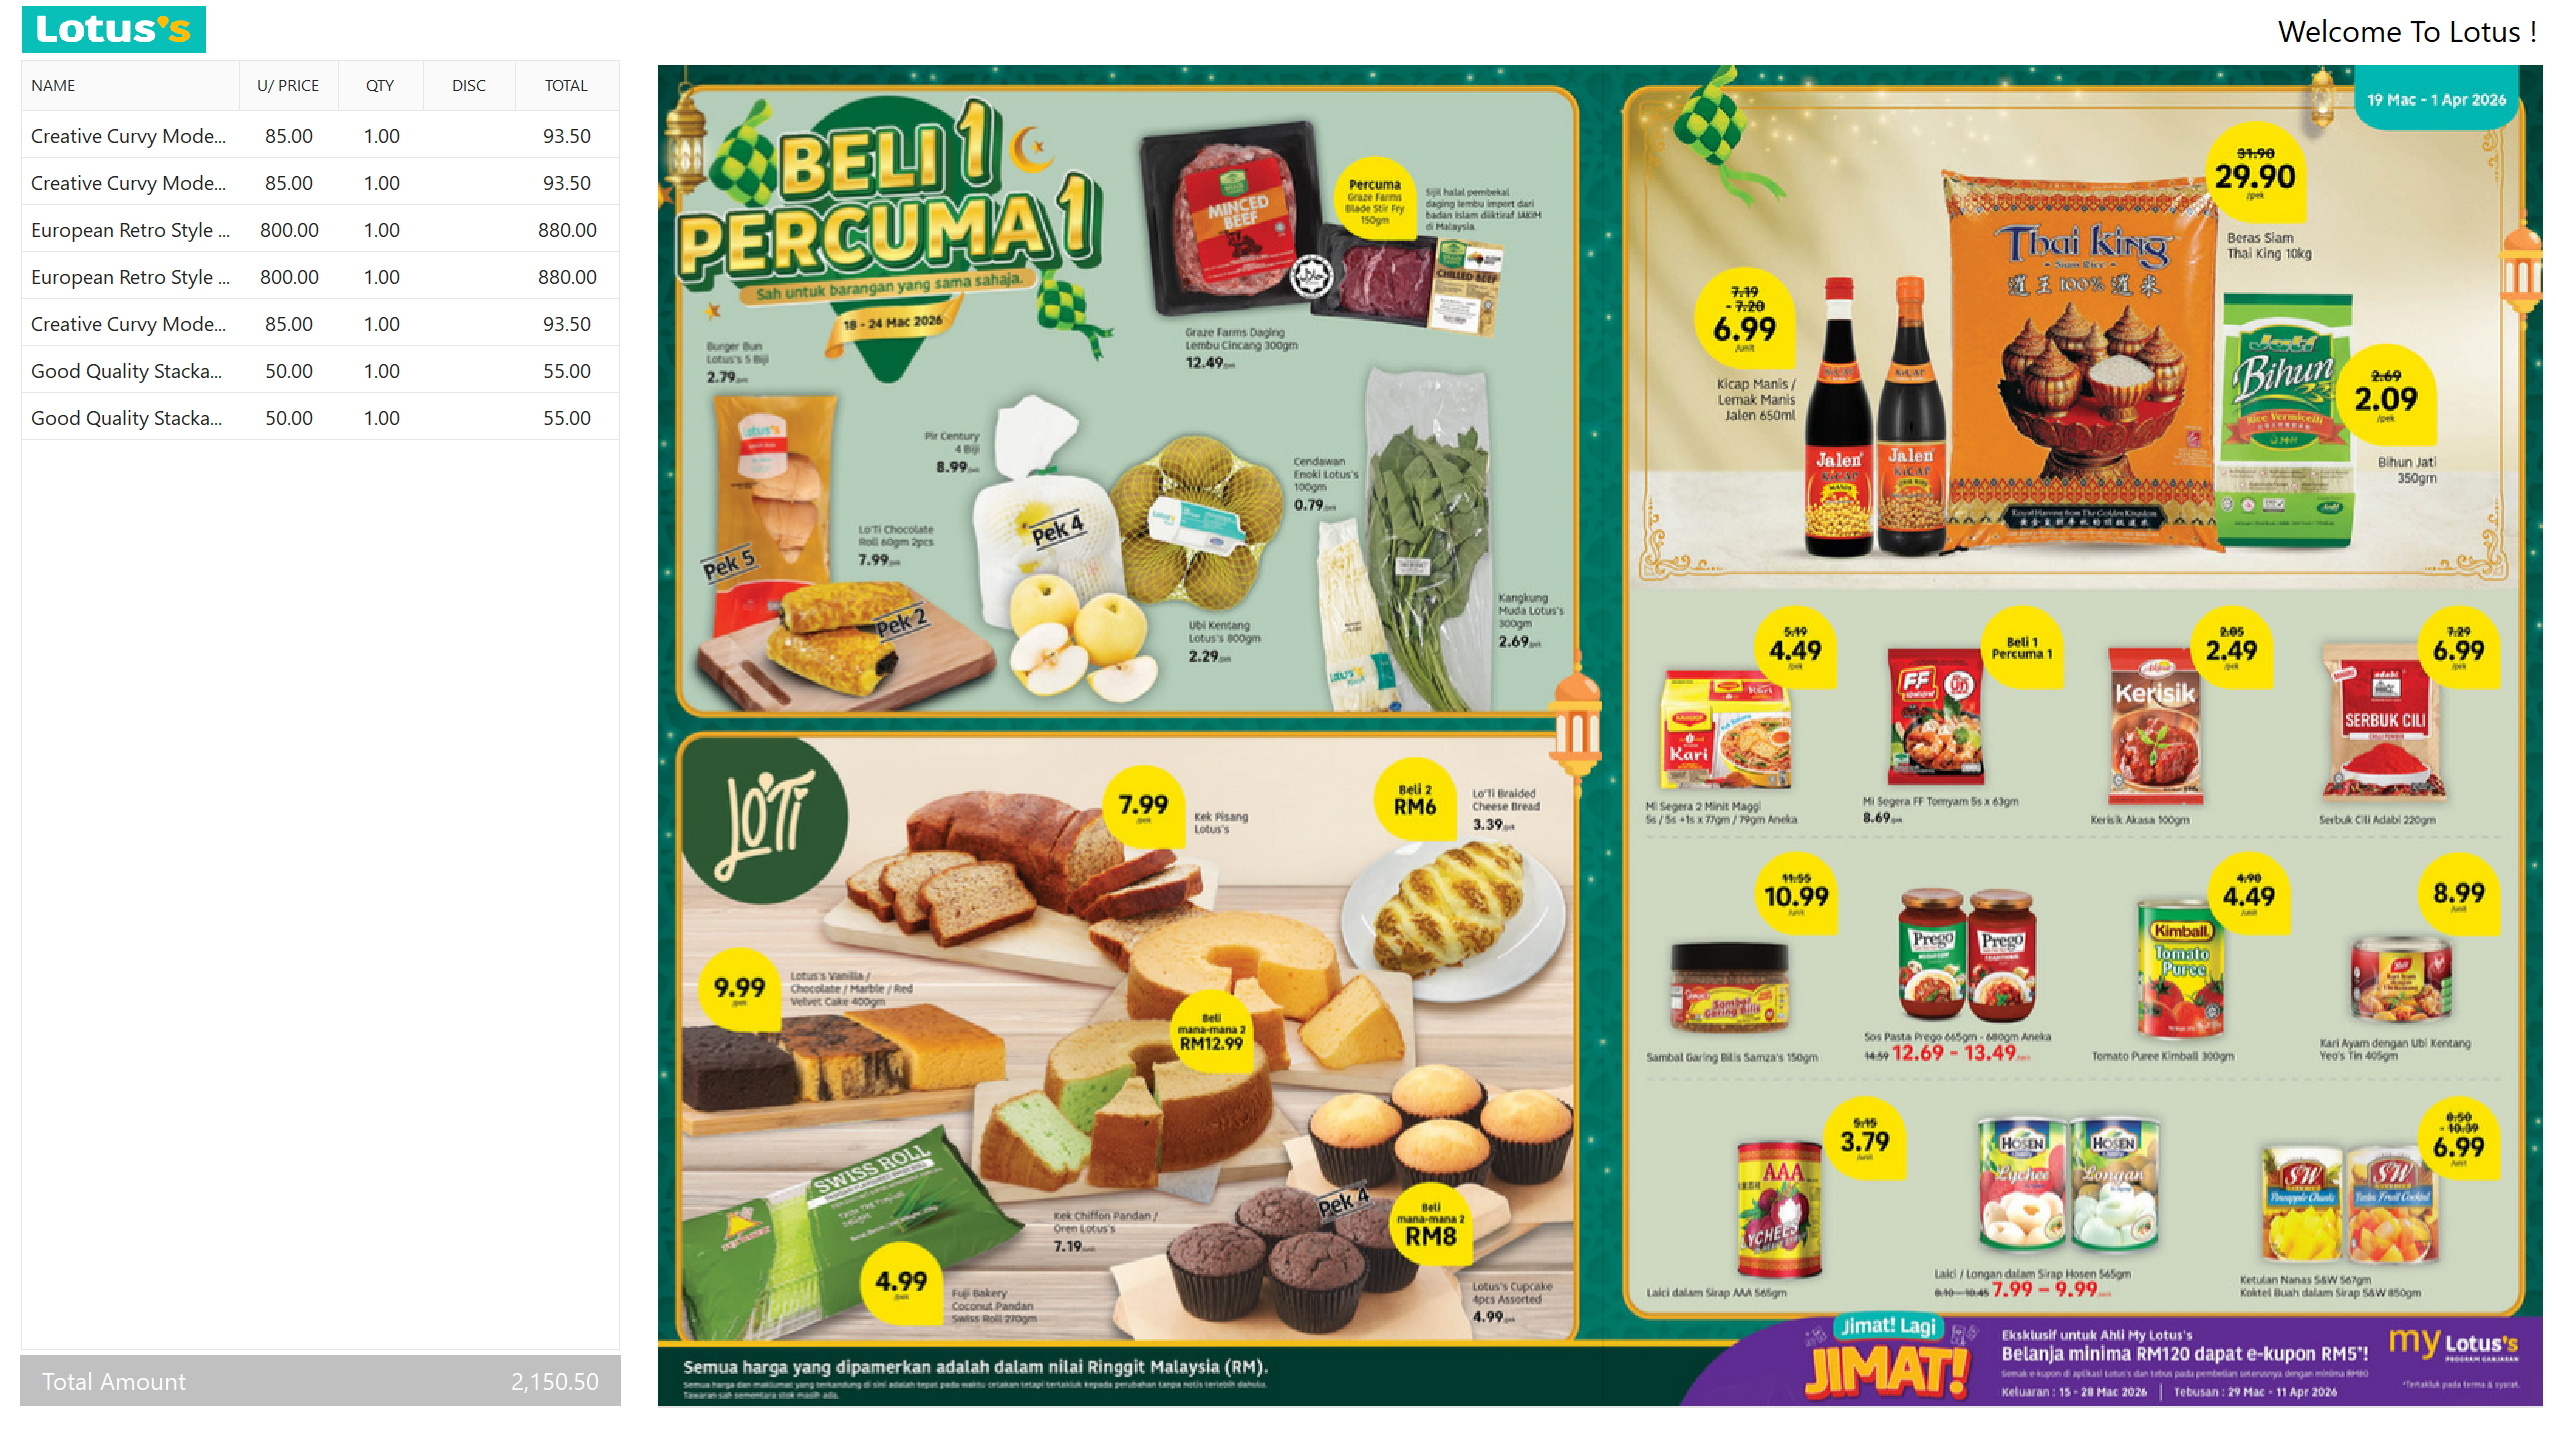
Once enabled, the configured header, summary, and advertisement content will display on the second screen for customers to view during checkout
Weight Scale
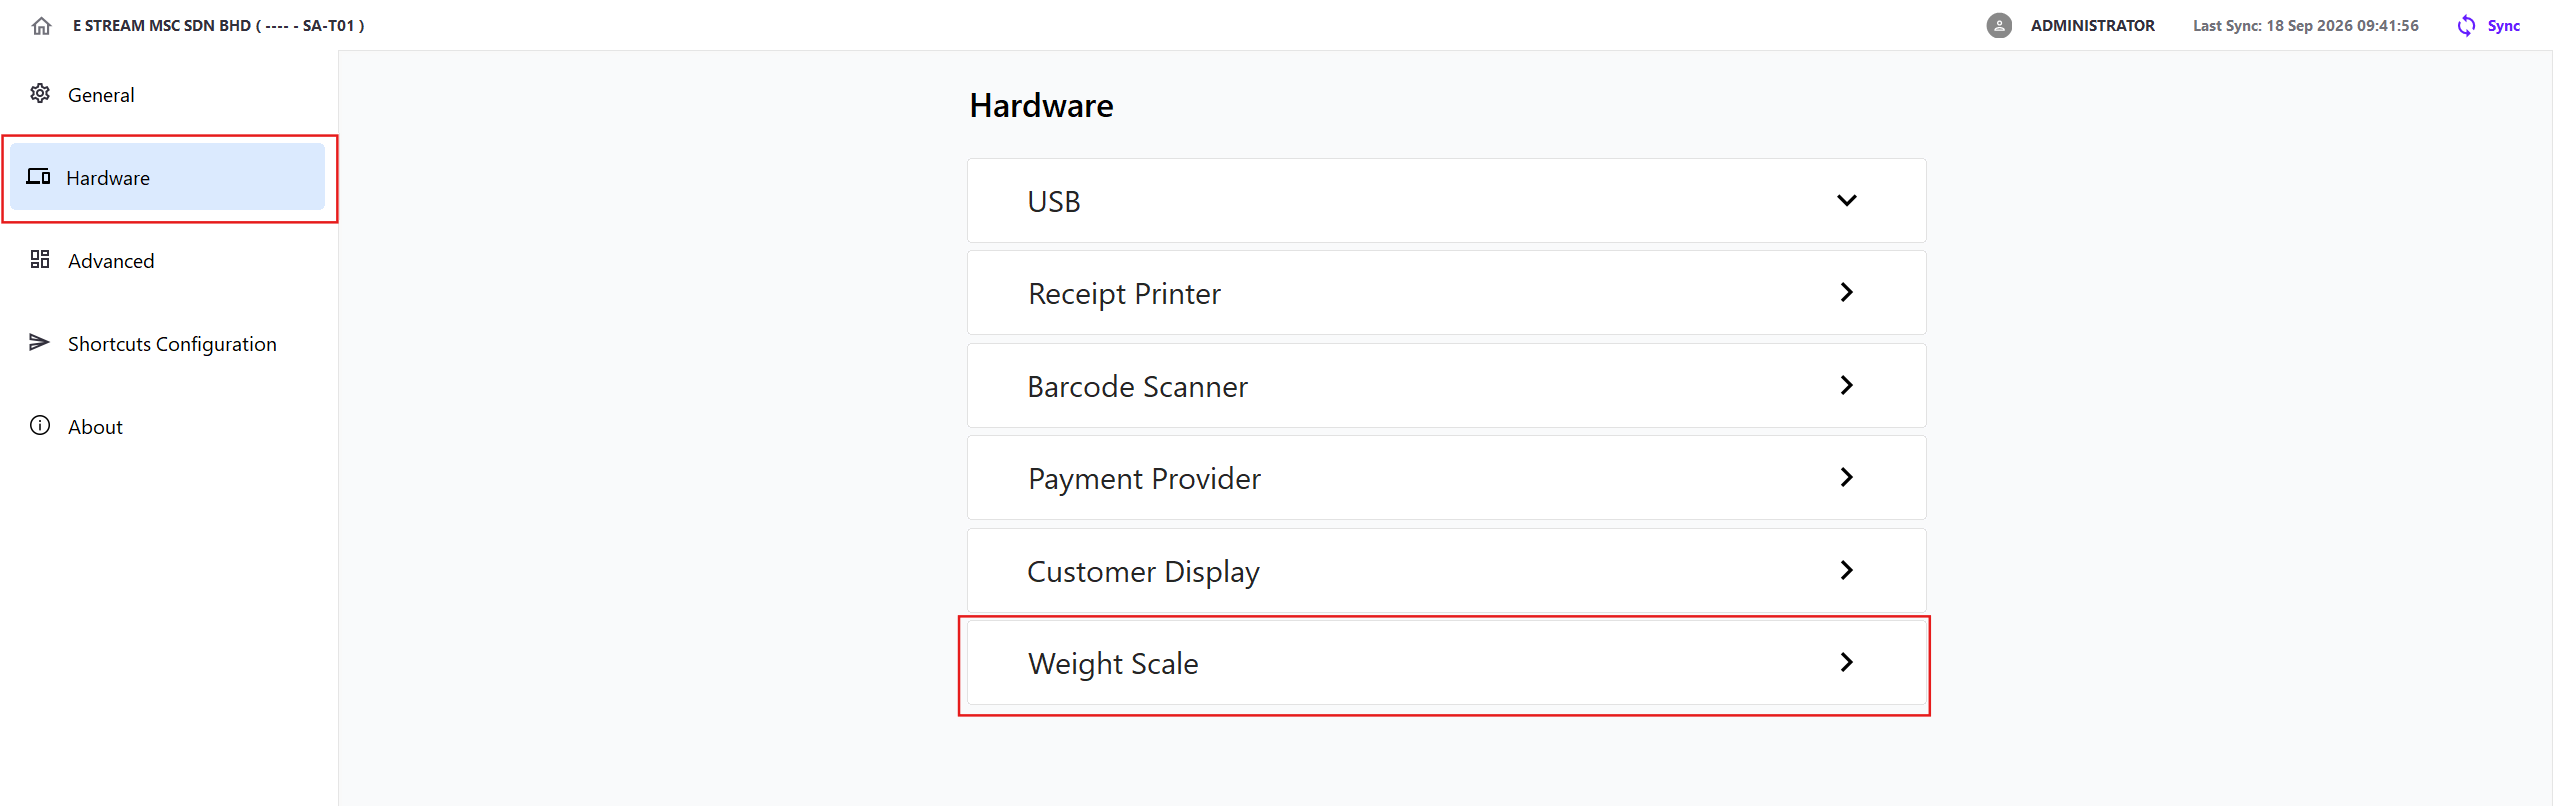
Click Hardware → Weight Scale
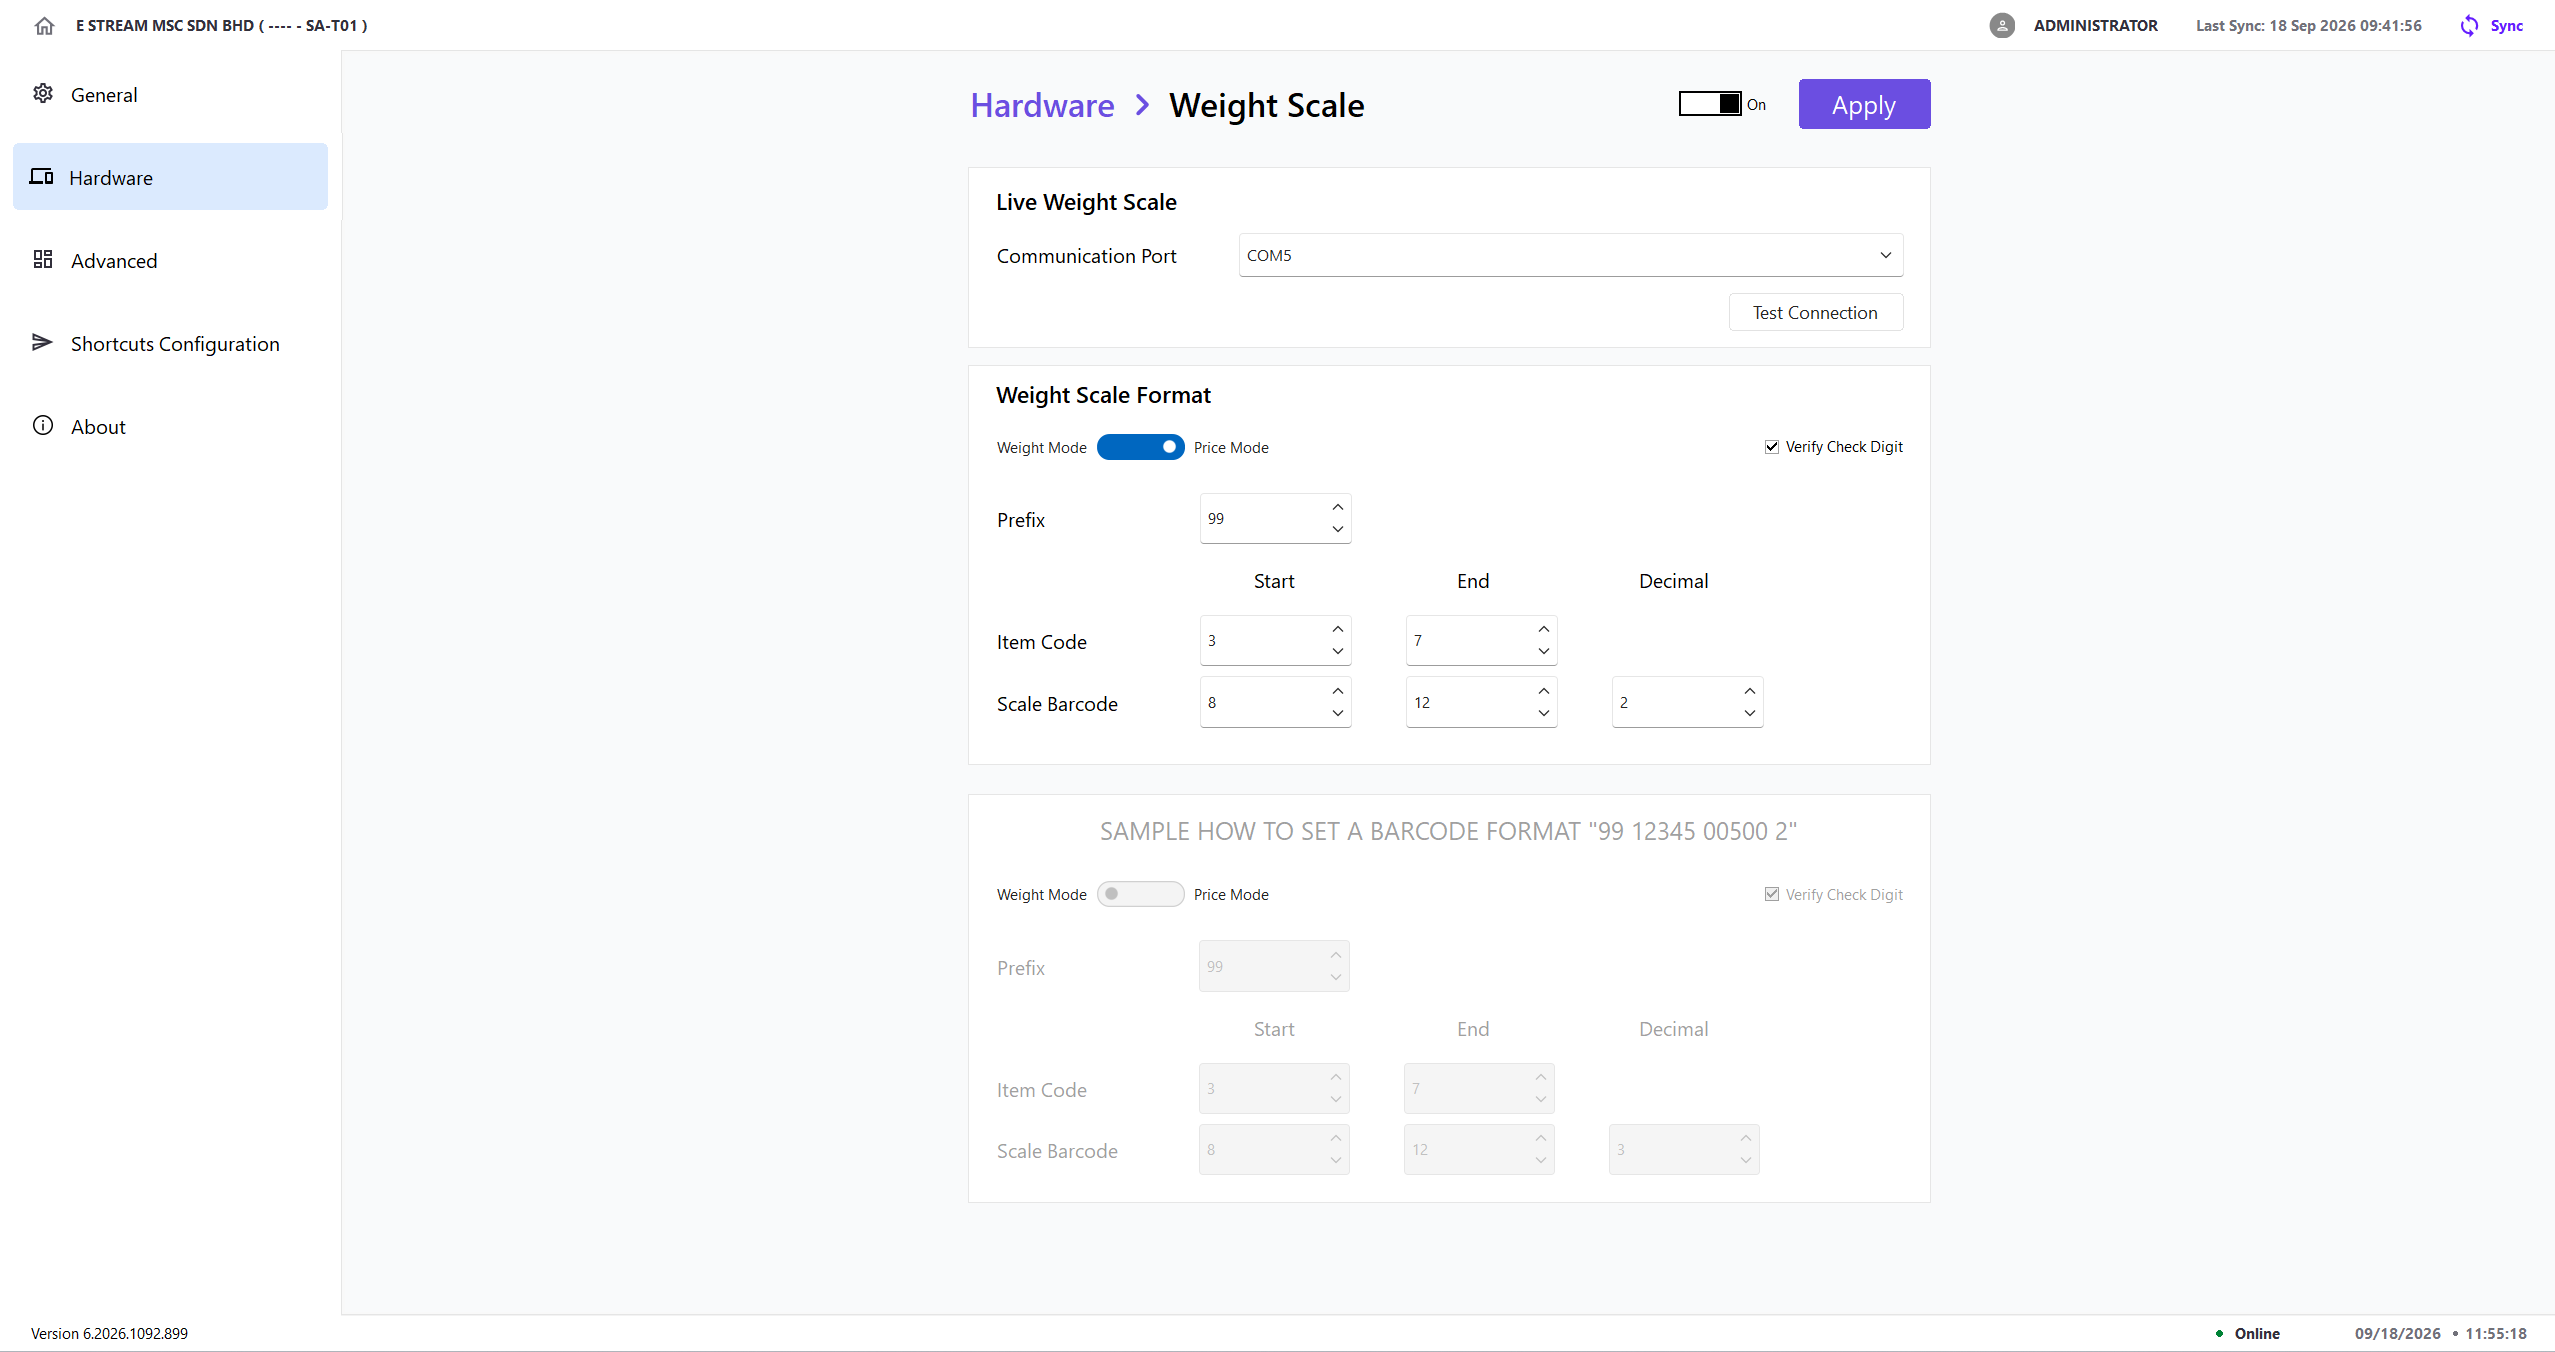
Live Weight Scale
Use Live Weight Scale when a scale is connected directly to the terminal through a serial communication port
- Connect and turn on the scale
- Select its Communication Port
- Click Test Connection
- Confirm that X-Pos receives and displays a weight reading
- Click Apply to save the selected port
- The scale must support continuous serial output at 9600 baud, 8 data bits, no parity, 1 stop bit, and no flow control
- At checkout, select an item and click Quantity → Read From Weight Scale. Wait until the weight is stable, then click Apply to use the reading as the item quantity
- Read From Weight Scale is only available when the Weight Scale setting is on and a communication port has been selected
Weight Scale Format
Use Weight Scale Format to define how X-Pos reads barcodes printed by a weighing scale
| Setting | Description |
|---|---|
| Weight Mode | Treats the scale value in the barcode as the item quantity |
| Price Mode | Treats the scale value in the barcode as the item price and sets the quantity to 1 |
| Verify Check Digit | Validates the final digit of a 13-digit EAN-13 barcode before accepting it |
| Prefix | Beginning digits that identify the barcode as a scale barcode |
| Item Code - Start / End | Positions containing the item-code portion. X-Pos combines the prefix and this portion to find the item barcode |
| Scale Barcode - Start / End | Positions containing the encoded weight or price |
| Scale Barcode - Decimal | Number of decimal places applied to the encoded scale value |
For example, using the format shown in the sample for barcode 9912345005002:
- Prefix
99identifies it as a scale barcode - Item Code positions 3–7 contain
12345, so X-Pos searches for item barcode9912345 - Scale Barcode positions 8–12 contain
00500 - With Decimal set to
3, the scale value is0.500in Weight Mode - The final digit
2is validated as the EAN-13 check digit when Verify Check Digit is selected
The Live Weight Scale and Weight Scale Format sections can be used independently. A communication port is only required for live readings; barcode scanning uses the configured barcode format
Advanced
Sync From Local
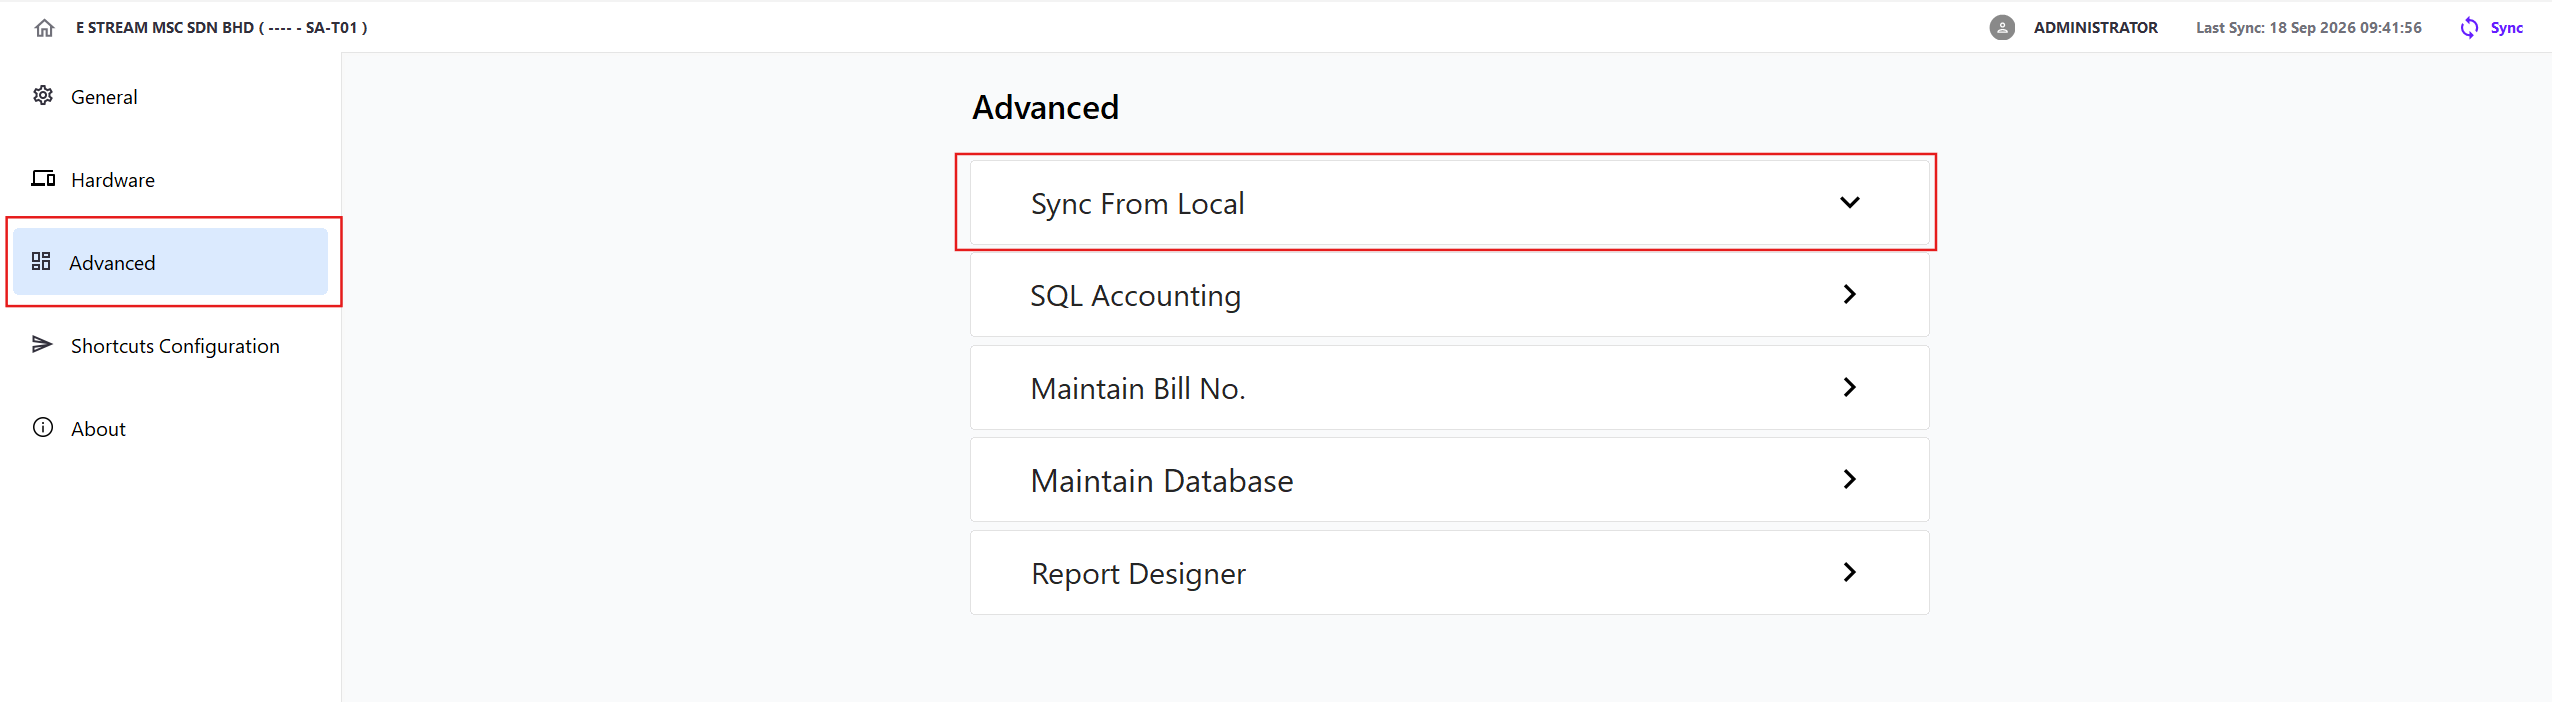
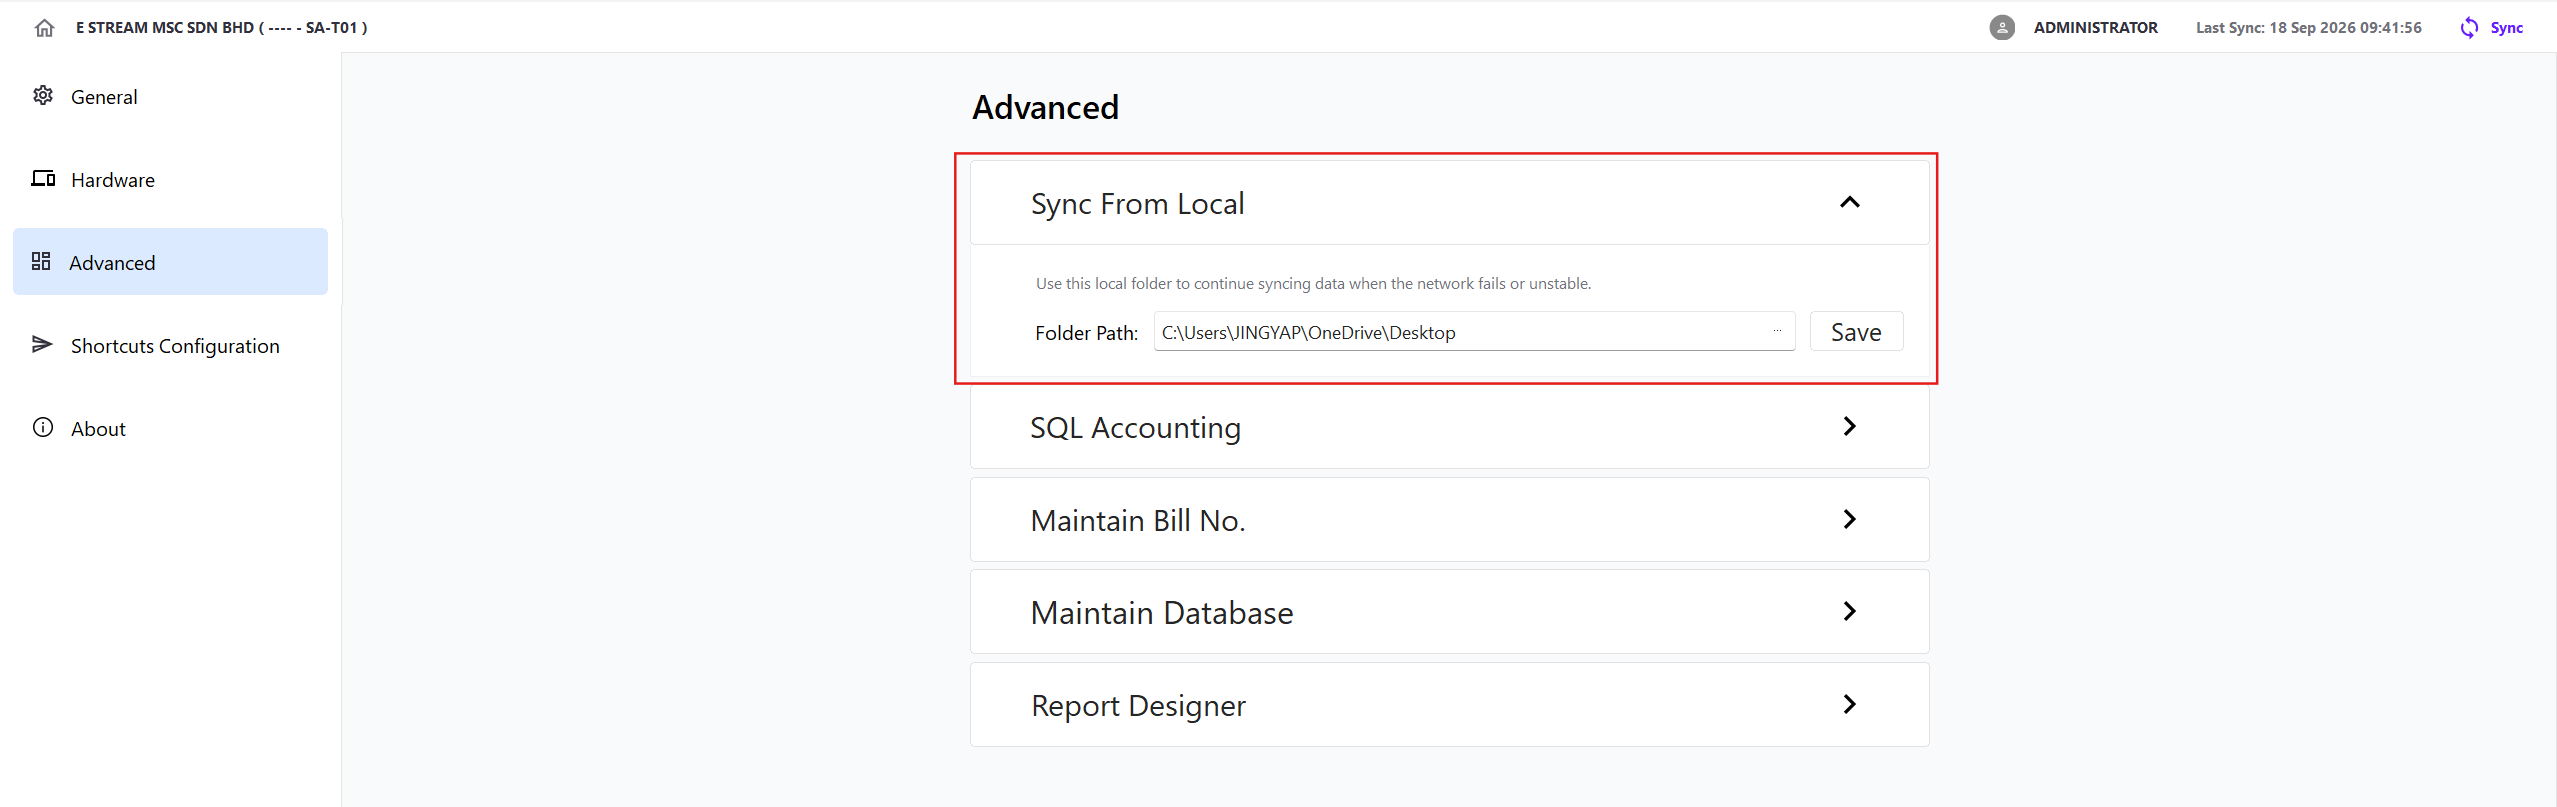
Click Advanced → Sync From Local
- Select the folder path
- Confirm that the folder is available to the terminal
- Click Save
For instructions on synchronizing with a local export file, please refer to the Getting Started - Method 2: Use a Local Export File
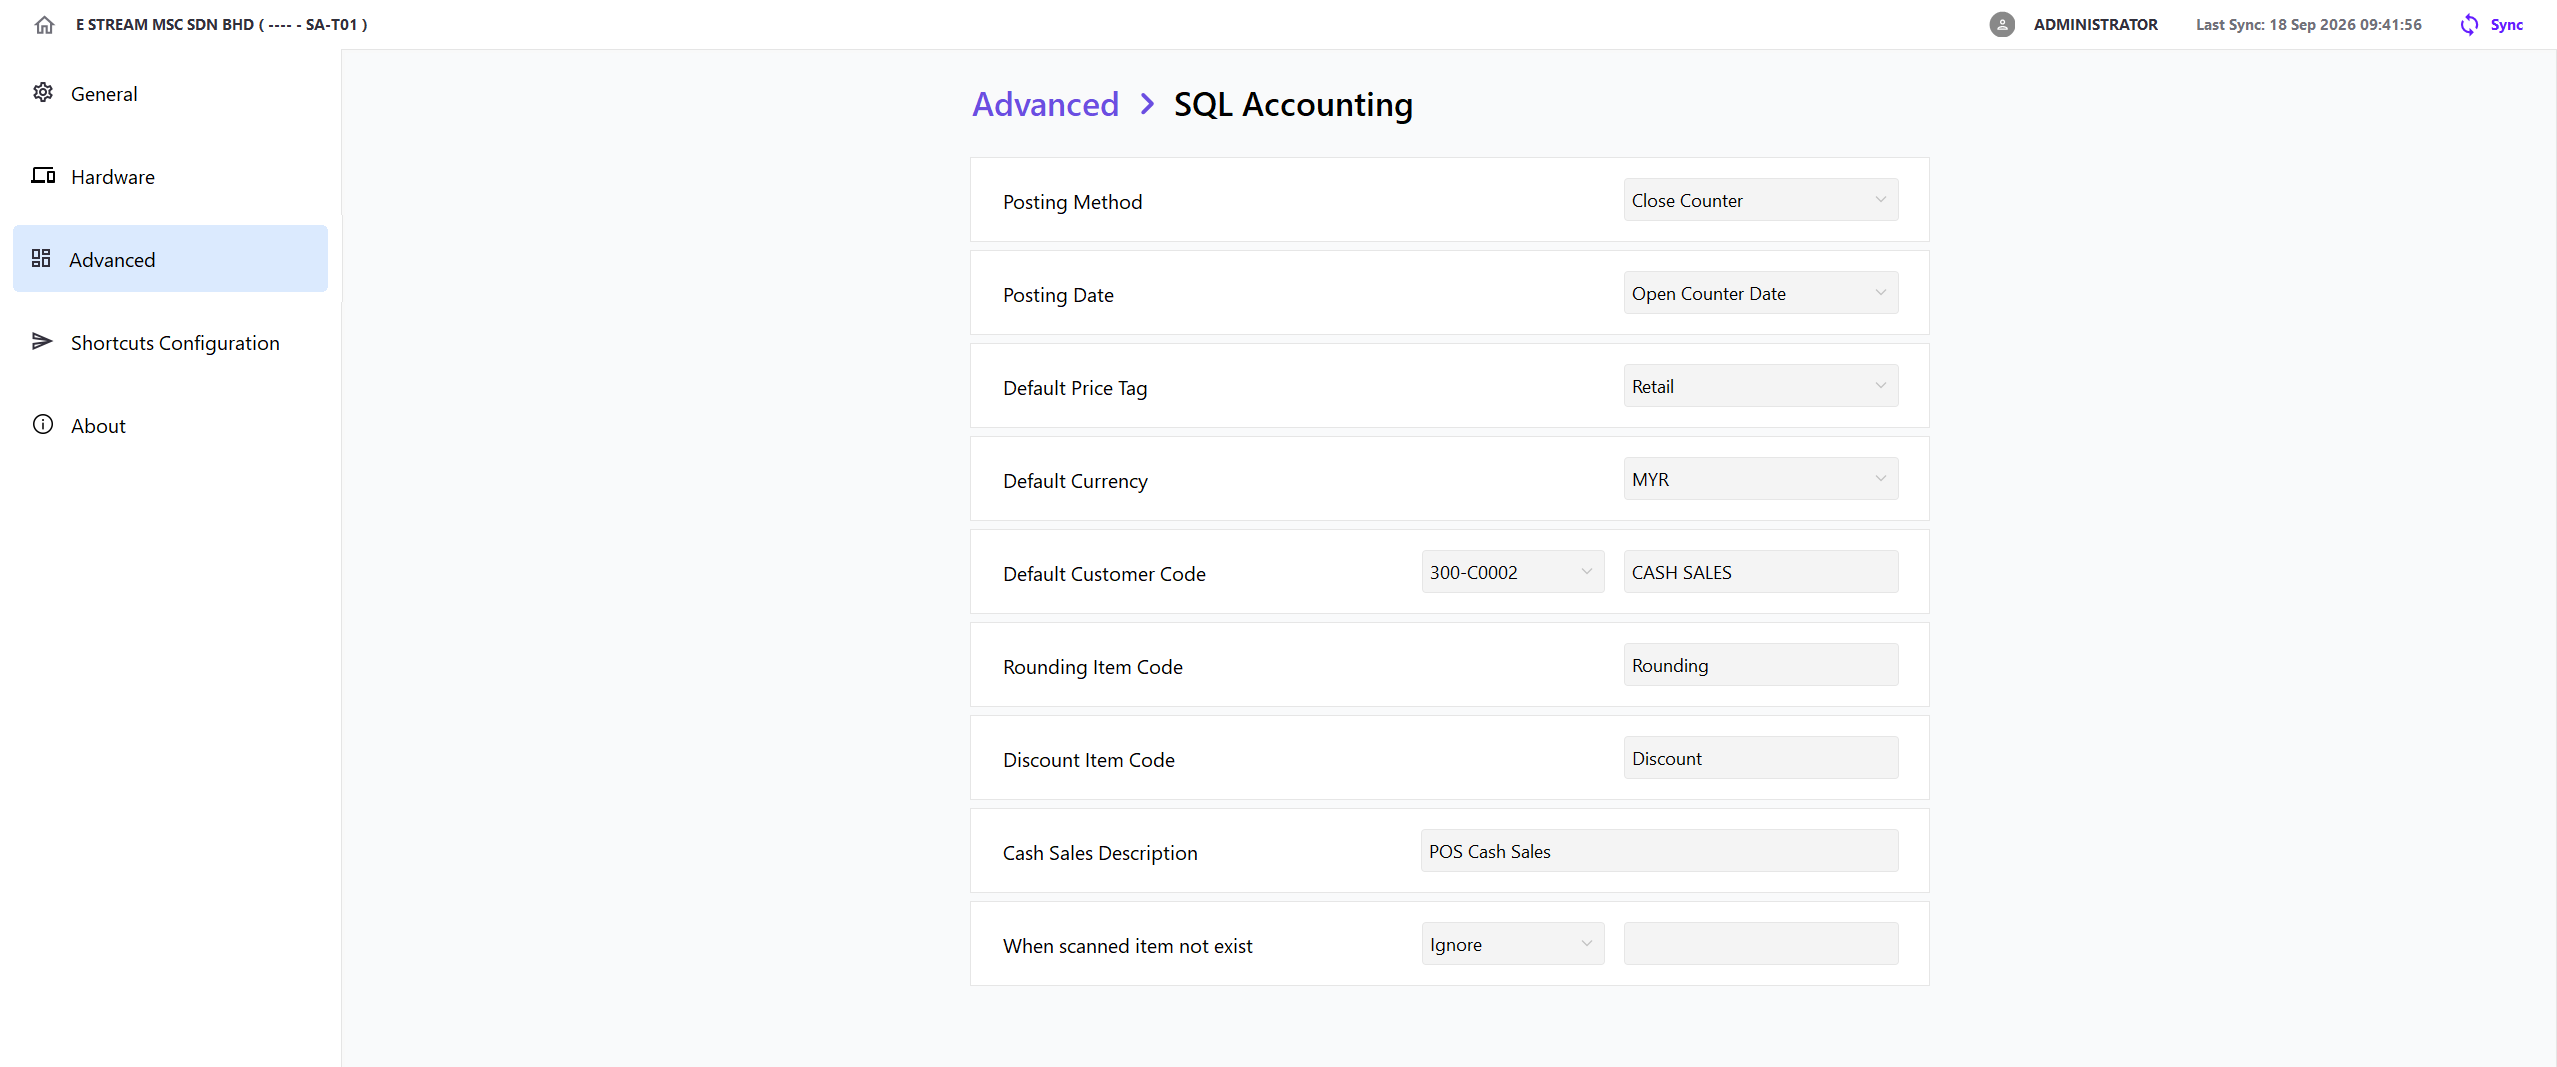
SQL Accounting
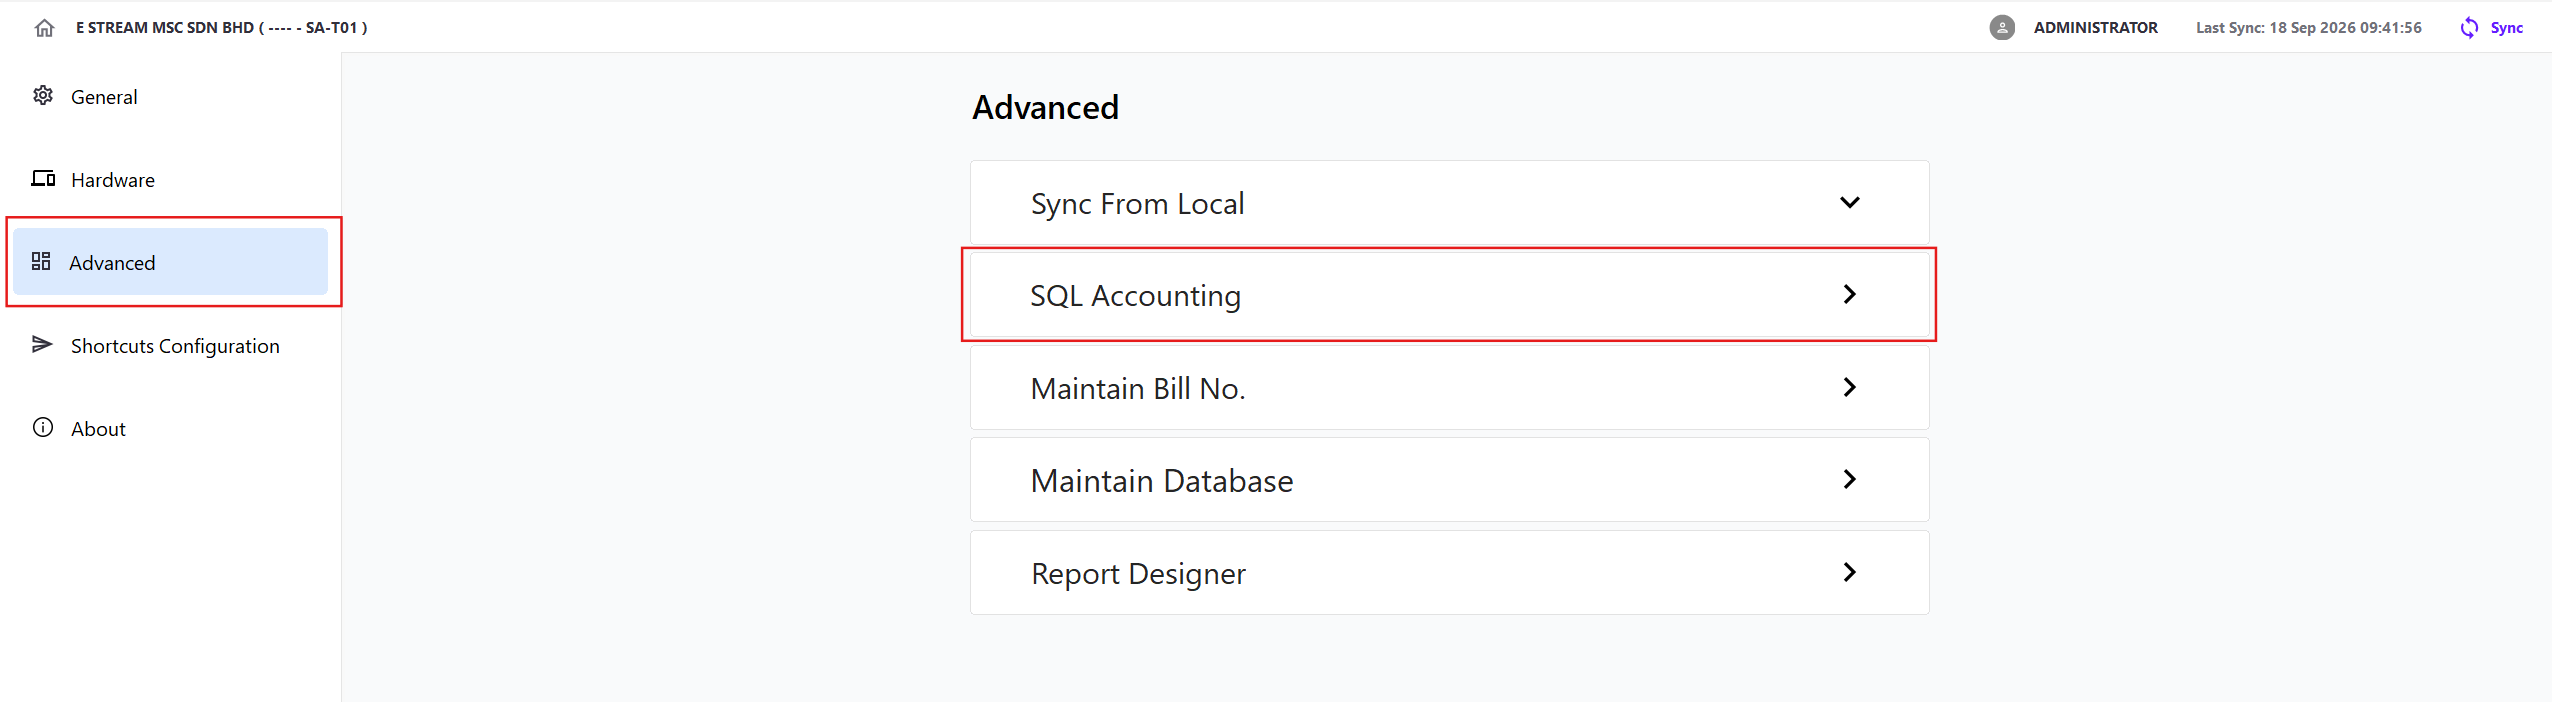
Click Advanced → SQL Accounting
These settings are identical to the options described in X-Pos Guide - Posting
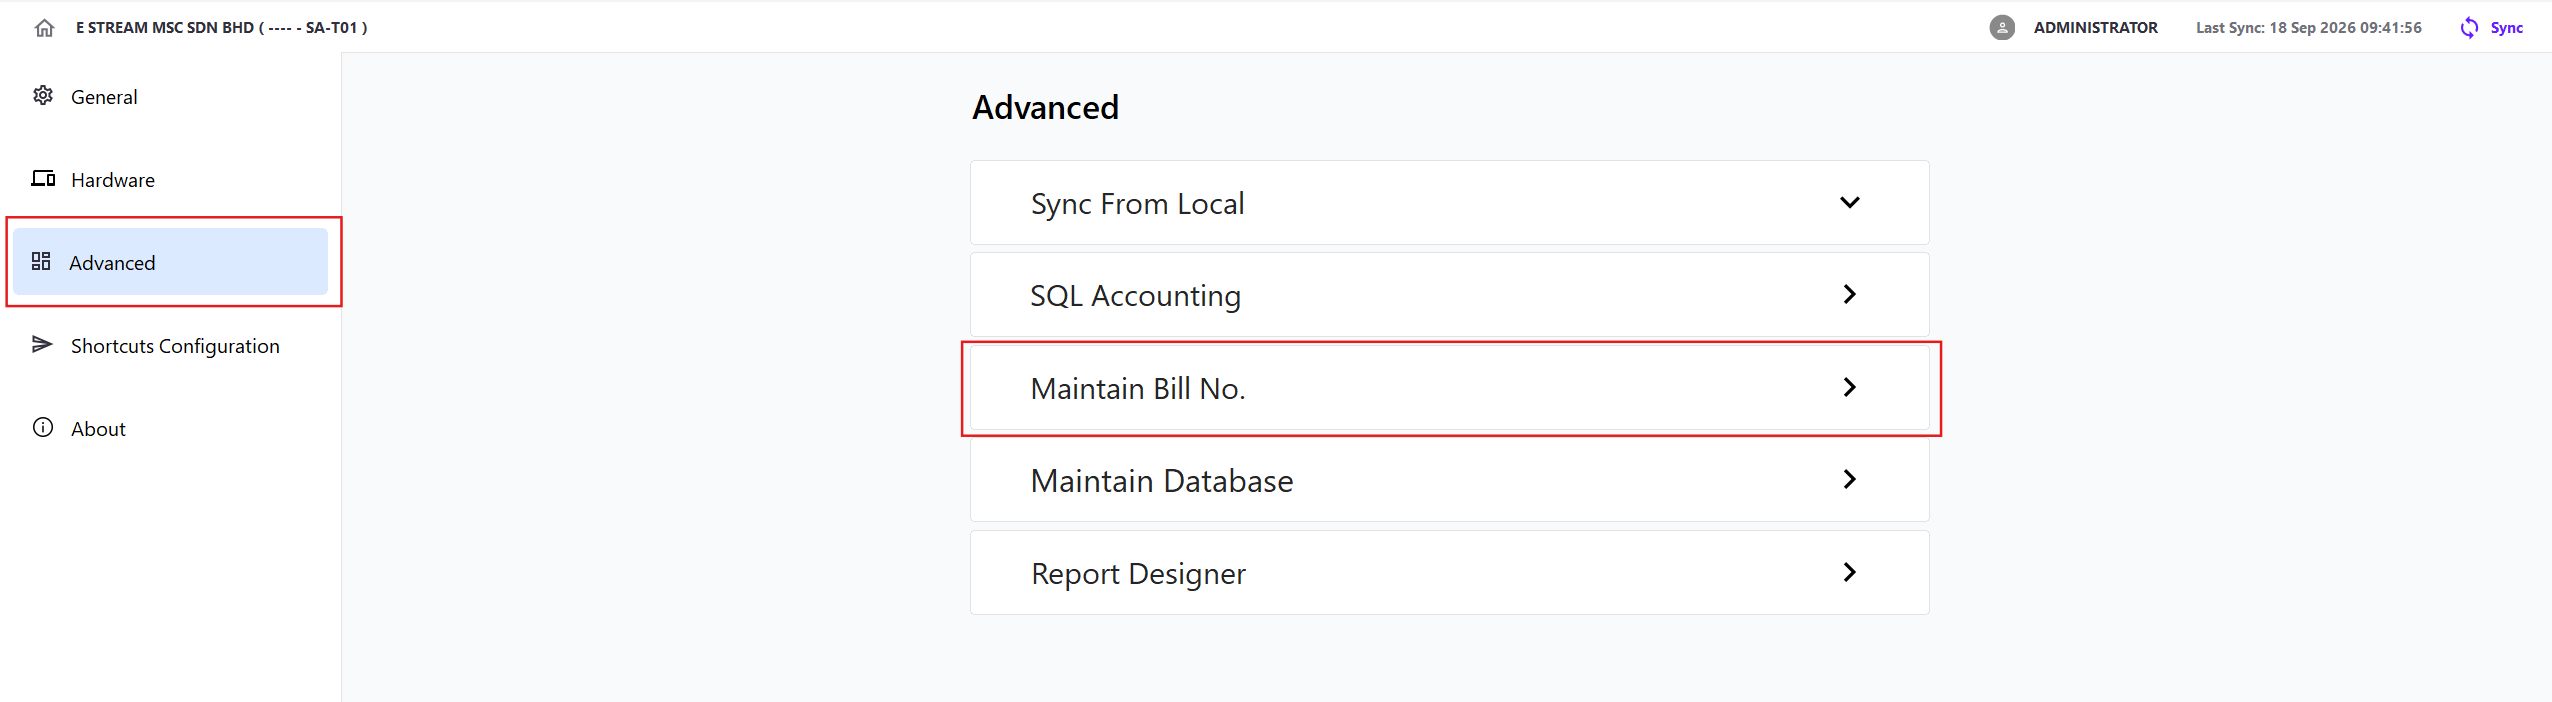
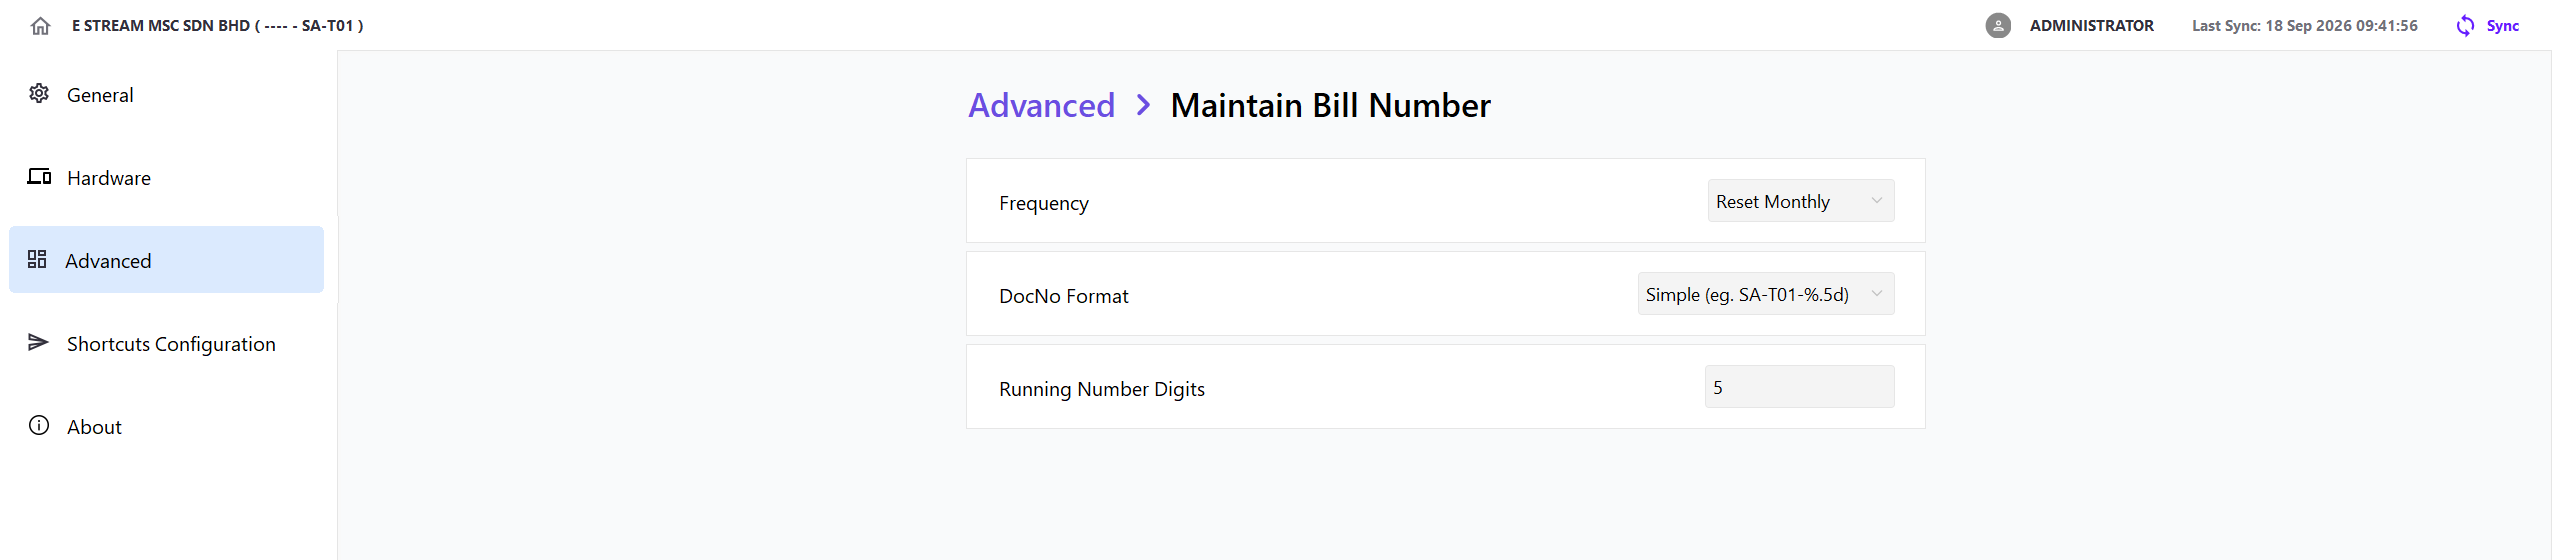
Maintain Bill No
Click Advanced → Maintain Bill No
These settings are identical to the options described in X-Pos Guide - Posting Behaviour
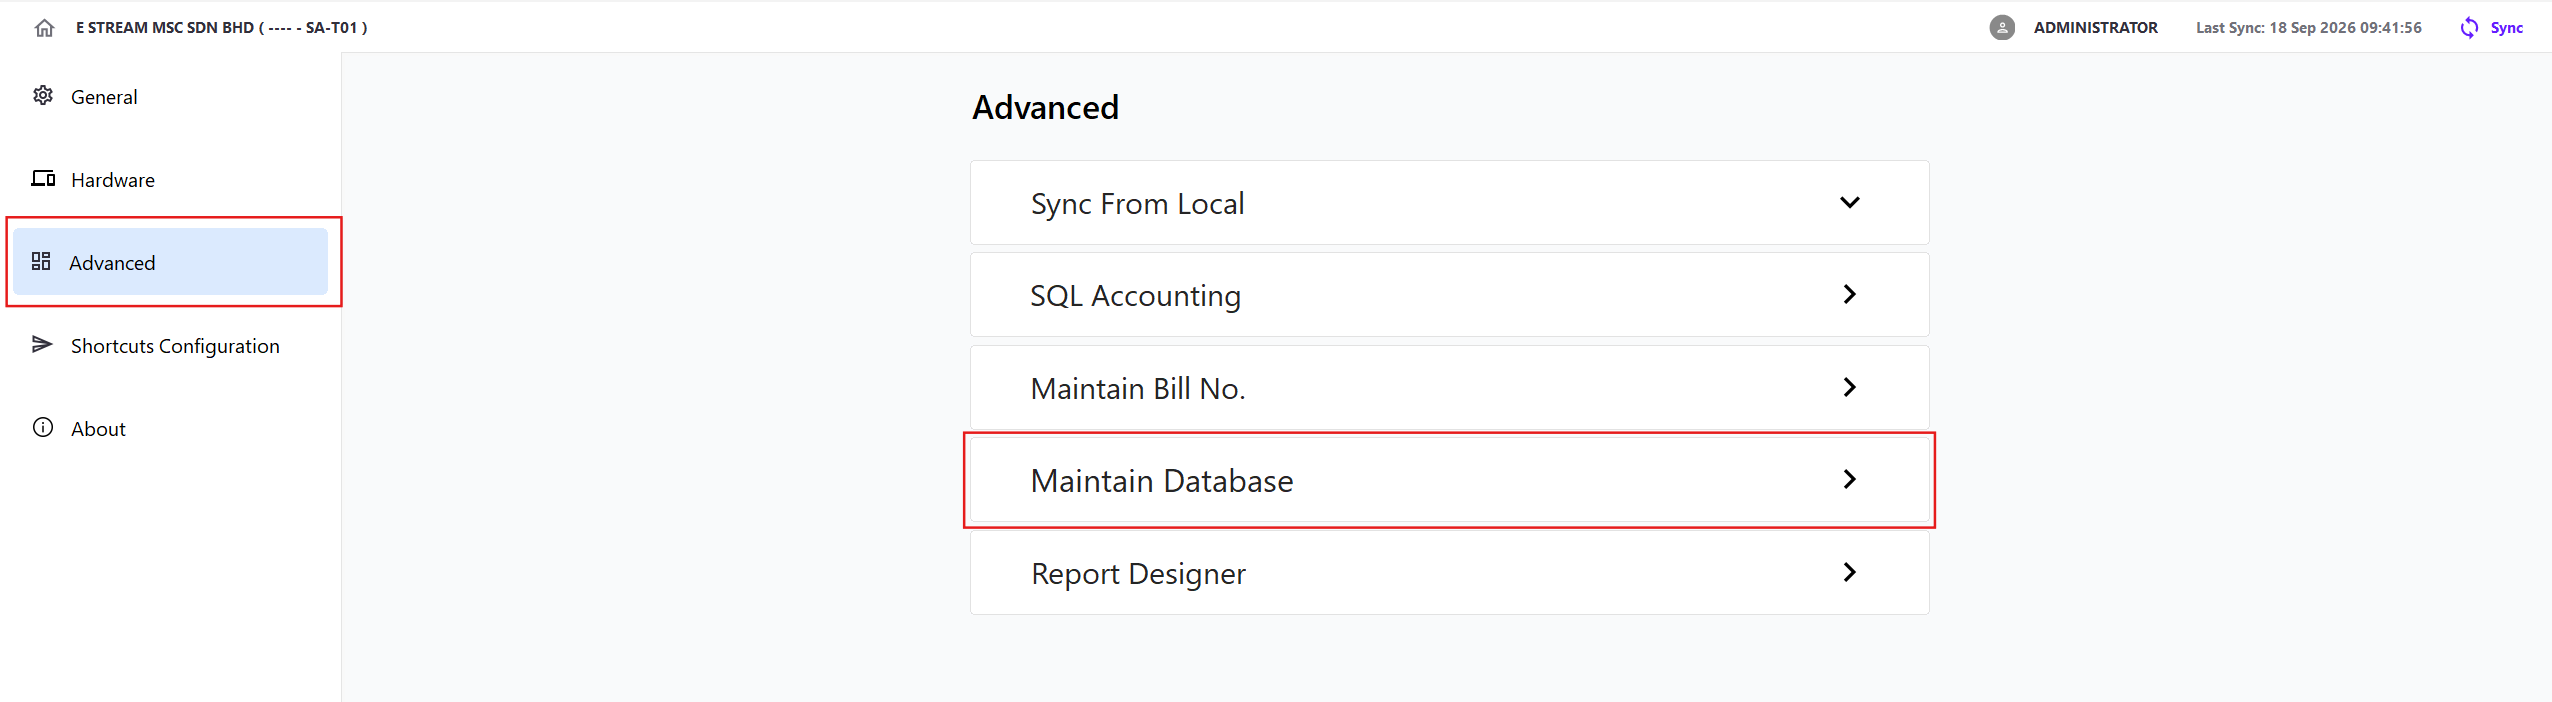
Maintain Database
Click Advanced → Maintain Database
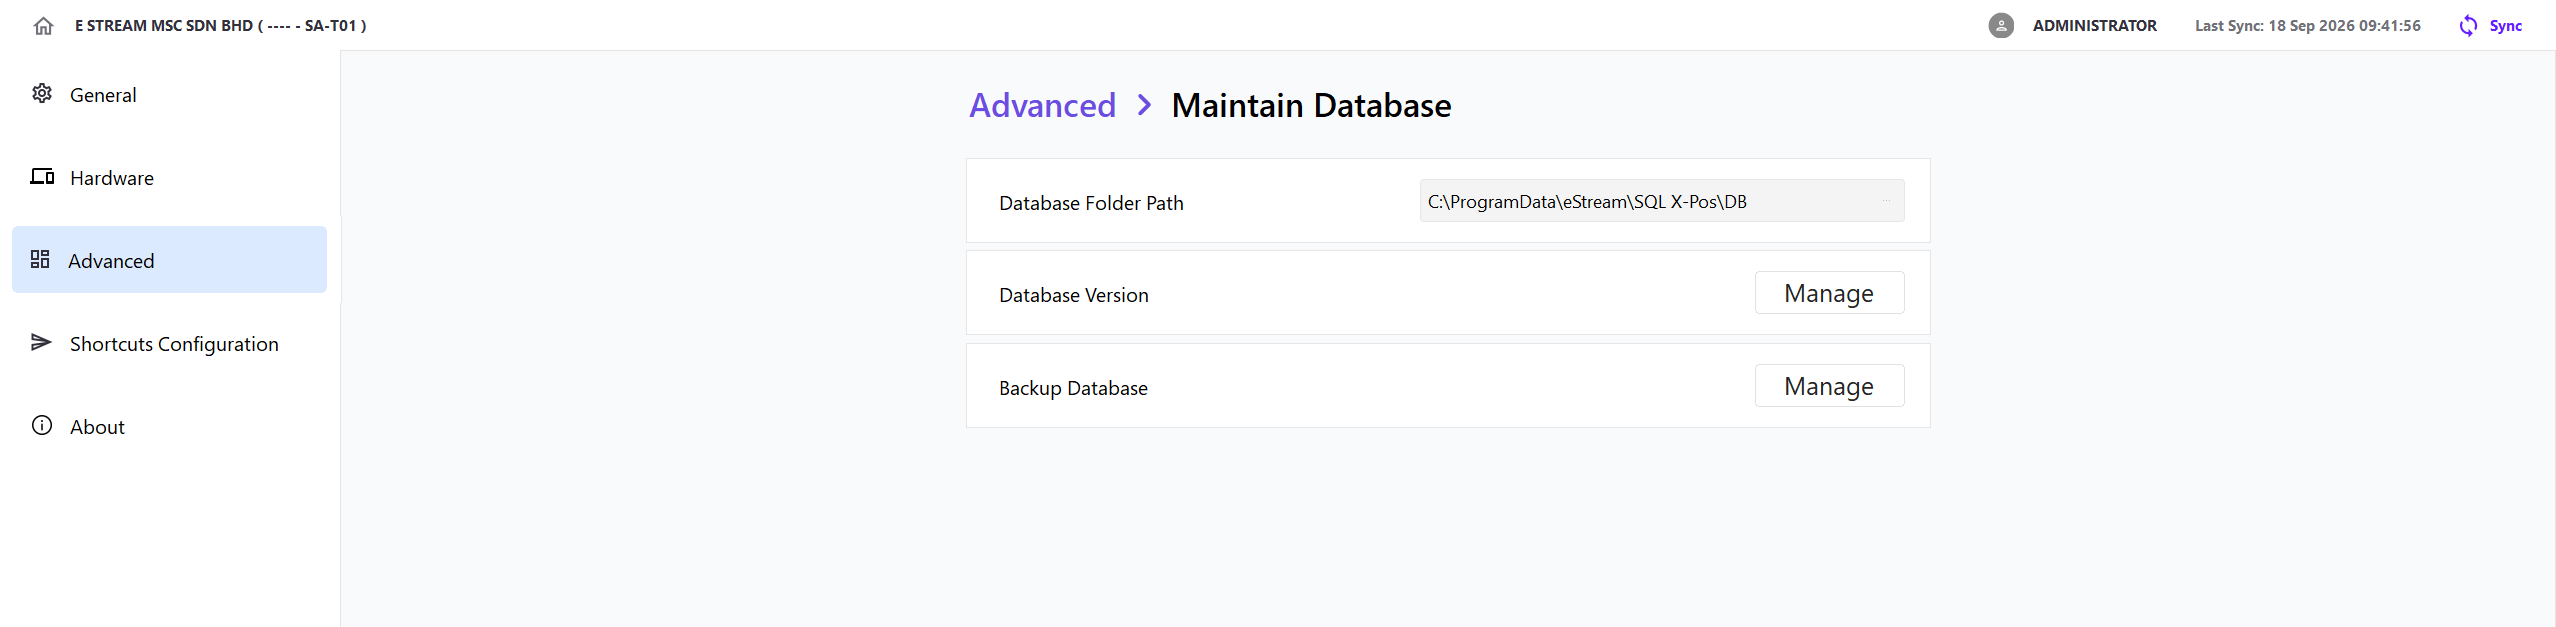
| Setting | Description |
|---|---|
| Database Folder Path | Folder path of the database currently used |
| Database Version → Manage | See Database Version |
| Backup Database → Manage | See Backup Database |
Database Version
-
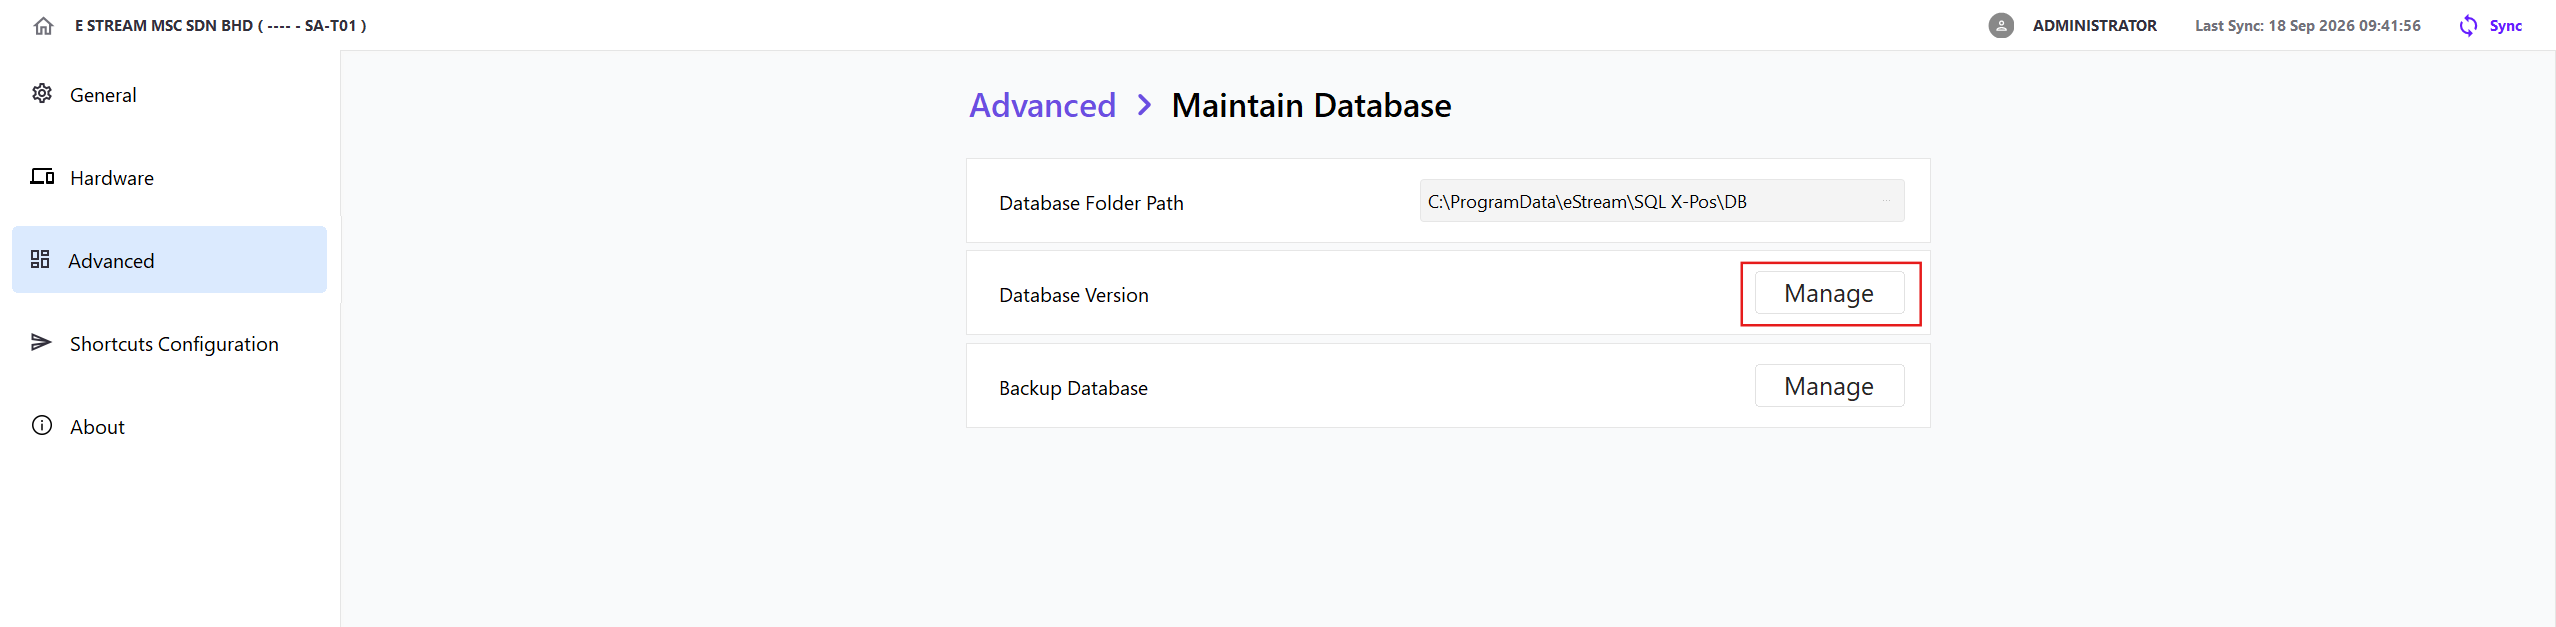
Click Database Version → Manage
-
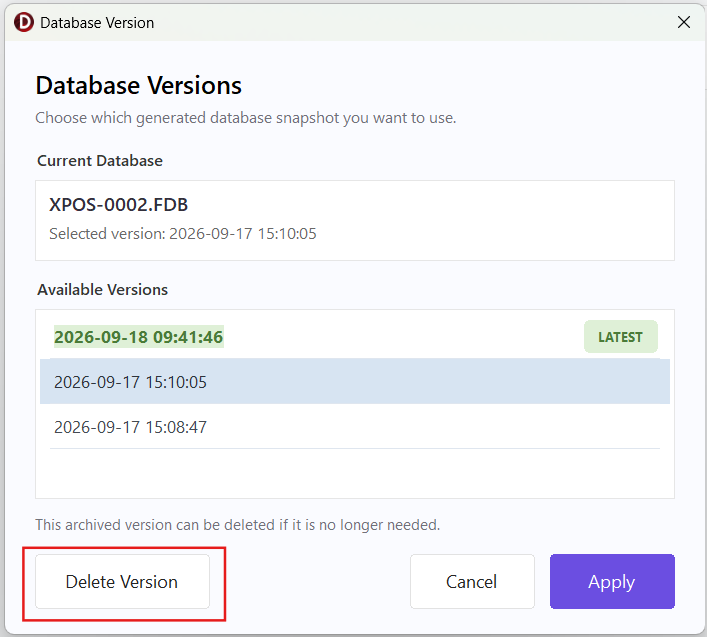
The current database version is displayed under Current Database
-
Select the required version from Available Versions
-
Click Apply to use the selected database version, or click Cancel to close without changes
-
To remove an unused version, select it and click Delete Version
 note
noteThe current database version and the latest version are protected and cannot be deleted
Backup Database
-
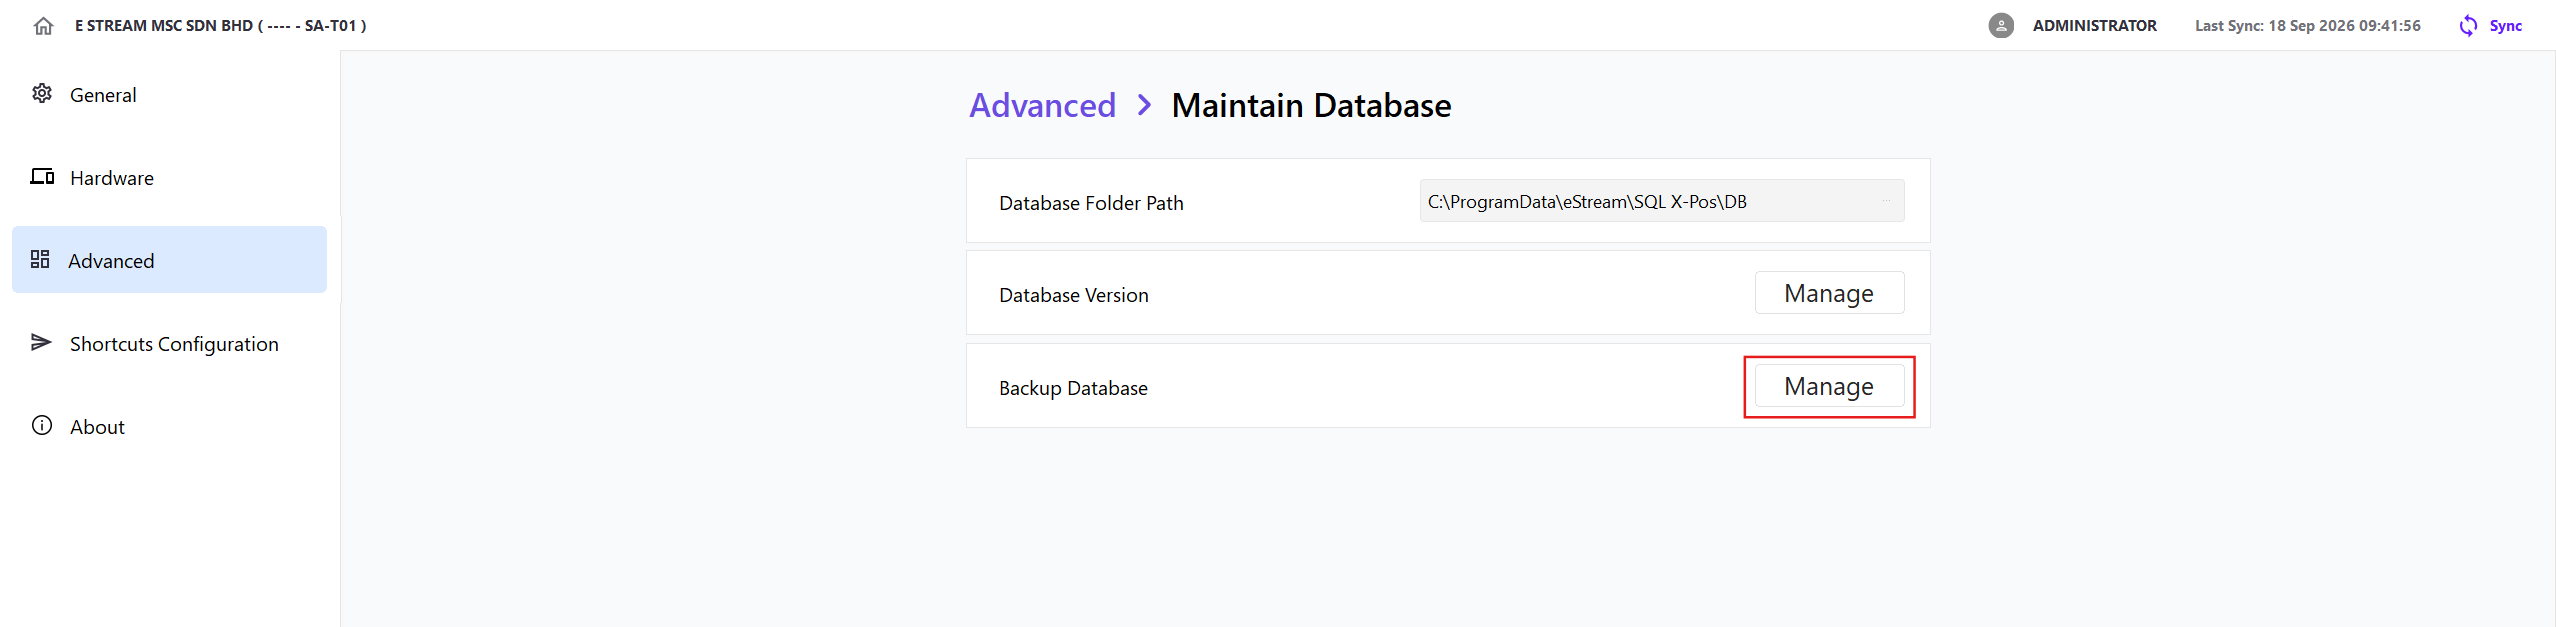
Click Backup Database → Manage
-
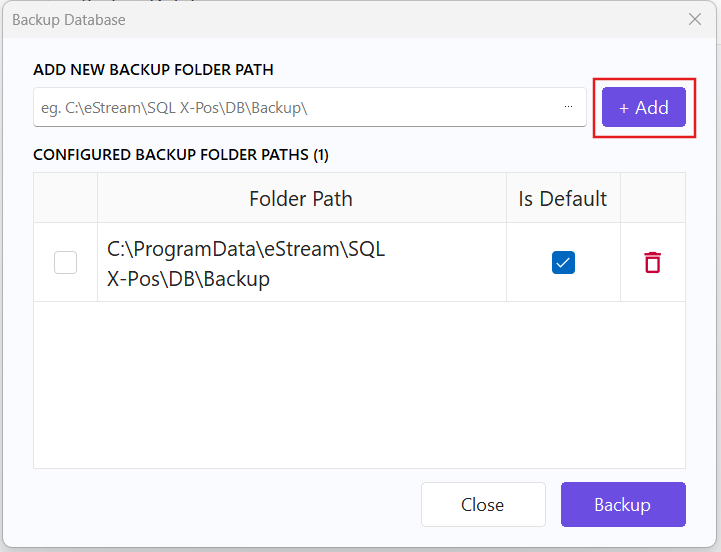
Enter or select a backup folder path.
-
Click + Add to add the folder to Configured Folder Paths
-
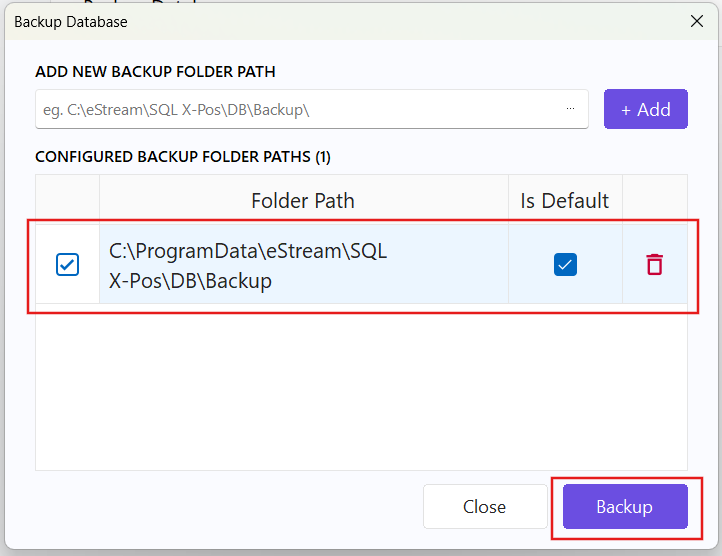
Click Backup to create a database backup in the selected folder
-
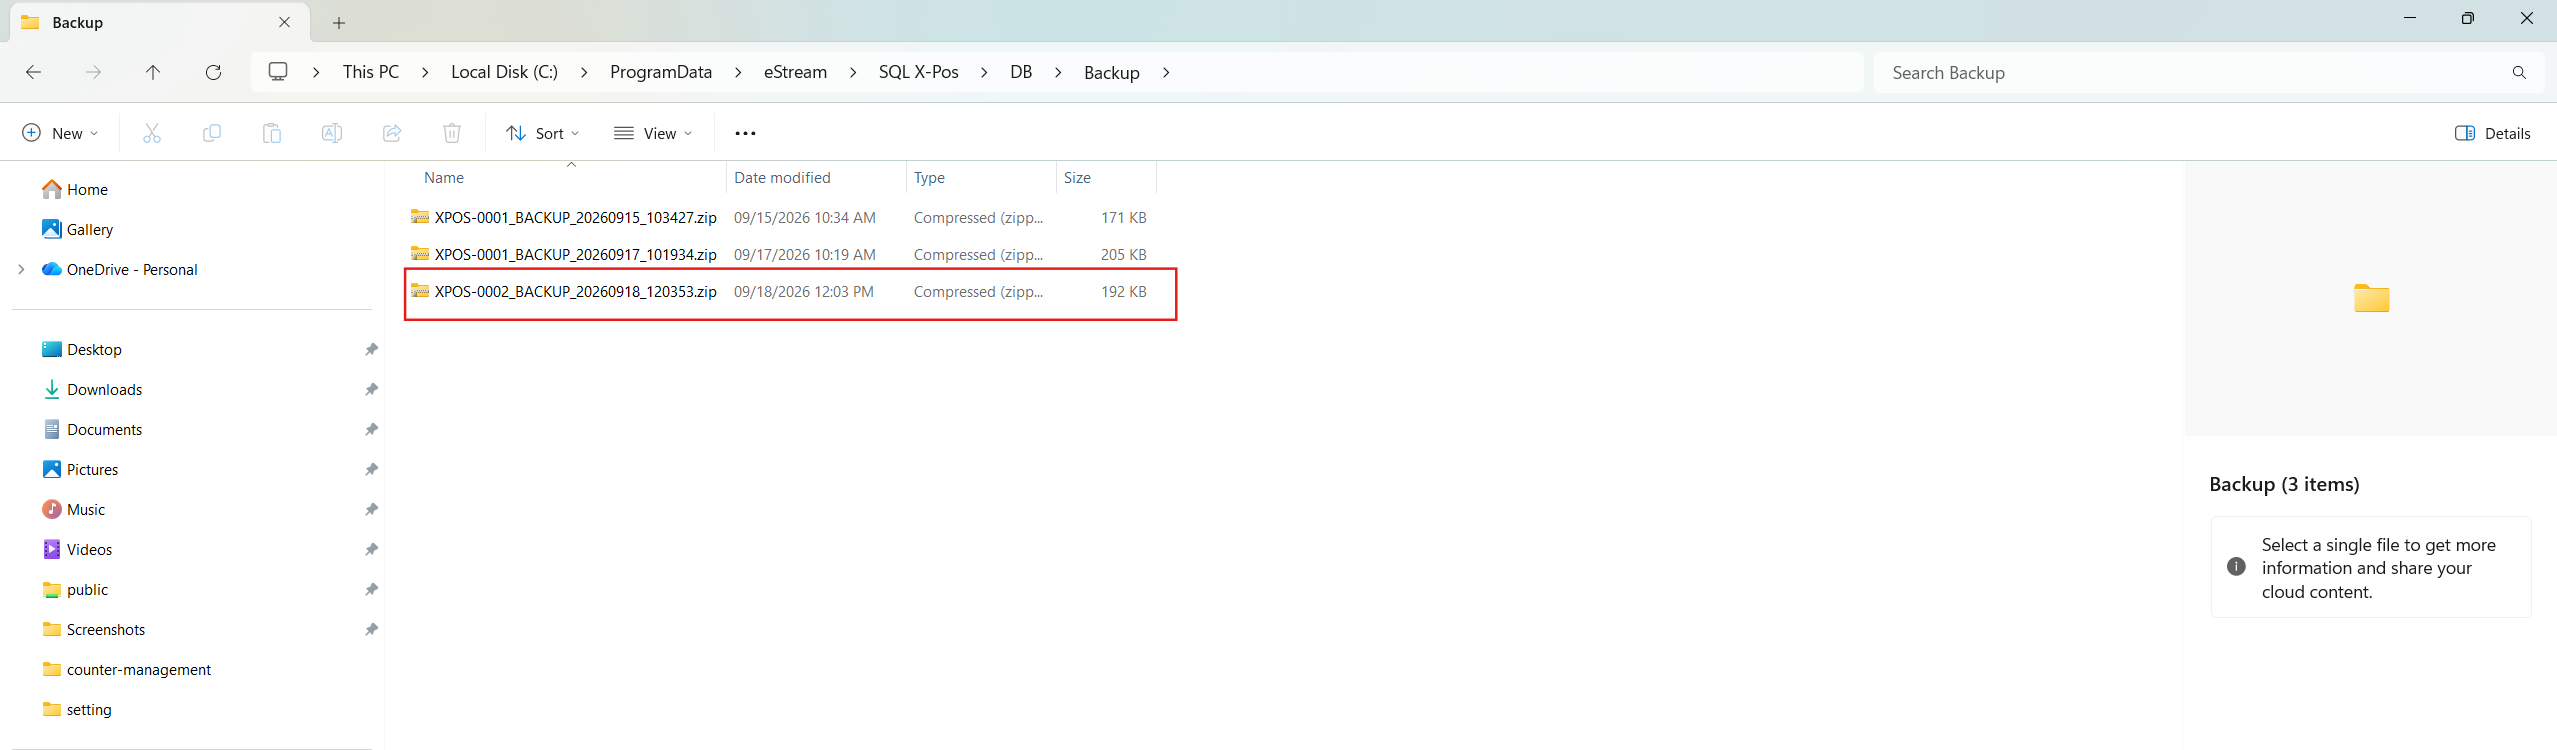
The database zip file will be backup in the selected folder
Report Designer
Click Advanced → Report Designer
Each report template can be assigned its own printer
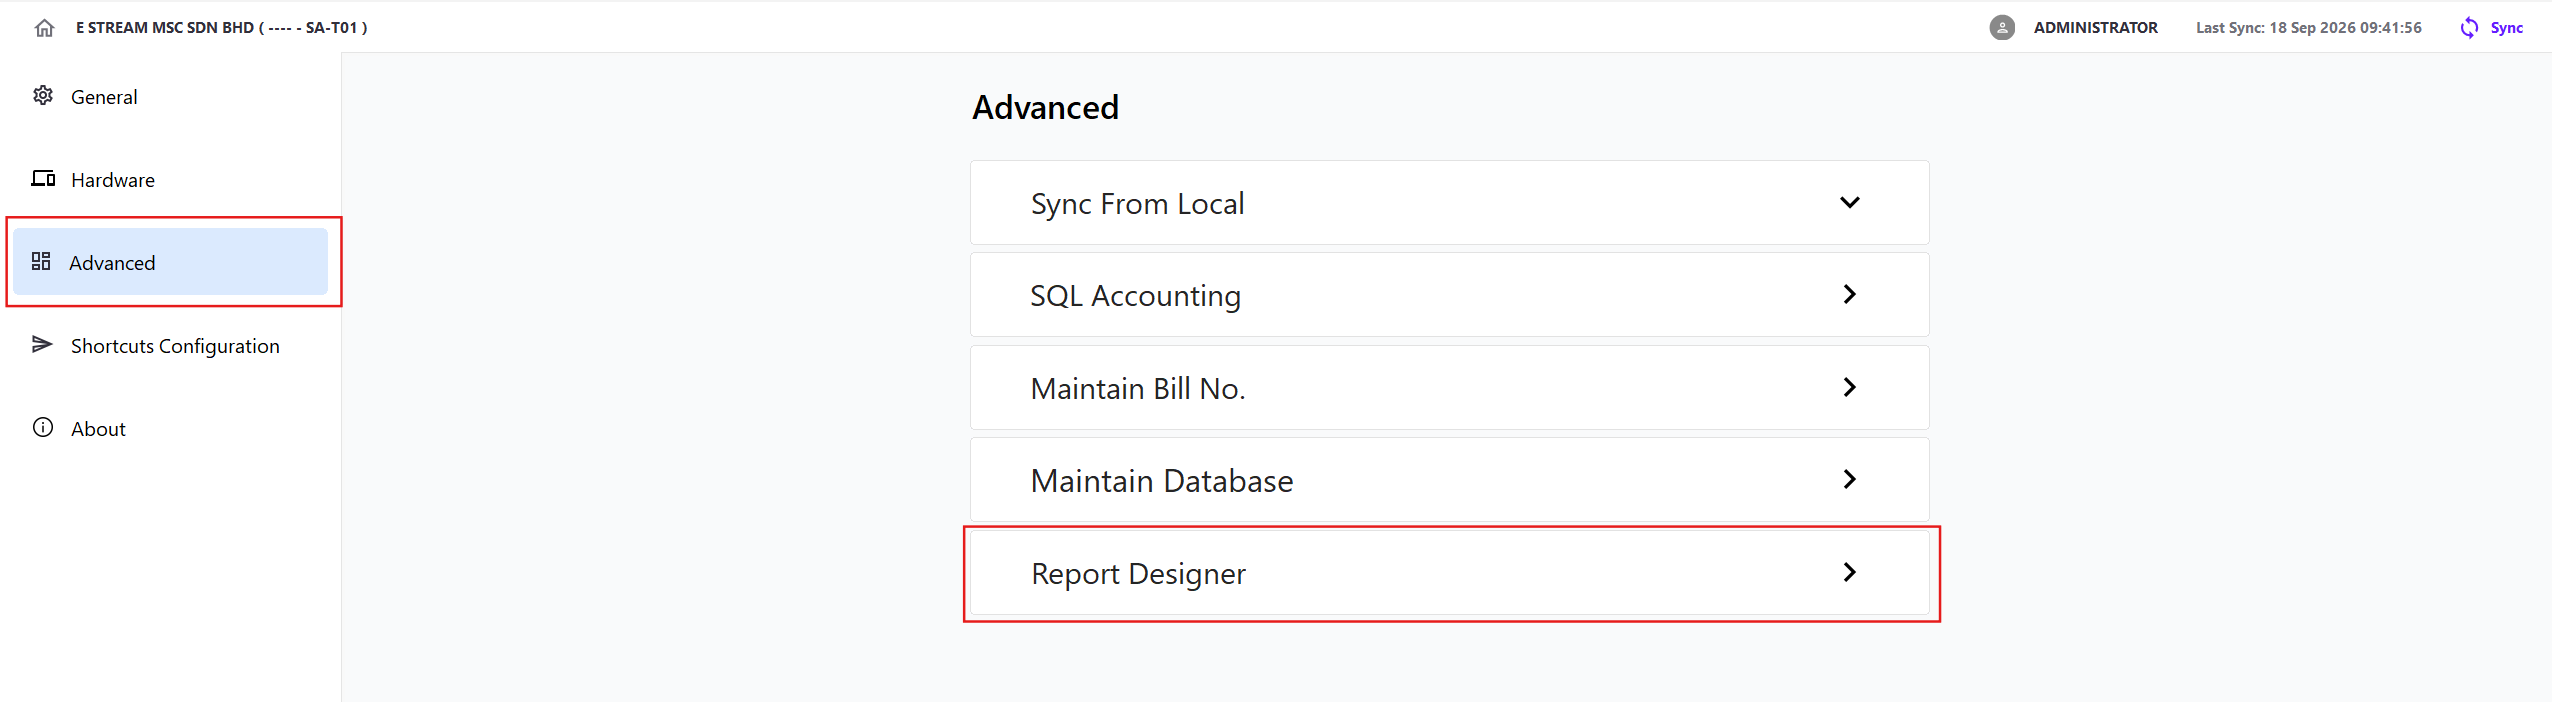
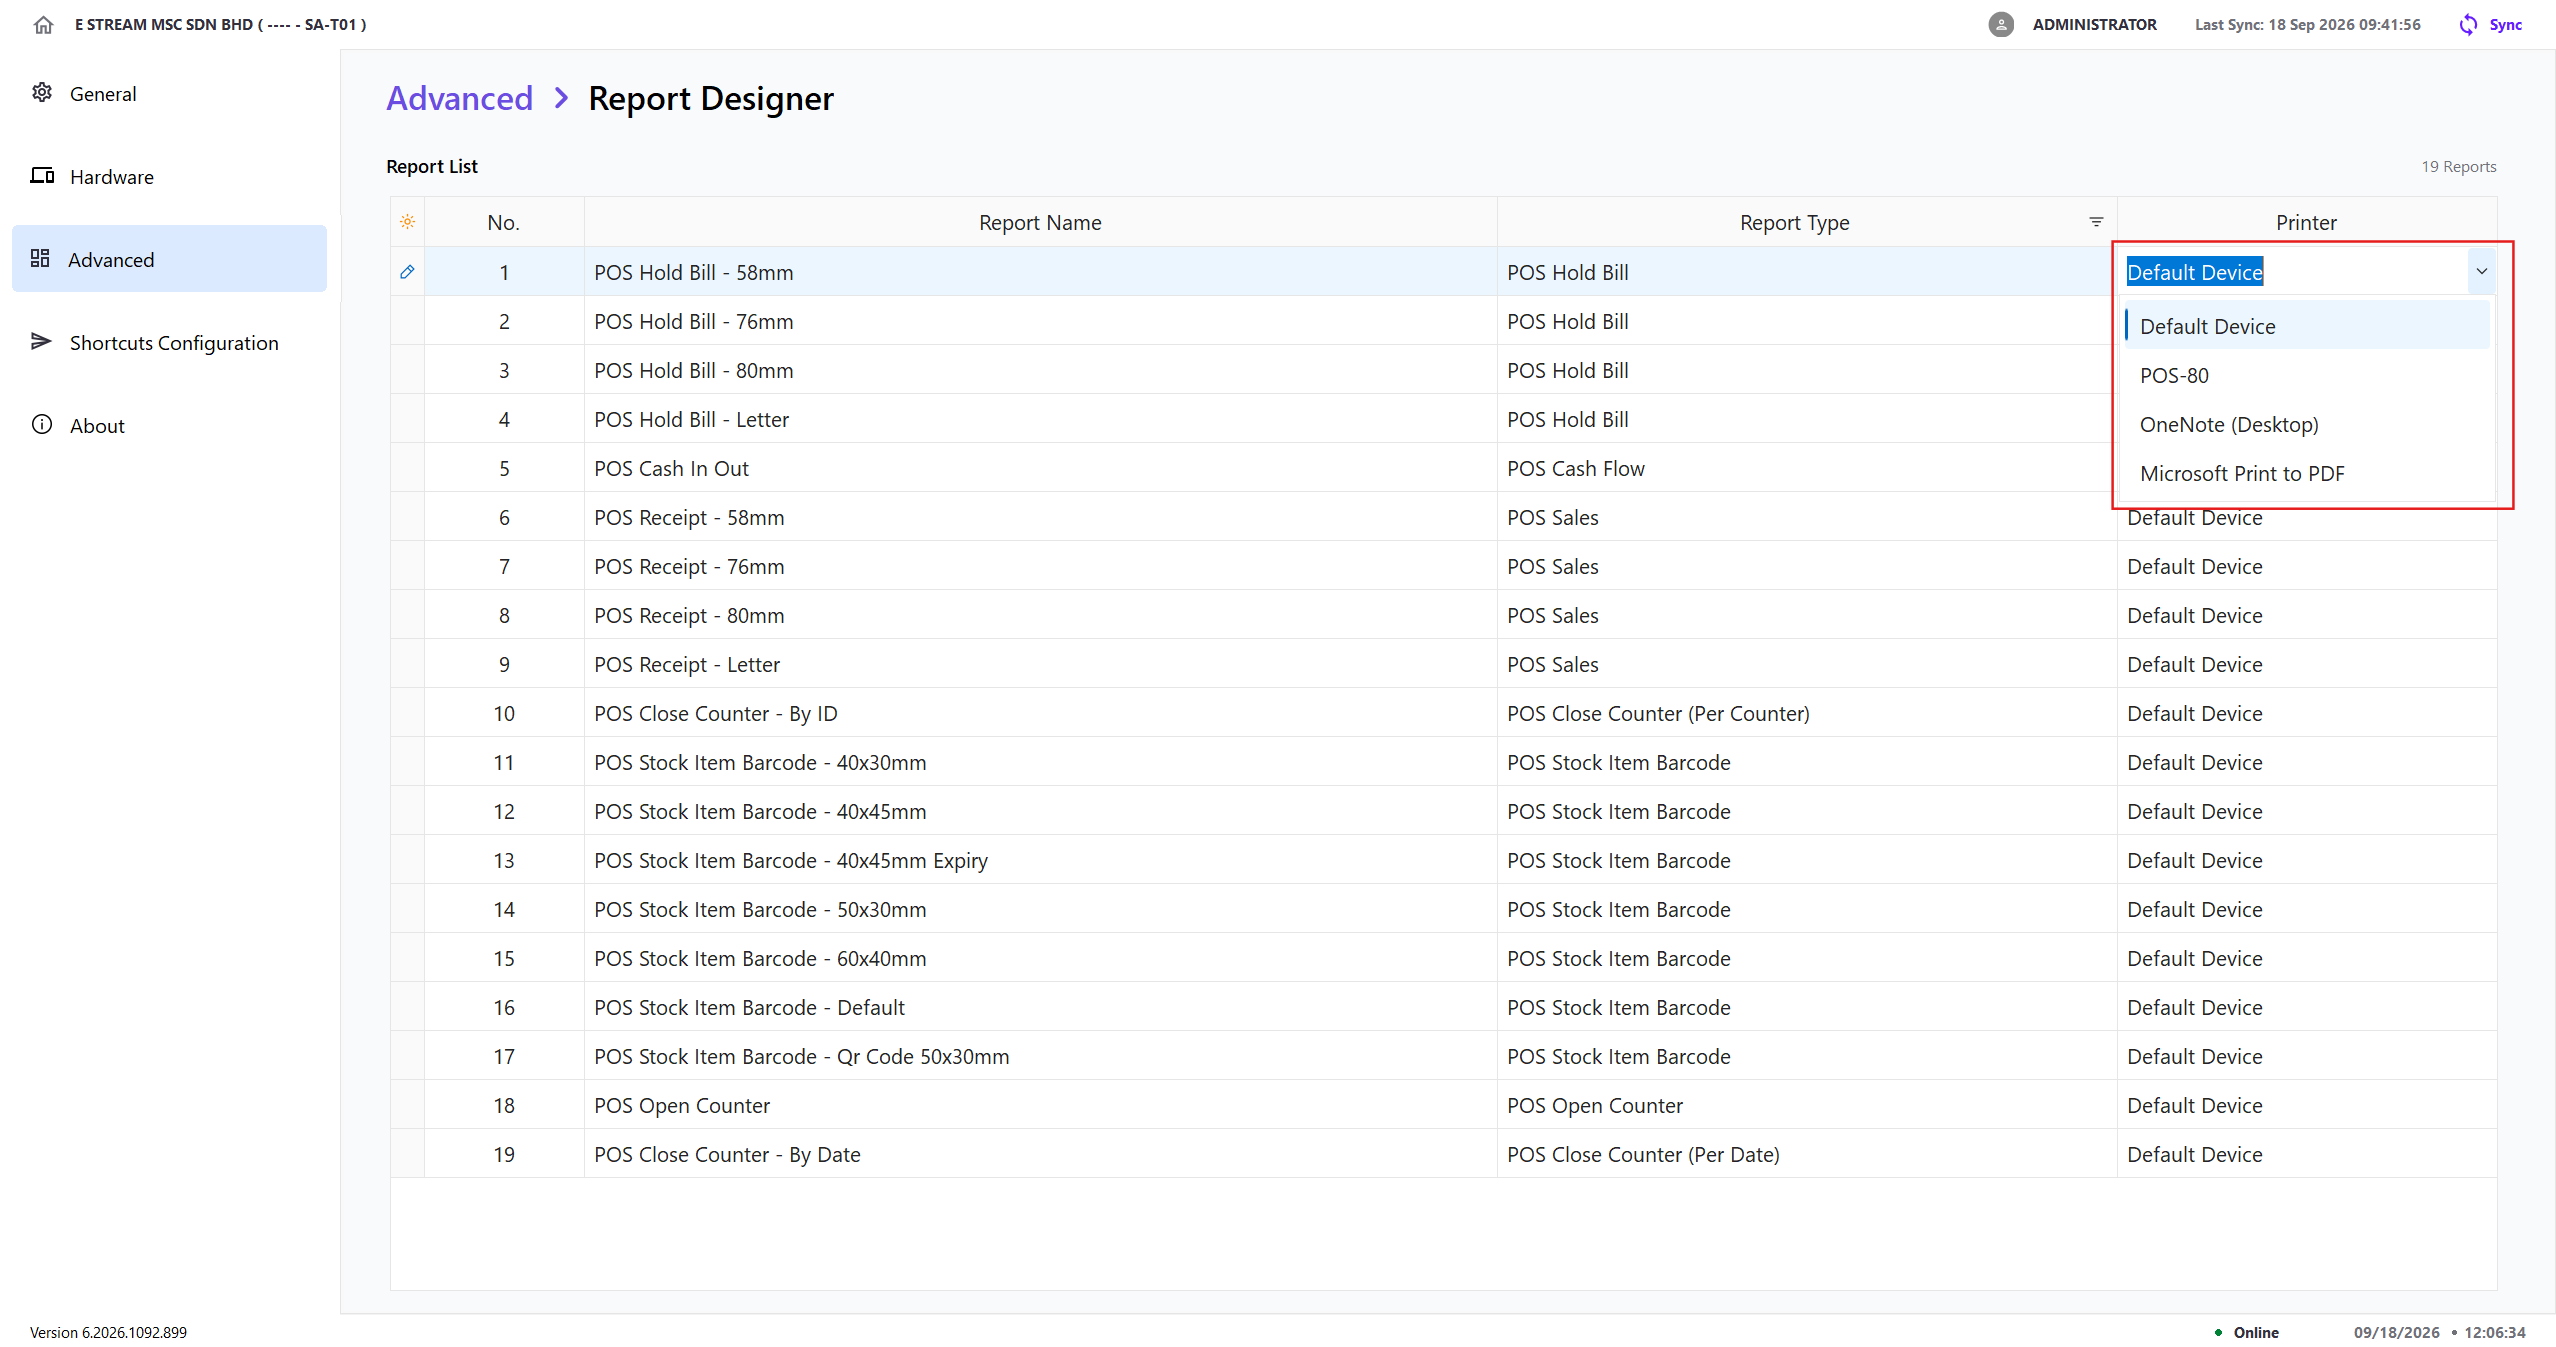
Select Default Device in the Printer field to print that report using the printer configured under Hardware → Receipt Printer
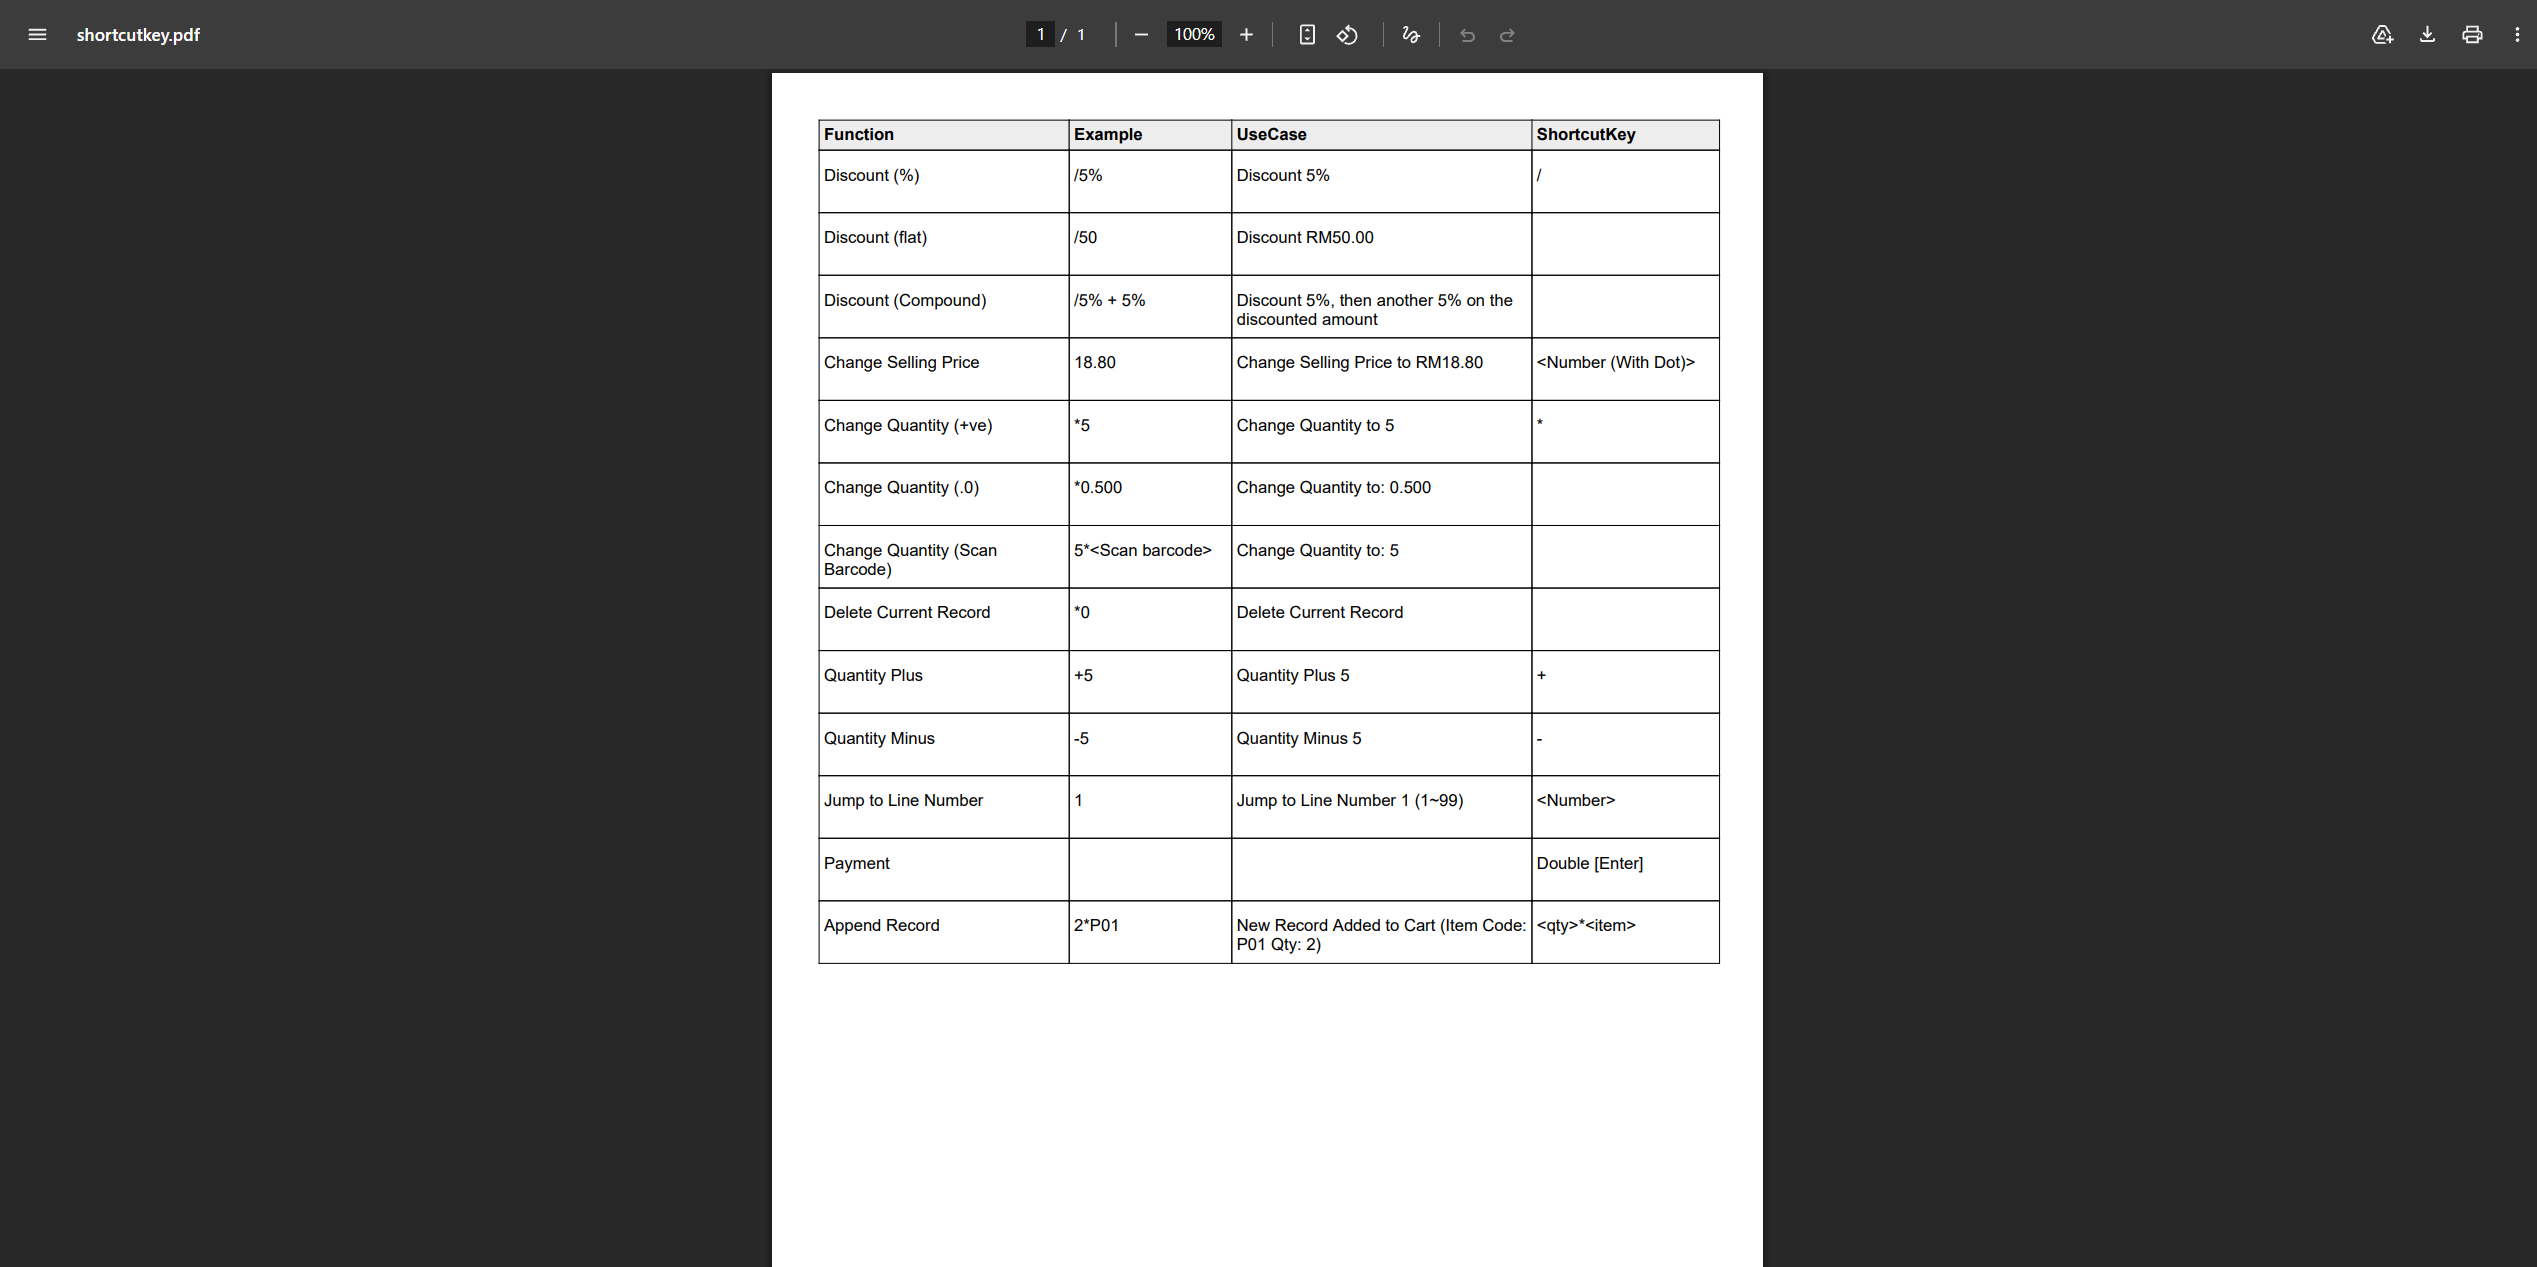
Shortcuts Configuration
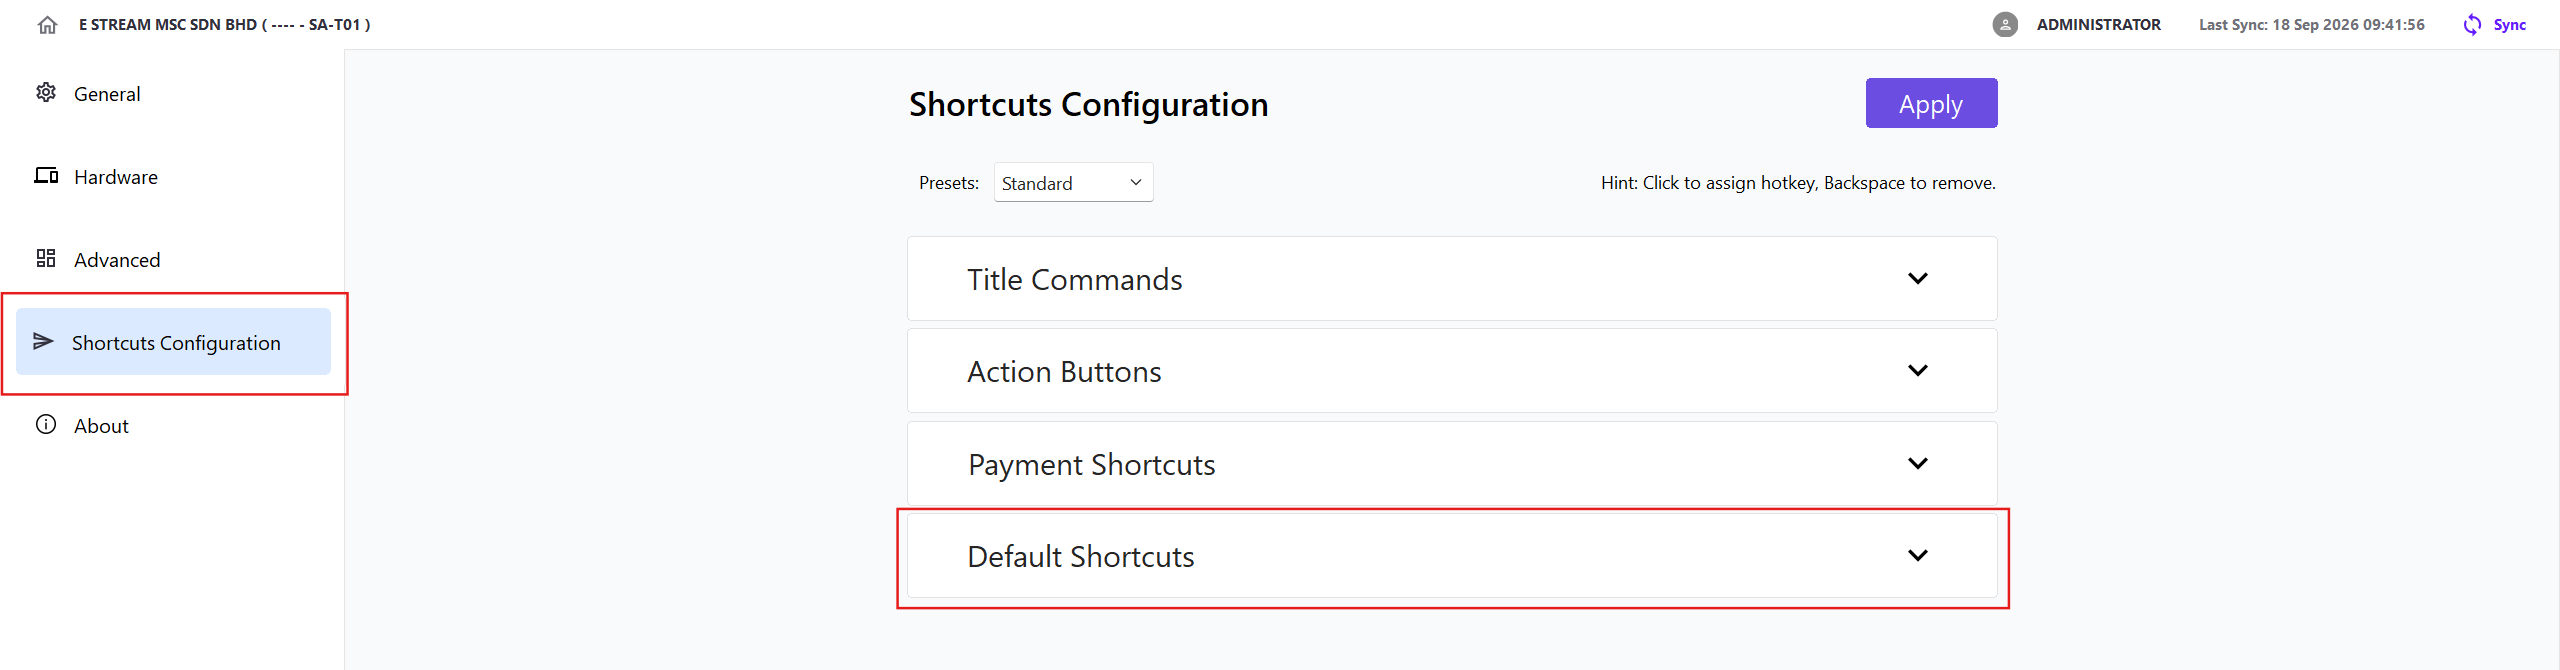
Click Shortcuts Configuration
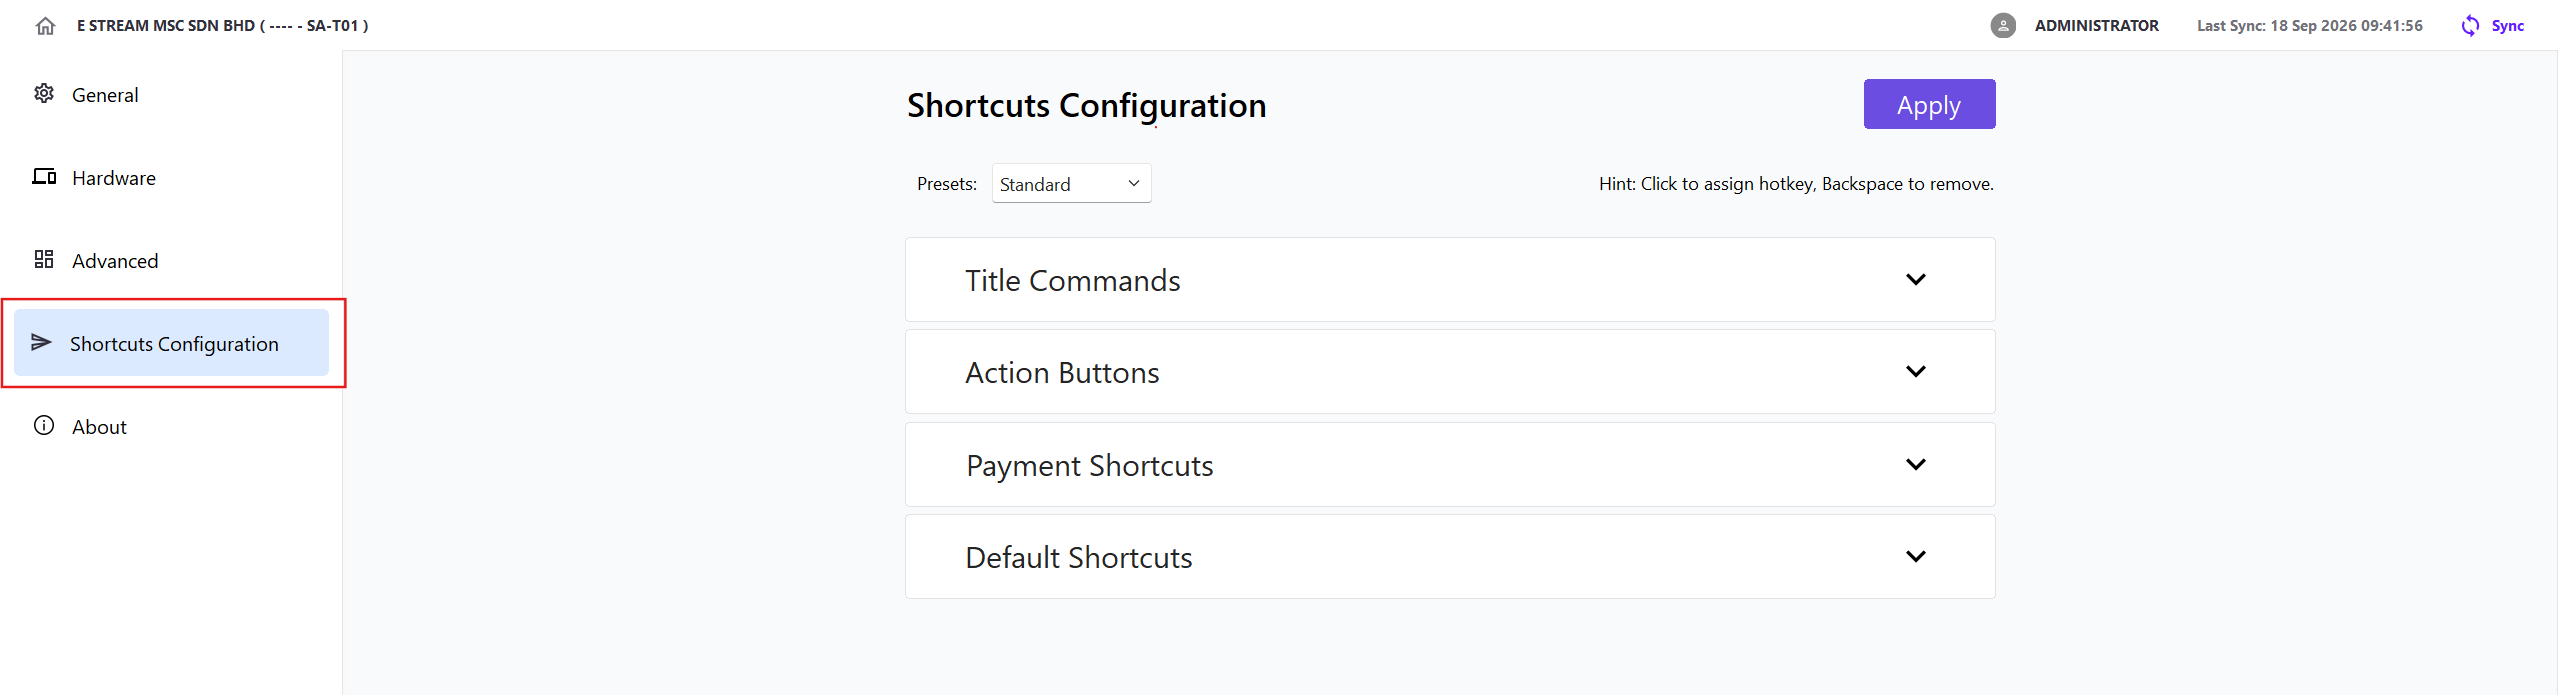
| Section | Description |
|---|---|
| Title Commands | Configures commands displayed in the POS title area |
| Action Buttons | Configures action buttons available during transactions |
| Payment Shortcuts | Configures quick-access shortcuts for checkout payment methods |
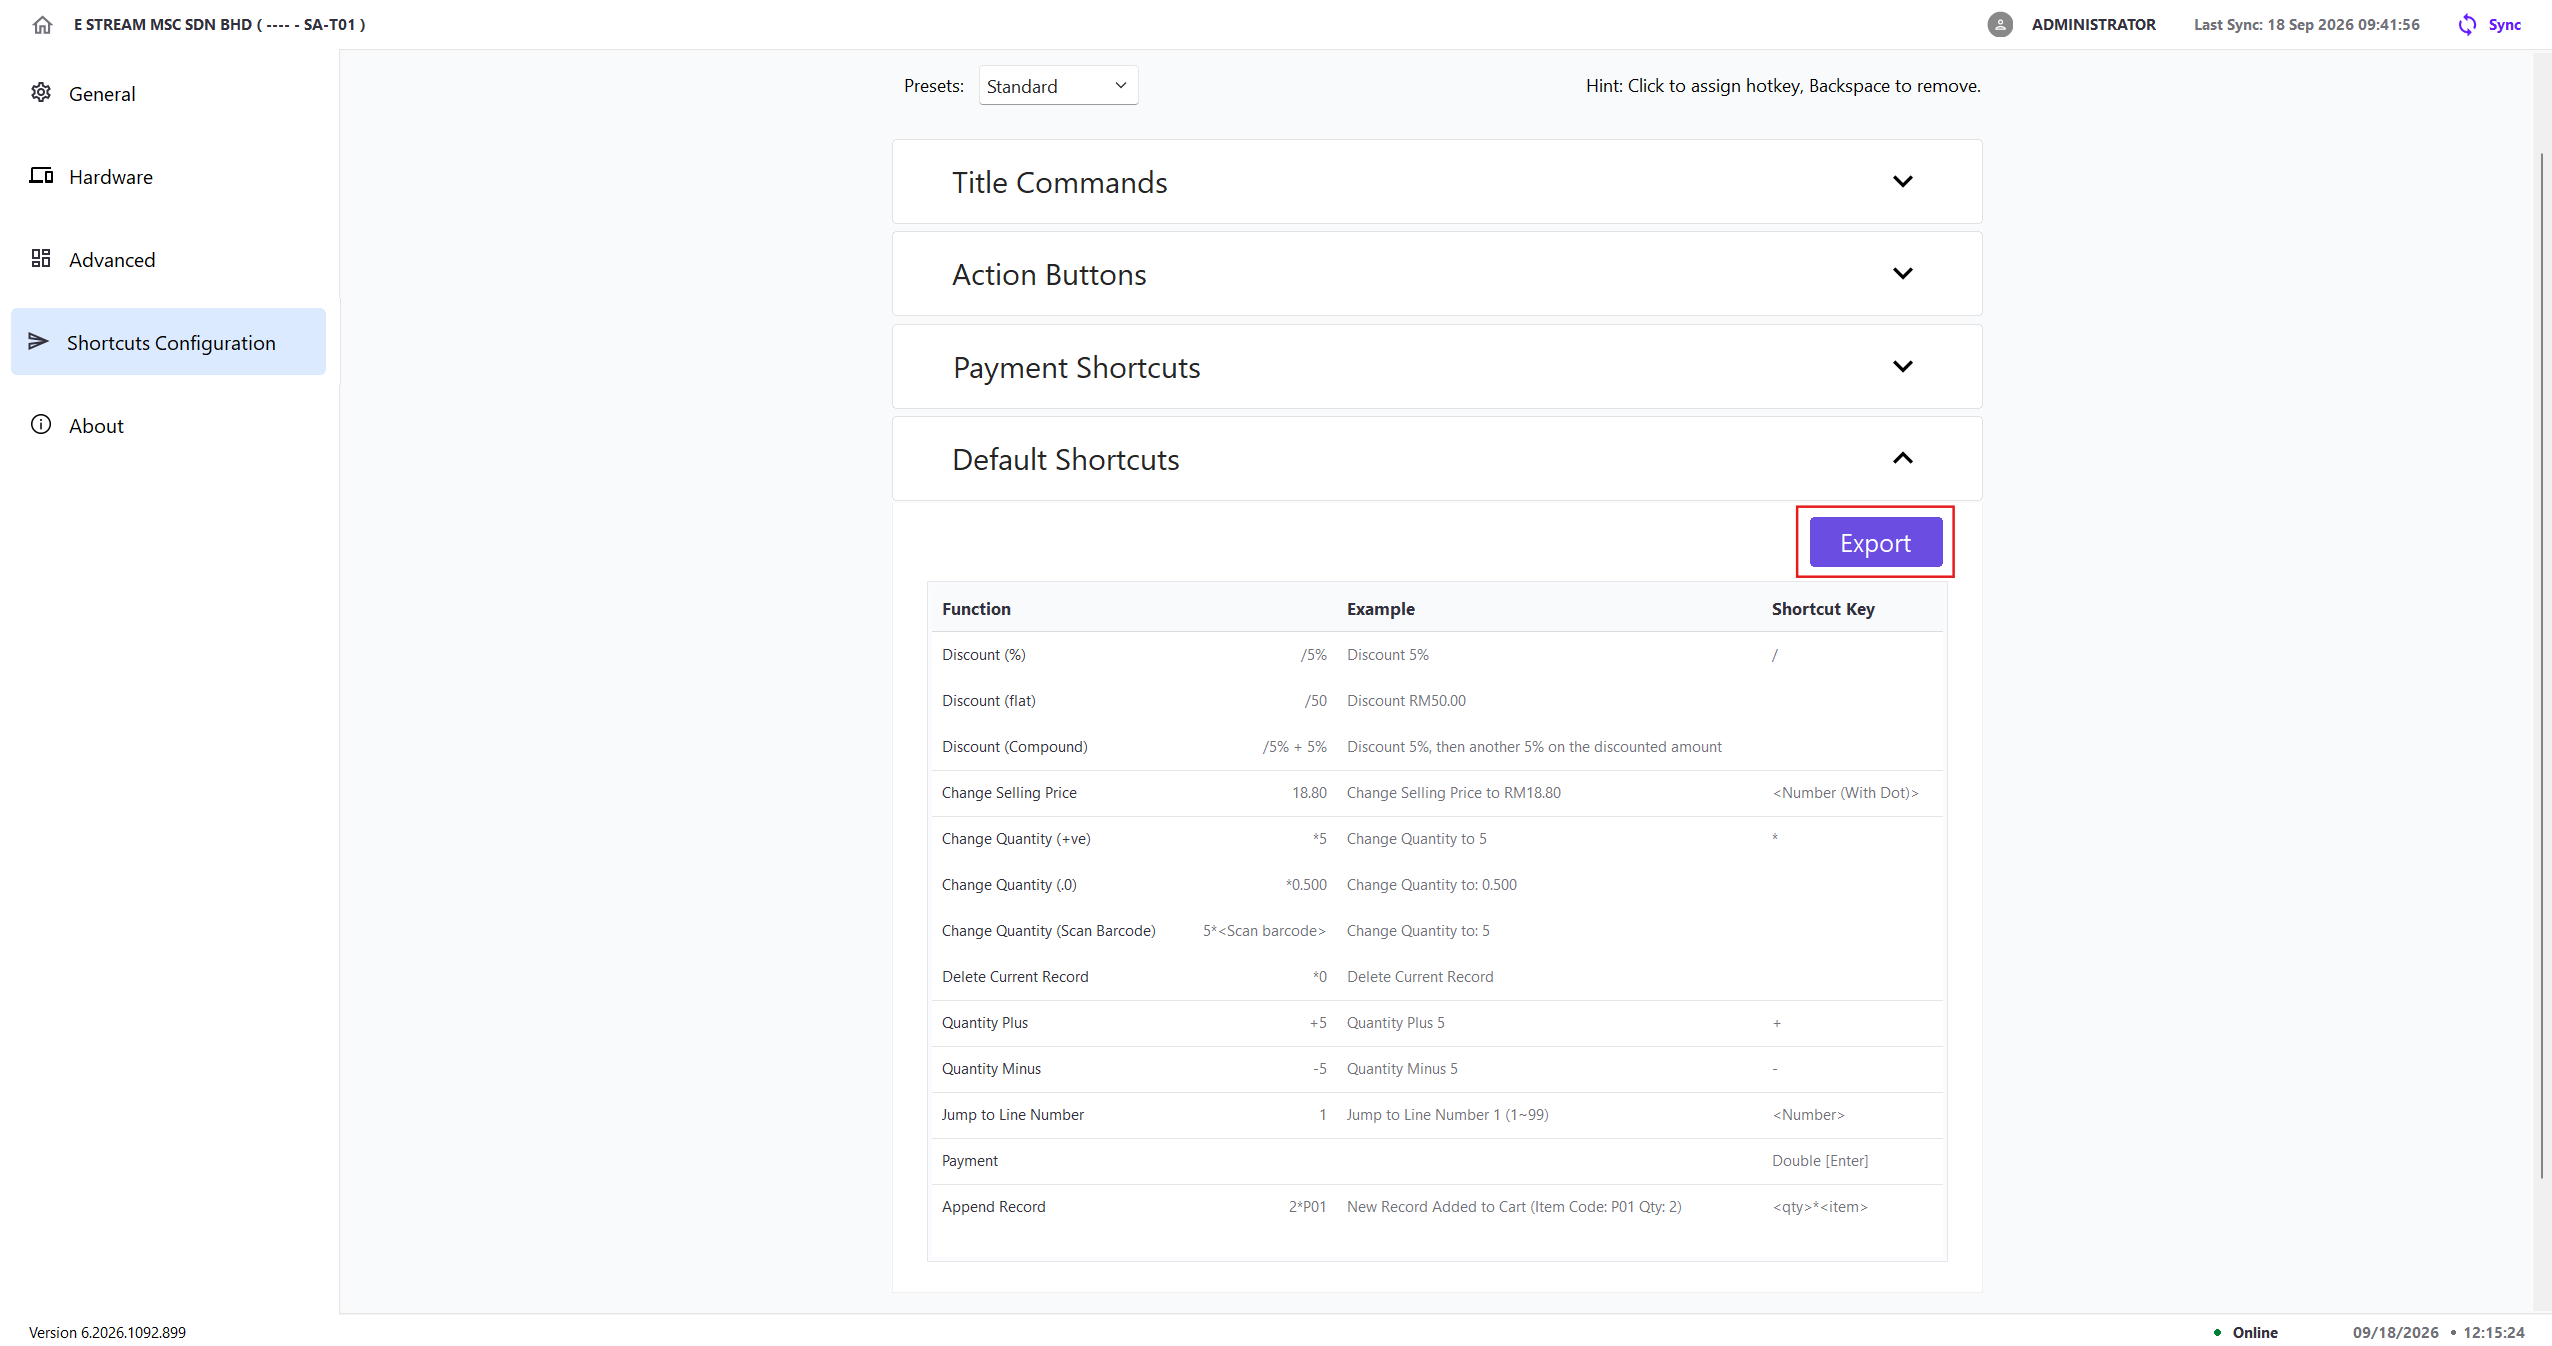
| Default Shortcuts | Displays the standard list of system-default POS shortcuts |
Presets
Use Presets to select the command layout used in the Classic Checkout screen
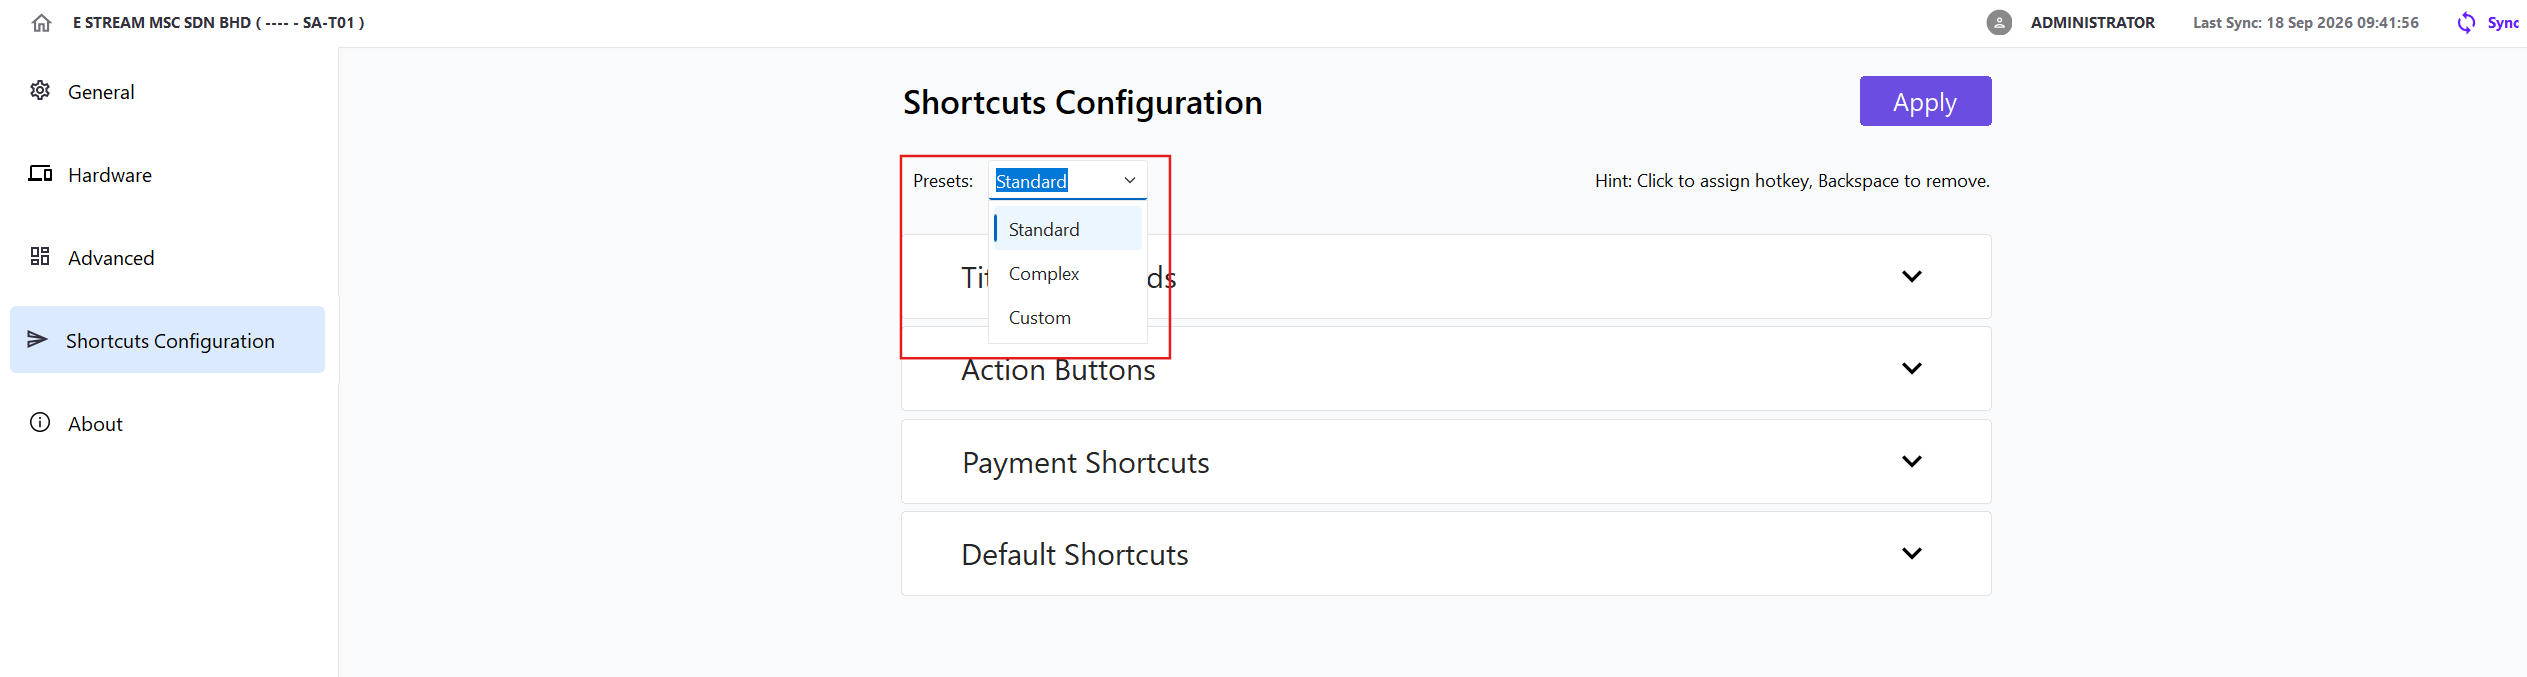
| Preset | Title Commands | Action Buttons |
|---|---|---|
| Standard | No preset title commands | +1, -1, Quantity, Item Disc., Price and UOM, Clear Bill, Hold Bill, and Hold Bill List |
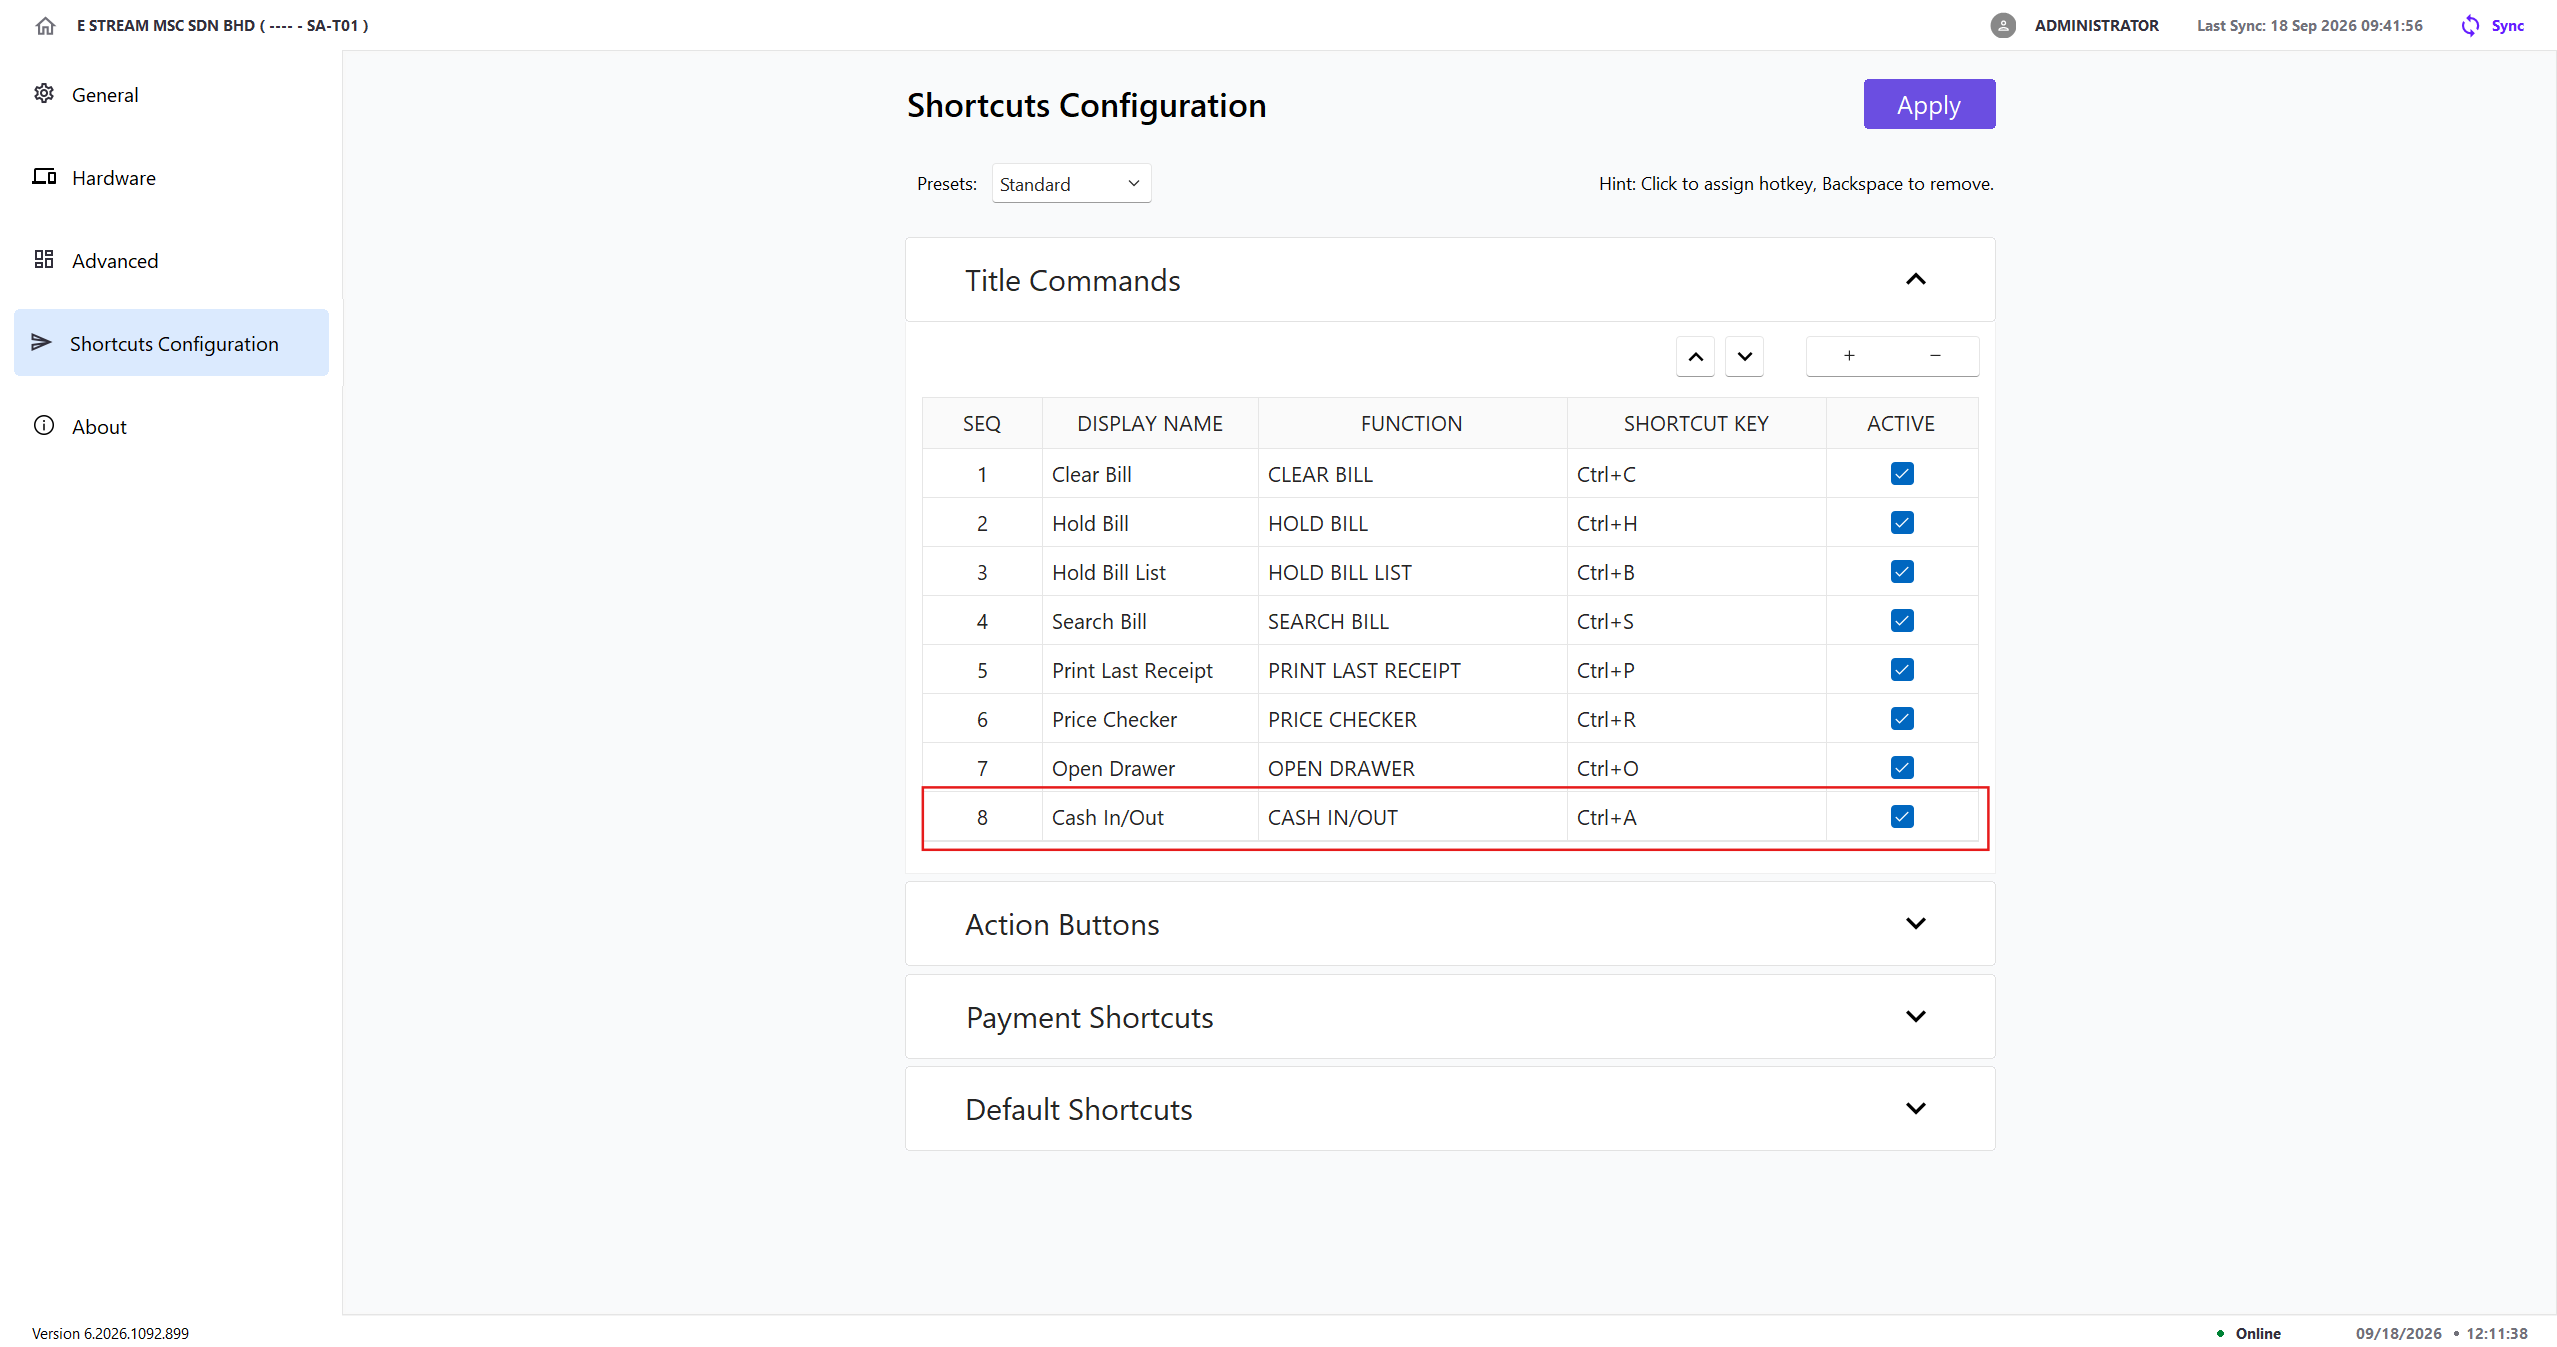
| Complex | Clear Bill, Hold Bill, Hold Bill List, Search Bill, Print Last Receipt, Price Checker, Open Drawer, and Cash In/Out. | +1, -1, Quantity, Item Disc., Price and UOM, Batch No., Serial No., and Item Template |
| Custom | Displays the active commands configured in Title Commands | Displays the active buttons configured in Action Buttons |
Configure Title Commands / Action Buttons
-
Select Title Commands or Action Buttons
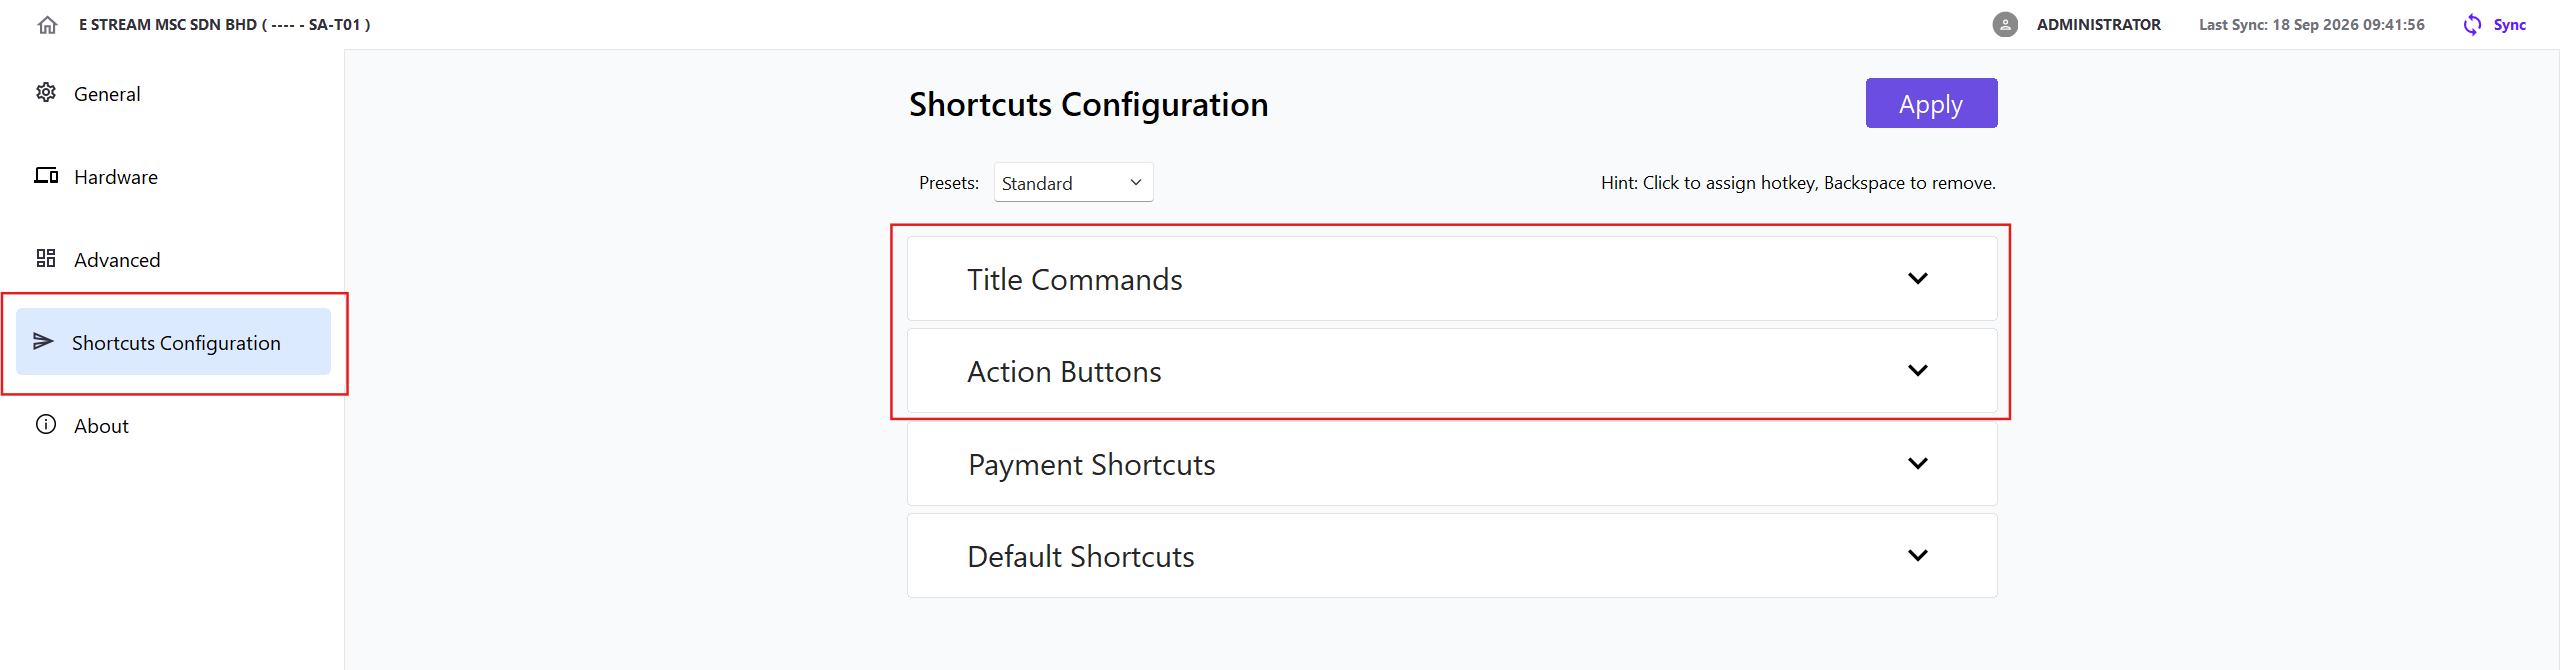
-
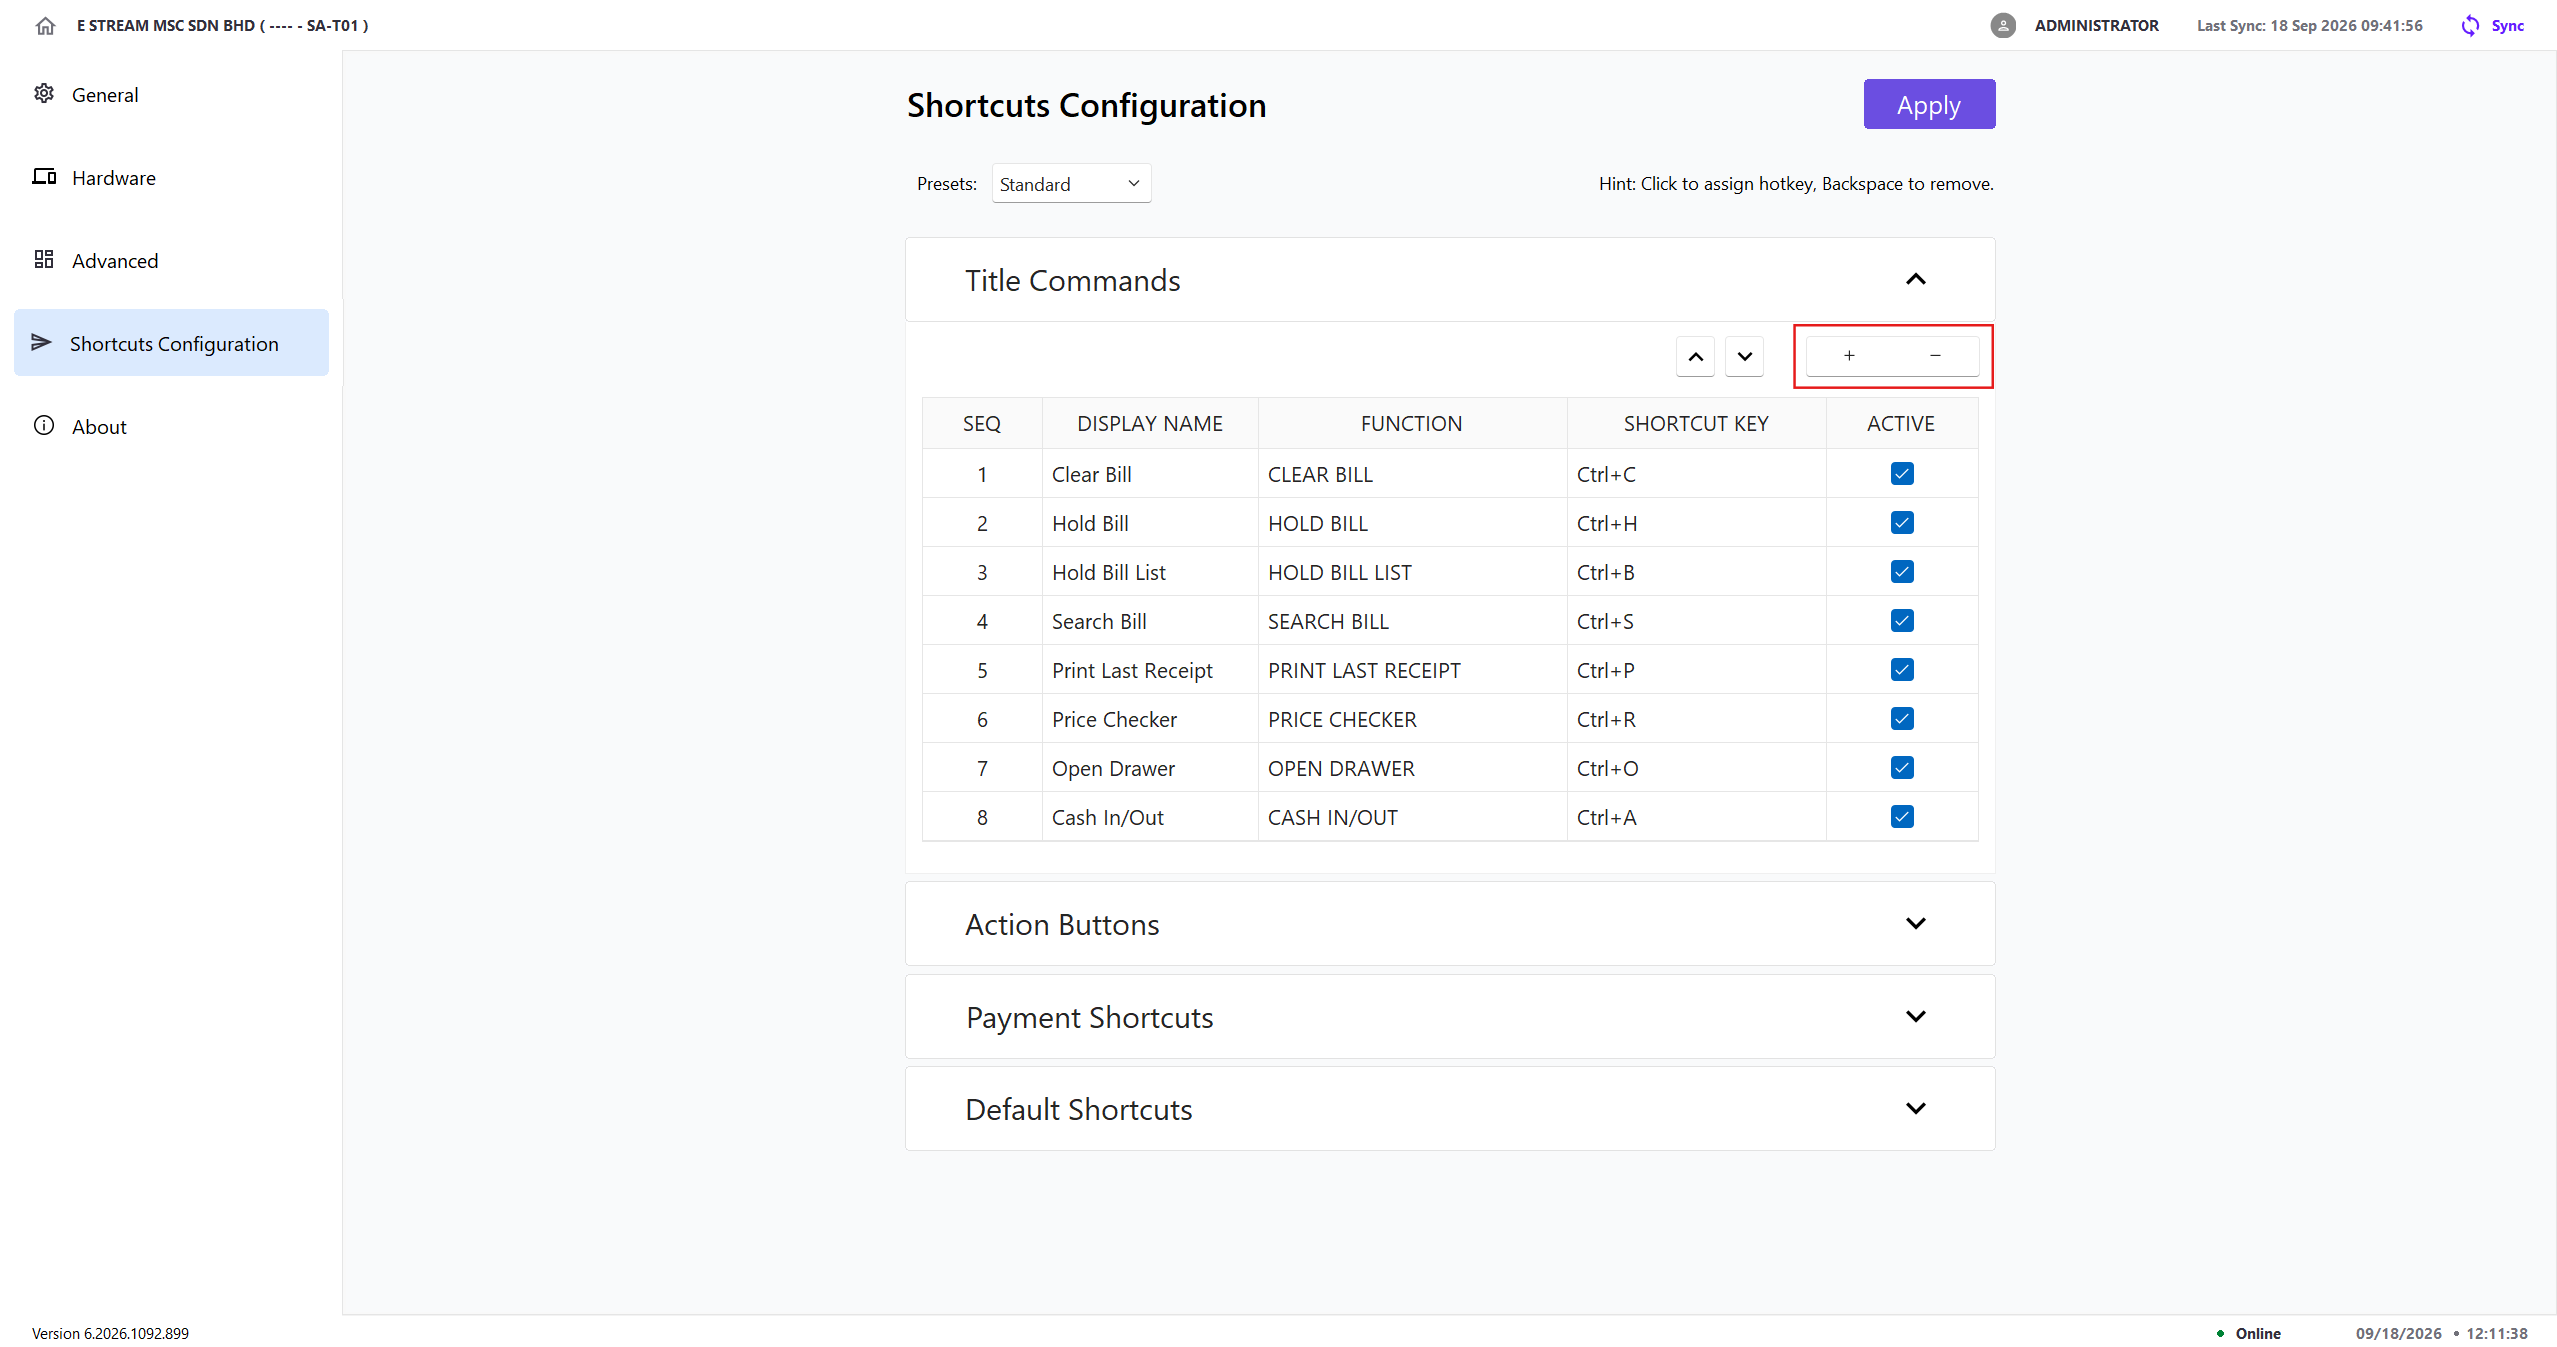
Click + Add to create a new entry
-
Enter the Seq, Display Name, and Value, select a Function, enter the Shortcut Key, and set Active status
-
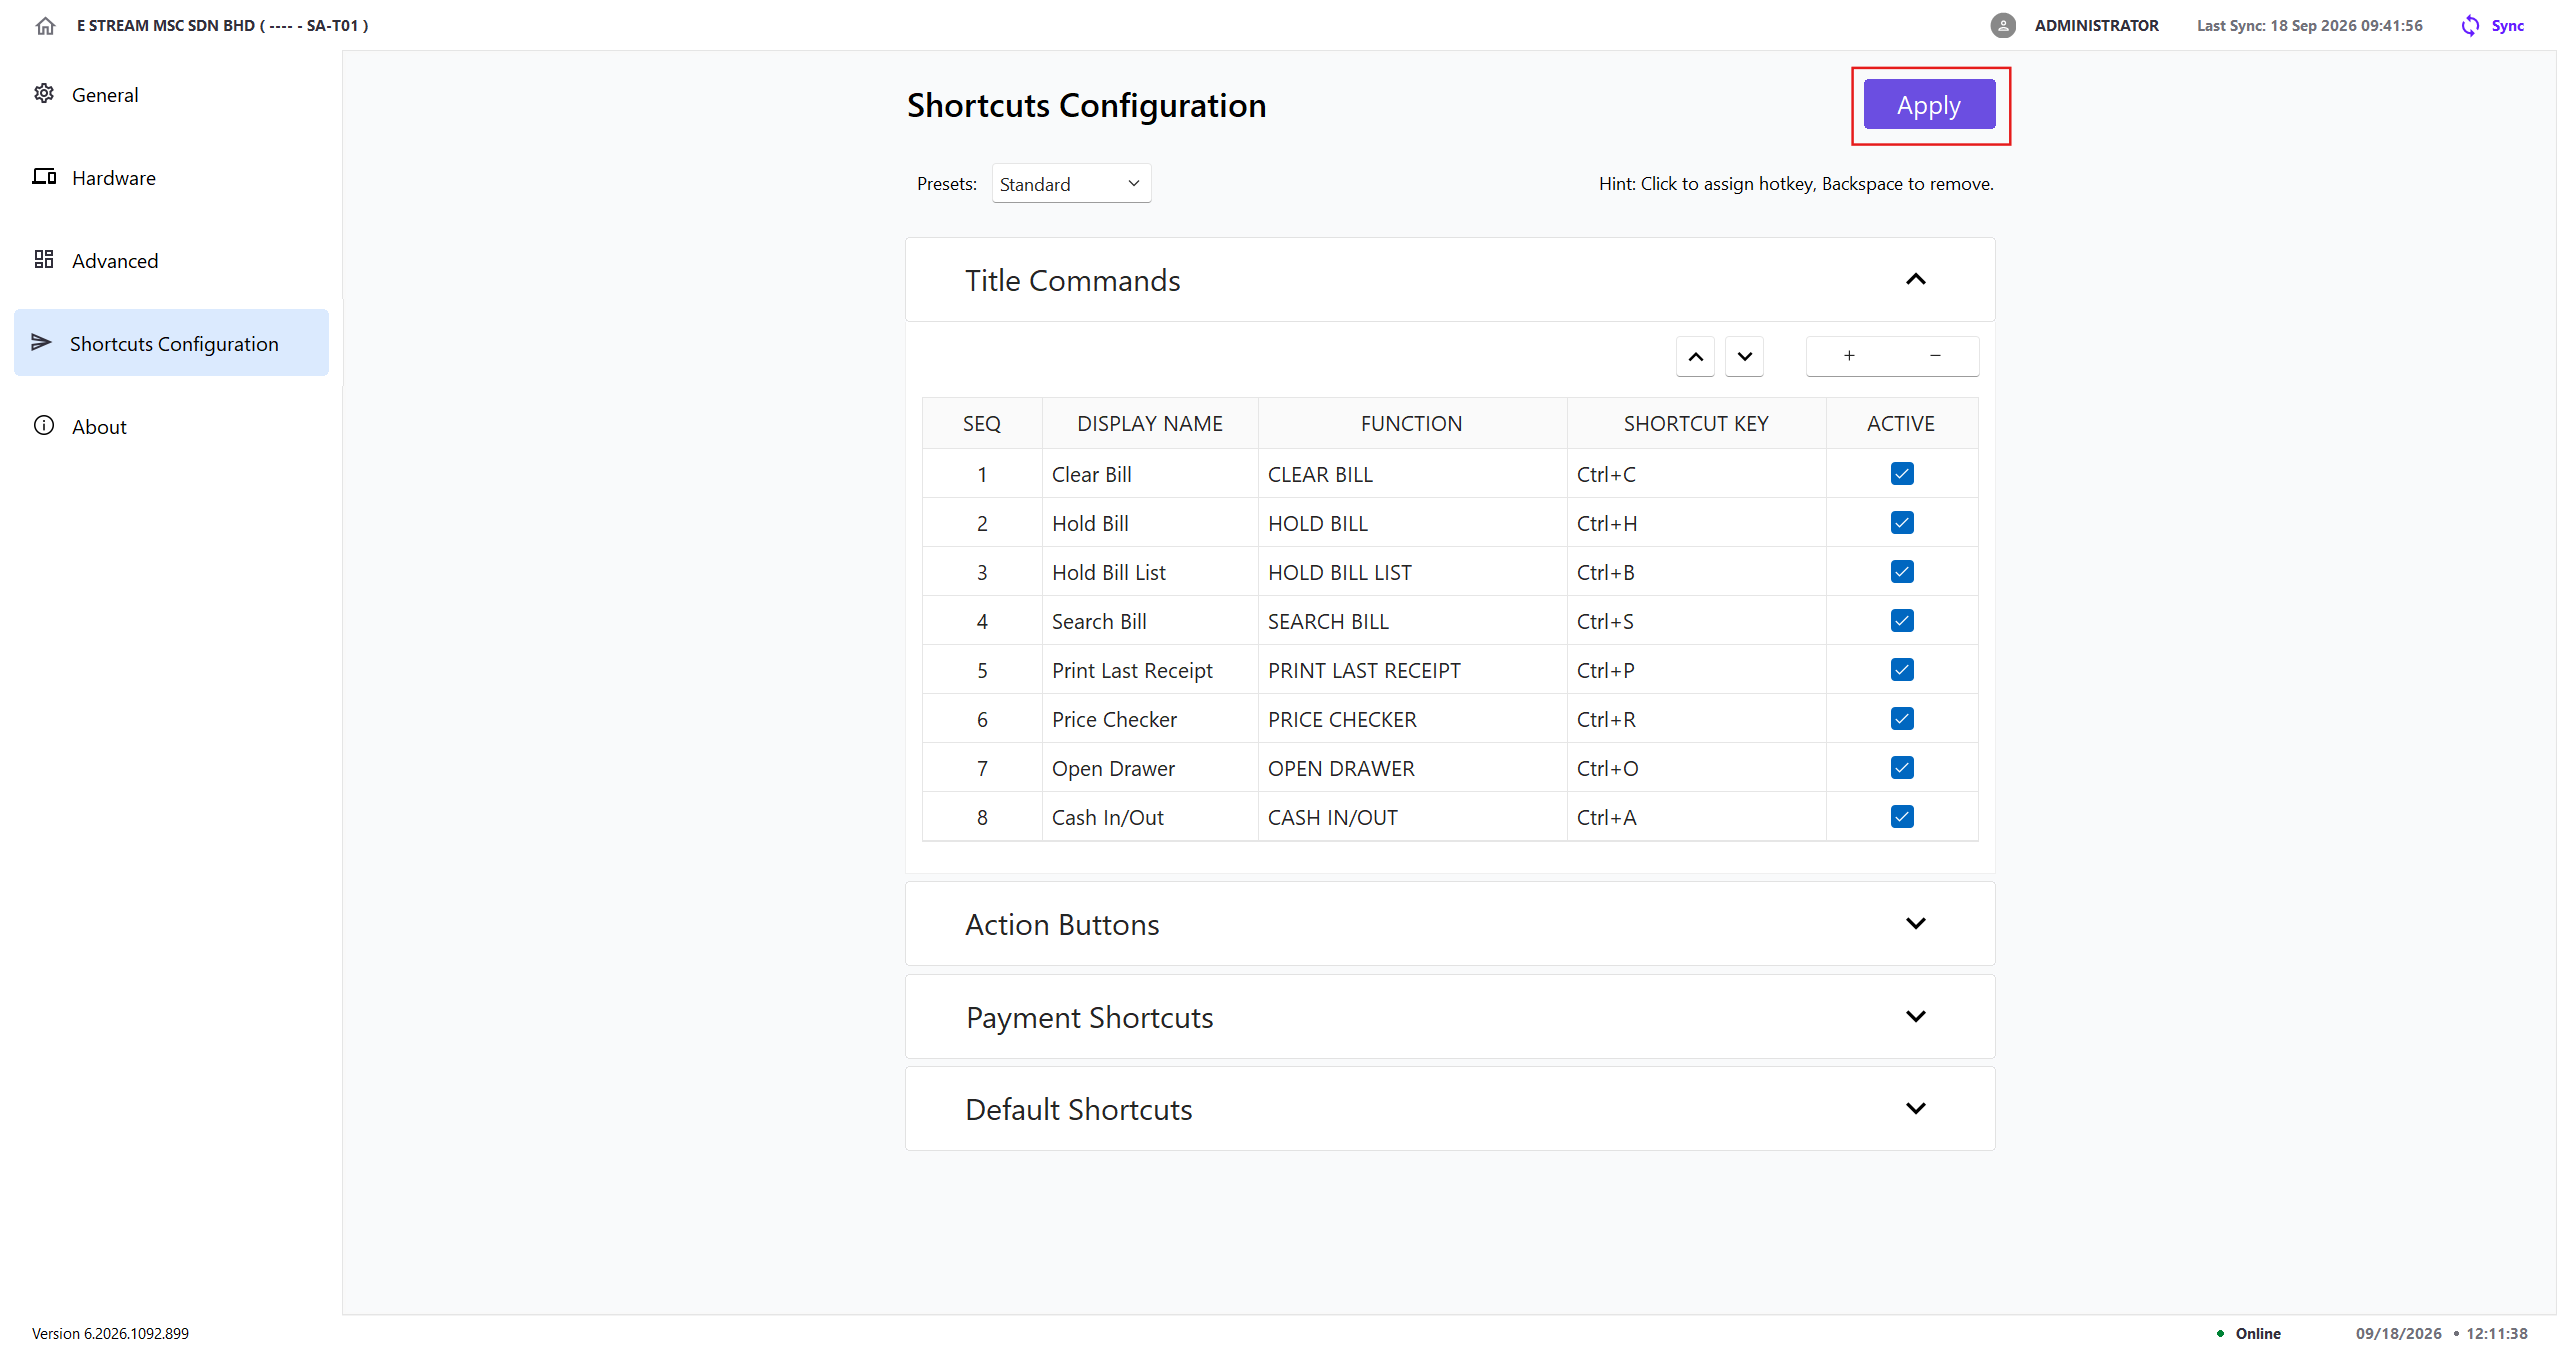
Click Apply to save the changes
- Click - Remove to delete an entry
- Use the Up or Down arrow to adjust the display sequence
Configure Payment Shortcuts
-
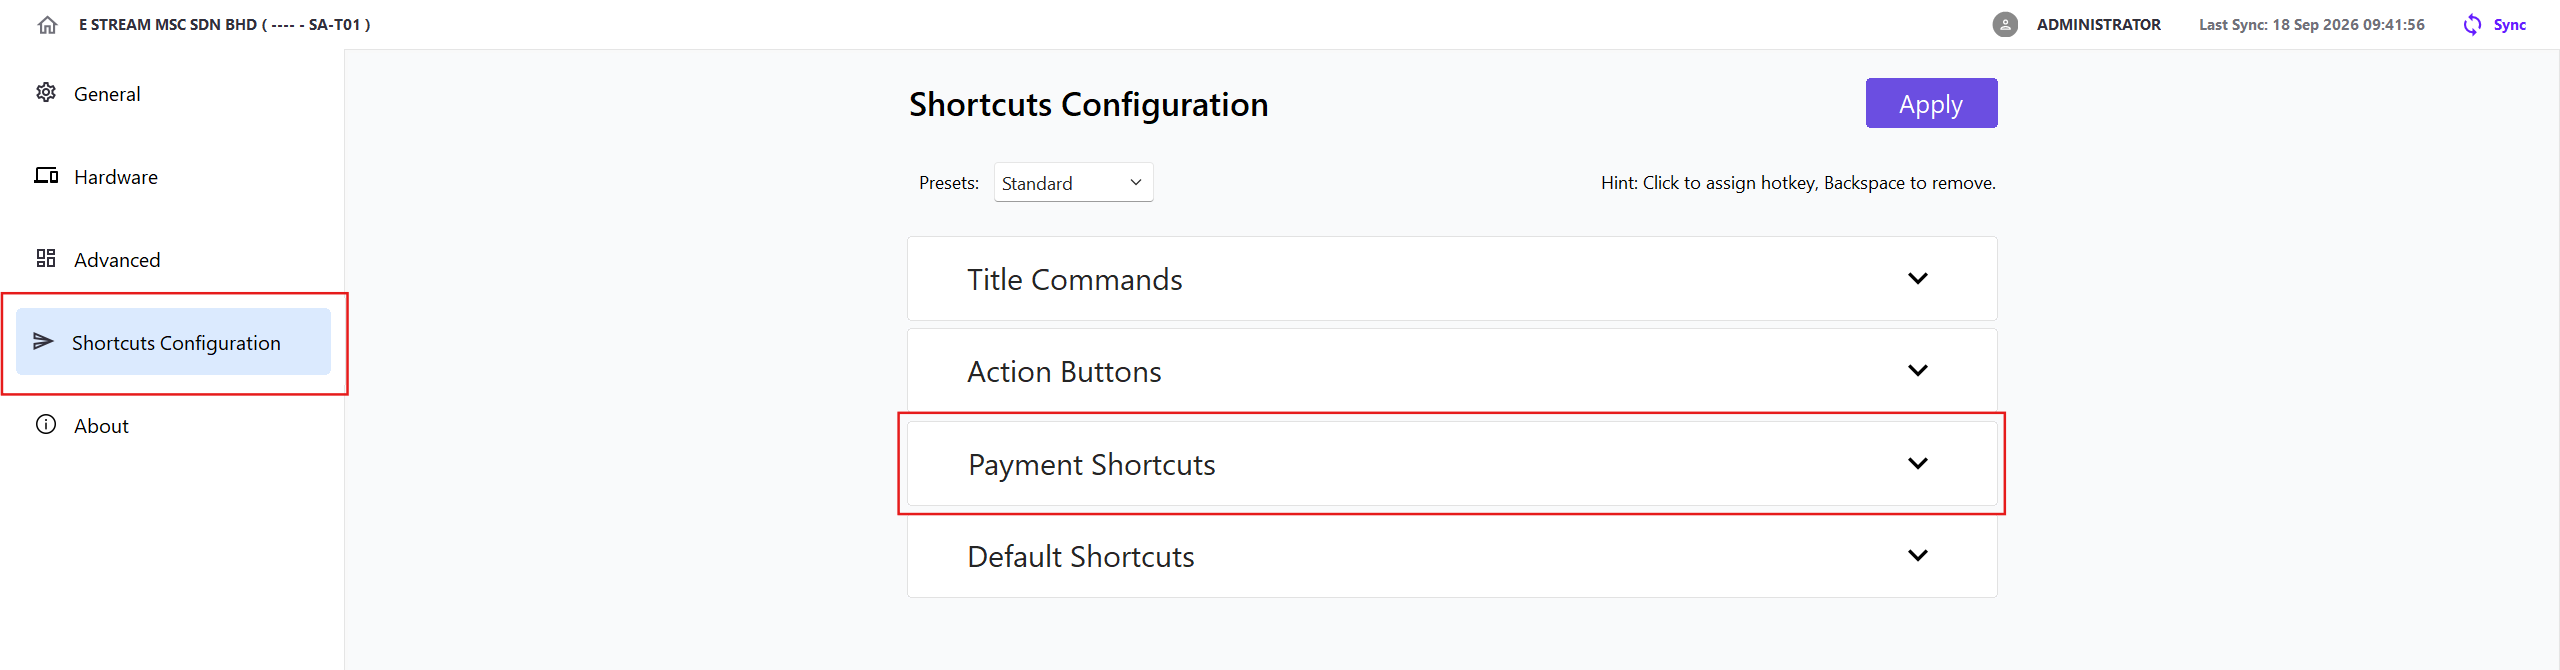
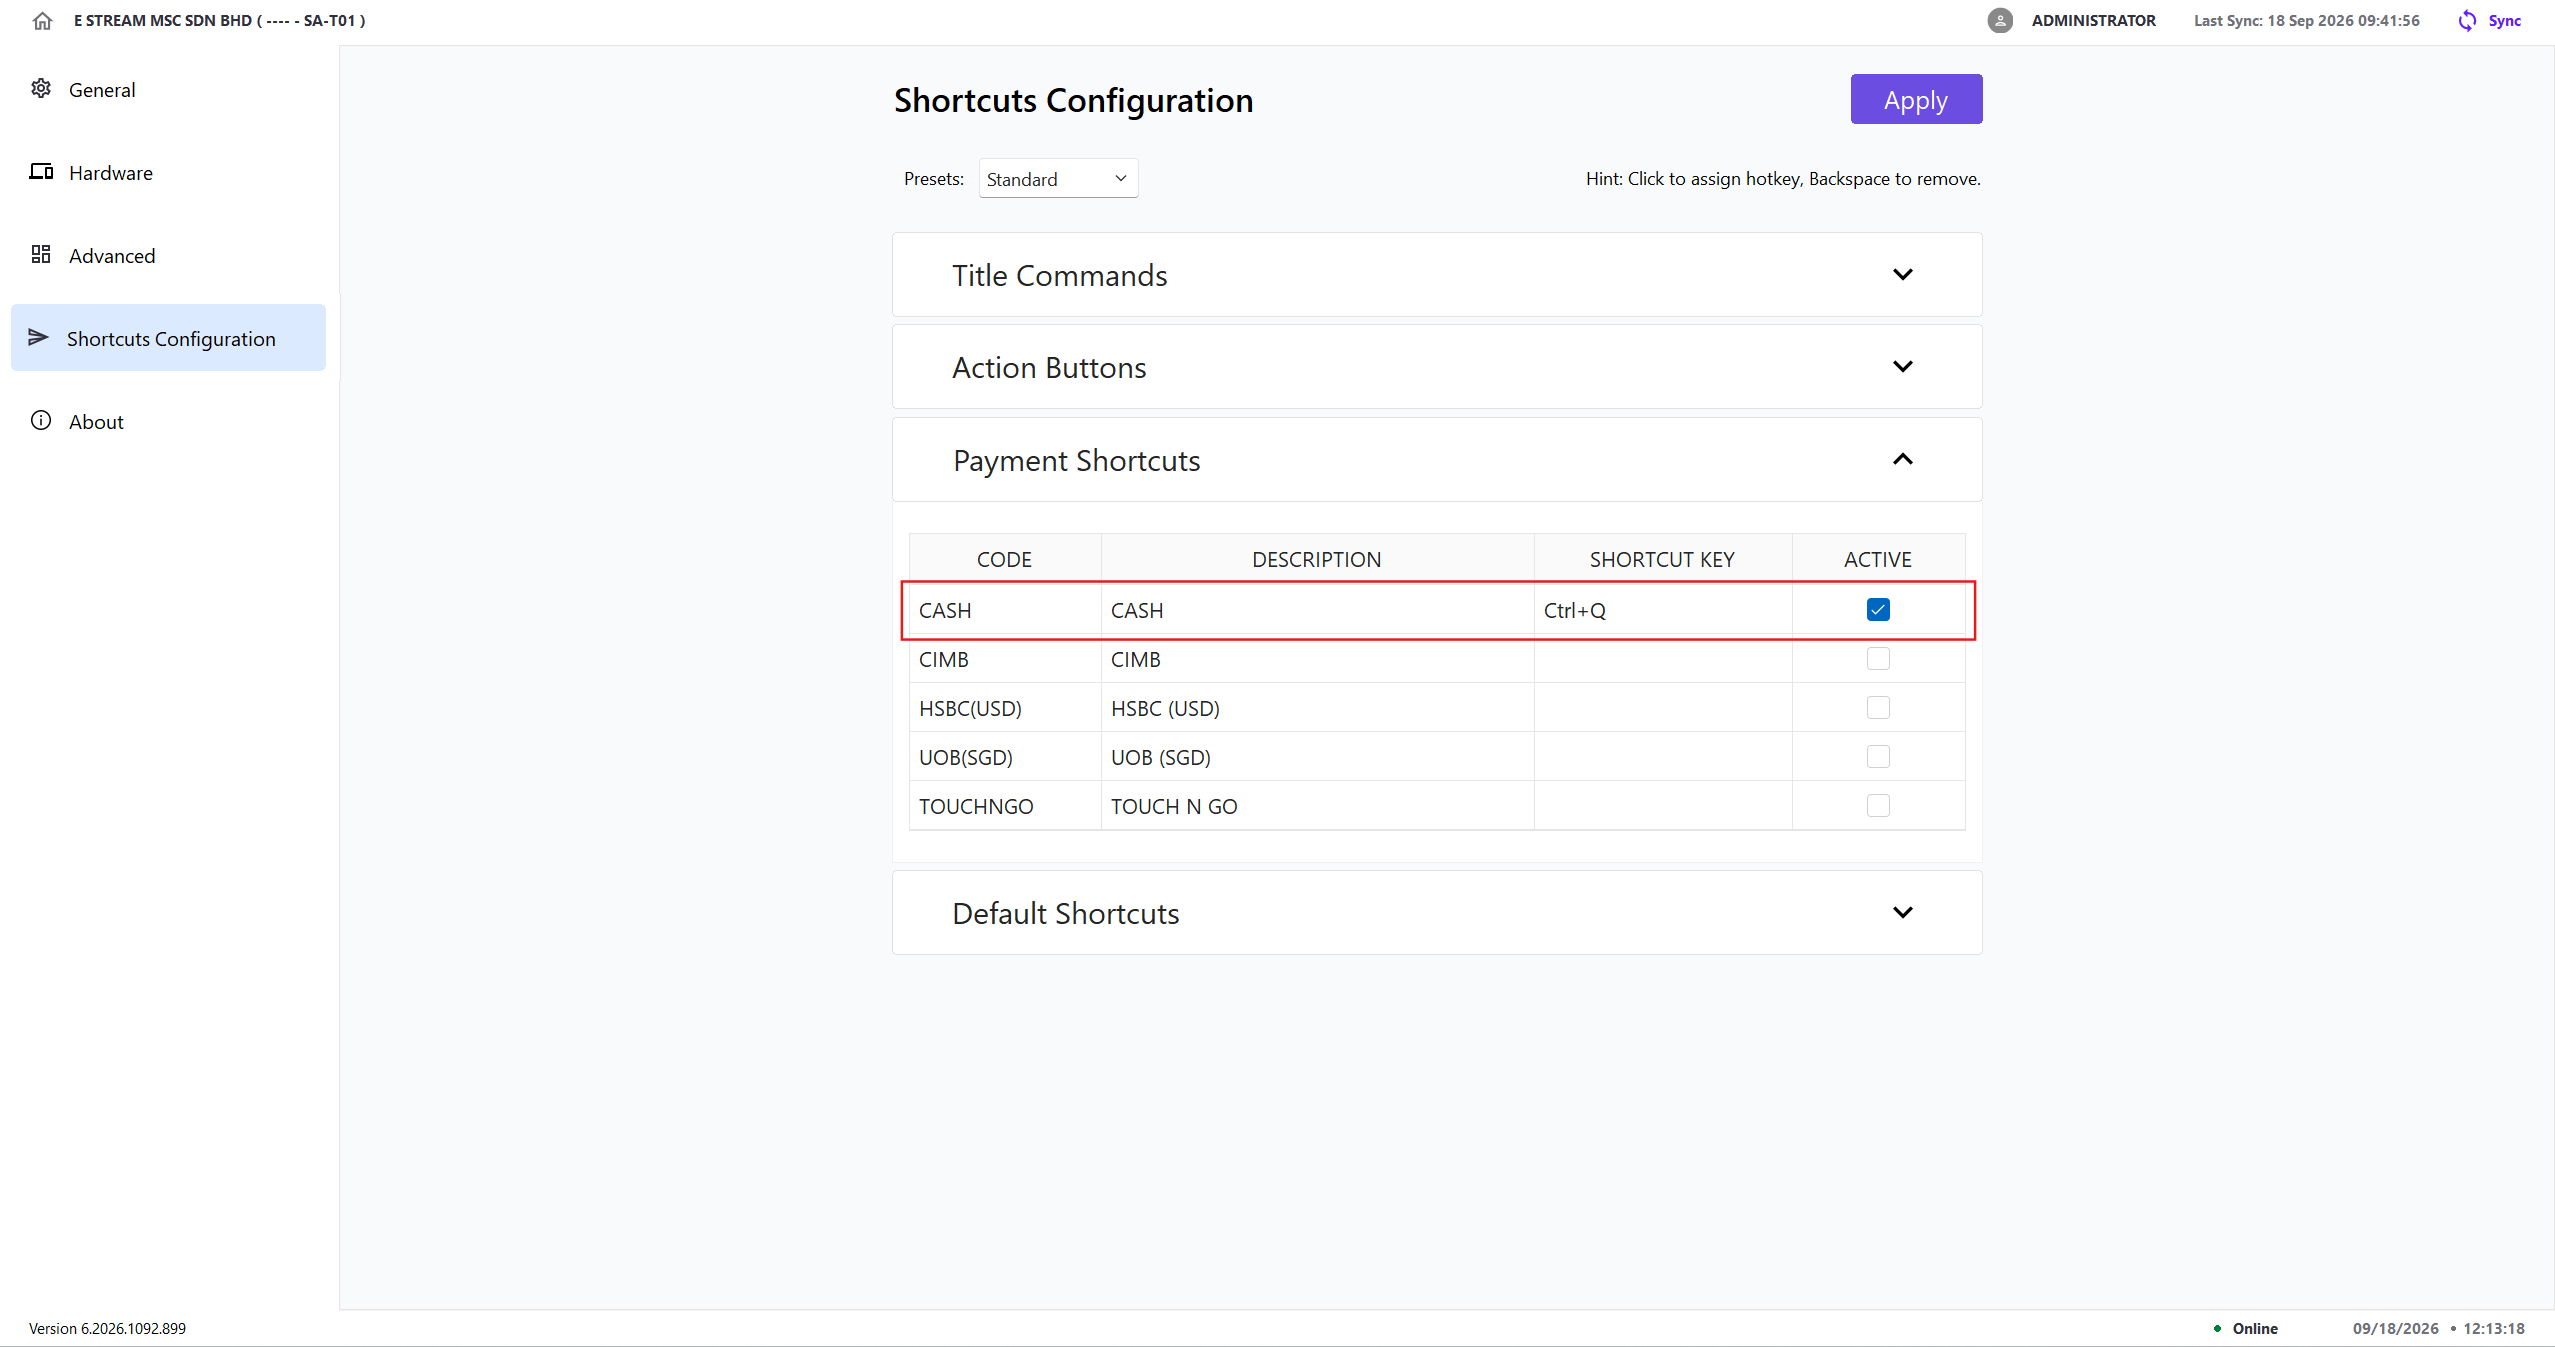
Select Payment Shortcuts
-
Enter the Shortcut Key and set Active to enable or disable the shortcut on the POS screen
-
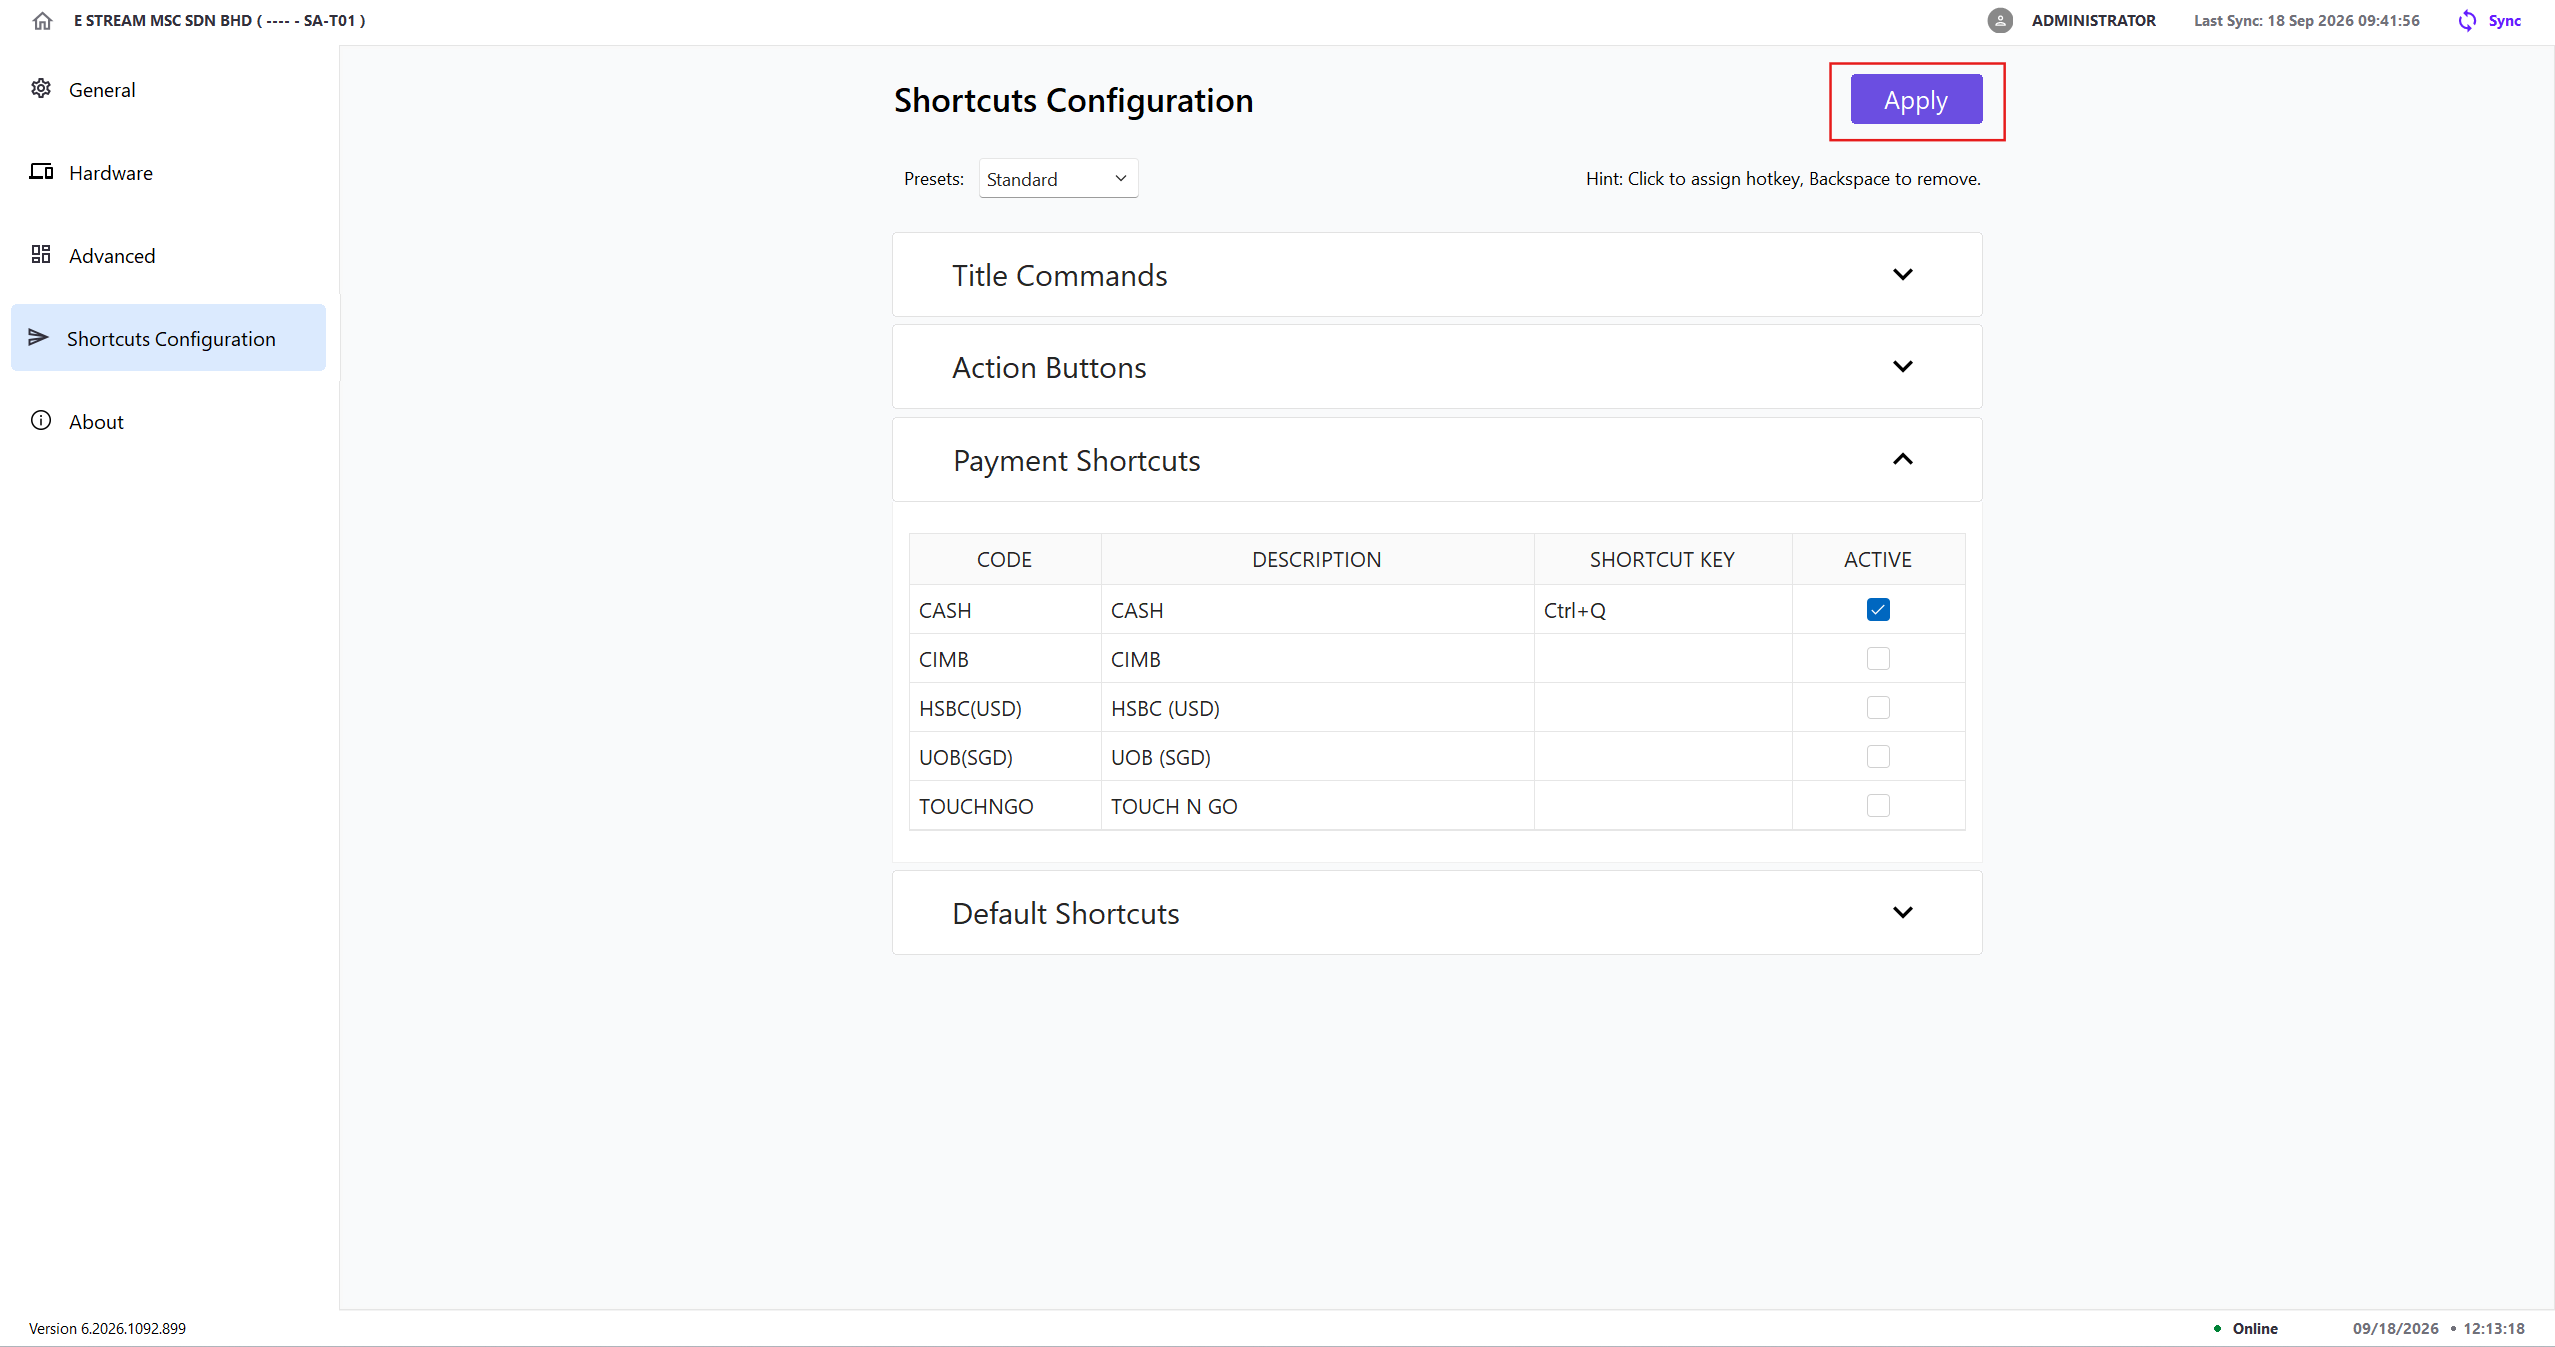
Click Apply to save the changes
- Press Backspace in the Shortcut Key field to remove an assigned shortcut
- A shortcut key can only be assigned to one command, action, or payment method
Export Default Shortcuts
-
Select Default Shortcuts
-
Click Export to export the standard list of system-default POS shortcuts for reference
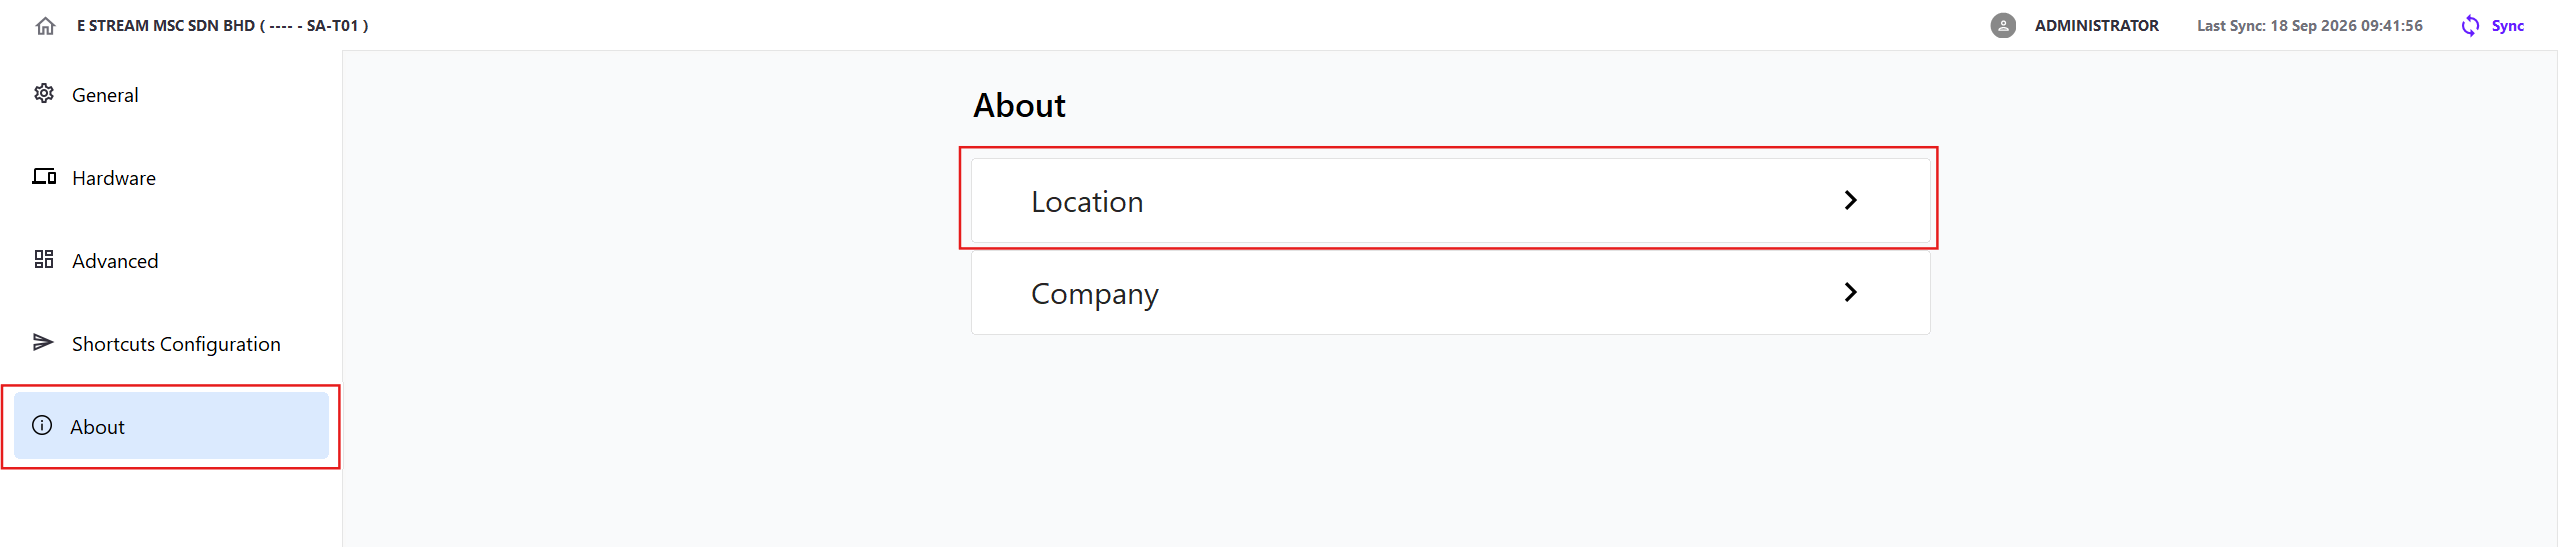
About
Location
Click About → Location
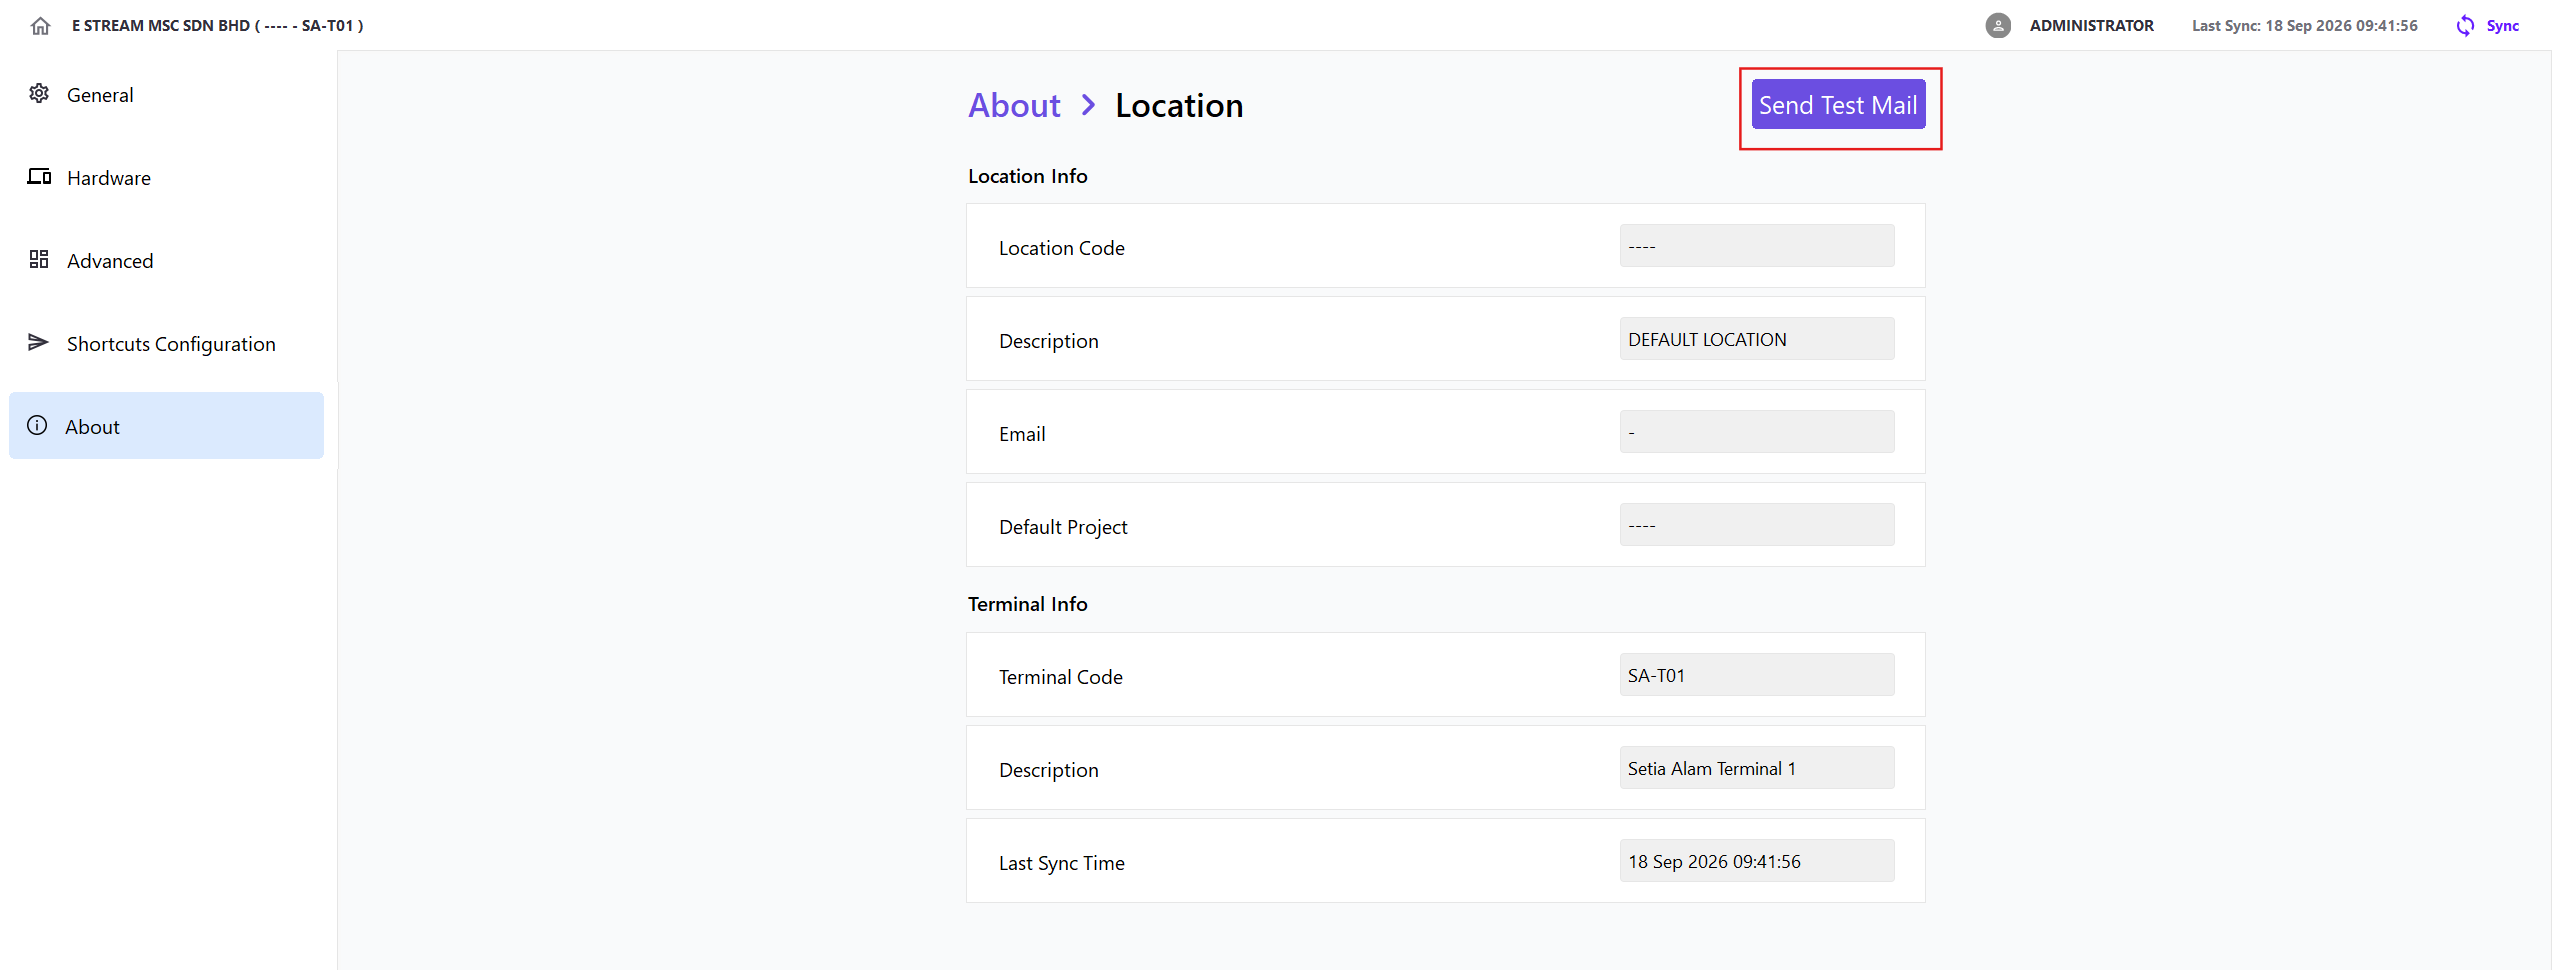
Click Send Test Mail to verify the email address configured for the location
| Section | Details |
|---|---|
| Location Info | Location code, description, email address, default project |
| Terminal Info | Terminal code, description, and last synchronisation time |
Company
Click About → Company
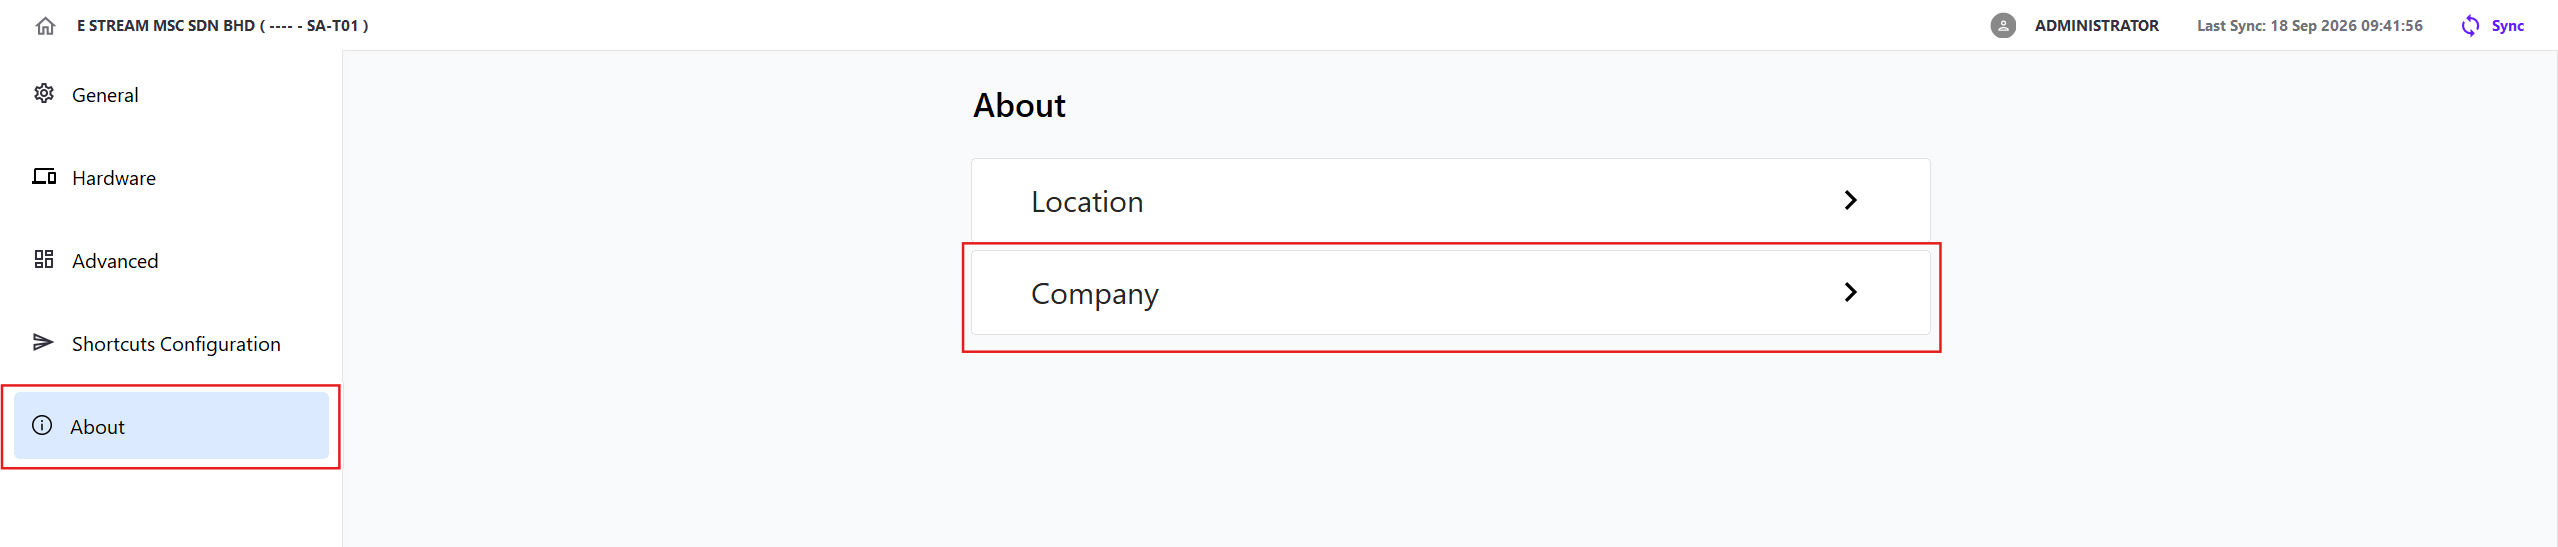
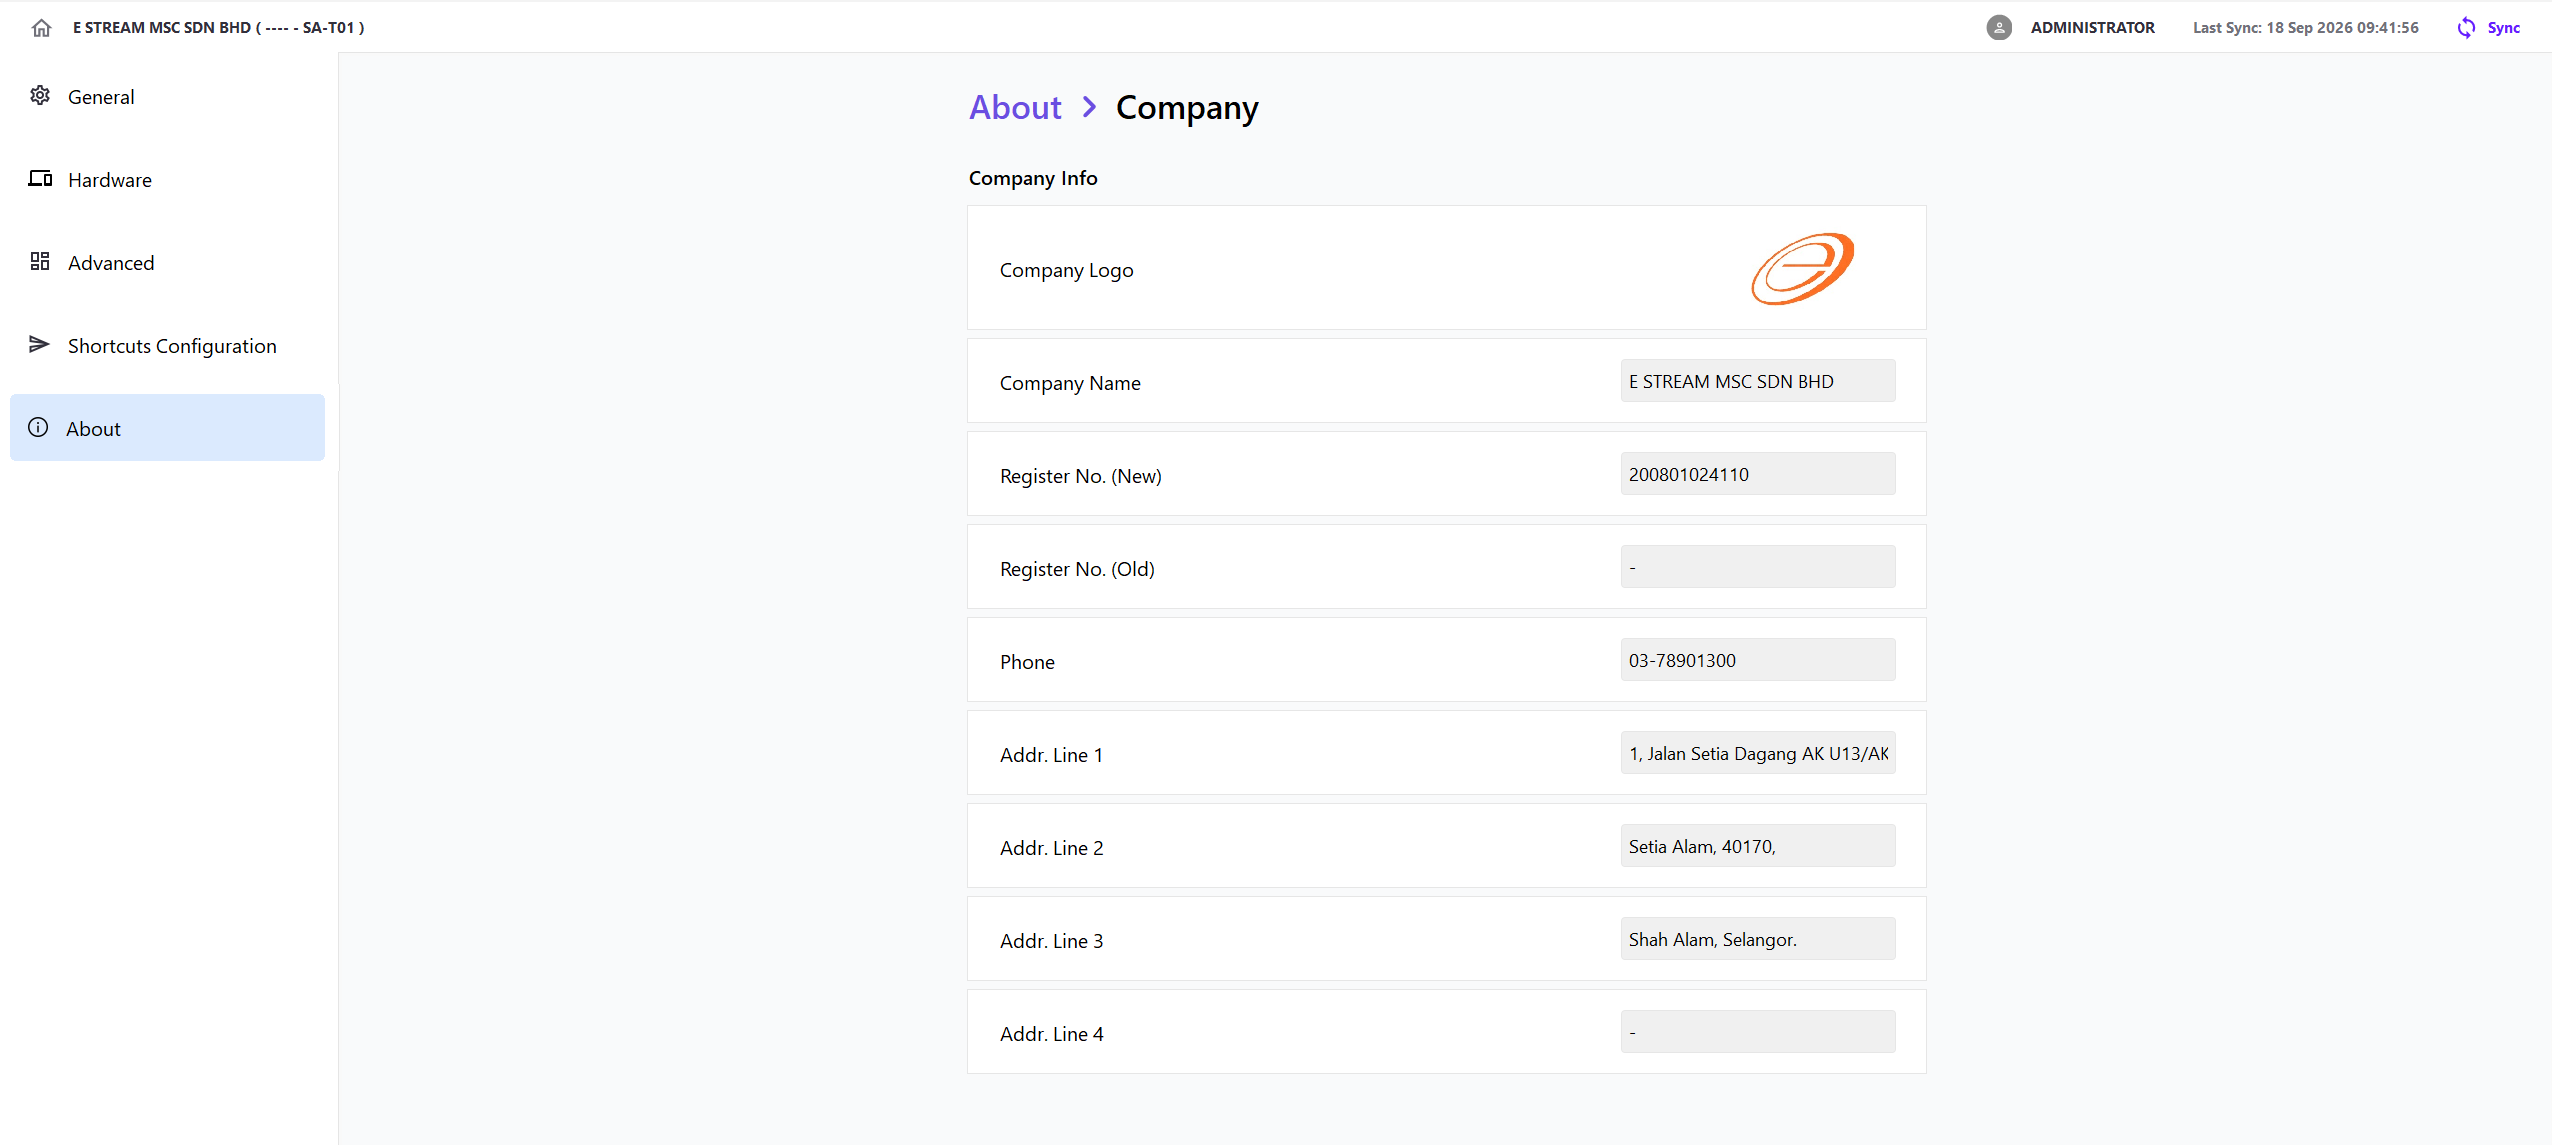
| Section | Details |
|---|---|
| Company Info | Company logo, company name, old and new registration numbers, phone number, and address lines |