E Claim
Introduction
E Claim is a feature which allows your employees to submit a claim through SQL HRMS mobile app and then synchronize the claim application back to SQL Payroll.
Prerequisites
Before proceed with the guide below, you will need to have SQL Drive setup. Find out how to setup in the enable SQL Drive guide
Create Claim Code (ADMIN)
-
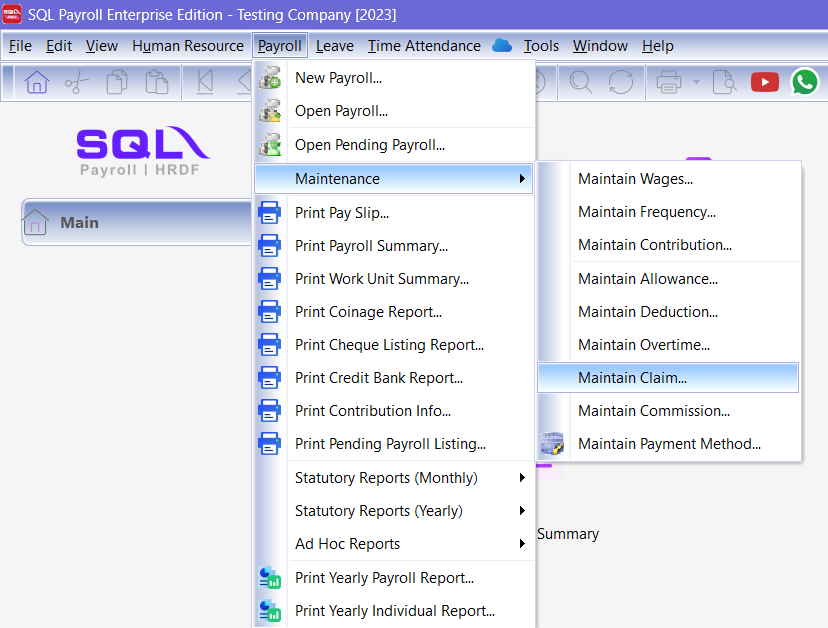
In SQL Payroll, go to Payroll > Maintenance > Maintain Claim
-
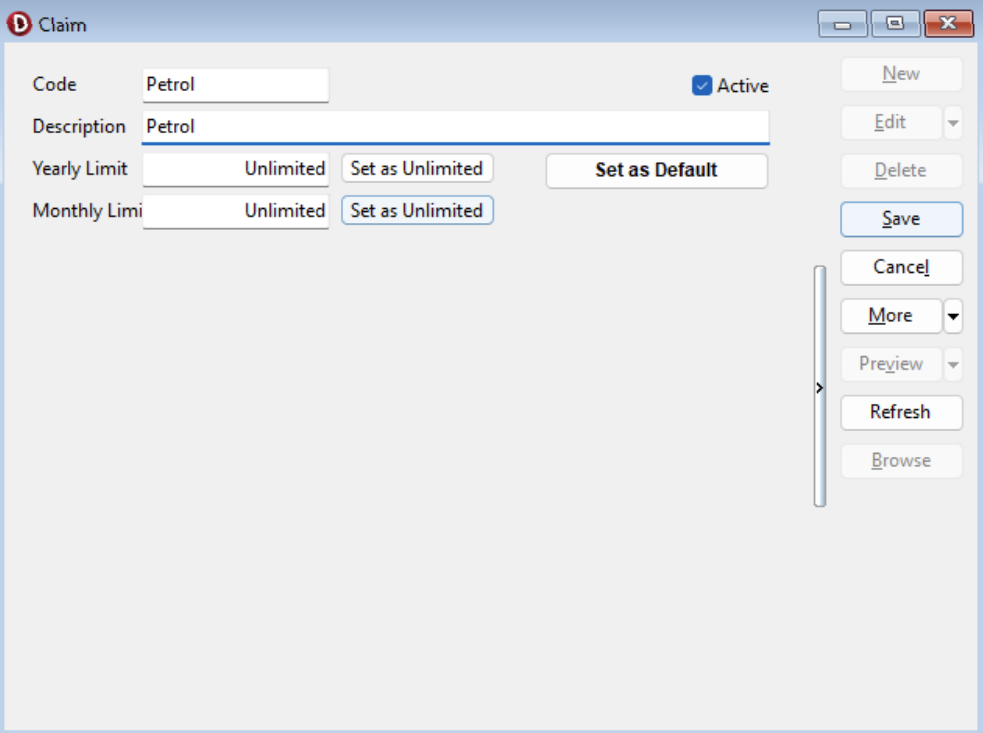
Create New, give it a code name (e.g. Petrol) and click on Save
noteOptional: Yearly Limit & Monthly Limit
Set to a specific amount to limit employee total claim amount.
Setup employee access to SQL HRMS mobile app (ADMIN)
-
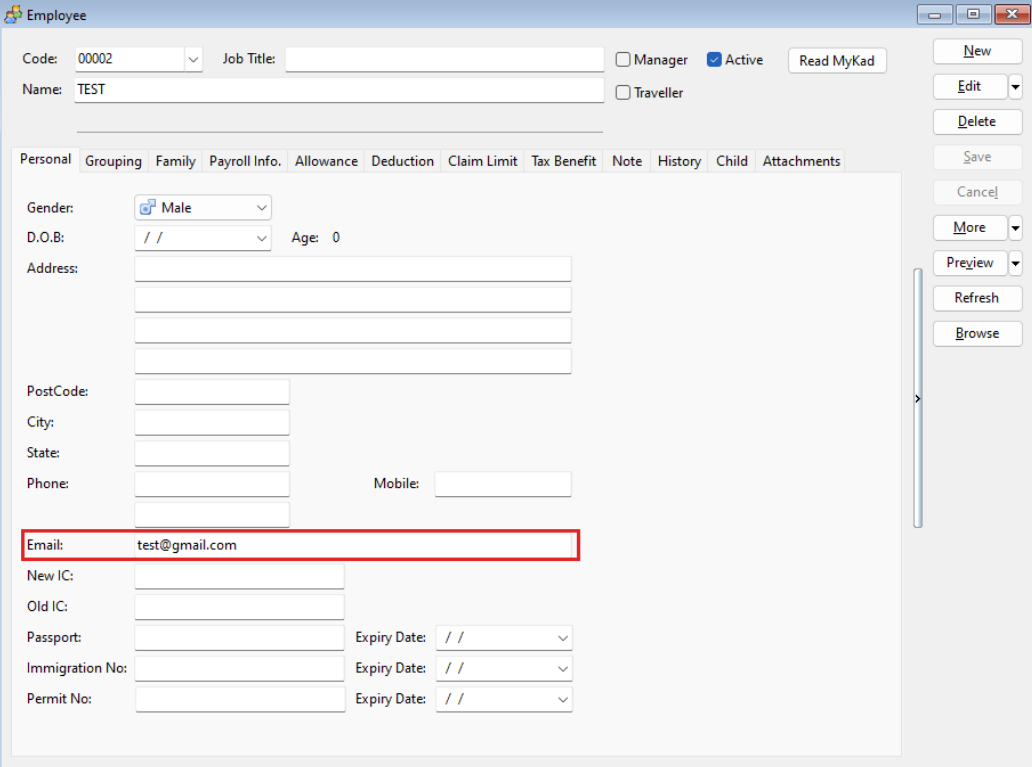
In SQL Payroll, go to Maintain Employee > Employee profile. Make sure to fill up the employee email address
-
After that, go to Cloud > Sync Cloud

-
Click on Sync Now
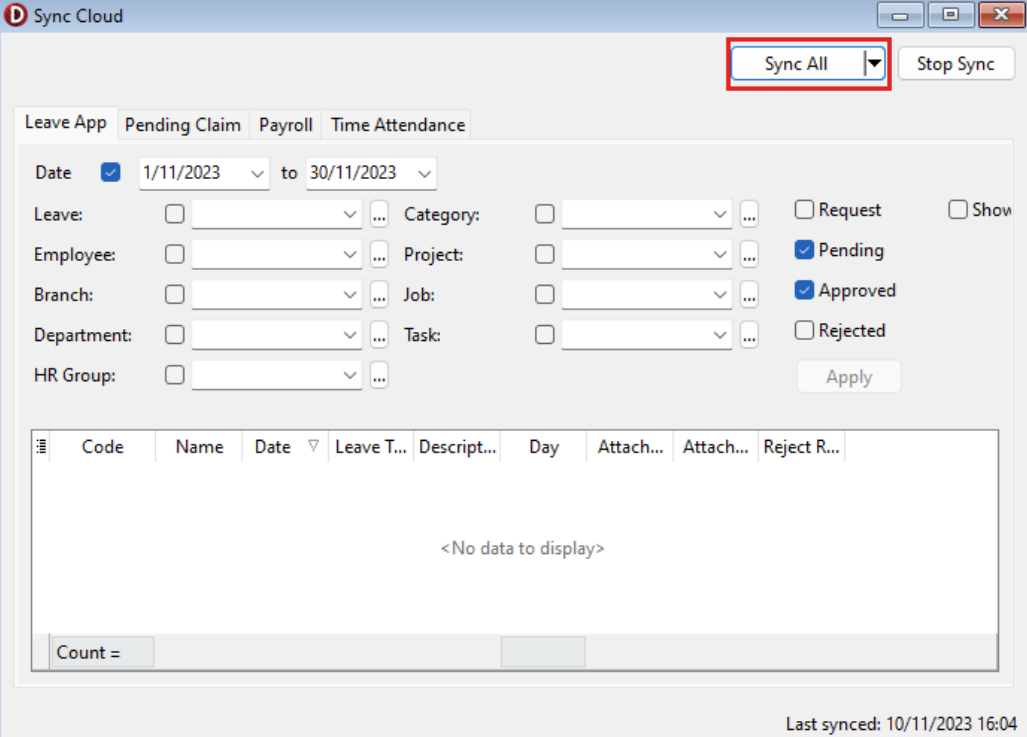
-
Wait until the status changed to "Sync completed"
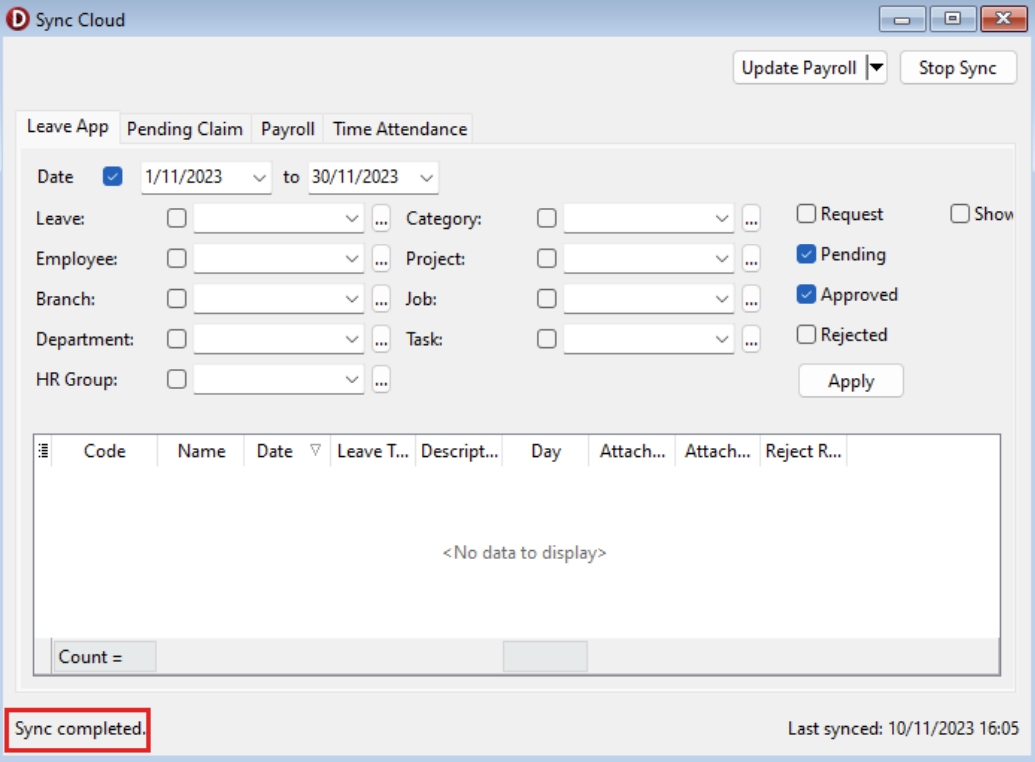
SQL HRMS mobile app (EMPLOYEE)
A video guide for this step is available in Youtube
-
Our SQL HRMS app is available in Google Play Store (Android) and App Store (iOS). Before download, verify the app publisher is eStream Software
-
Install, open the app, and proceed to login with the email address registered in Maintain Employee (refer to Step 3)
-
During login process, employee will need to enter the OTP (One Time Password) sent to the registered email for verification purpose
-
Submit Claim (Employee)
1. Go to Employee View 2. Swipe Left to show Claim section 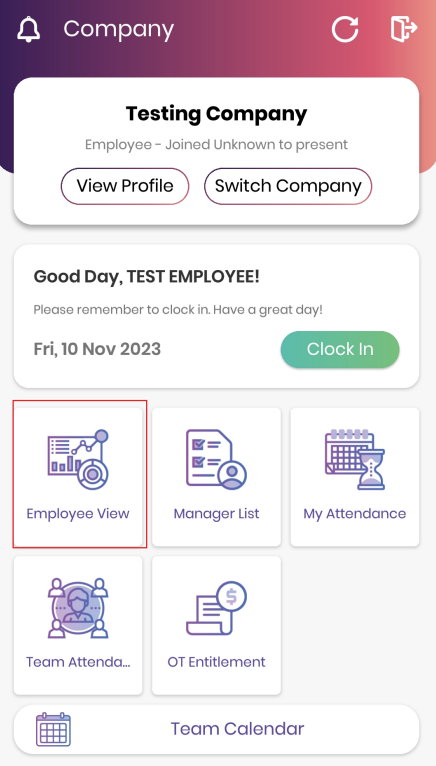
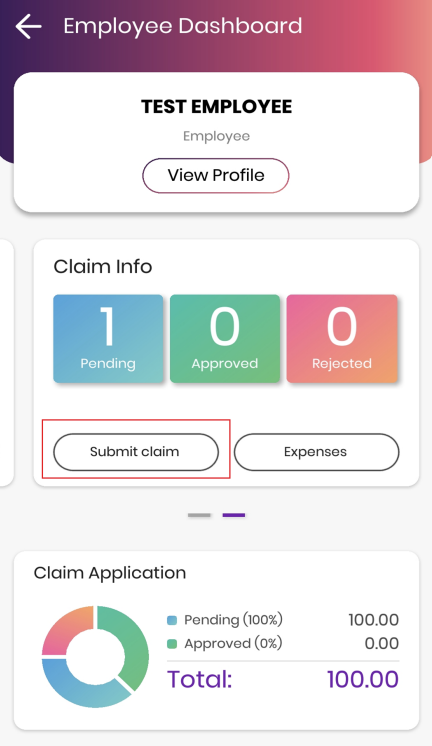
3. Enter Claim Details and Upload Attachments 4. Submit the claim 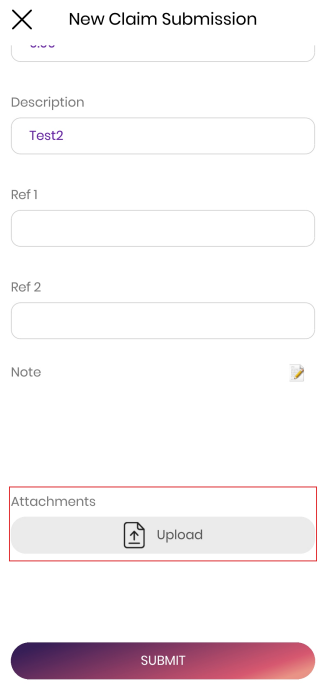
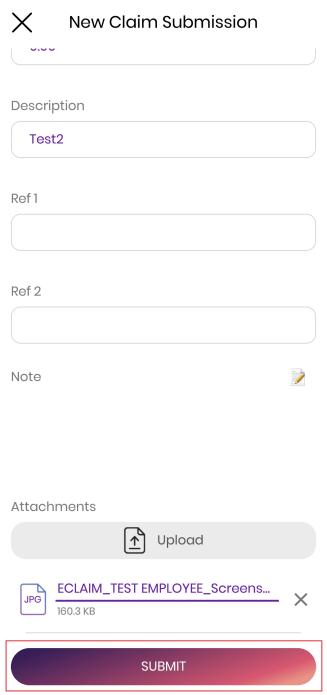
Sync Claim Application to SQL Payroll (ADMIN)
This section explains the approval/rejection process by ADMIN
Approve: system will calculate the claim amount when processing payroll
Reject: system will NOT calculate the claim amount when processing payroll
-
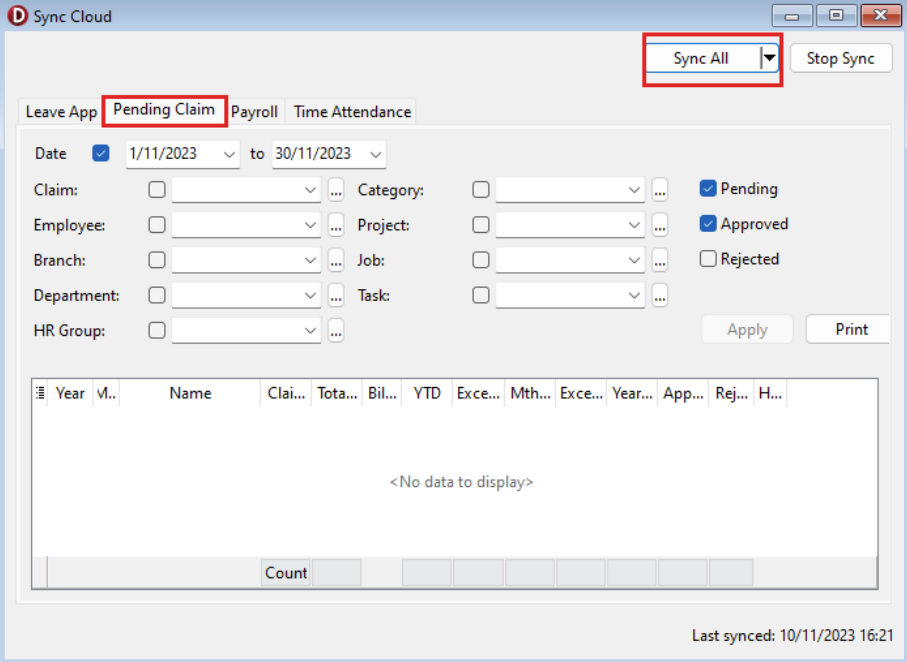
In SQL Payroll, go to Cloud > Sync Cloud

-
Navigate to Pending Claim, then click Sync All
-
Once synced successfully, you will see a listing of pending claim to be approved or rejected
-
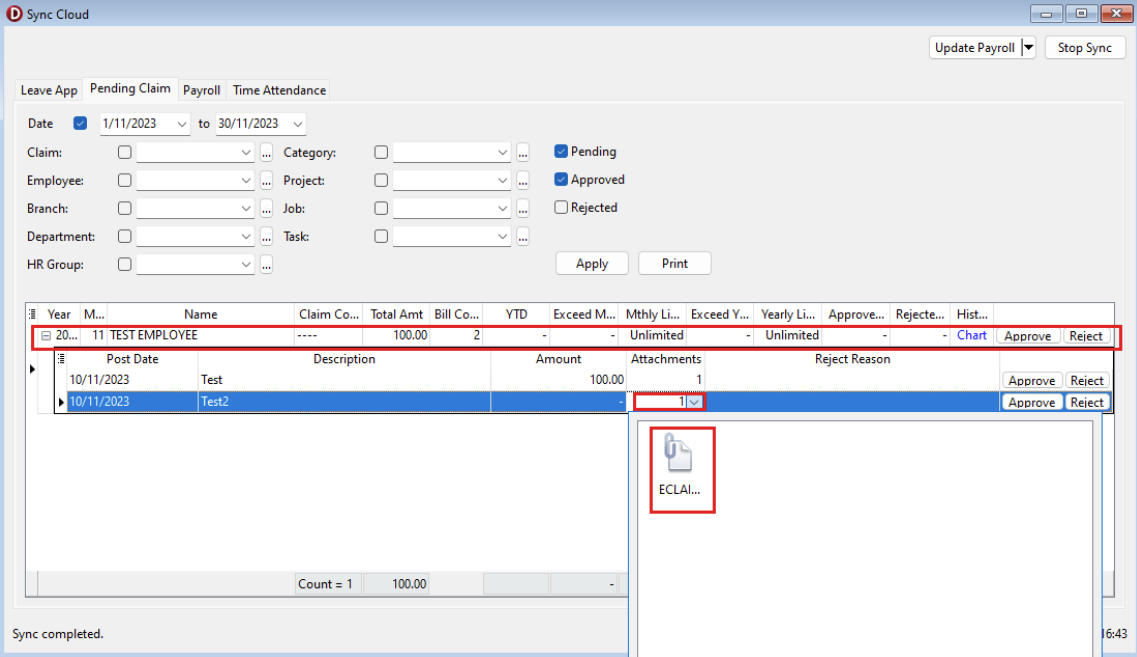
Double click on any of the claim listing to expand its attachments
-
Click on the Attachment column to view attachments directly
Approve Claim
-
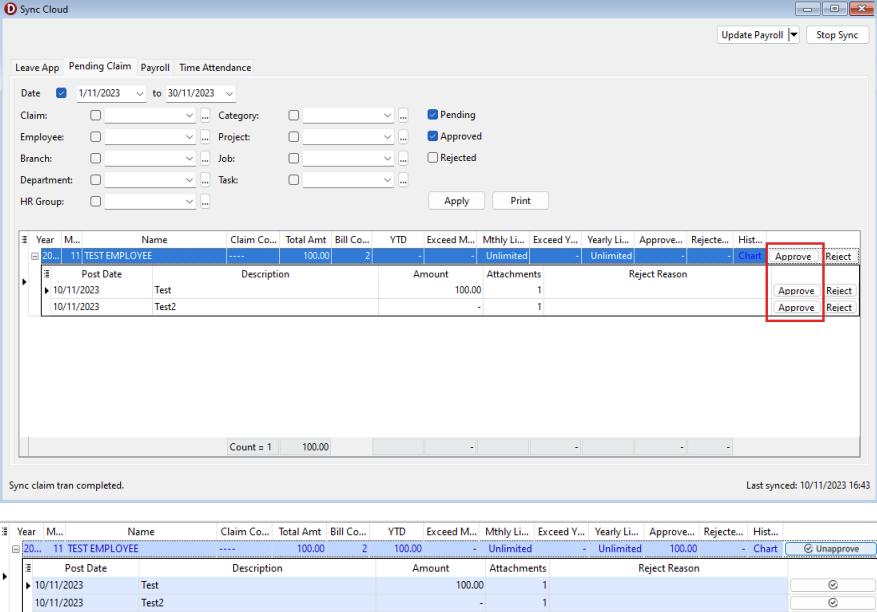
Click Approve
 tip
tipThe row turning blue indicates that it has been successfully approved
-
Click Sync Now again, system will then sync the status with SQL HRMS app so employee can see the latest status
-
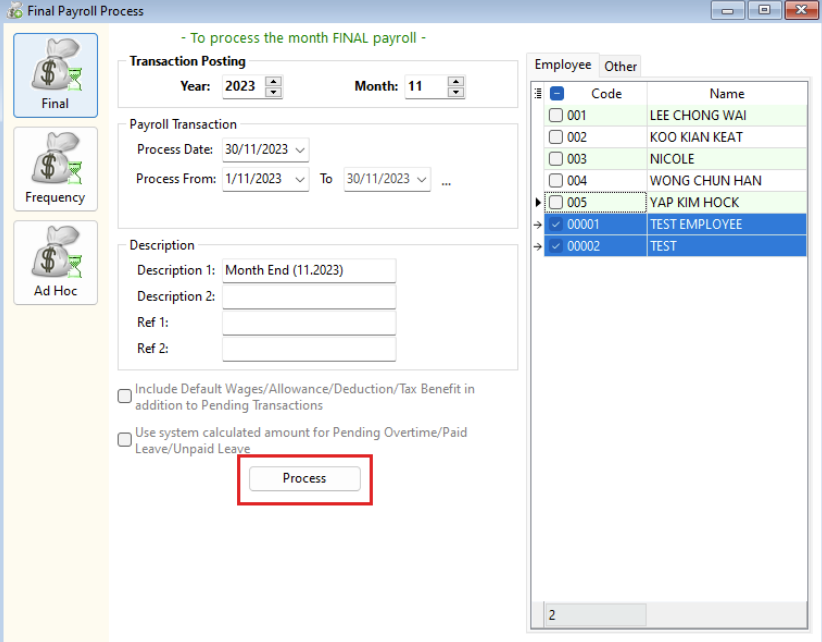
Navigate to Payroll > New Payroll, and click Process
-
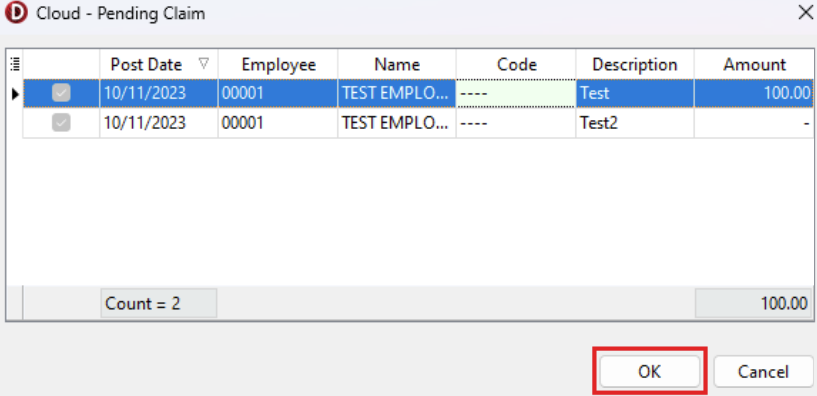
You will be prompted with the pending claim that will be included, click OK to proceed
-
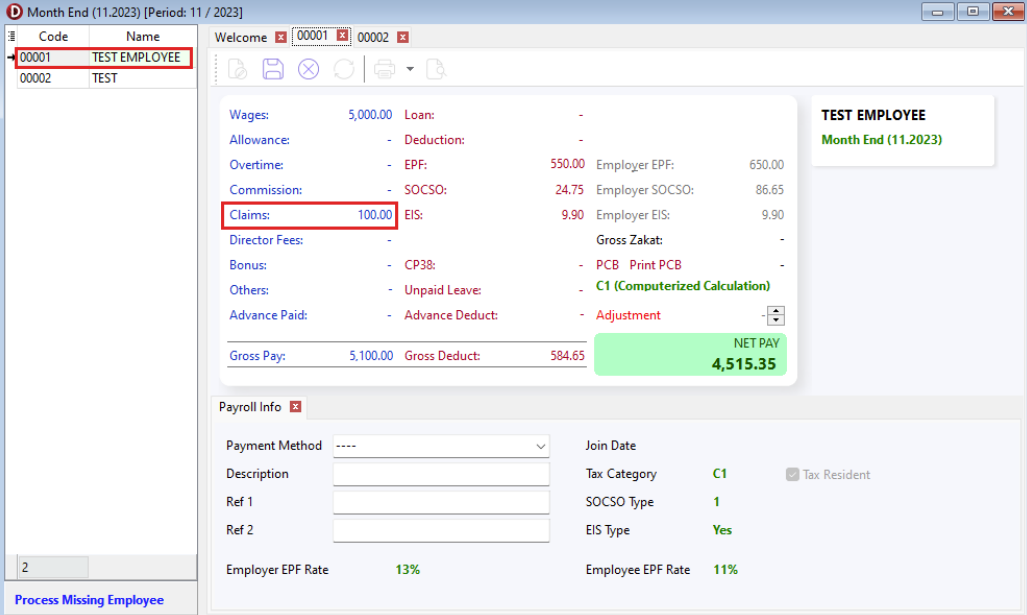
Double click on the employee on left sidebar to check payroll details. You will be able to see that claim amount is included in the month end payroll
Reject Claim
-
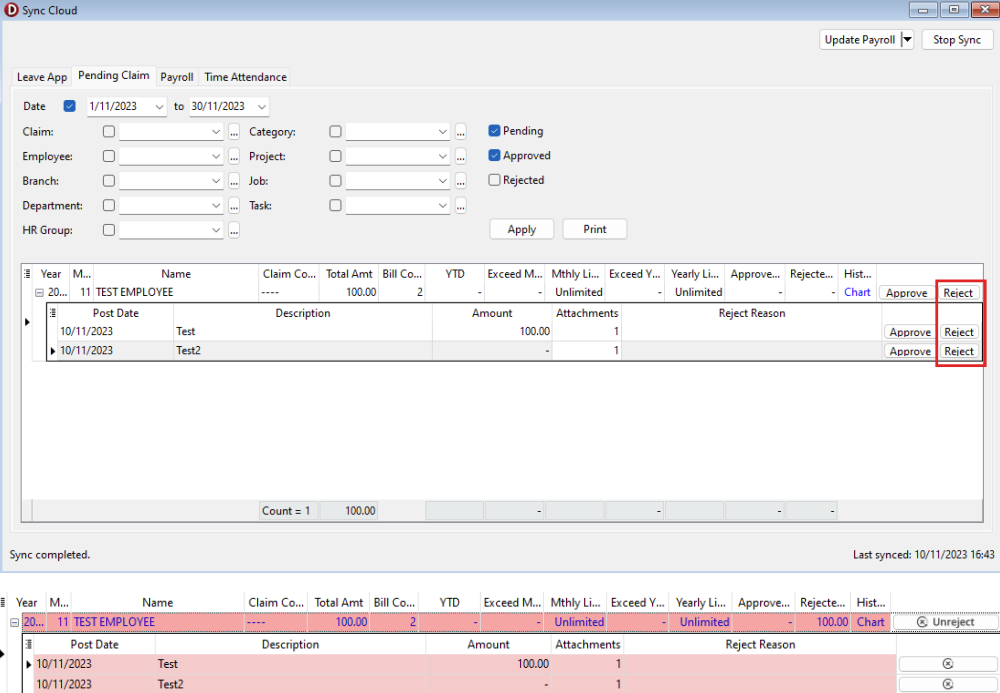
Click Reject
 info
infoThe row turning red indicates that it has been successfully rejected. The system will not include the claim amounts during payroll processing.
-
Click Sync Now again, system will then sync the status with SQL HRMS app so employee can see the latest status.
-
Approve Claim
FAQ
What if the claim amount exceeded monthly/yearly limit and you still want to approve it?
System do not force you to reject the claim, however you will be given two reminder if you chose to proceed and approve the claim (shown below).
-
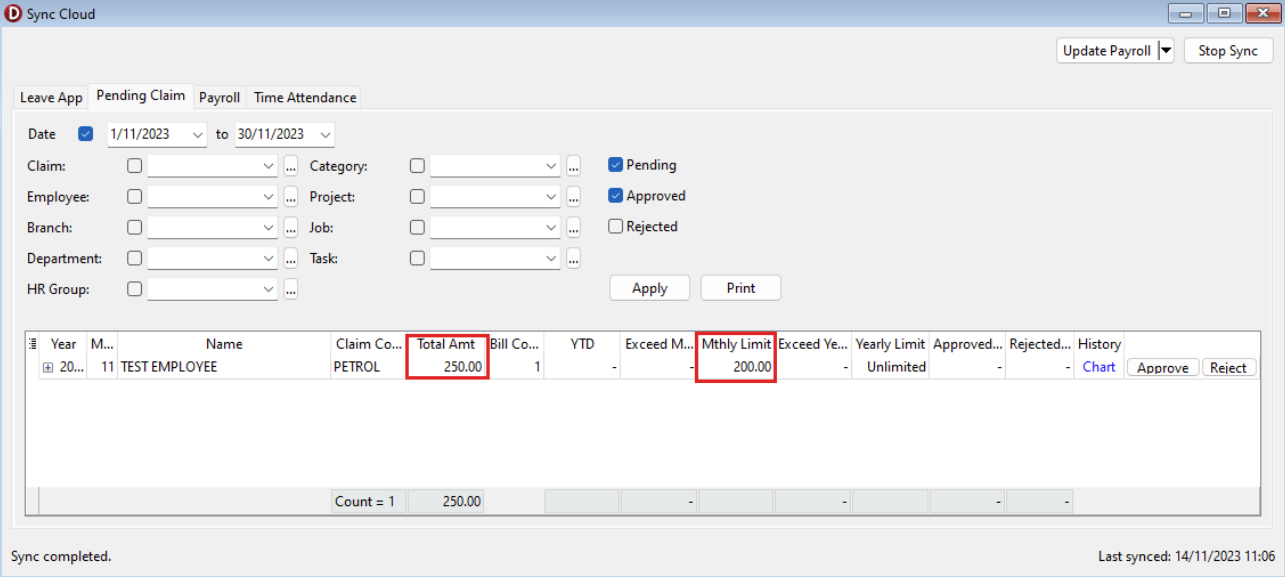
Example: Petrol Claim
Monthly limit: RM250
Employee Claim Amount: RM200
 tip
tipYou can reject the claim at this window if you do not wish to proceed.
-
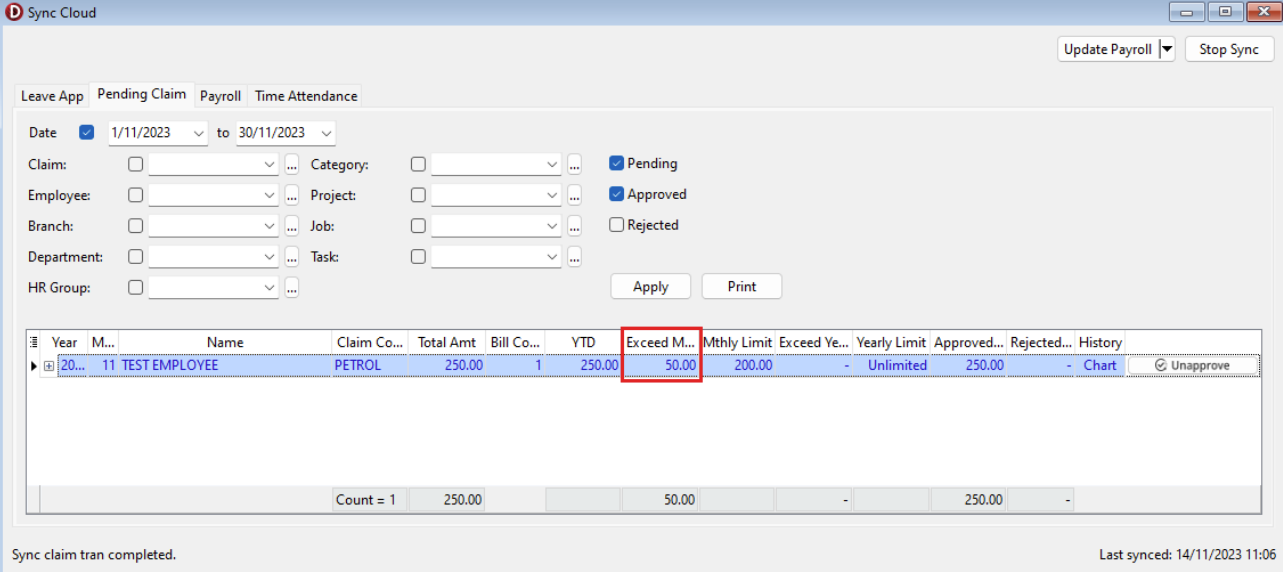
Click approve, system will calculate the extra amount which exceeded limit. (First reminder)
-
Click Sync Now.
-
Go to Payroll | New Payroll | Click Process | Click OK
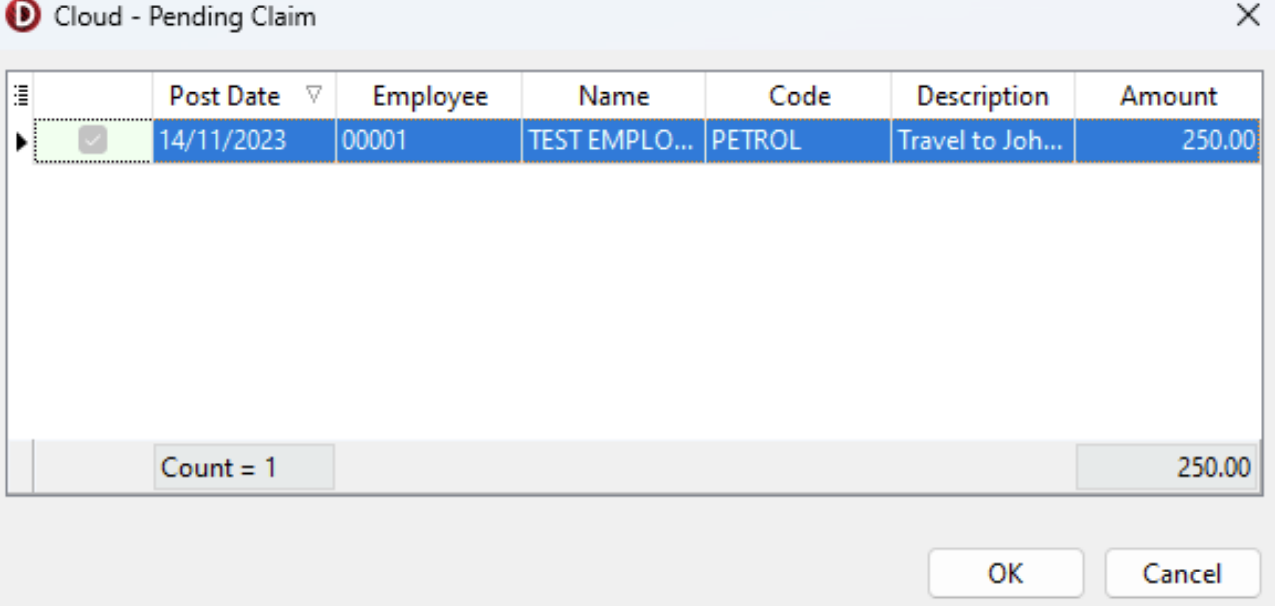
-
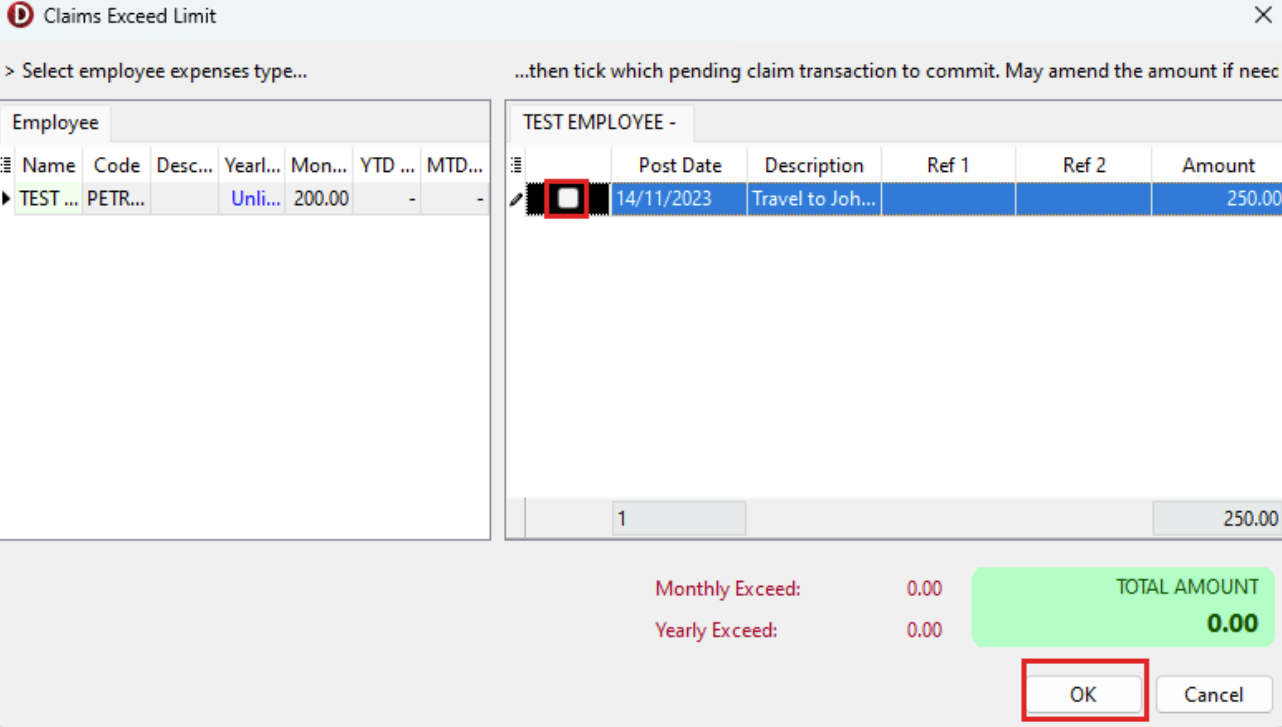
System will prompt a new window "Claims Exceed Limit" (Second reminder)
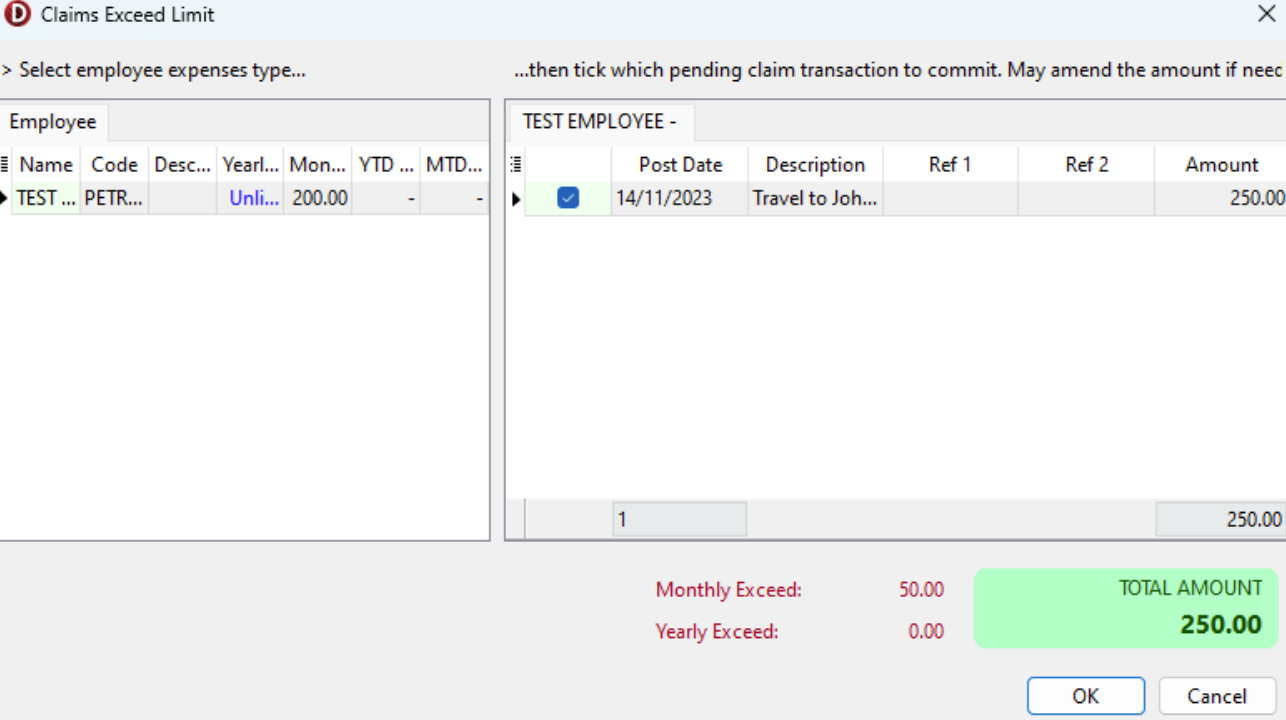
-
Click OK to approve and proceed with the claim.
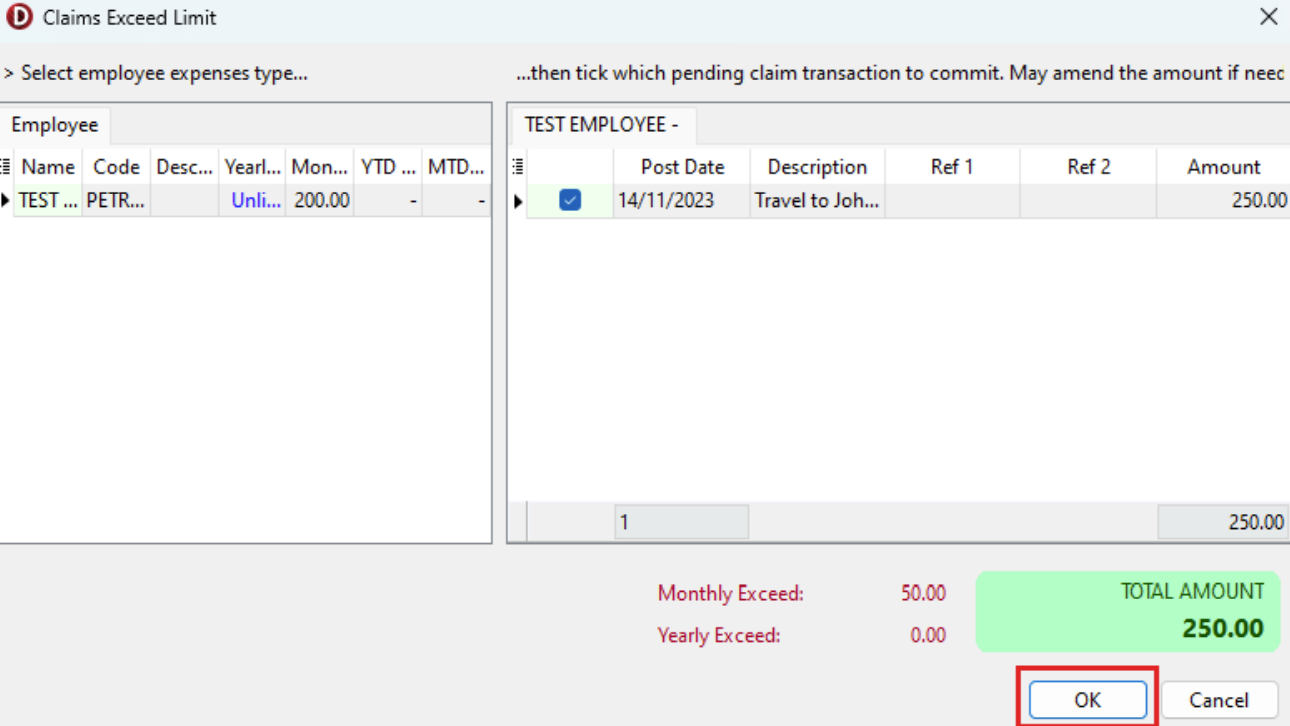
If you do not wish to reject the claim, untick it and Click OK
