First Time Setup
Financial Period & System Conversion Date
Watch the tutorial video here: YouTube
-
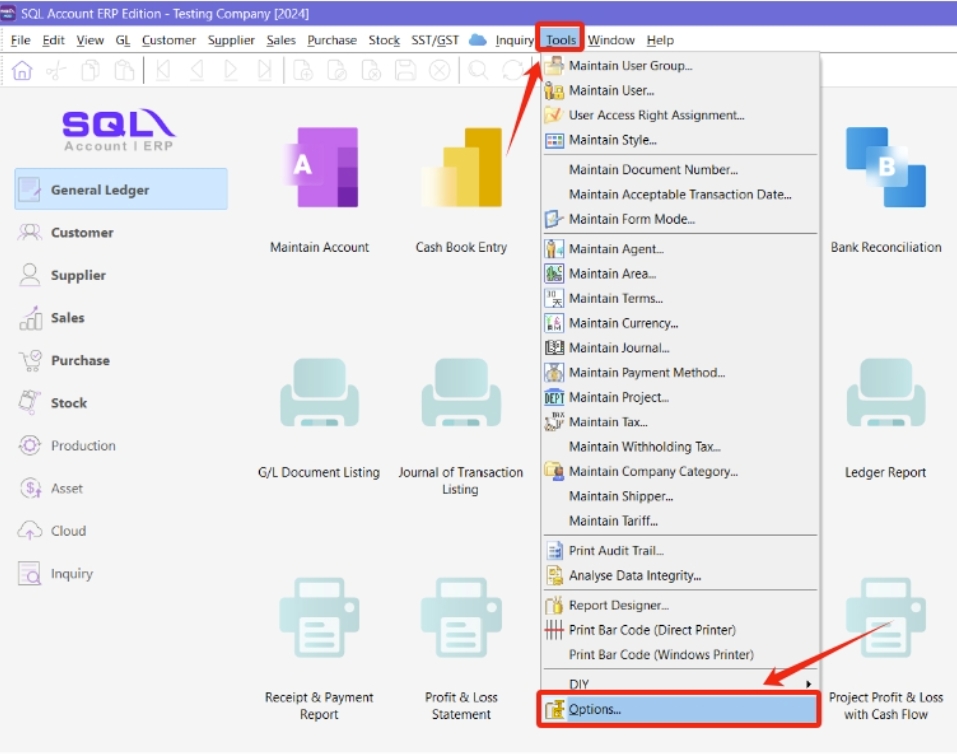
Tools → Options
 note
noteOnce you have set up your Financial Start Period and System Conversion Date, it is not possible to change them later. This configuration can only be set once when creating a new database.
-
Select General Ledger
-
Select Financial Start Period & System Conversion Date
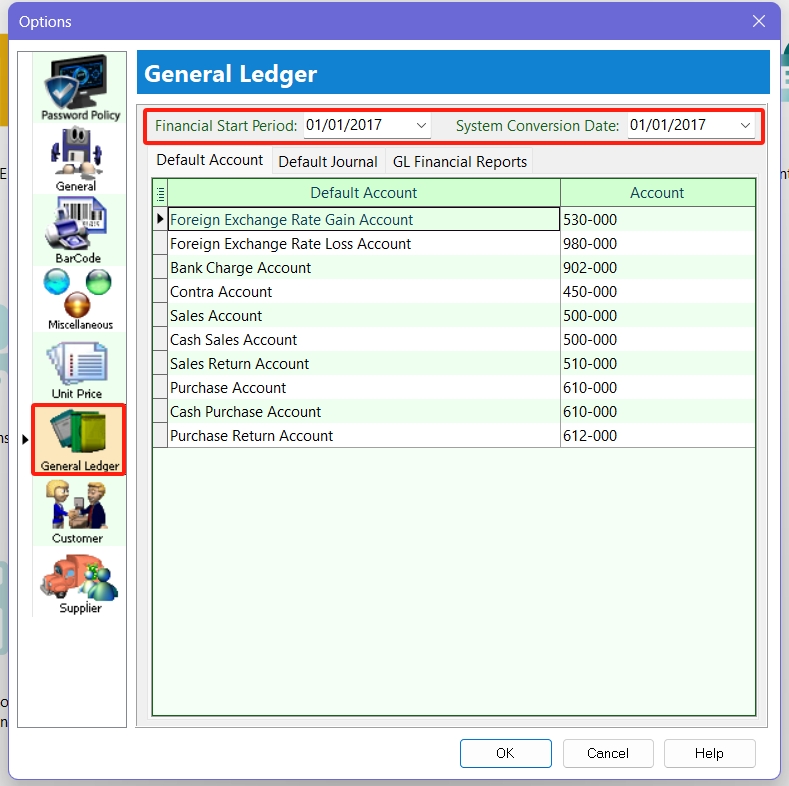 Scenario 1
My financial period starts on 1 January every year. I started using SQL on 1/1/2015.
Financial Start Period = 1/1/2015
System Conversion Date = 1/1/2015
Scenario 2My financial period starts on 1 January every year. I started using SQL on 1/4/2015.
Financial Start Period = 1/1/2015
System Conversion Date = 1/4/2015
SST
Activate SST
-
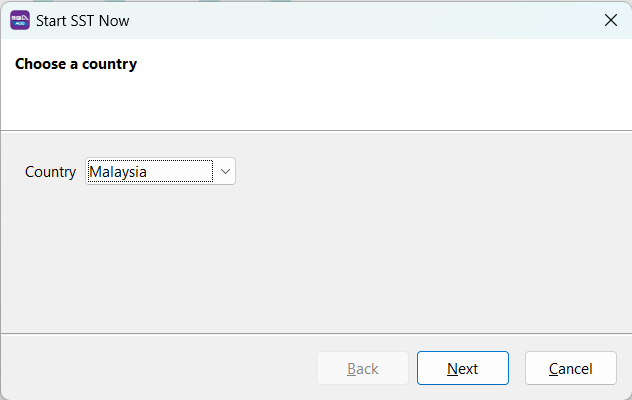
In SQL Account, click the menu SST/GST → Start SST now...

-
Select Malaysia as the country, then click Next.
-
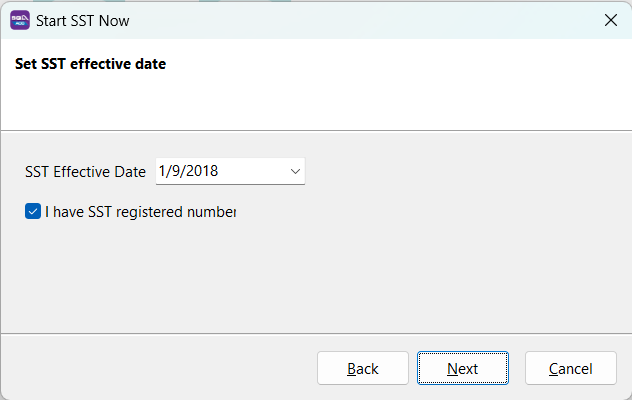
Fill in SST Effective Date
-
Tick I have an SST registration number if you have a valid SST registration number from the government (skip to Step 6 if you don't).
-
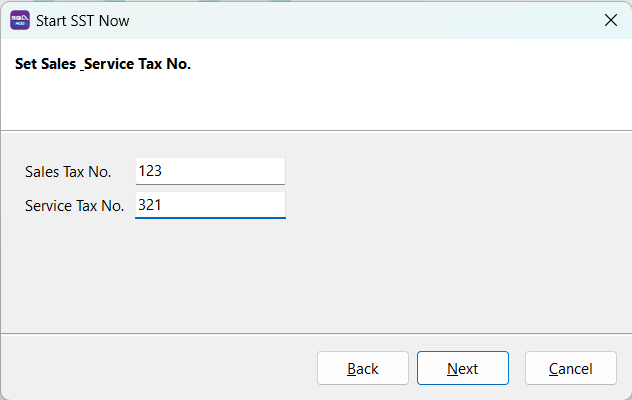
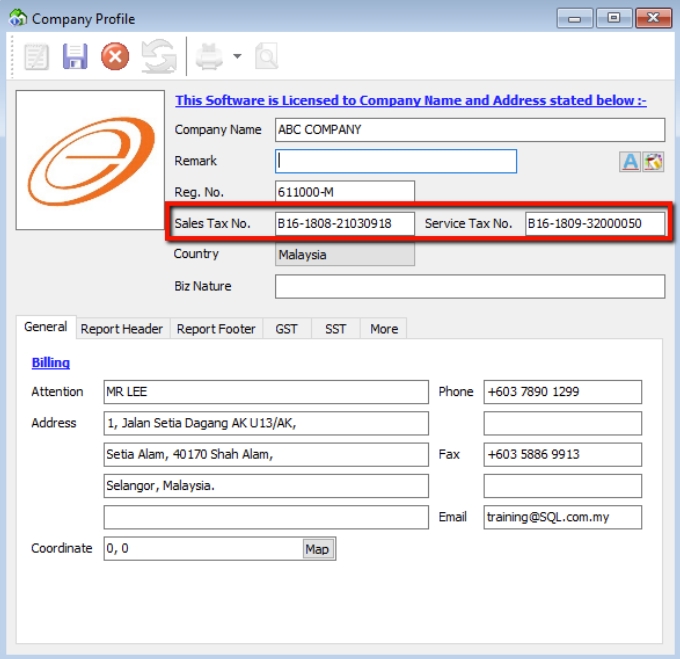
Fill in your Sales Tax No and Service Tax No. These details will be auto-updated in your company profile.
-
In the next step, click Next to auto-generate the SST GL Account.

-
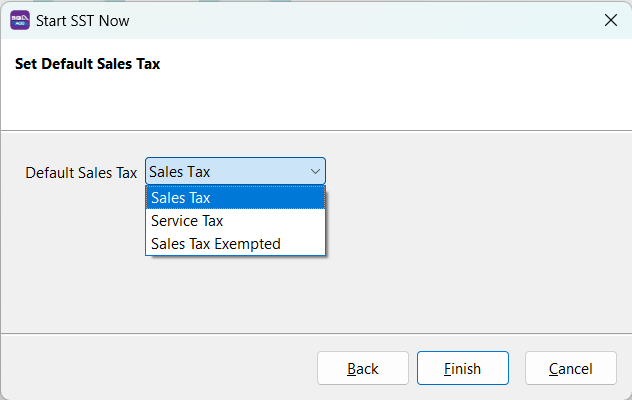
In the following screen, you can preset your tax code for billing (Sales Tax, Service Tax, Sales Tax Exempted, etc.)
-
The system will prompt you to log in again; after that, you're ready to go.
-
After logging in, you will see a new drop-down list for SST functions. The SST setup is now complete.
Maintain Tariff
-
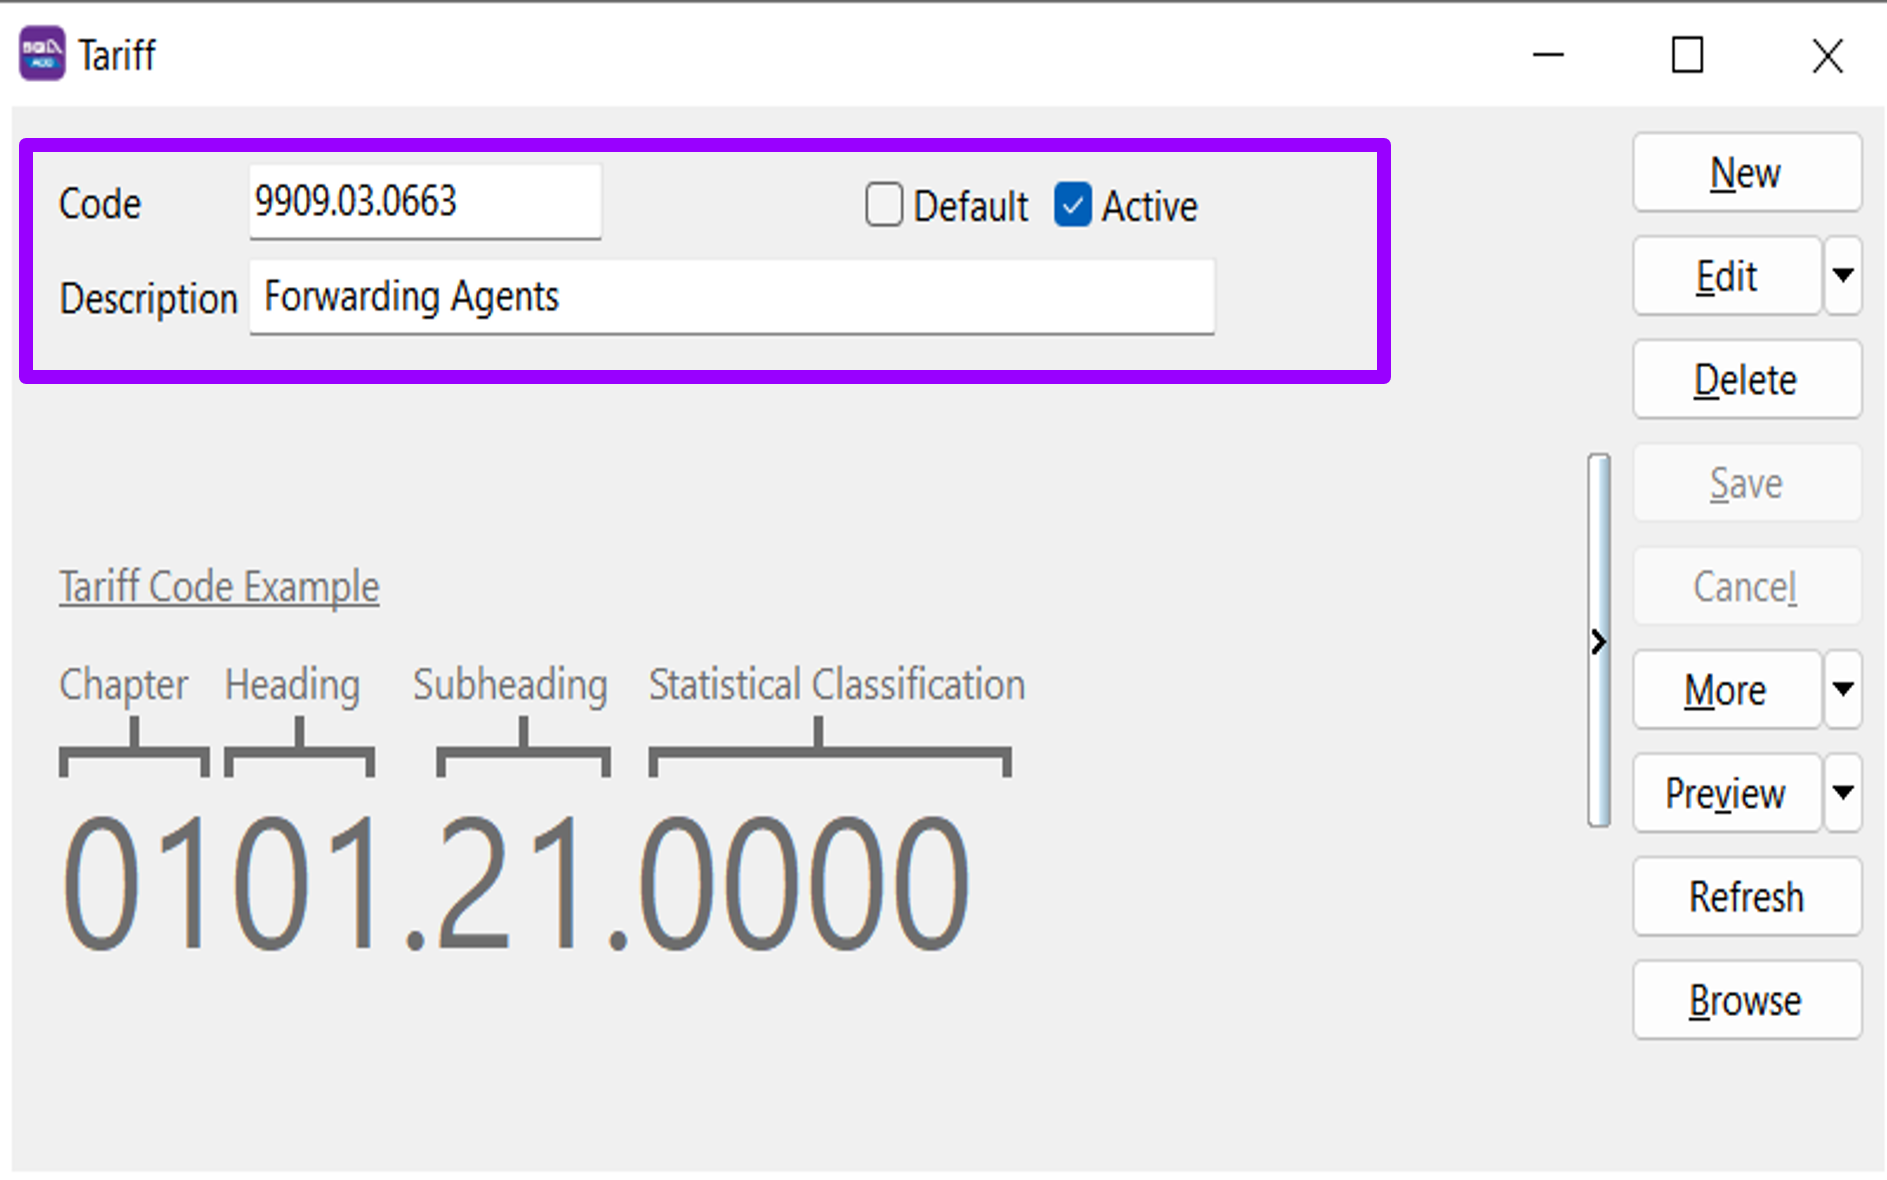
Go to Tools → Maintain tariff → New
-
Tick Default if you only have one tariff code.
Insert your product tariff code here. You can also look up your product tariff code using the Malaysia Customs JKDM HS Explorer
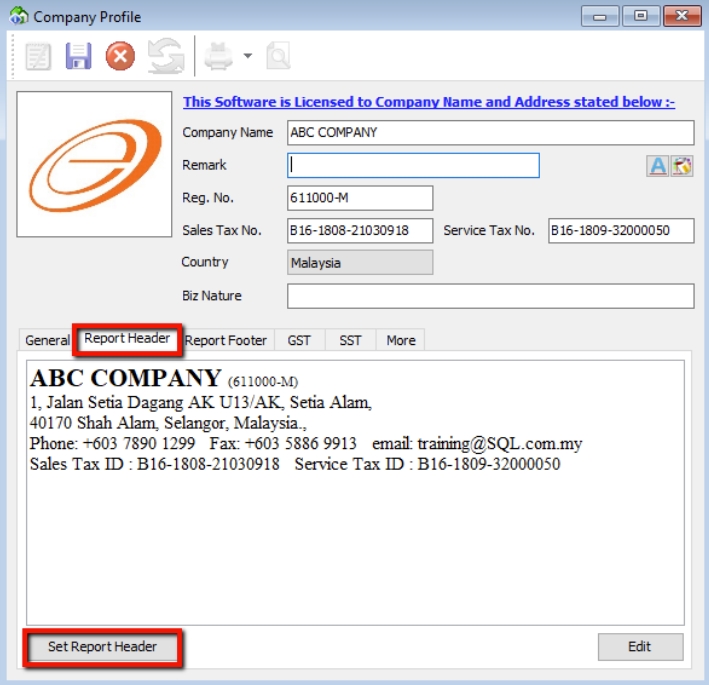
Company Profile
-
Go to File → Company Profile
Fill in your company particulars. If the company is subject to both sales and service tax, enter the Sales Tax and Service Tax numbers.
-
Select Report Header & Set Report Header