Clipboard Excel Import
Clipboard Import allows users to import master and transaction data by simply copy and paste from Excel. It supports both inserting new records and updating existing ones.
Video Guide
Download Excel Template
About Excel Template
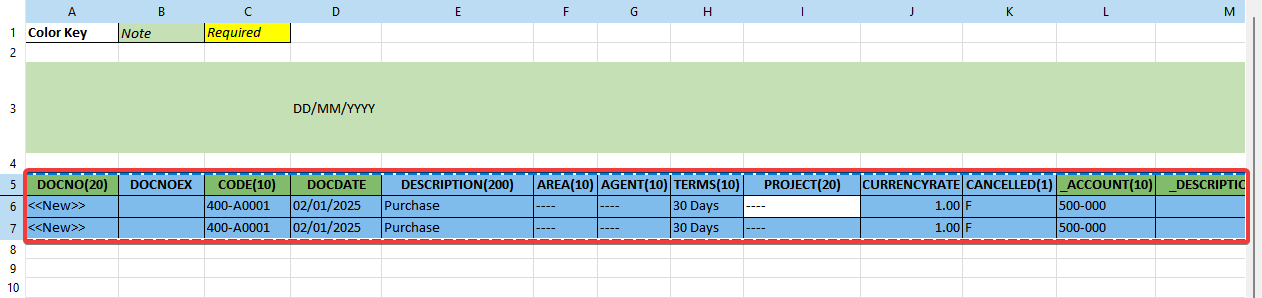
The first row is field name and number inside the bracket is the field size. Field that starts with '_' (underscore) represents the detail table.
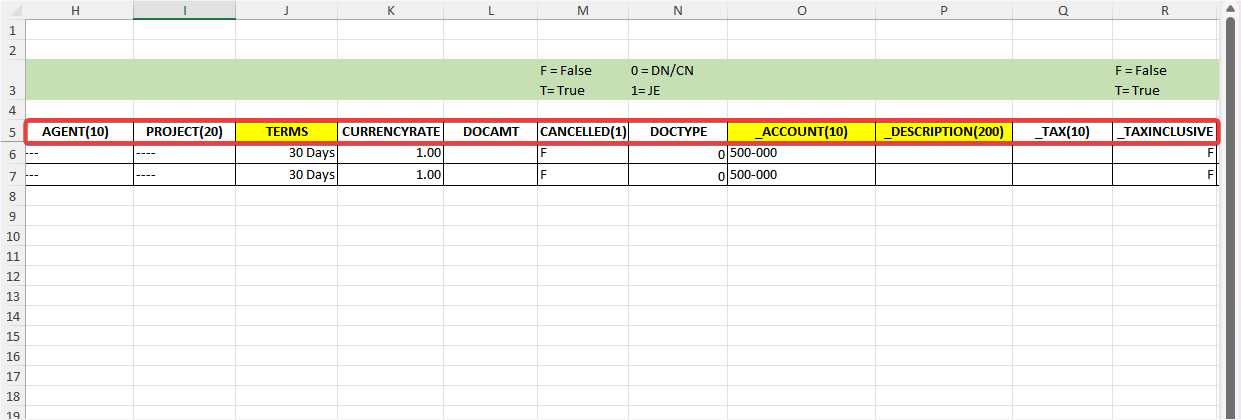
Do not modify the field name. Modifying them may result in import errors.
Usage
Import Steps
-
Go to File > Import > and select the table

-
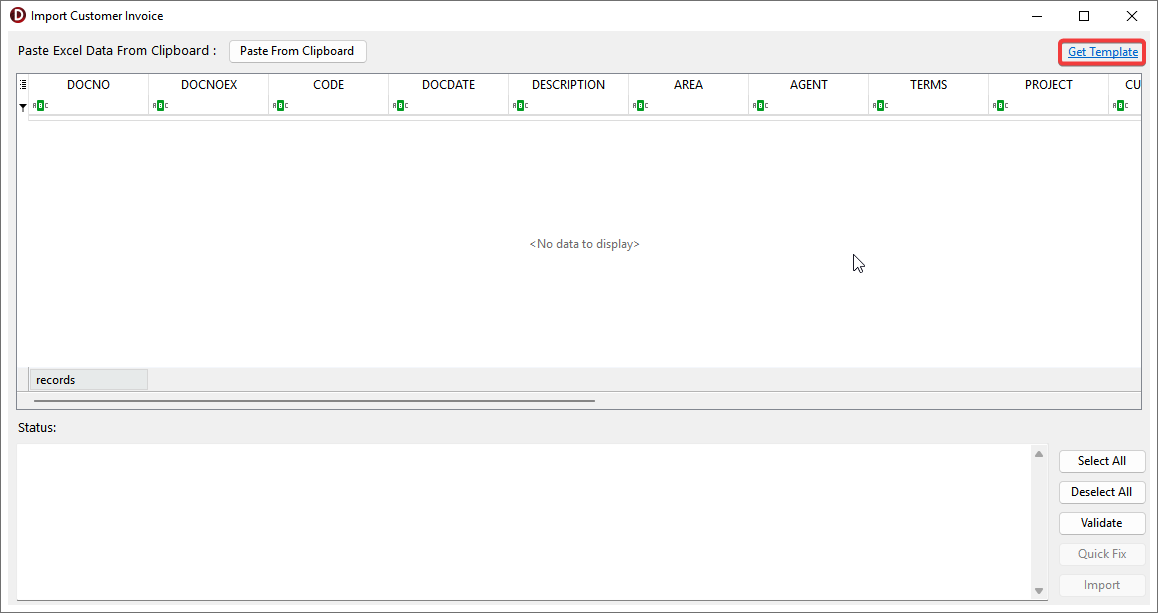
Click Get Template and starts preparing data
-
Select and Copy (Ctrl + C) the table in Excel, including with field name
-
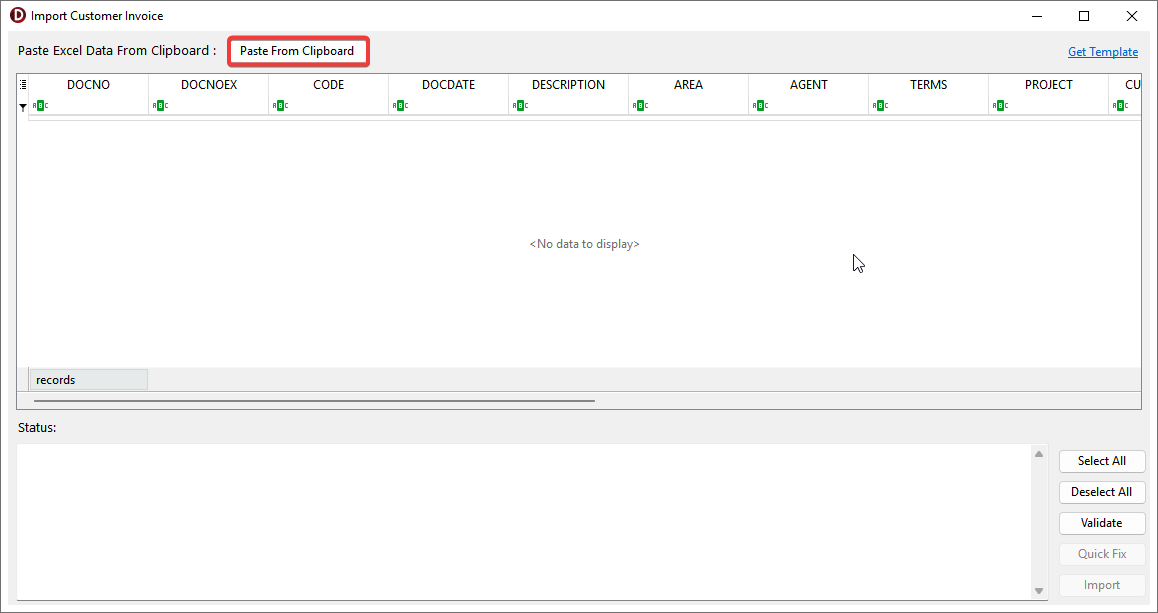
Click Paste from Clipboard
-
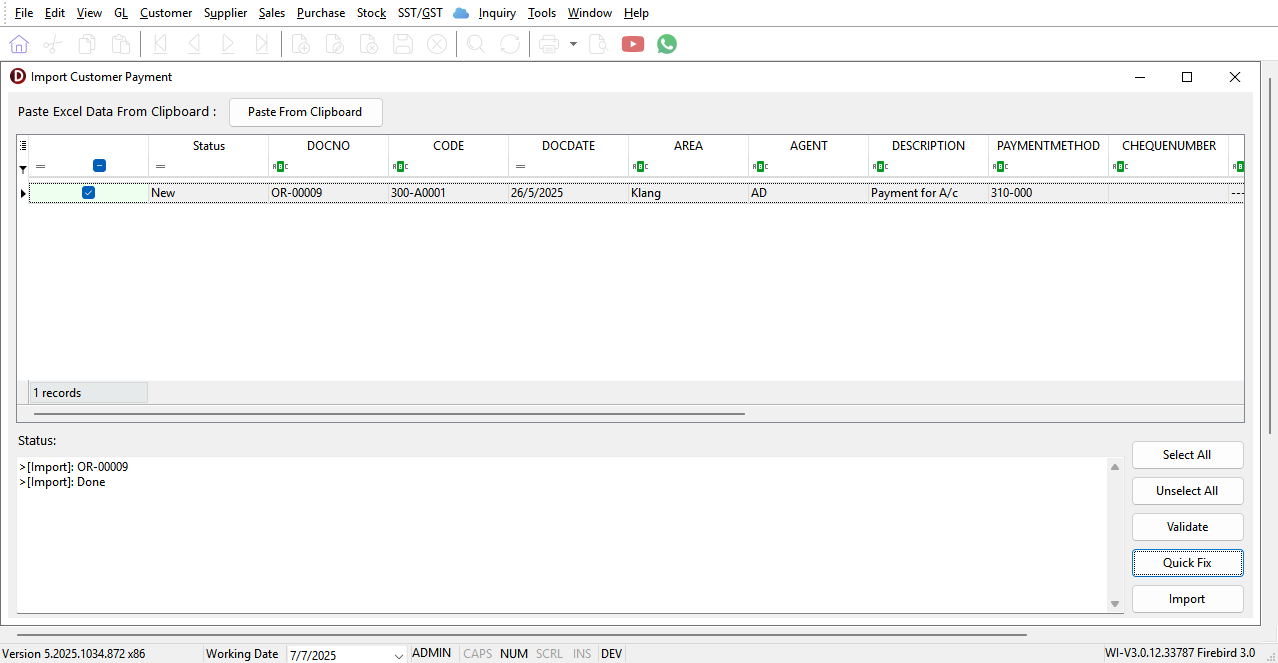
Validate the imported data
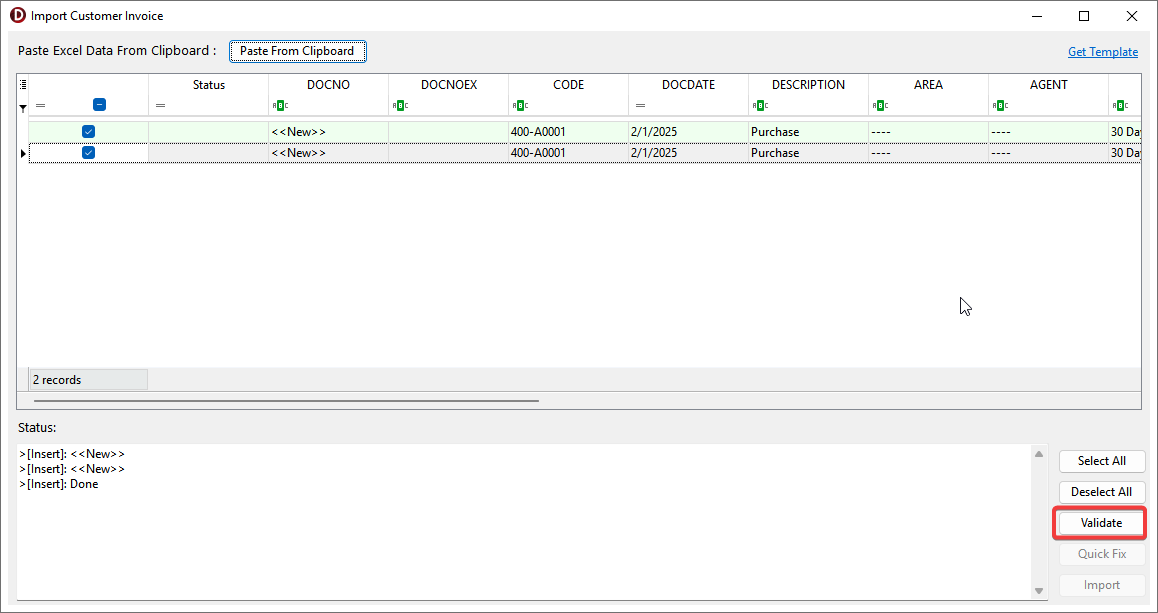
-
The status will show New, Update or Error
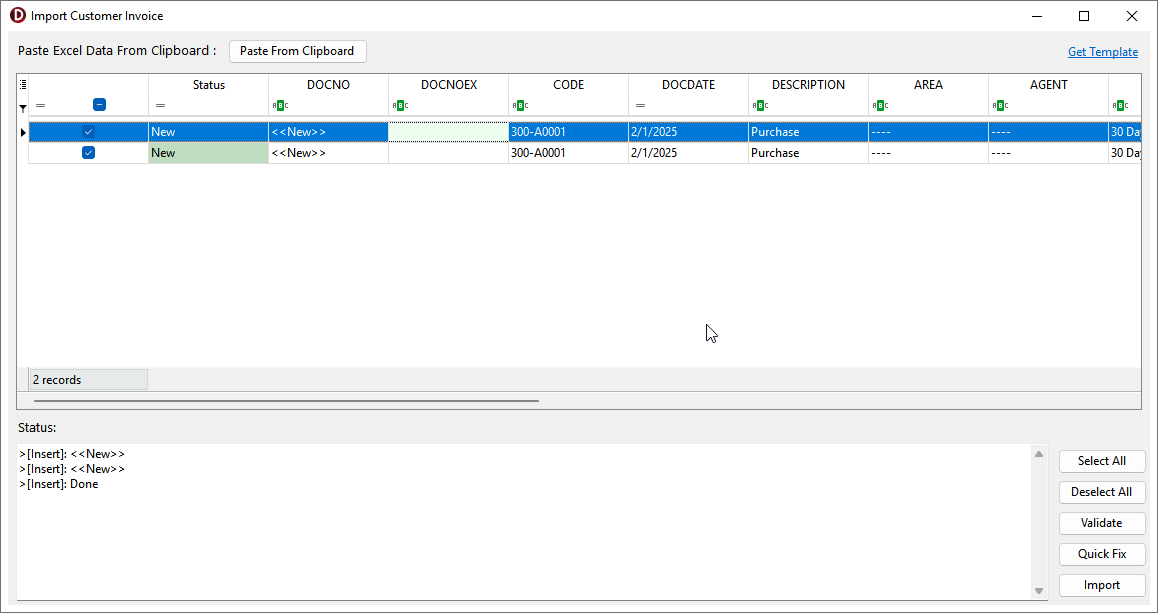 info
infoNew: Inserts master and detail records.
Update: Udpates the master table and appends the detail records.
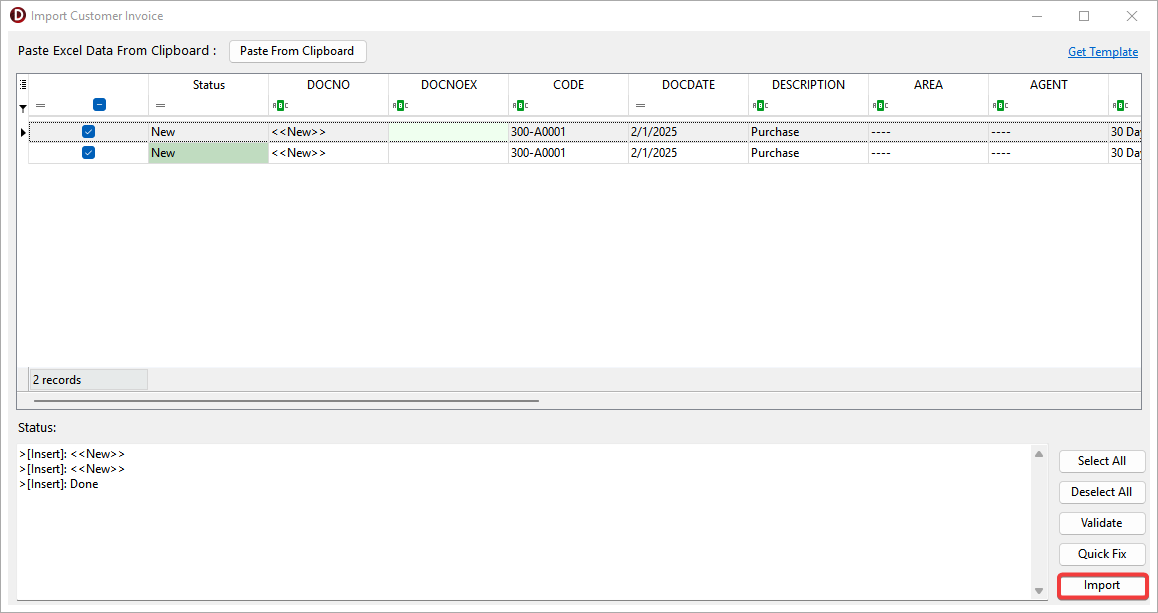
Error: You can edit the grid then Select All and click Validate again or use Quick Fix. -
Click Import
warningDuring the import process, it is advisable to wait patiently until the import is complete. Performing other actions may cause the application to become unresponsive
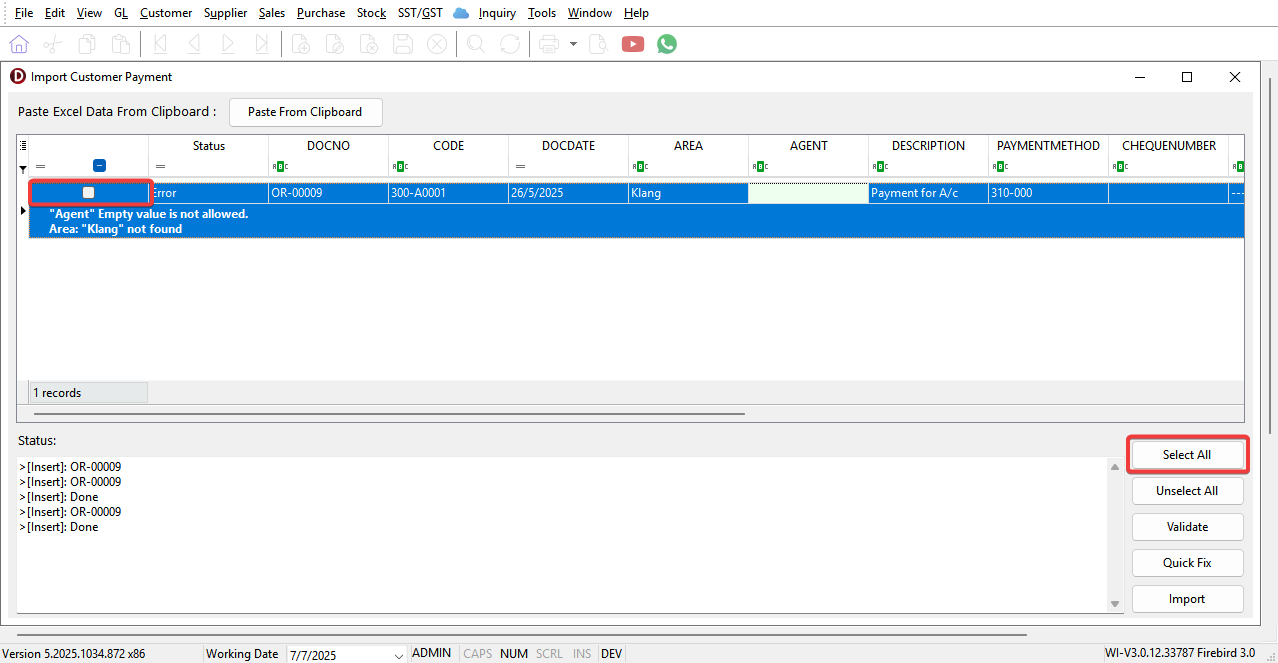
Quick Fix
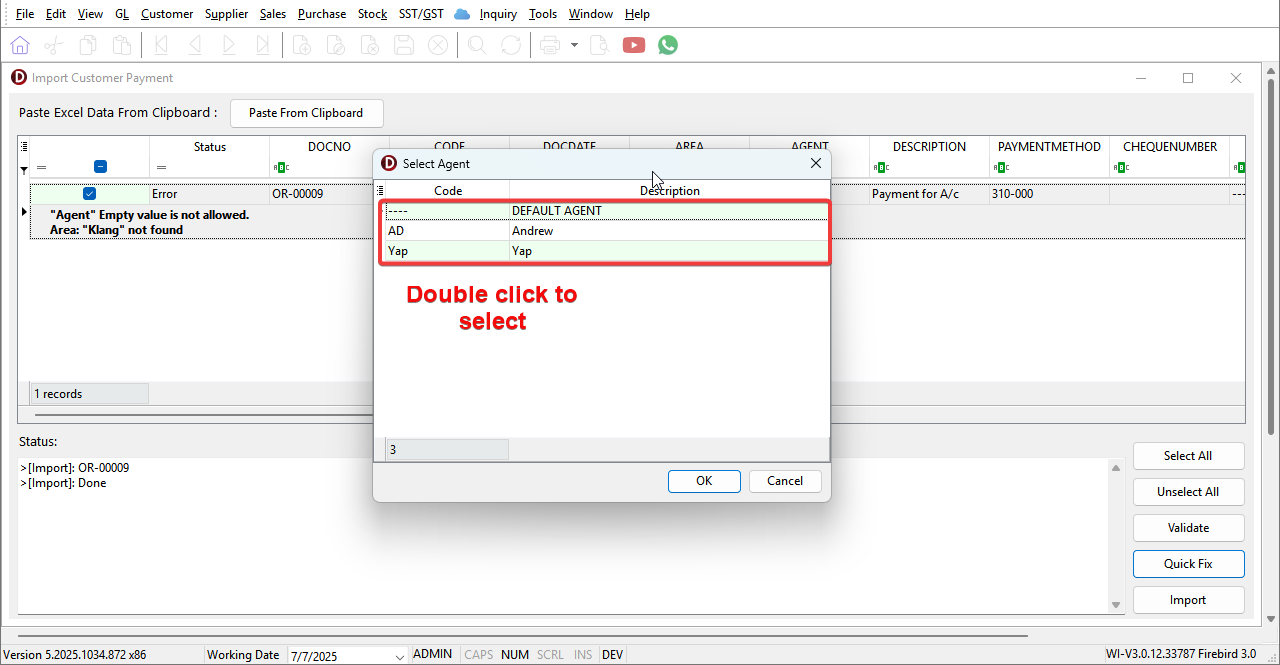
Quick Fix helps you automatically fix errors, such as missing values. It can create missing items (like Agent or Area) or let you select a default value for empty field.
-
After Validate, record with Error status will be unticked. Click Select All or tick records that need to be fixed
tipQuick Fix only works for records with an Error status.
-
Click Quick Fix

-
For empty value error, select a default value
-
Error is fixed
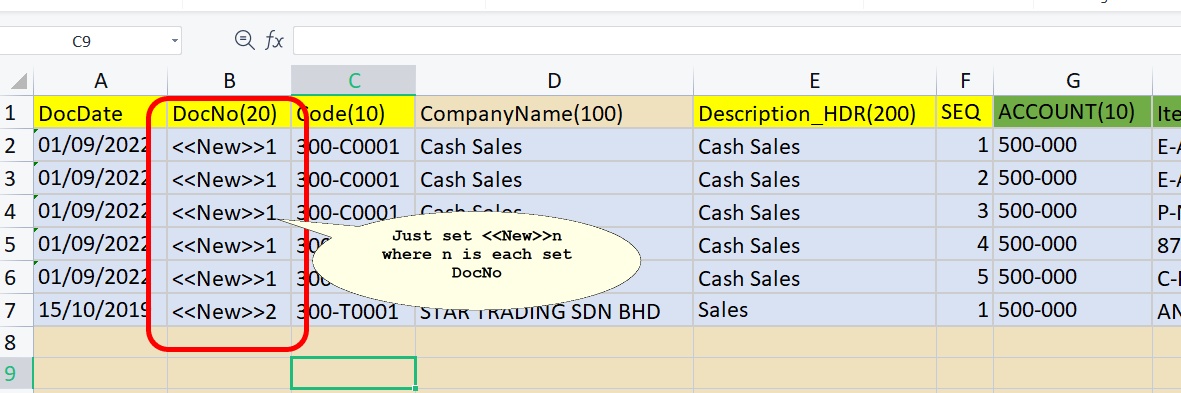
Auto Generate DocNo
Use <<New>>n in the DocNo field for each set where n is a number
Additional Information
-
Customer / Supplier branch's detail will be updated when BranchName already exist.
-
First customer / supplier branch type is Billing. Ensure billing details always in the first record during import.
-
Import GL Account requires fresh DB.