Whatsapp Scan
Whatsapp Scan feature enables users to manage transactions more efficiently by uploading invoices, bills, or receipts through WhatsApp. Images, documents, text and audio files are supported. Users can easily organize and attach these files to various document types within SQL Account.
Pre-requisite
Setup Default Customer and Supplier Account
New documents with attached files will be automatically assigned to the default customer or supplier account.
-
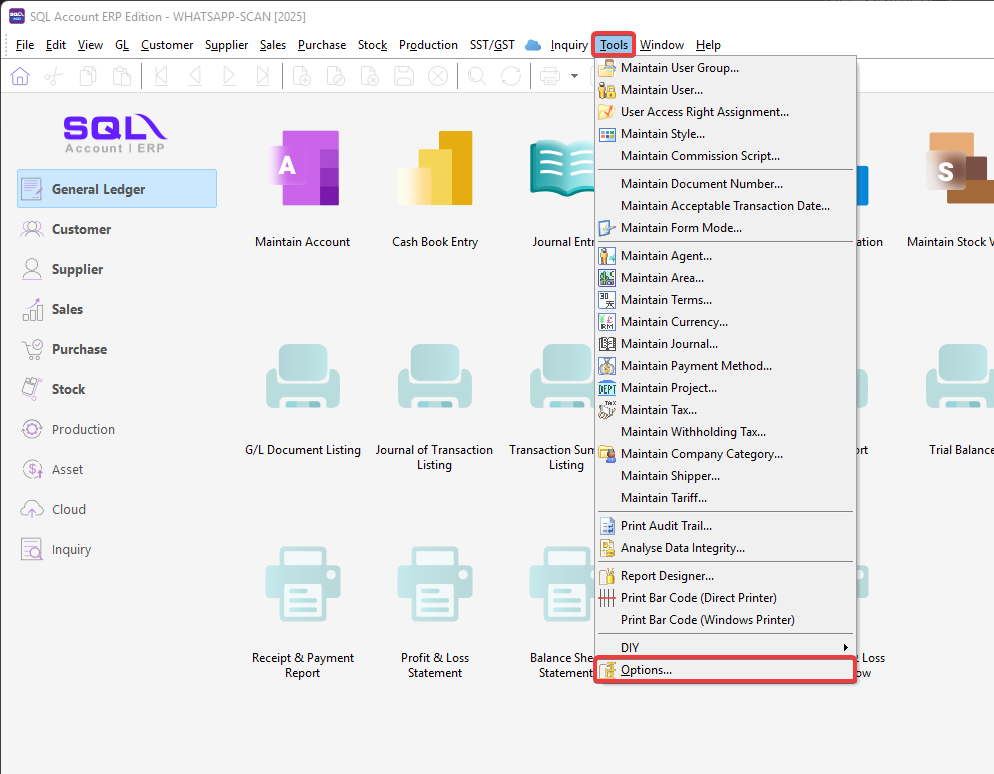
Go to Menu Bar > Tools > Options....
-
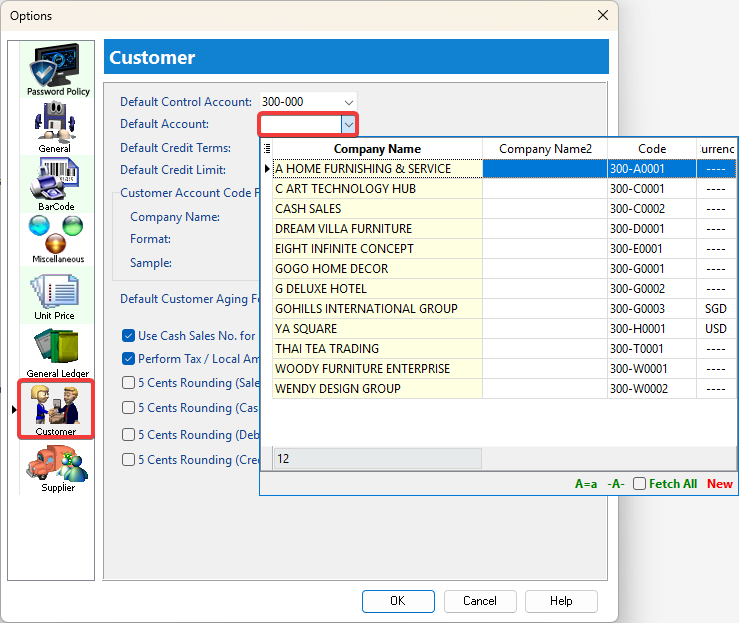
In Options, go to Customer and choose customer Default Account.
-
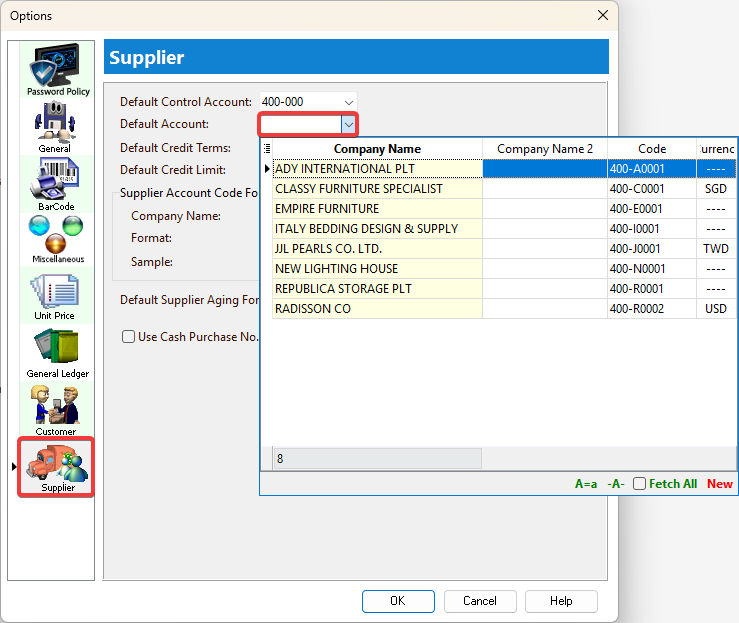
In Options, go to Supplier and choose supplier Default Account.
Setup User Mobile Number
-
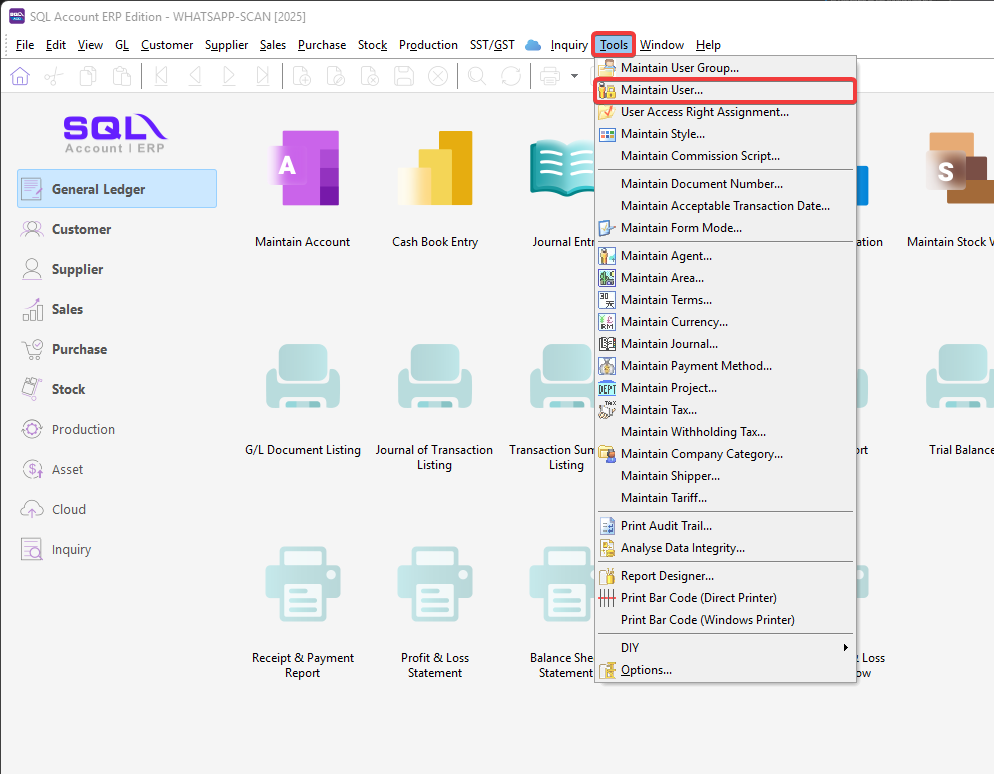
Go to Menu Bar > Tools > Maintain User....
-
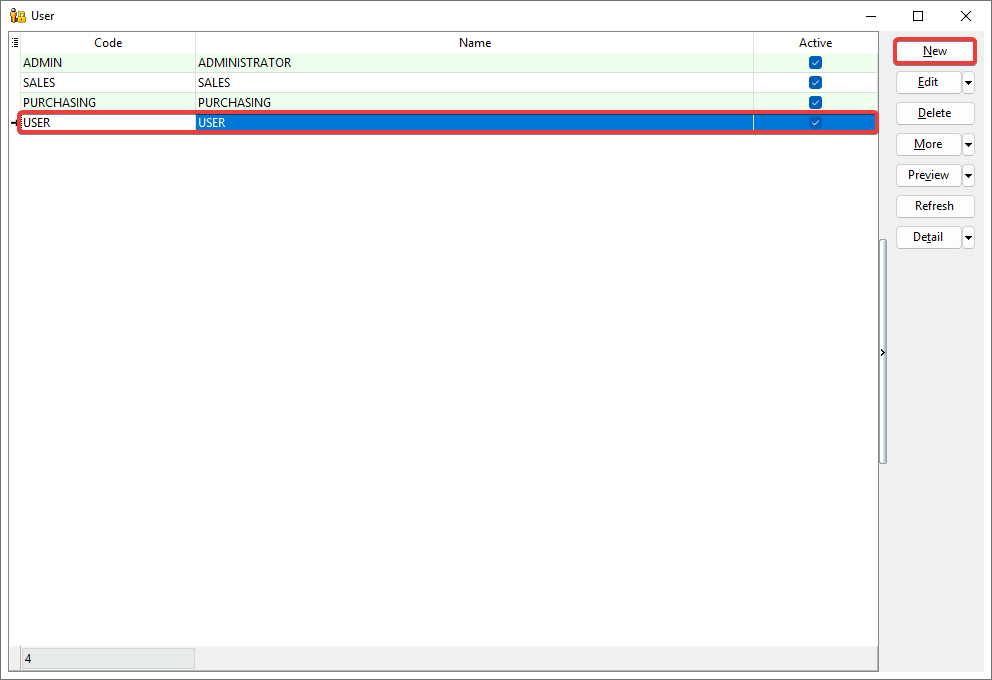
Create New or select the user.
-
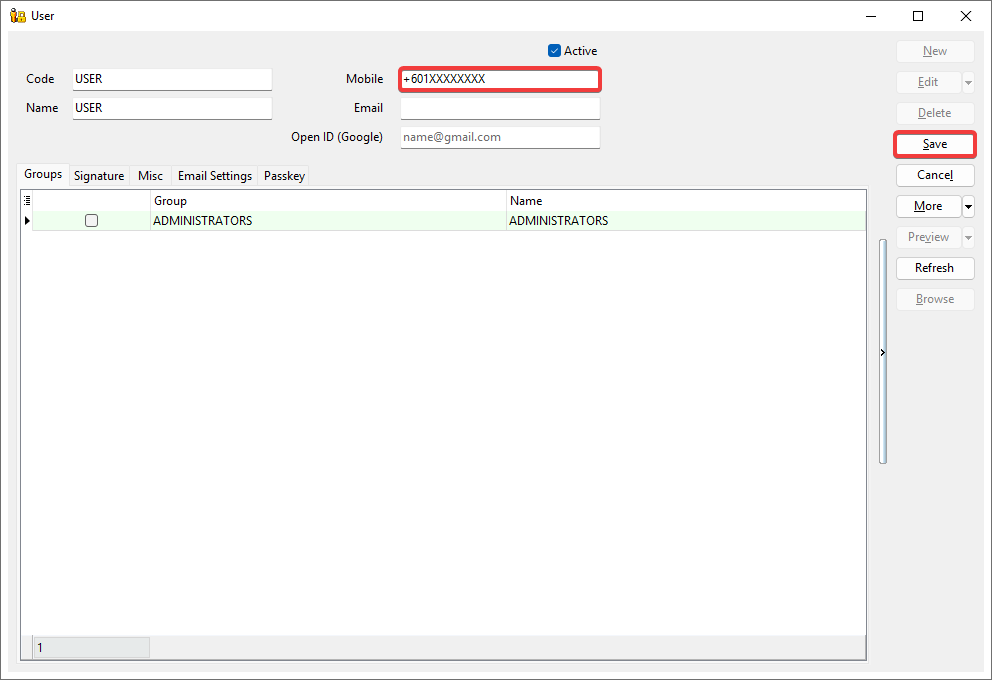
Enter mobile number registered with WhatsApp and click Save.
Registration
-
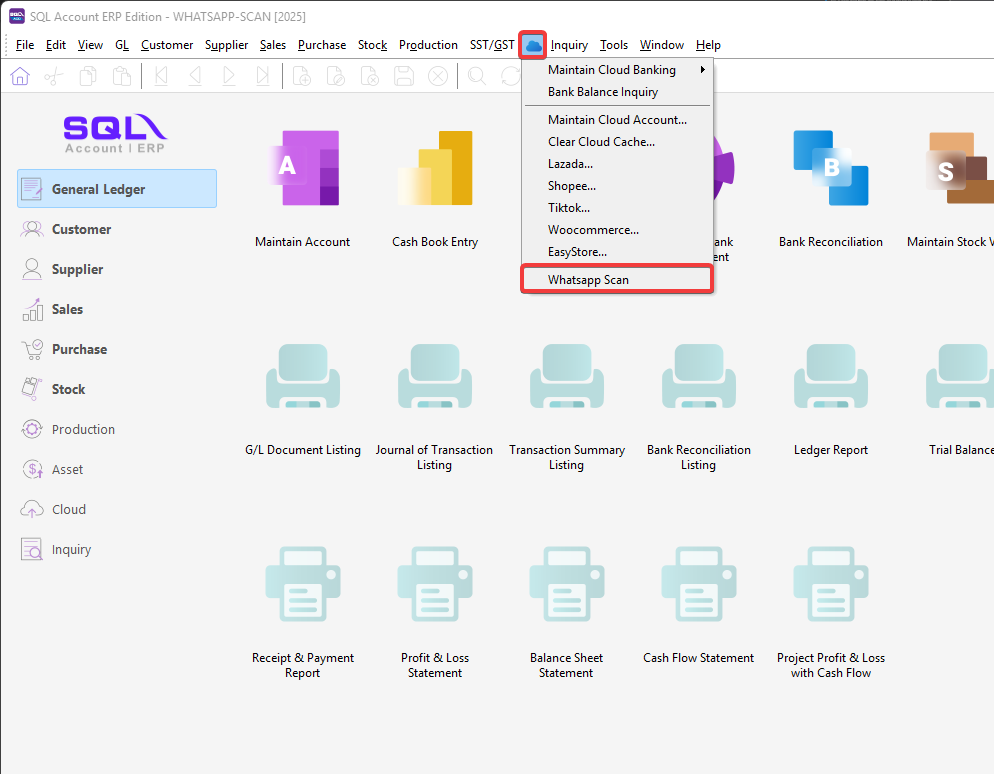
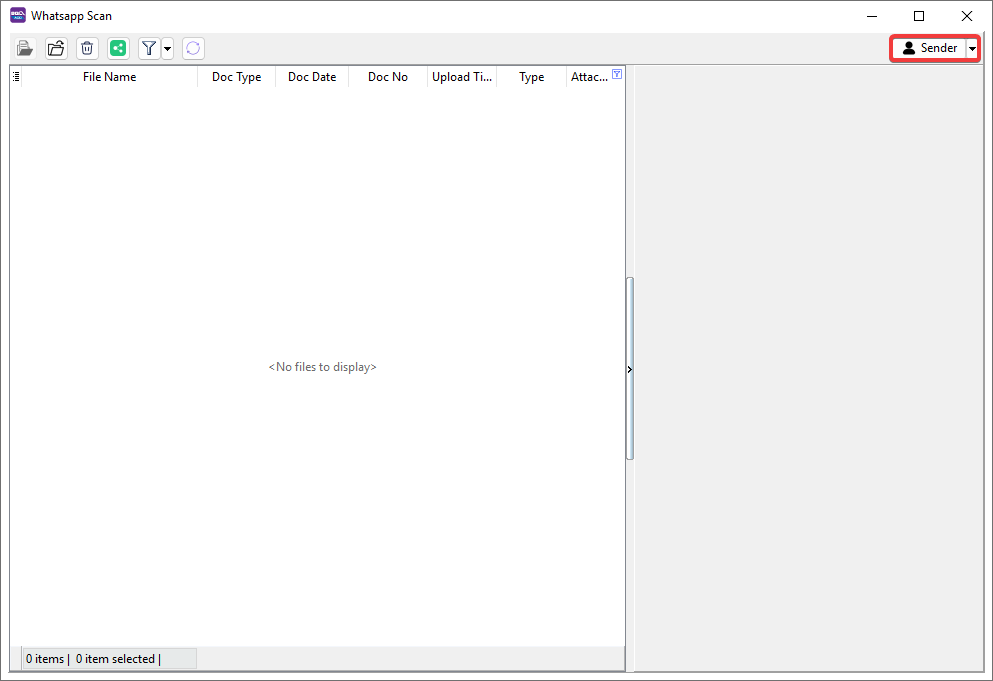
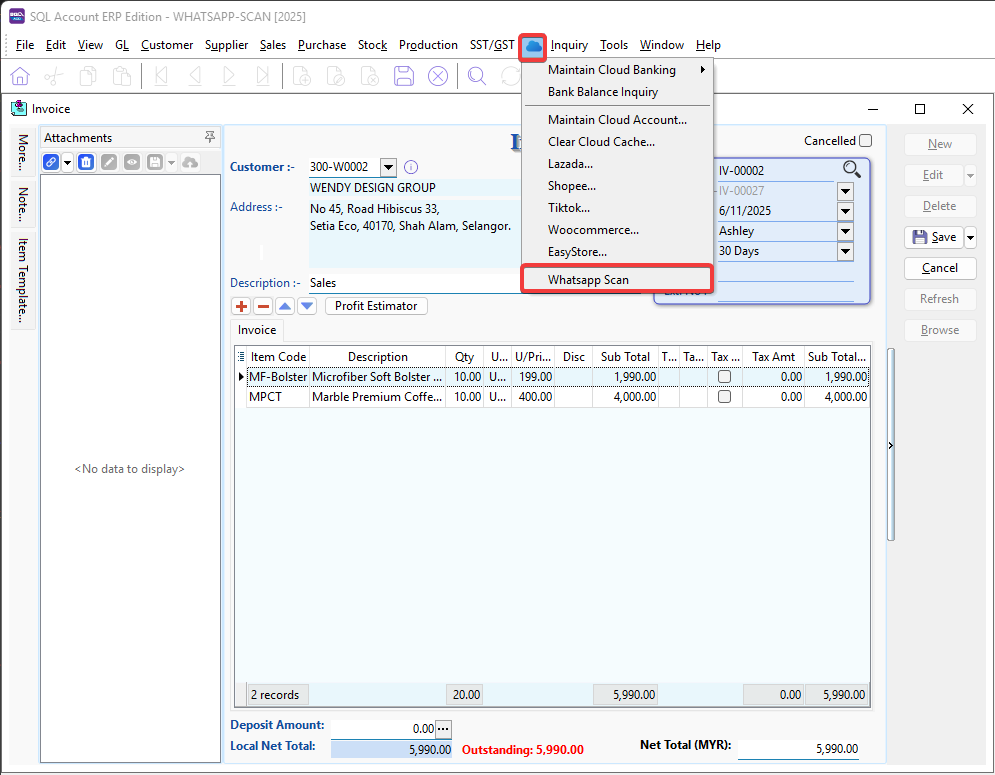
Go to Menu Bar > ☁️ > Whatsapp Scan.
-
Click Register at the top right corner.
-
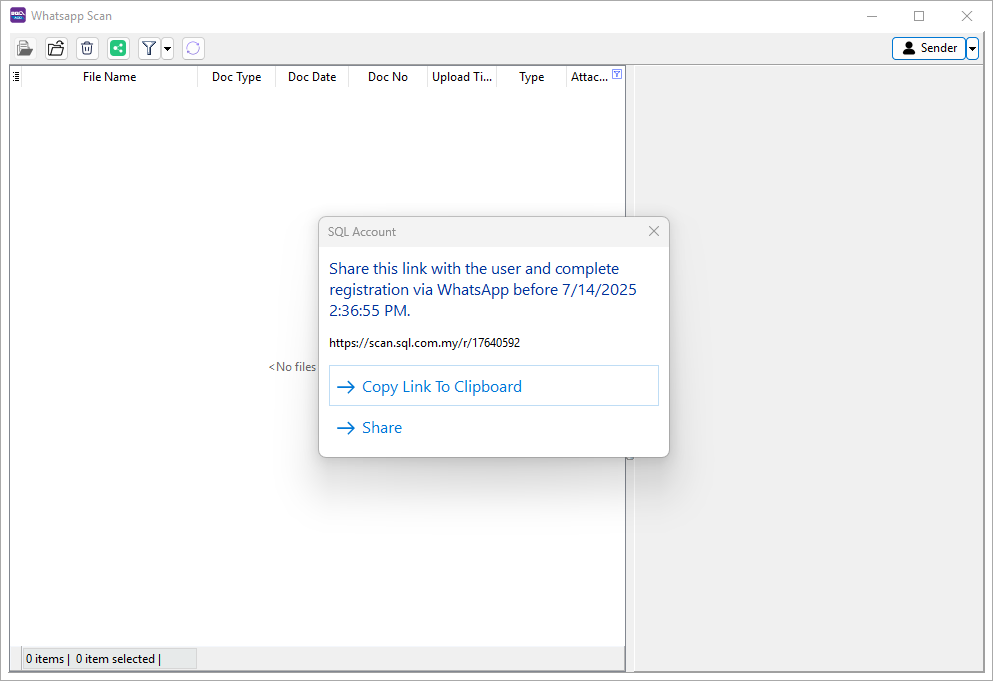
Select the user that request for register > Click OK.

-
Click Copy Link to Clipboard or Share and share URL to the user.
-
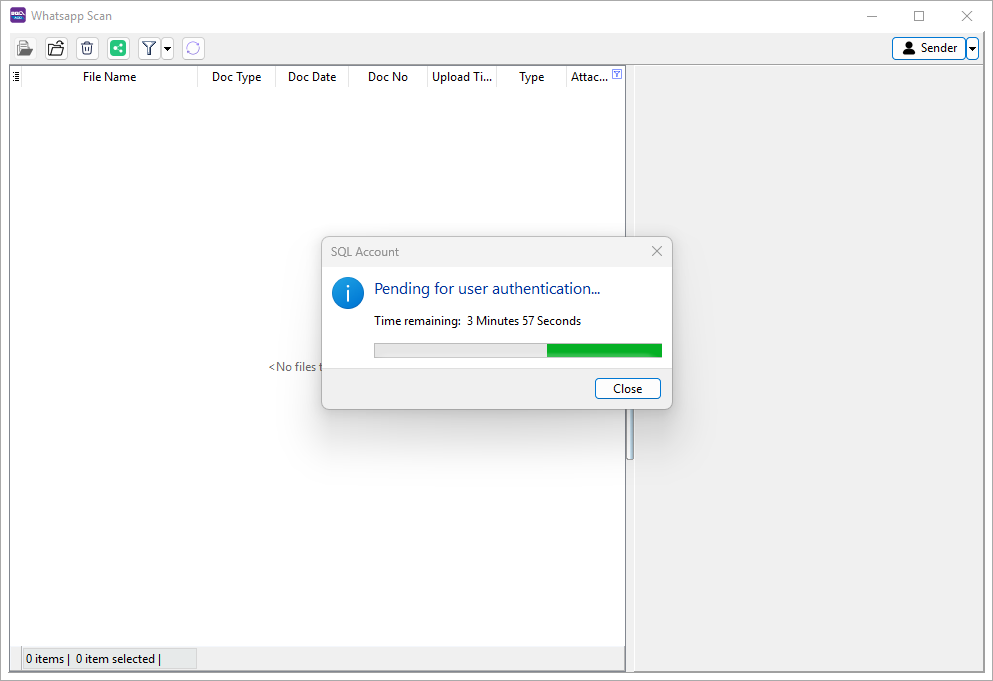
Wait for the user to register.
-
After the user received the link, the user is required to:
-
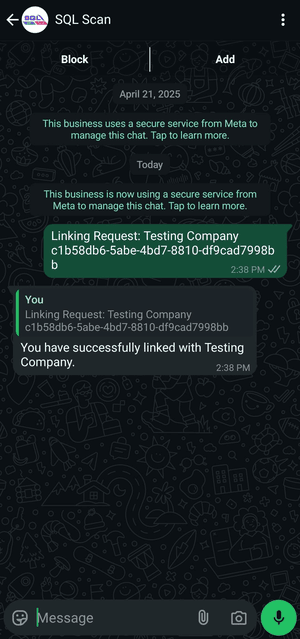
Click the link.

-
Send the pre-filled message with the mobile number registered.

-
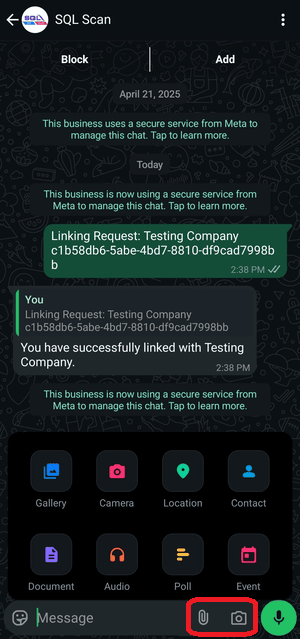
Whatsapp replied You have successfully linked with Testing Company indicates registration completed.
-
-
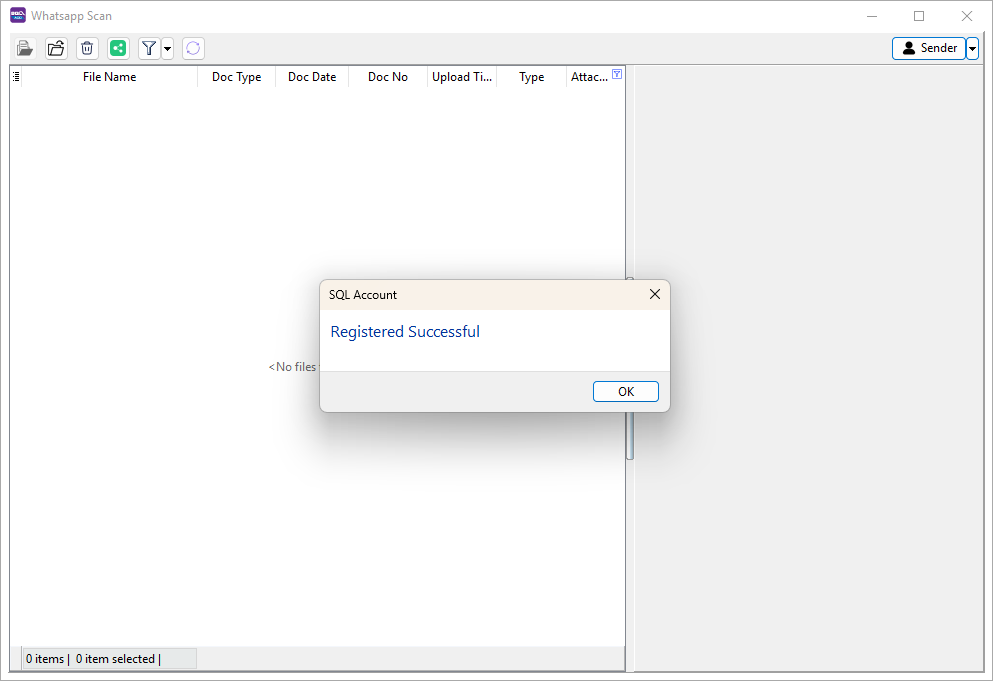
Dialog show Registered Successful indicates the user complete the registration.
Usage
- Upload File to Whatsapp Scan
- Group Files (Optional)
- Assign Doc Type and Doc Date to File
- Attach File or Folder to New Invoice
- Attach Files or Folders to Multiple New Document
- Attach File(s) or Folder(s) to Existing Document
- Import Text to Document
- Drag and Drop
Upload File to Whatsapp Scan
-
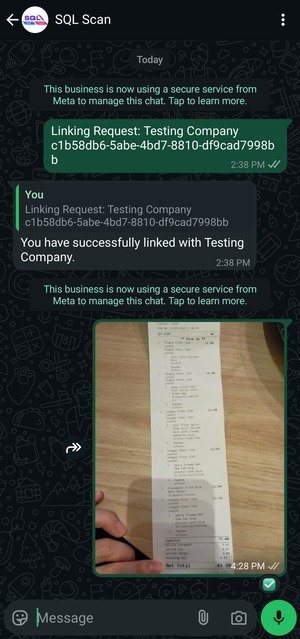
Snap a photo or Choose the following file type to upload the file.
-
A ✅ emoji will be react on file if the upload is successful.
-
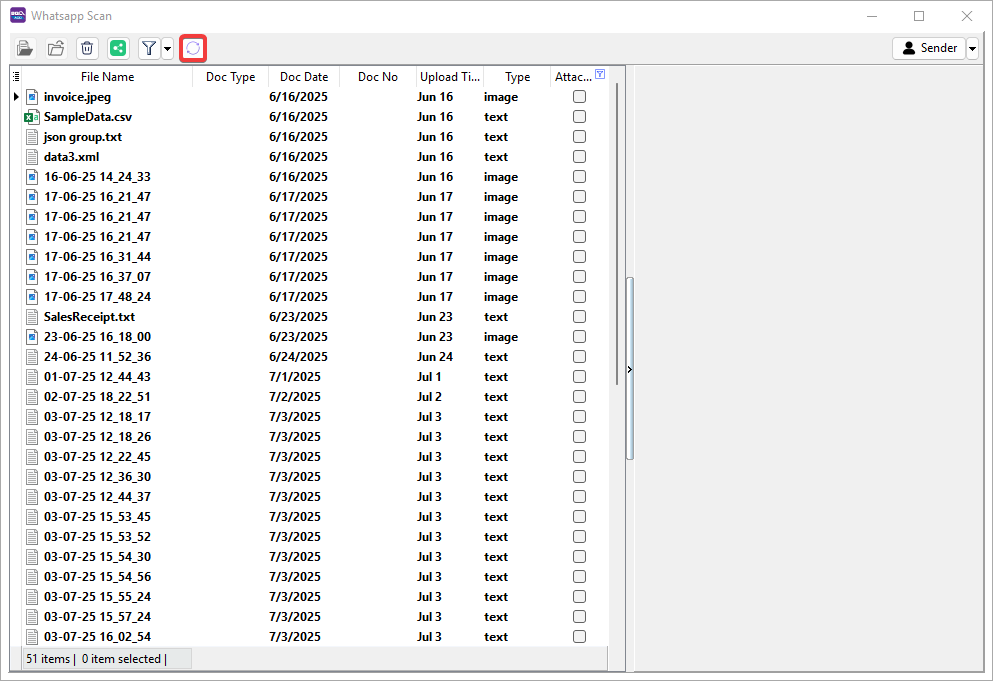
Click Refresh button to review the file uploaded.
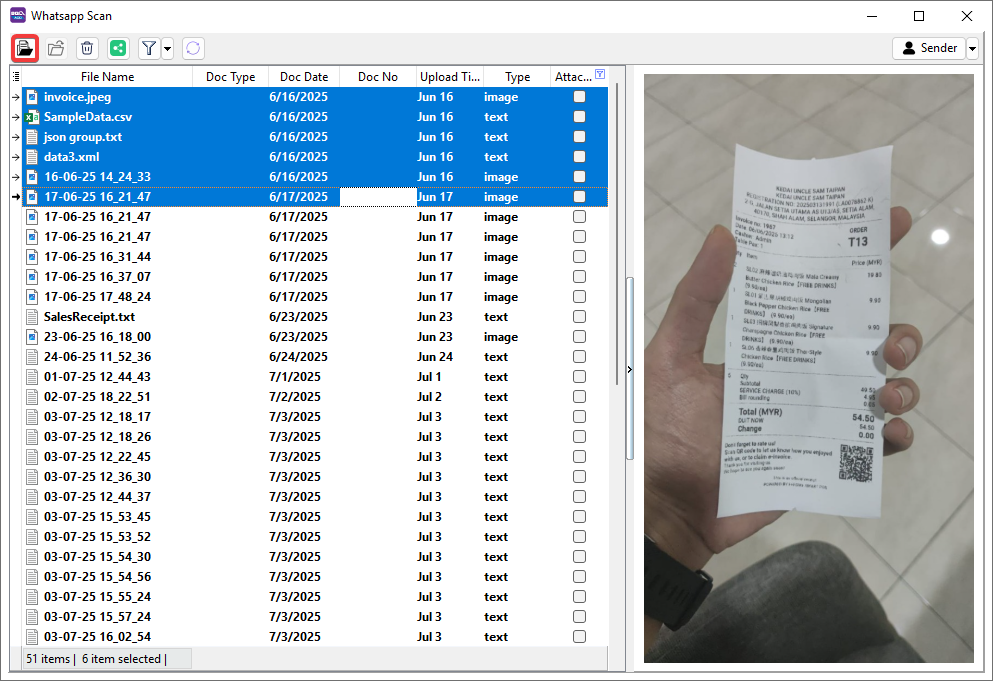
Group Files (Optional)
Grouping related files allows them to be attached into a same document.
-
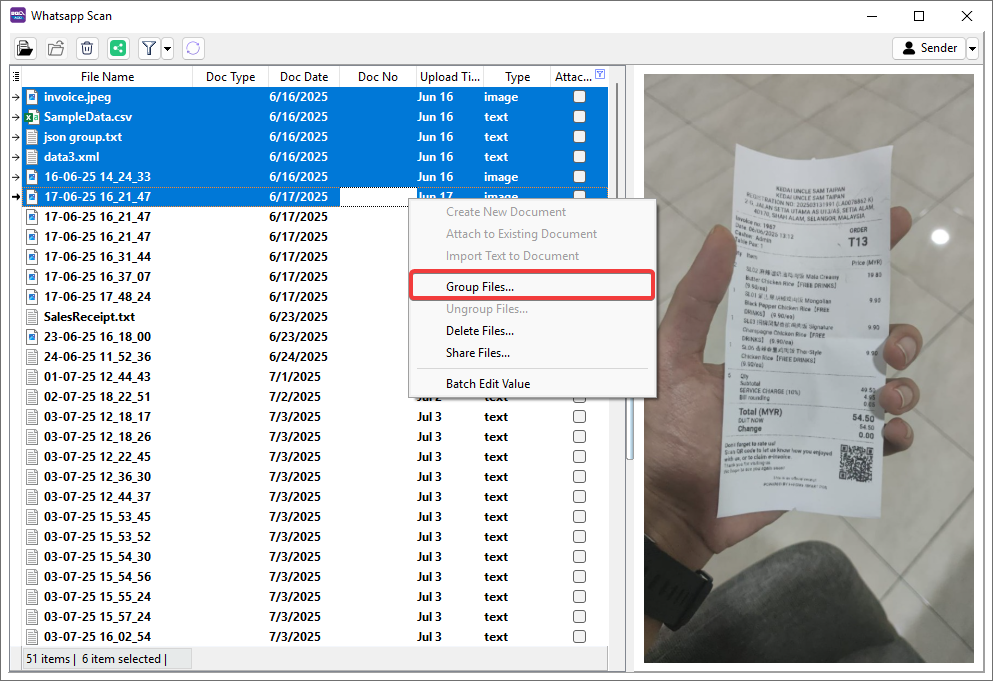
To Group, select multiple files (Ctrl + Left Click) then either:
-
Click Folder button on the panel.
-
Right Click > Group Files....
-
-
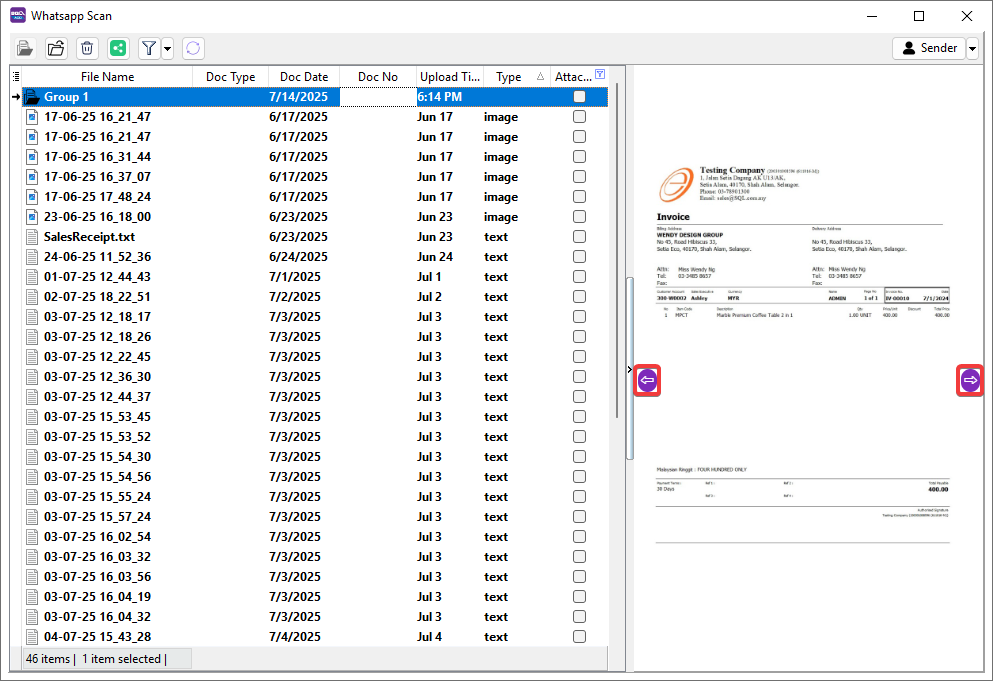
Click Left and Right button to preview files in group.
-
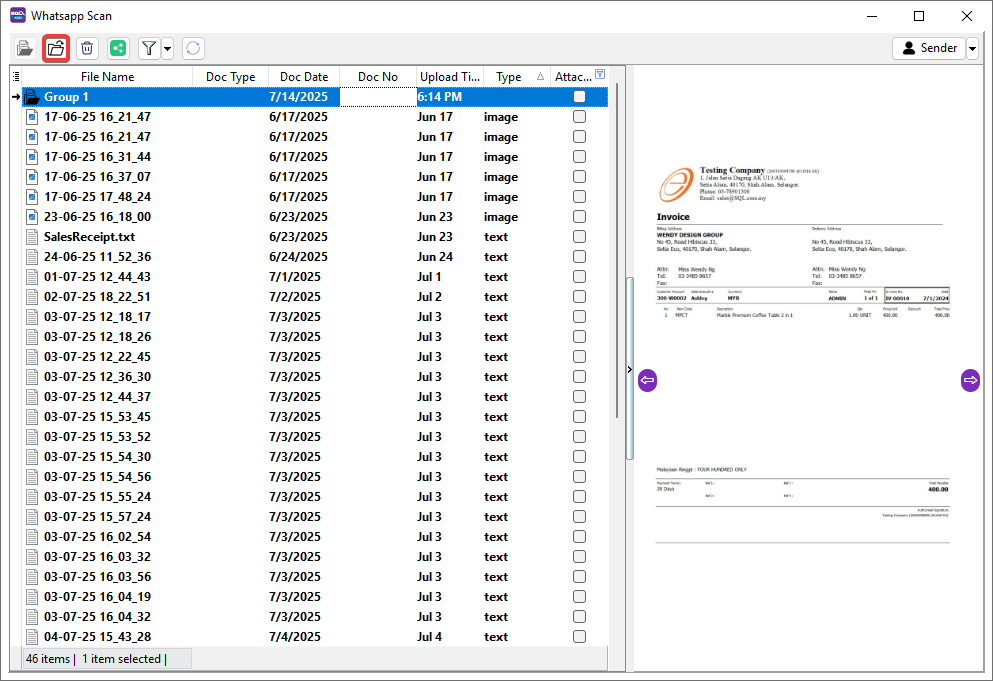
To Ungroup, Select grouped attachment then either:
-
Click Unfolder button on the panel.
-
Right Click > Ungroup Files....

-
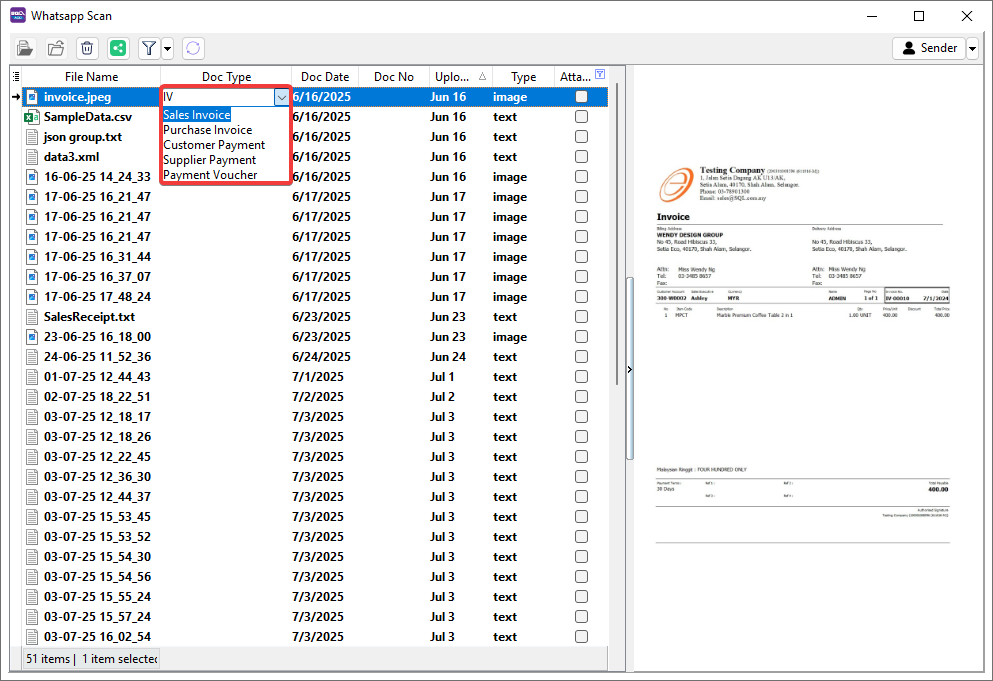
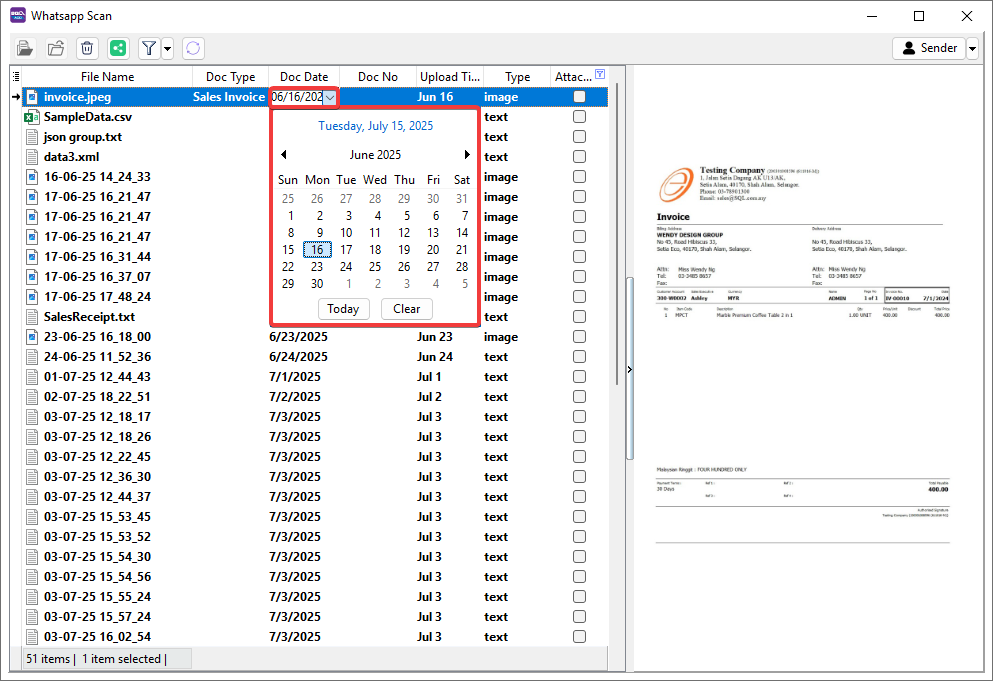
Assign Doc Type and Doc Date to File
Based on Doc Type and Doc Date, the following document type will be created using default customer or supplier account with the pre-selected date.
-
Select the file > Click ▼ button > Choose Doc Type.
-
Select the file > Click ▼ button > Choose Doc Date.
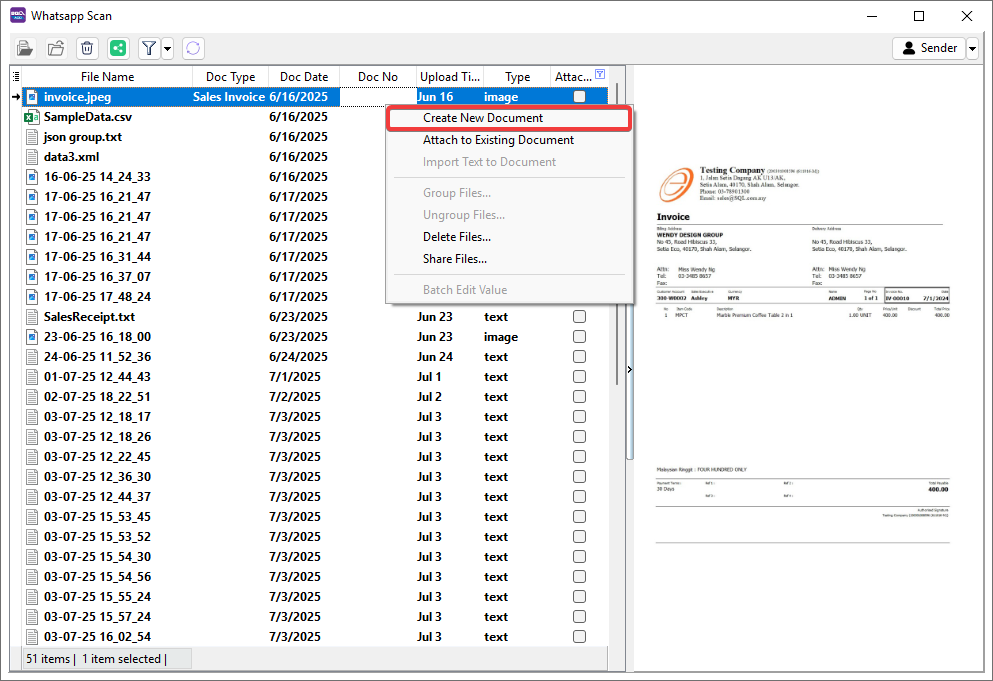
Attach File or Folder to New Invoice
-
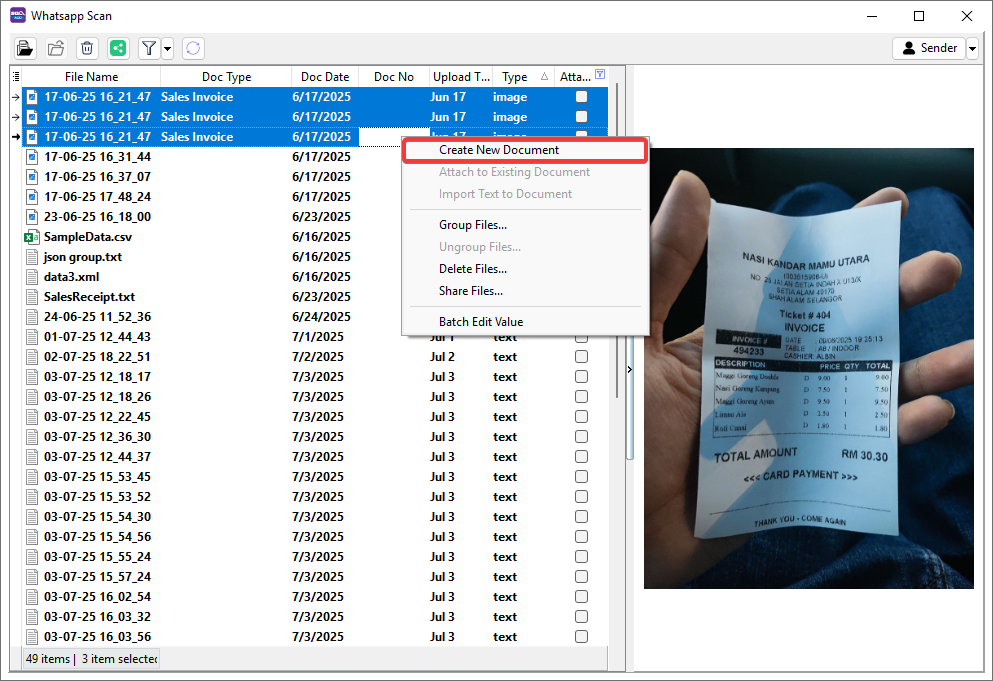
Select file or folder > Right Click > Create New Document.
-
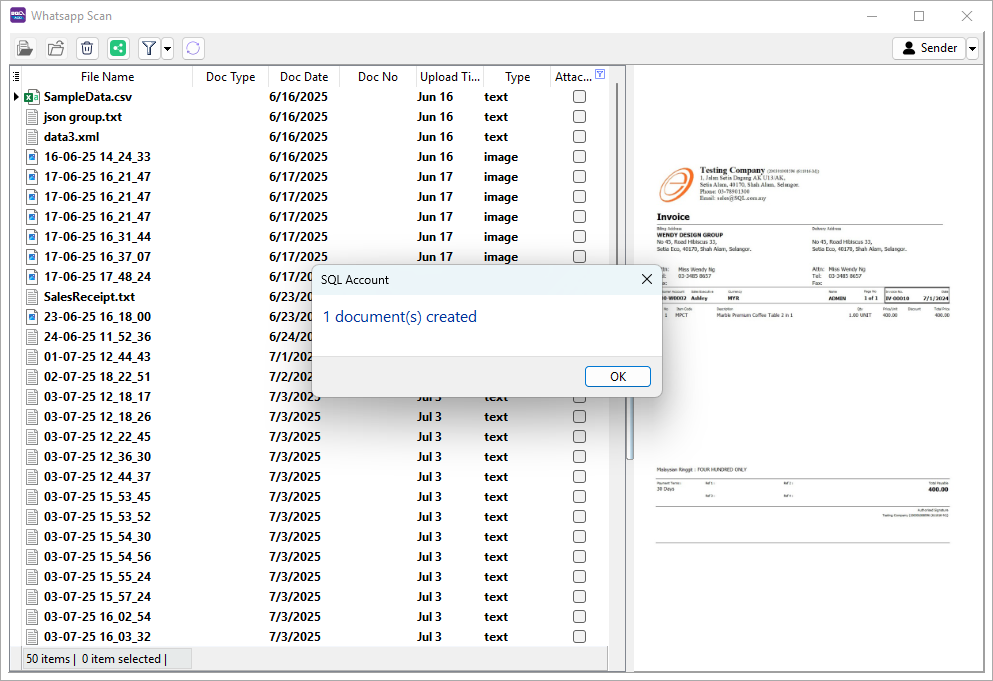
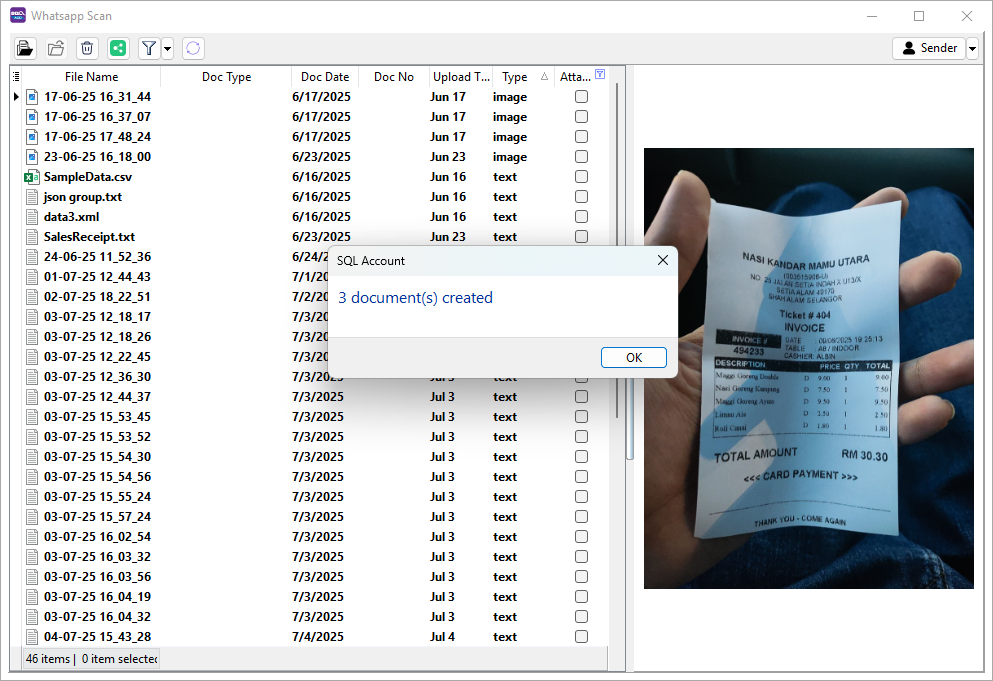
System will pop out a message to show how many document are created > Click OK.
-
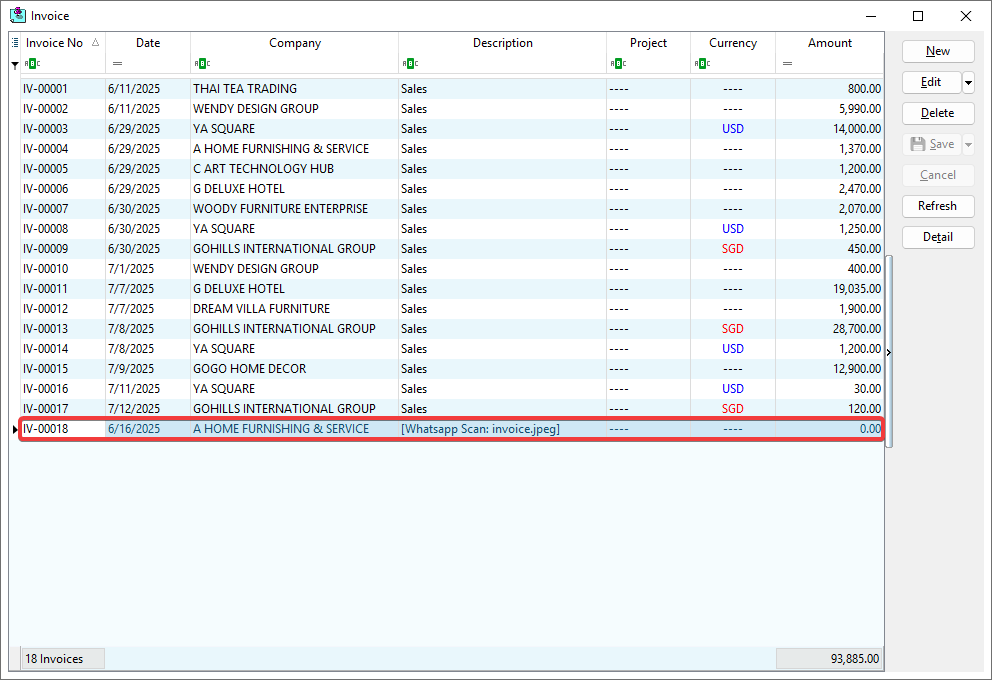
Navigate to following Doc Type to review created document.
Attach Files or Folders to Multiple New Document
-
Select multiple files or folders (Ctrl + Left Click) > Right Click > Create New Document.
-
System will pop out a message to show how many documents are created > Click OK.
-
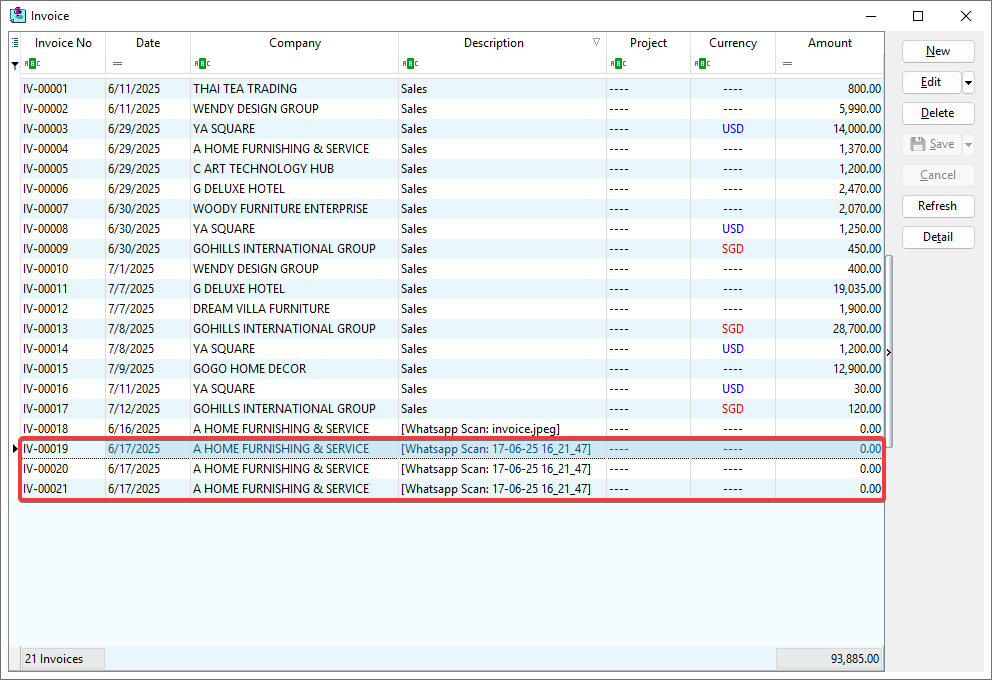
Navigate to following Doc Type to review created documents.
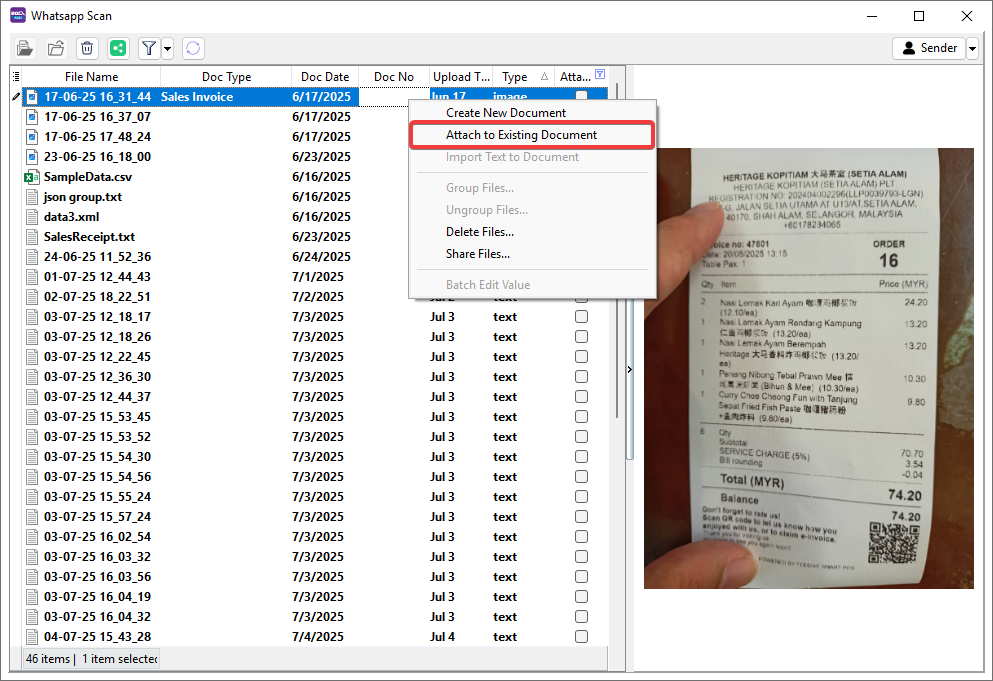
Attach File(s) or Folder(s) to Existing Document
-
Select file(s) or folder(s) > Right Click > Attach to Existing Document.
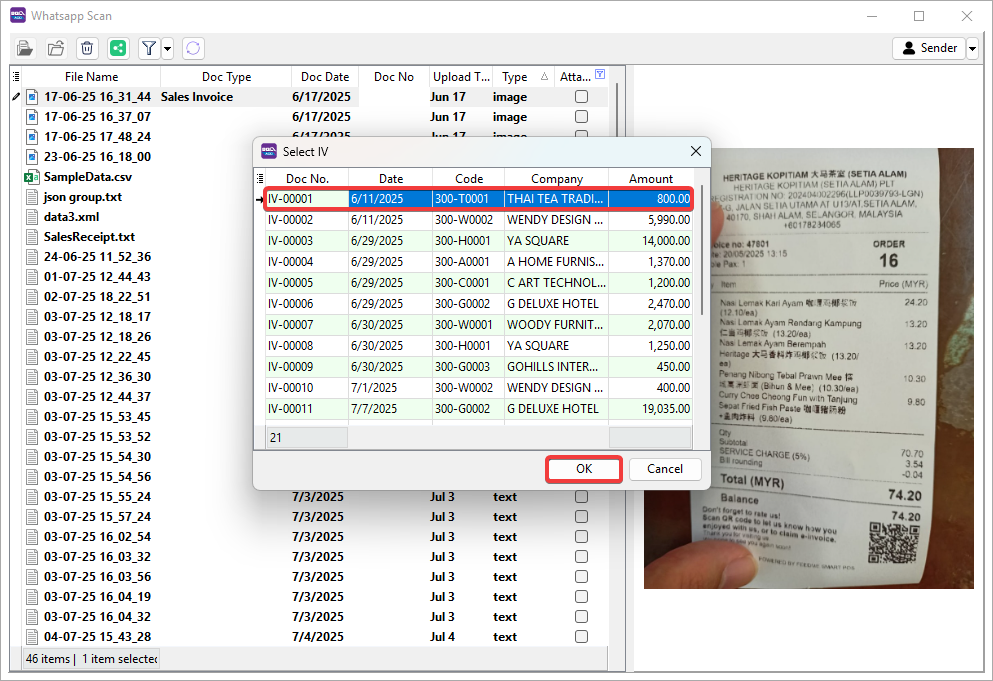
-
Select the document > Click OK.
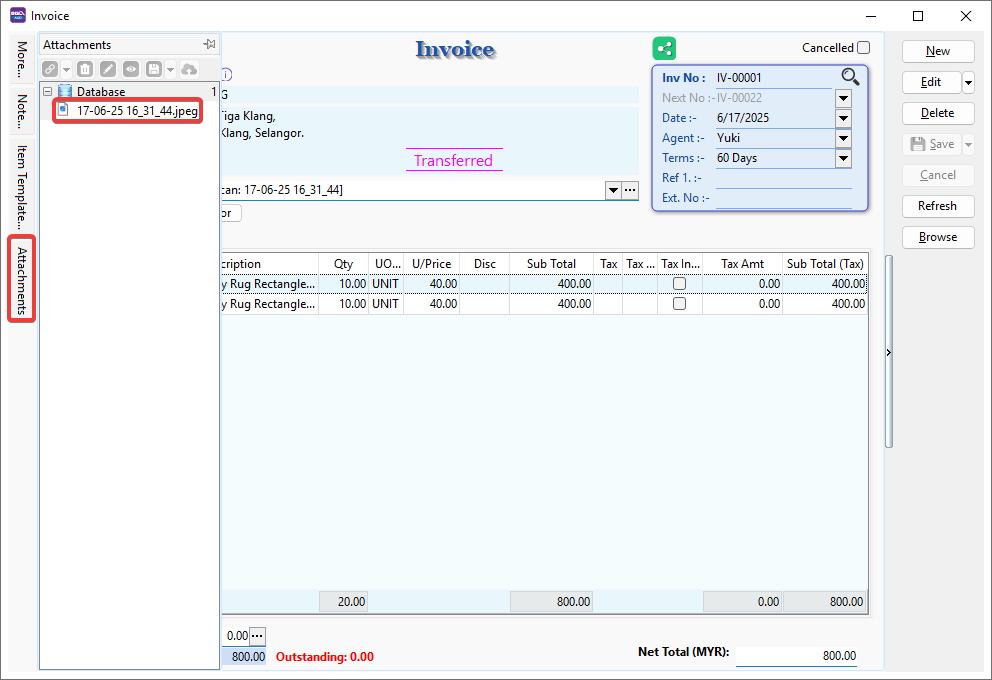
-
System will navigate to the attached document, review the attached file(s) in the Attachments.
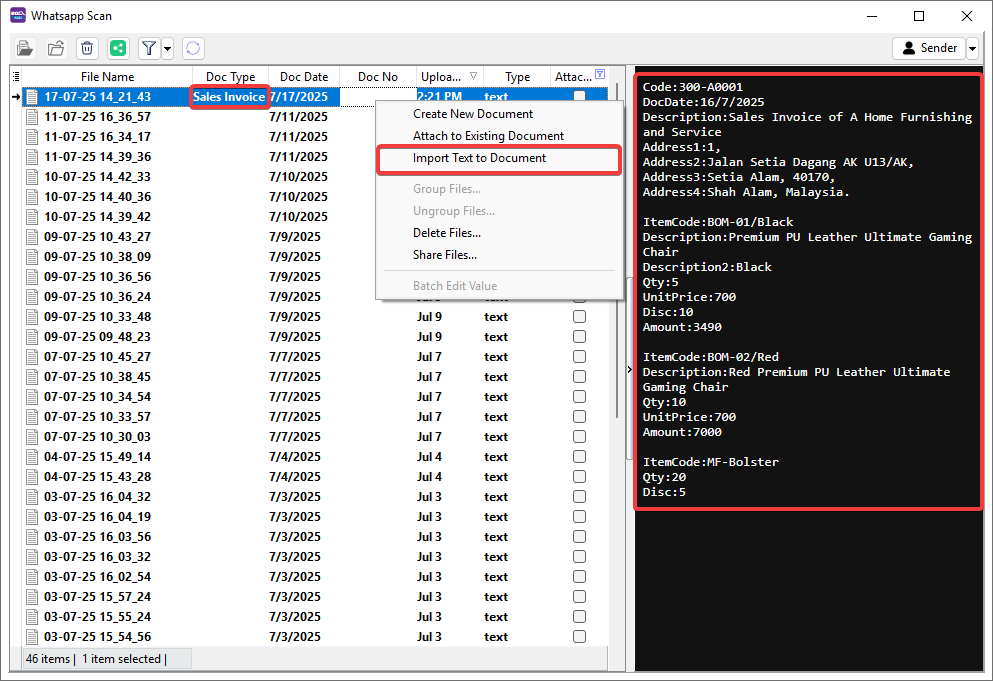
Import Text to Document
This feature only available in text style with correct format.
-
Use the template below, copy and paste into WhatsApp, then insert the correct details:
Code:
DocDate:
Description:
Phone1:
Address1:
Address2:
Address3:
Address4:
IDType:
IDNo:
TIN:

ItemCode:
Description:
Description2:
Qty:
UnitPrice:
Disc:
Amount: -
Below is a sample with the correct details filled in:
Code:300-A0001
DocDate:16/7/2025
Description:Sales Invoice of A Home Furnishing and Service
Phone1:03-34858657
Address1:1,
Address2:Jalan Setia Dagang AK U13/AK,
Address3:Setia Alam, 40170,
Address4:Shah Alam, Malaysia.
IDType:0
IDNo:961218-08-8092
TIN:E1234567

ItemCode:BOM-01/Black
Description:Premium PU Leather Ultimate Gaming Chair
Description2:Black
Qty:5
UnitPrice:700
Disc:10
Amount:3490 -
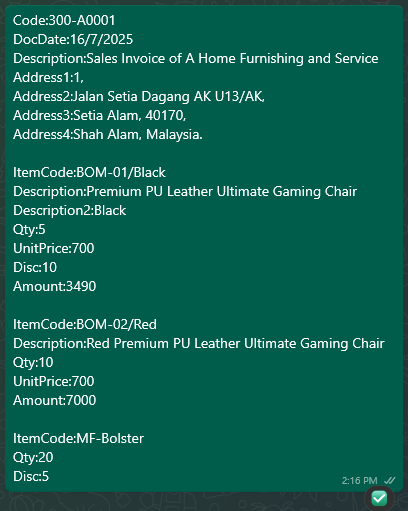
If there is more than one item, feel free to add another section under ItemCode, as shown below:
Code:300-A0001
DocDate:16/7/2025
Description:Sales Invoice of A Home Furnishing and Service
Phone1:03-34858657
Address1:1,
Address2:Jalan Setia Dagang AK U13/AK,
Address3:Setia Alam, 40170,
Address4:Shah Alam, Malaysia.
IDType:0
IDNo:961218-08-8092
TIN:E1234567

ItemCode:BOM-01/Black
Description:Premium PU Leather Ultimate Gaming Chair
Description2:Black
Qty:5
UnitPrice:700
Disc:10
Amount:3490

ItemCode:BOM-02/Red
Description:Red Premium PU Leather Ultimate Gaming Chair
Description2:Furniture
Qty:10
UnitPrice:700
Disc:0
Amount:7000

ItemCode:MF-Bolster
Description:Microfiber Soft Bolster with 100% cotton fabric
Description2:Bedding Accessories
Qty:20
UnitPrice:199
Disc:5
Amount:3975 -
You may also remove any unused labels and keep only the ones you need, as shown below:
Code:300-A0001
DocDate:16/7/2025
Description:Sales Invoice of A Home Furnishing and Service
Address1:1,
Address2:Jalan Setia Dagang AK U13/AK,
Address3:Setia Alam, 40170,
Address4:Shah Alam, Malaysia.

ItemCode:BOM-01/Black
Description:Premium PU Leather Ultimate Gaming Chair
Description2:Black
Qty:5
UnitPrice:700
Disc:10
Amount:3490

ItemCode:BOM-02/Red
Description:Red Premium PU Leather Ultimate Gaming Chair
Qty:10
UnitPrice:700
Amount:7000

ItemCode:MF-Bolster
Qty:20
Disc:5 -
Send the text in WhatsApp.
-
Select file(s) > Assign Doc Type > Right Click > Import Text To Document.
-
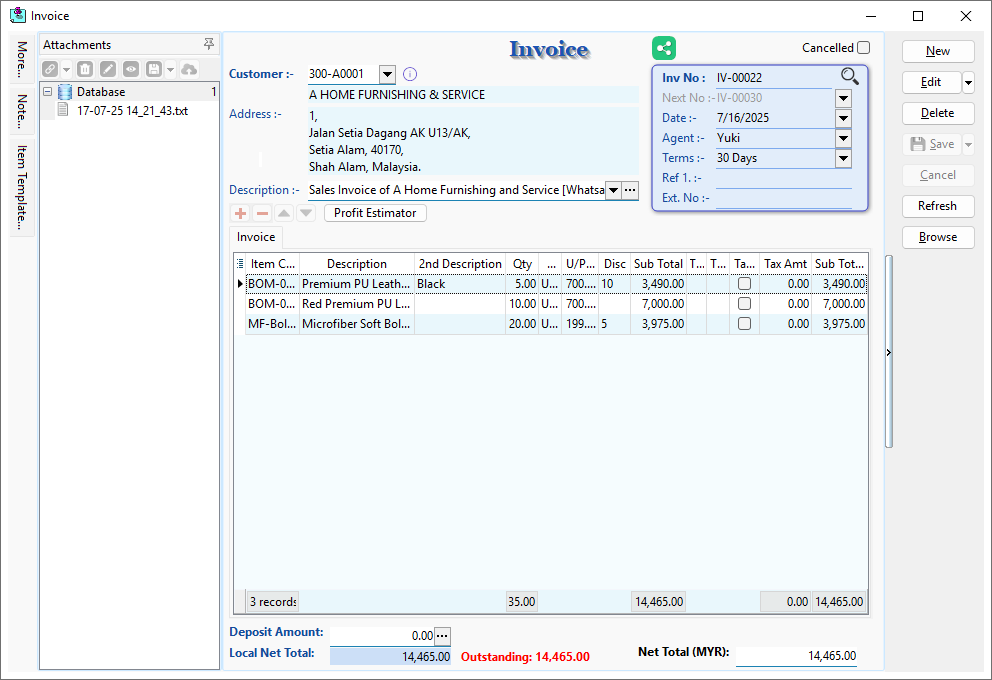
System will pop out a message to show how many documents is created > Click OK.

-
The following details will be automatically filled in to the document.
Drag and Drop
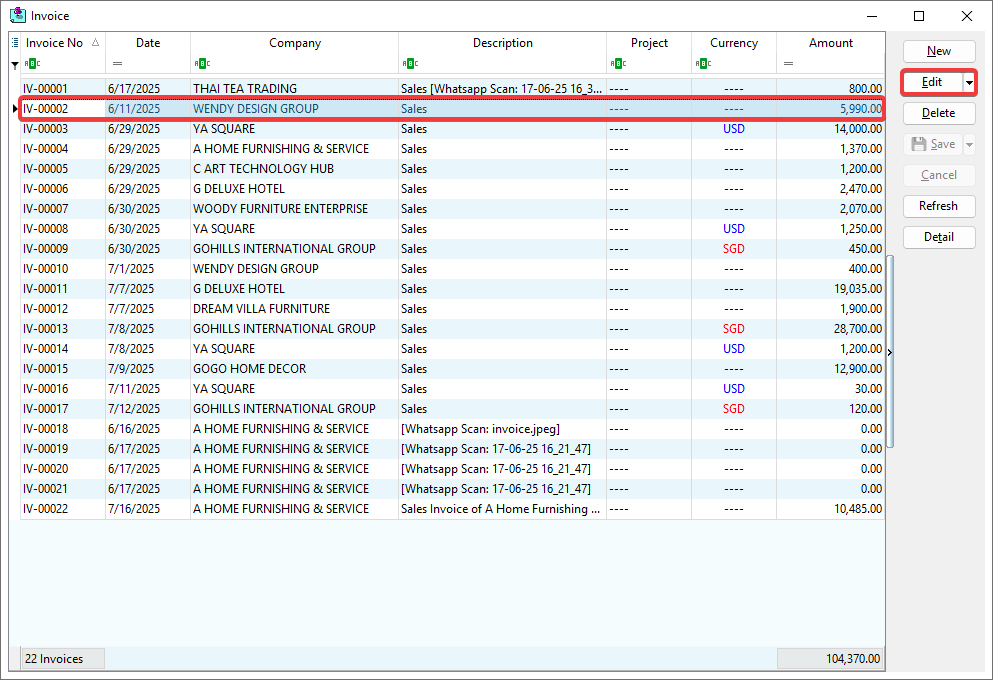
-
Select the invoice > Click Edit.
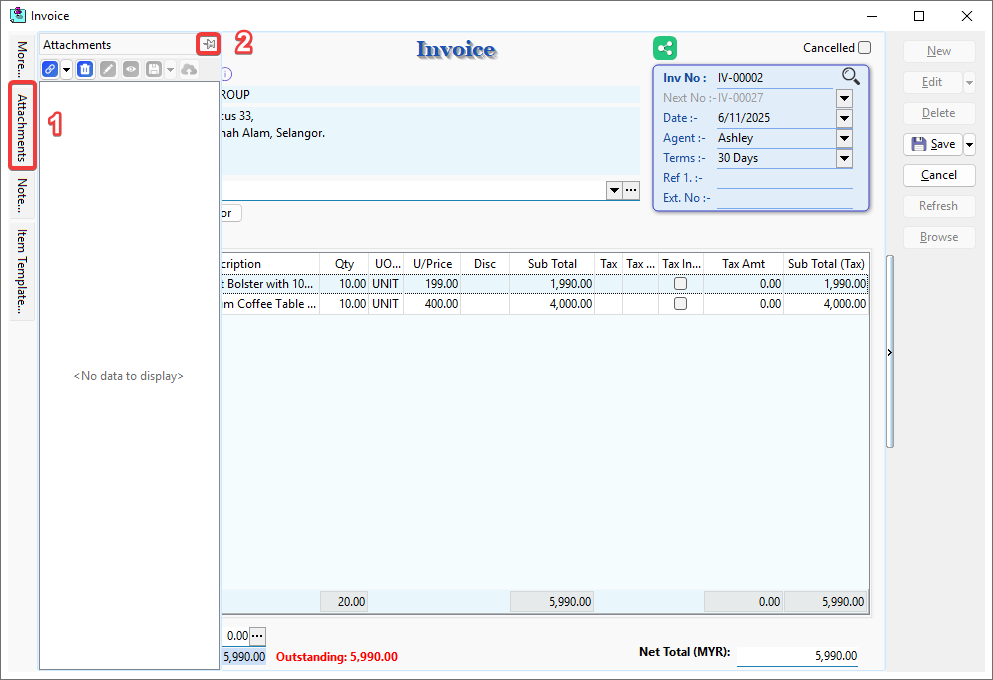
-
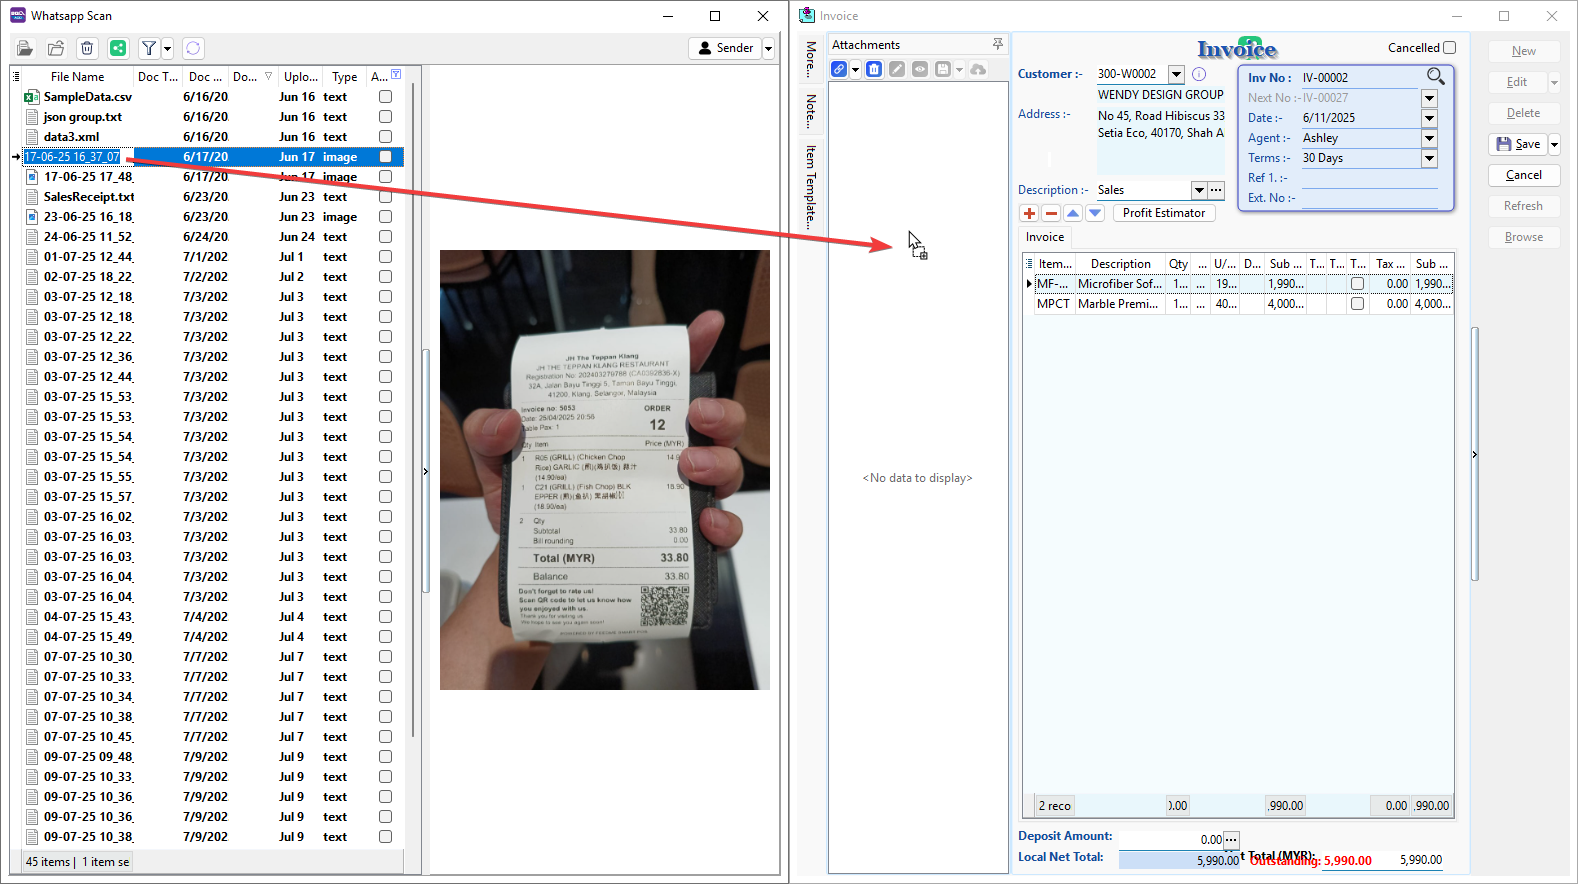
Pin the Attachments panel.
-
Go to Menu Bar > ☁️ > Whatsapp Scan.
-
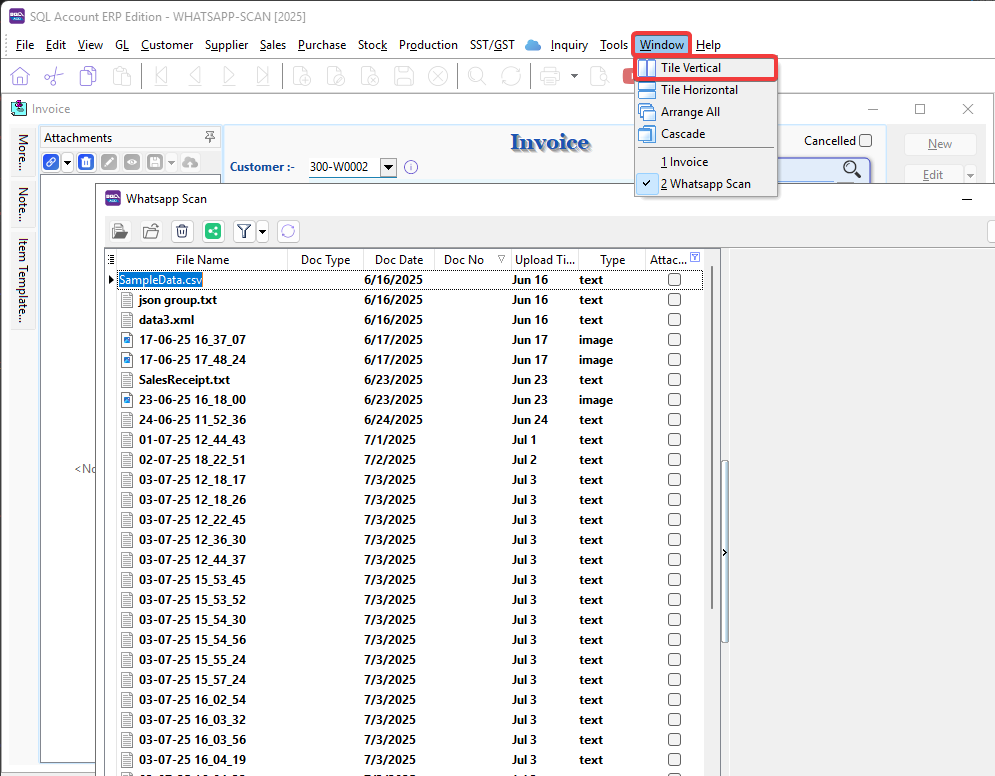
Go to Menu Bar > Window > Tile Vertical.
-
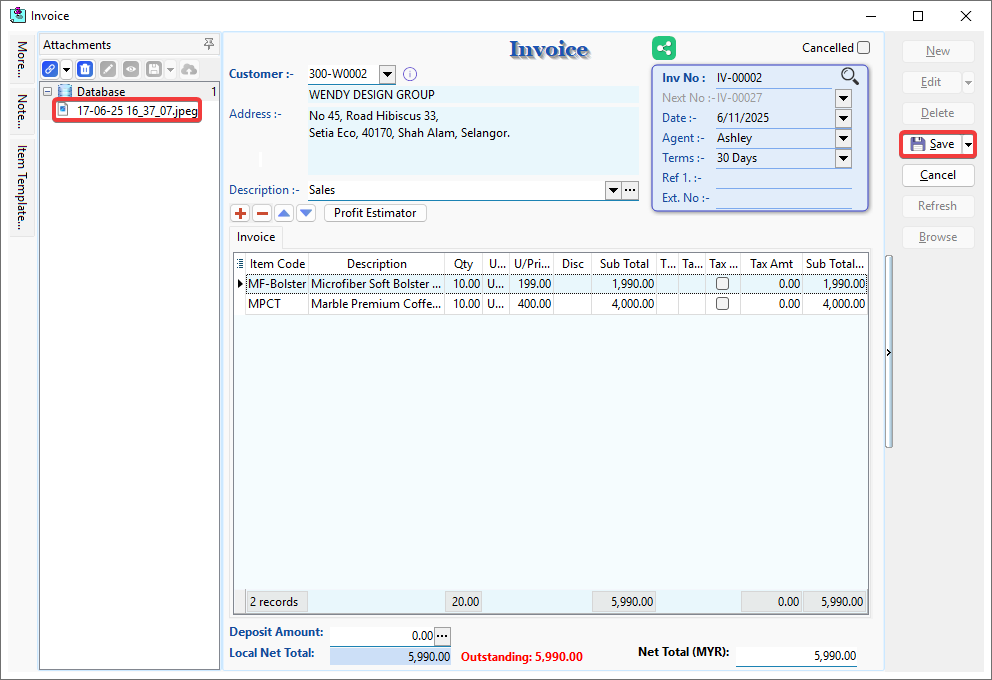
Drag the selected file(s) from Whatsapp Scan and Drop it on the Attachments panel.
-
Click Save.
Additional Information
Batch Edit Doc Type and Doc Date
-
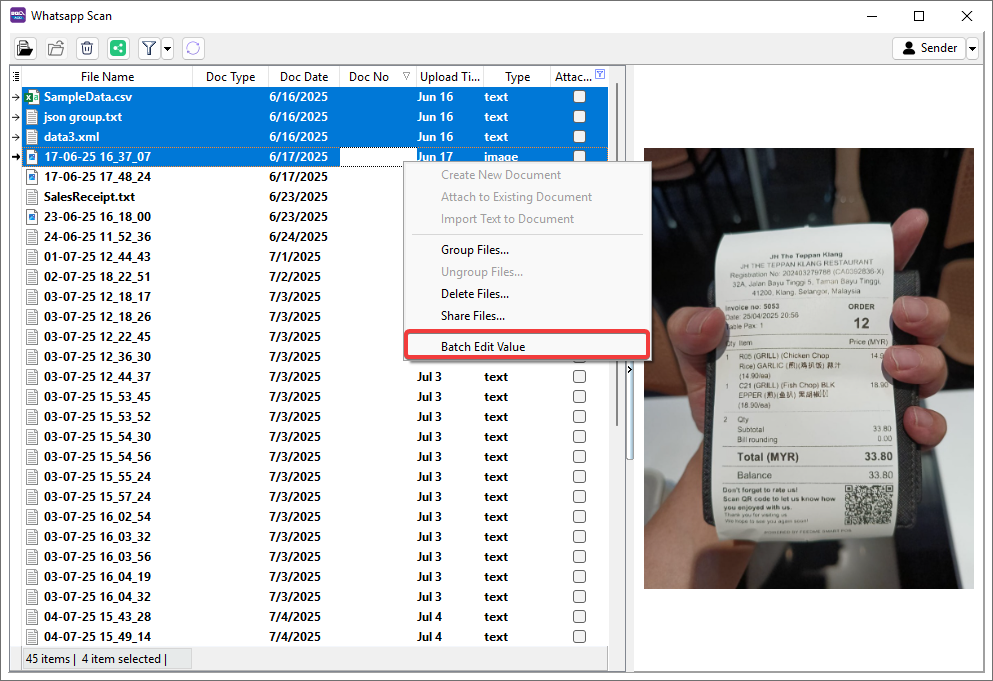
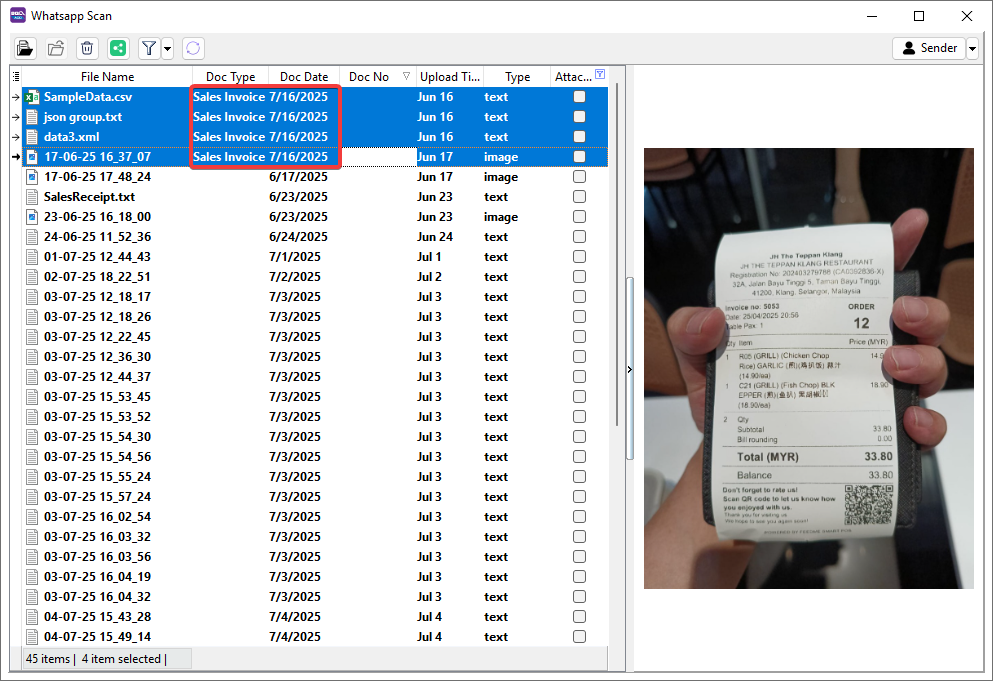
Select multiple files or folders (Ctrl + Left Click) > Right Click > Batch Edit Value.
-
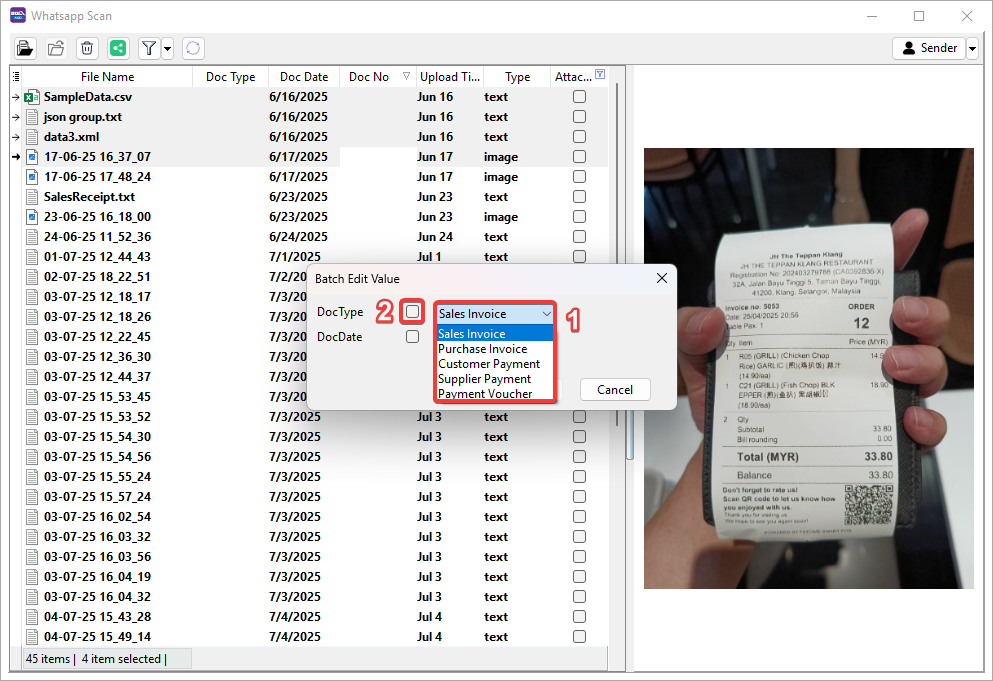
Select the value you want to change > Tick the checkbox to allow the changes to be applied.
-
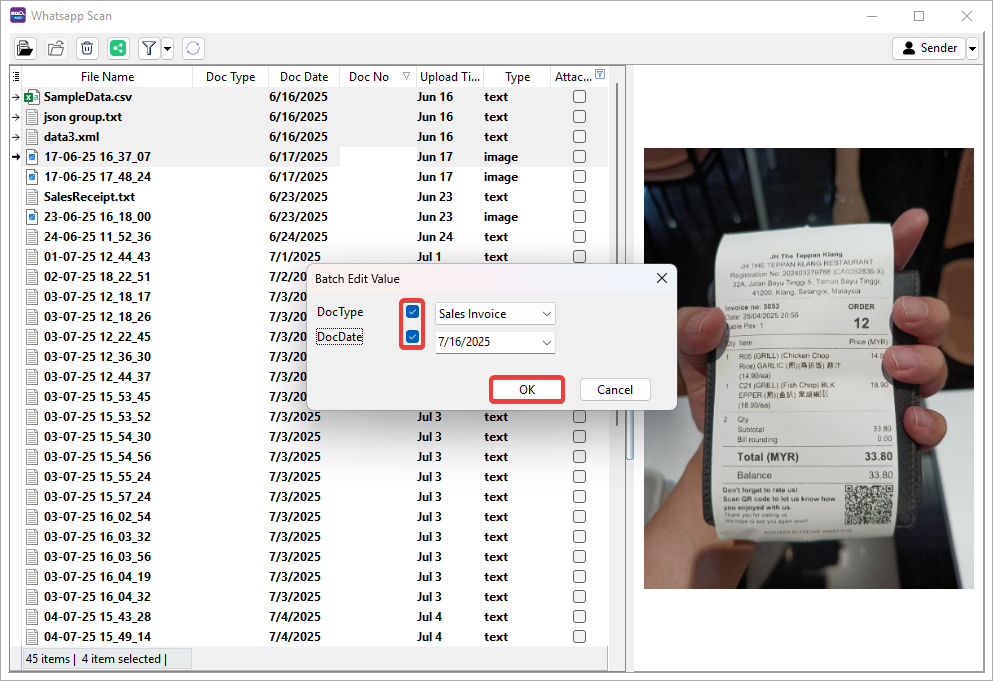
Make sure all the values you want to change are ticked in the checkboxes > Click OK.
-
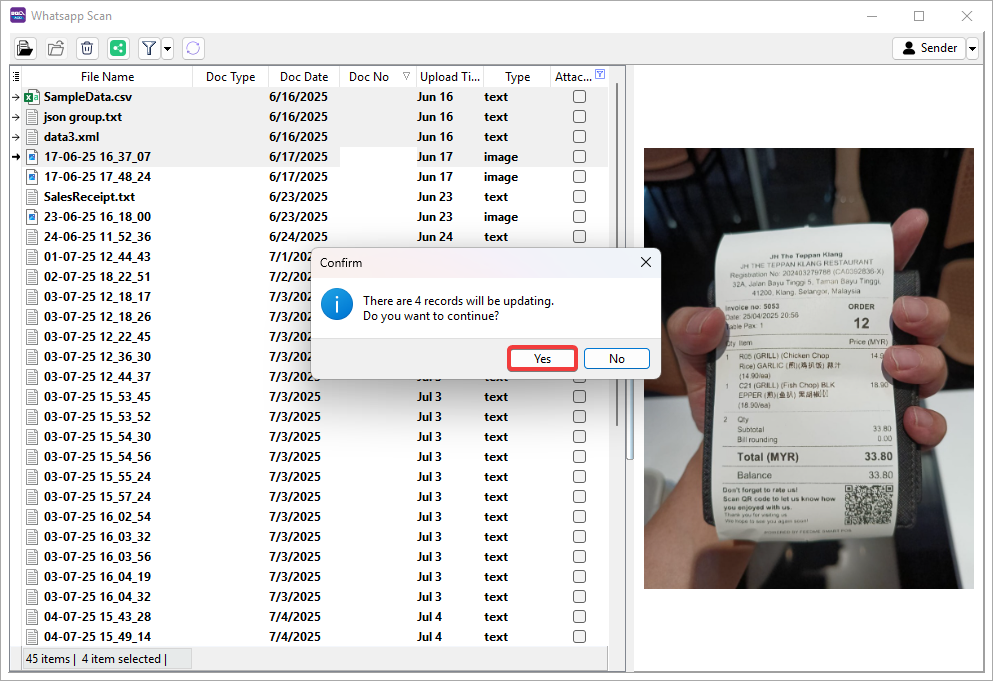
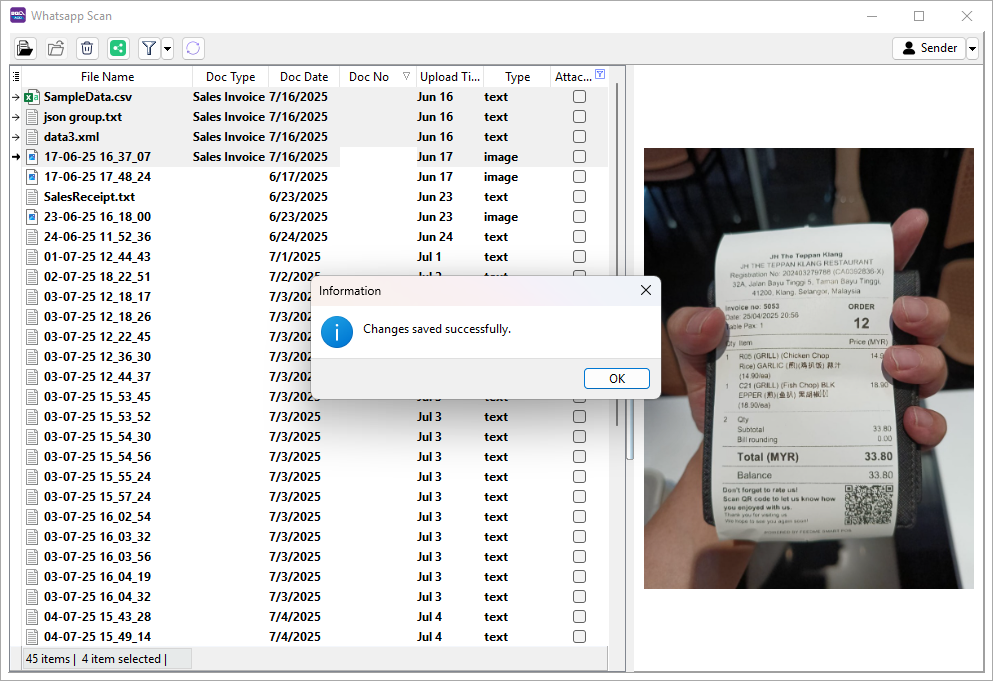
System will pop out a message to show how many records will change > Click OK.
-
Click OK to continue.
-
The following values for the selected records will be changed.
Check Attached File or Folder
-
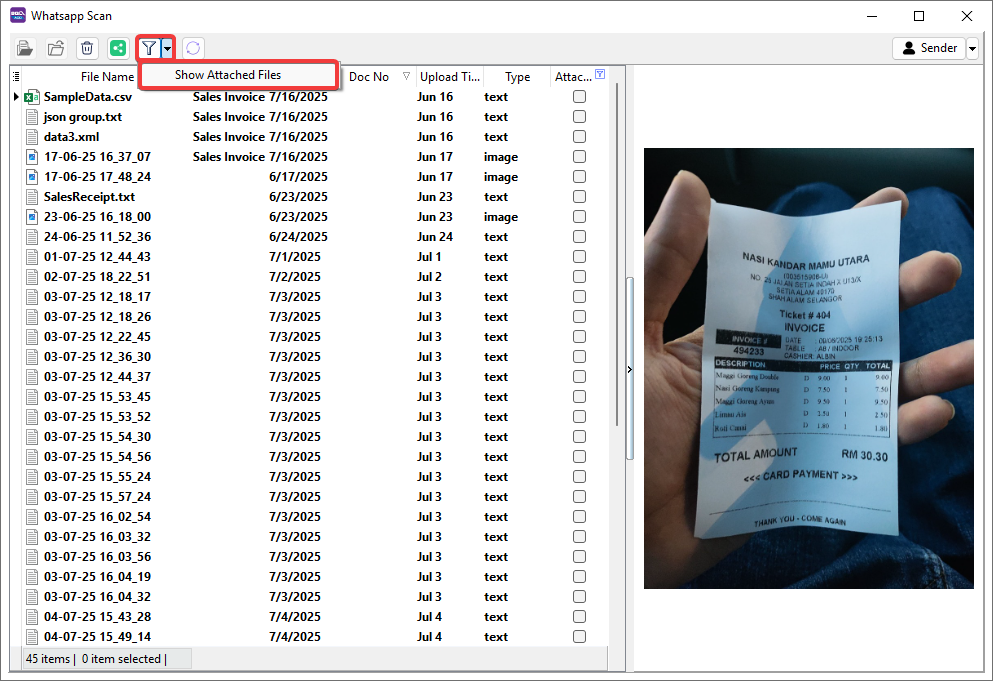
Turn on or off in Filter button based on your needs.
-
Attached file or folder will be ticked in the checkbox, and the attached Document ID will be displayed under Doc No.

Share File
-
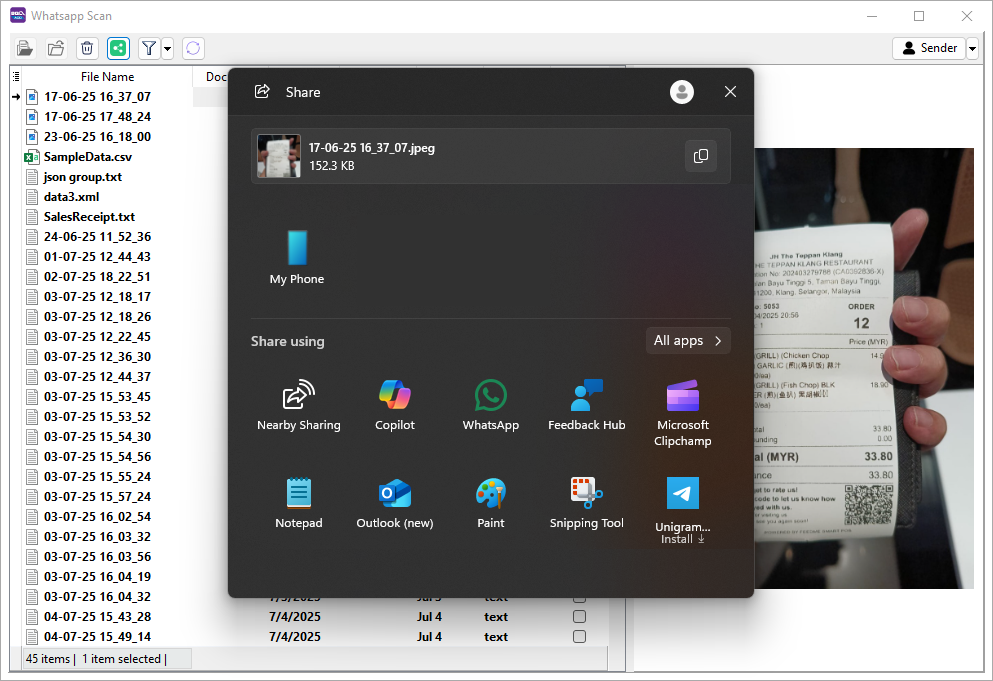
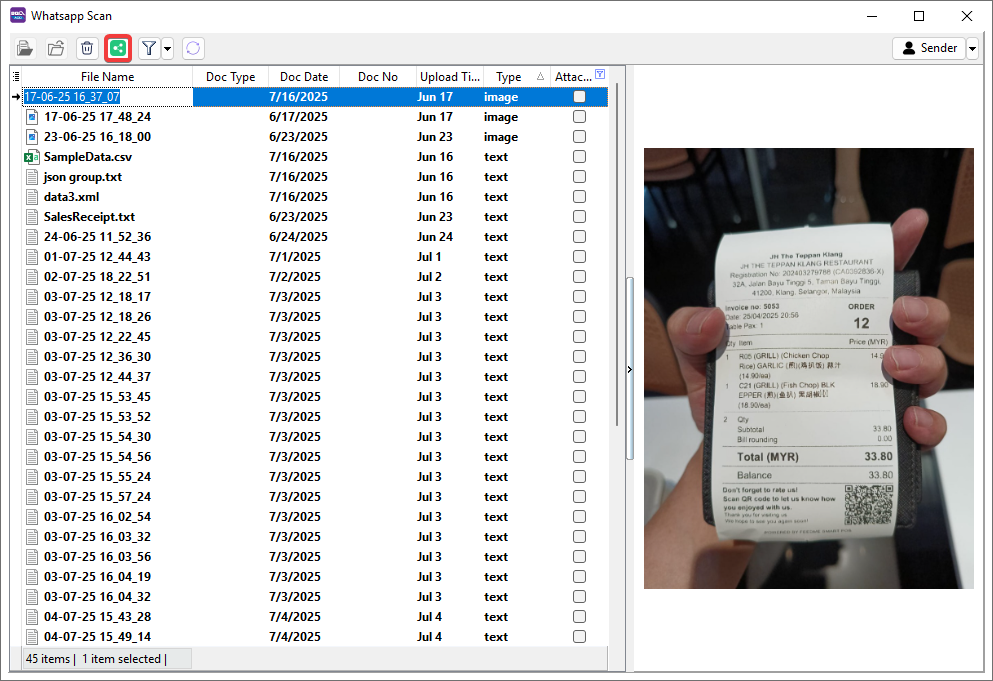
Select file(s) or folder(s) > Click Share button to share the file to other user.
-
Choose the following channel to share the file.