Changing the Label Size (mm) Measurement for the Bar Code Label
This guide illustrate how to print bar code label using Windows Printer for the items created in Maintain Stock Item.
Update Item Bar Code Listing
-
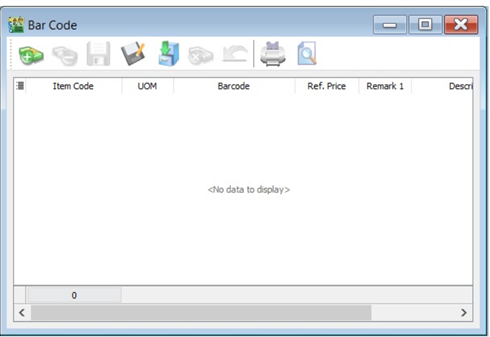
Go to Tools > Print Bar Code (Windows Printer)
-
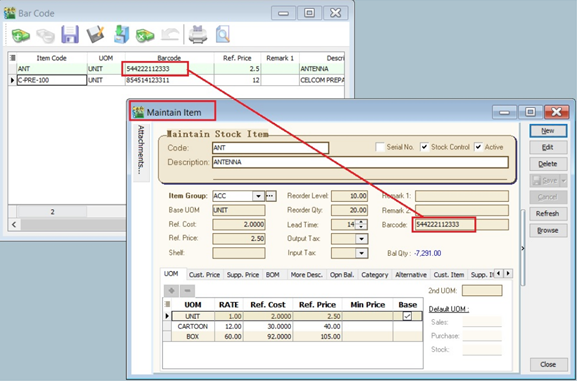
At first, you can update the item bar code in the Maintain Stock Item.
-
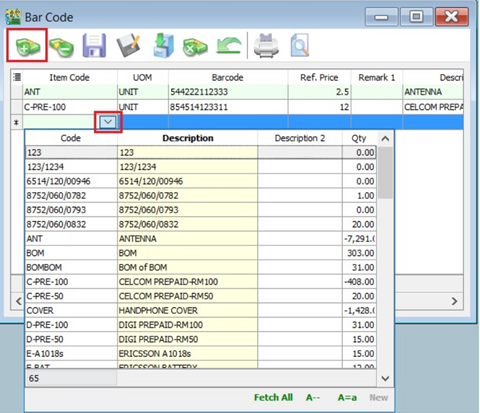
Click on + button to insert the items. See the screenshot below.
-
Click the SAVE button to save the item bar code listing. Type a file name (eg. BarCode_Items_31122015) to save. See the screenshot below.

-
Message prompted. Click OK.
Load the Previous Item Bar Code Listing
-
Go to Tools > Print Bar Code (Windows Printer)
-
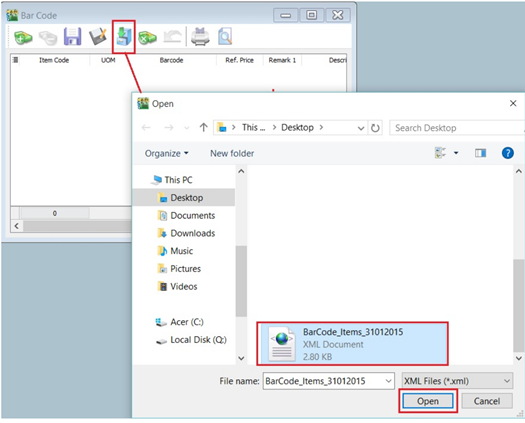
Click on a Cabinet (5th) button to load from the previous file for item bar code listing (eg.BarCode_Items_31122015). Click on Open.
-
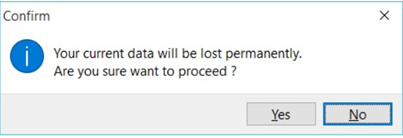
Confirmation message prompted. Click on Yes to load it. Click on No' to cancel it.
-
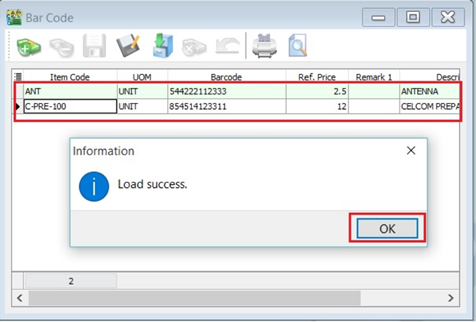
Message Load success prompted. Click on OK to proceed.
-
You can continue update the new items and save as new file name.
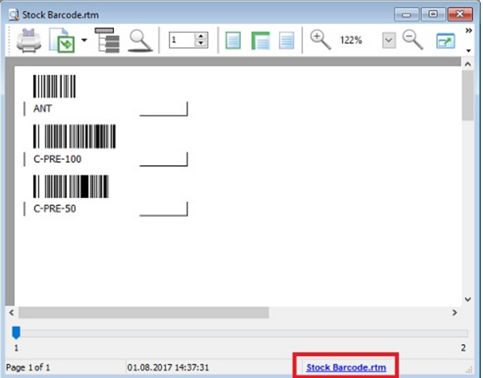
Preview/Print the Bar Code Label
-
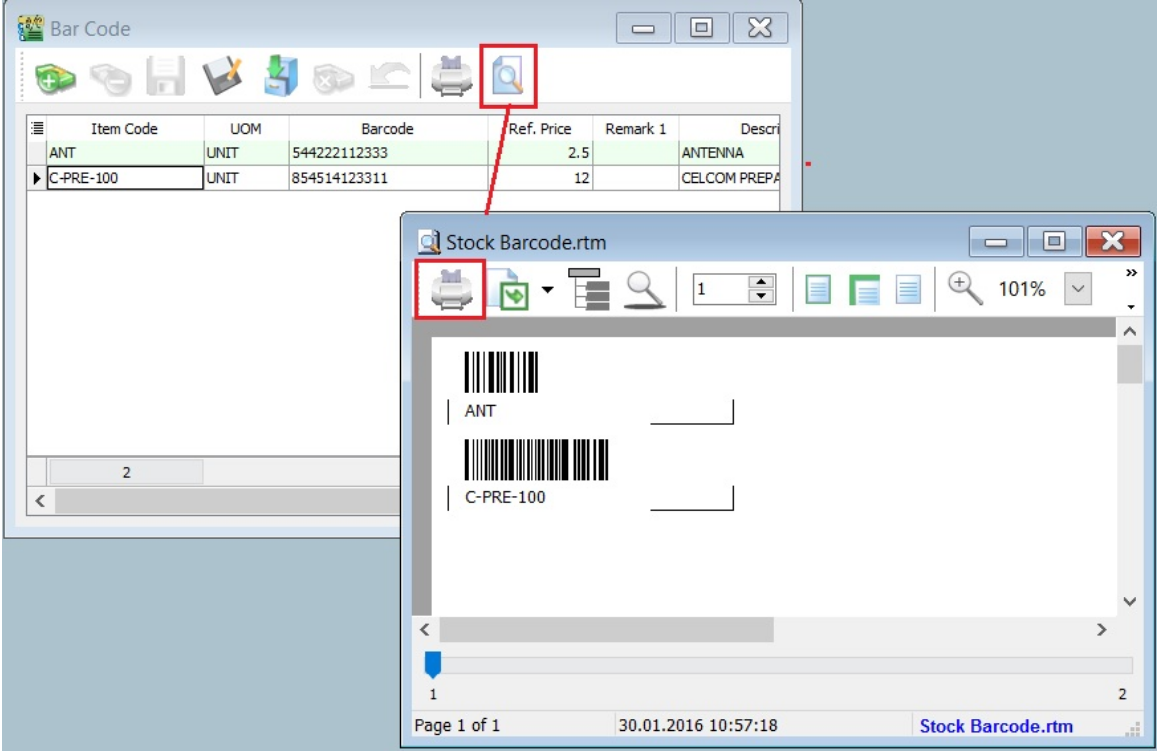
Click on Preview button or Printer button (to skip the preview).
-
After the preview, click on Printer button to print.
Change the Label Size (mm) for the Bar Code Label
-
Click on the Report Name. See the screenshot below.
-
To change the paper unit measurement. Click on Report > Units, choose to Millimeters.

-
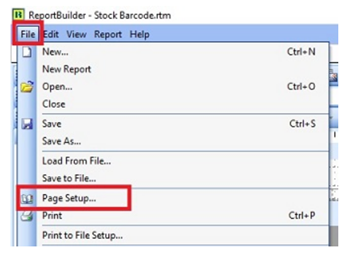
To change the paper size. Click on File > Page Setup...
-
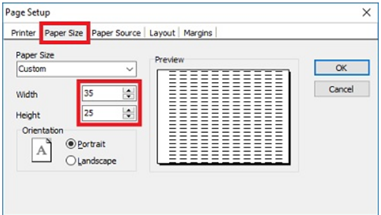
Click on Paper Size tab, change the Width and Height to 35 and 25 respectively (mm), eg. the label paper size is 35mm x 25mm.
-
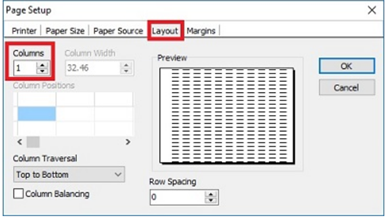
Check the Layout tab to make sure the Columns set to value = 1.
-
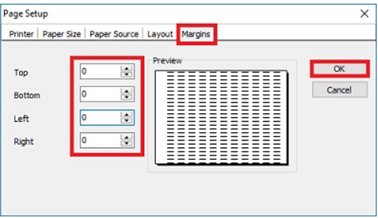
Check the Margin tab as well to make sure all (Top, Bottom, Left, Right) are set to value = 0 . Click OK to exit Page Setup.
-
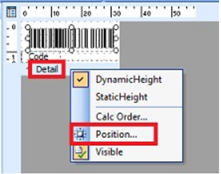
To fix label each page contains 1 barcode of an item. Right click on Detail band, select Position.
-
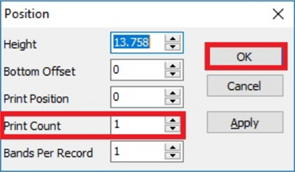
Set Print Count to value = 1. Click OK to confirm.
-
Save the report with another name.