Setup
Configurations
This guide walks you through the complete setup of the SQL X-Store App — from creating a company to syncing data from E-commerce platforms and SQL Account.
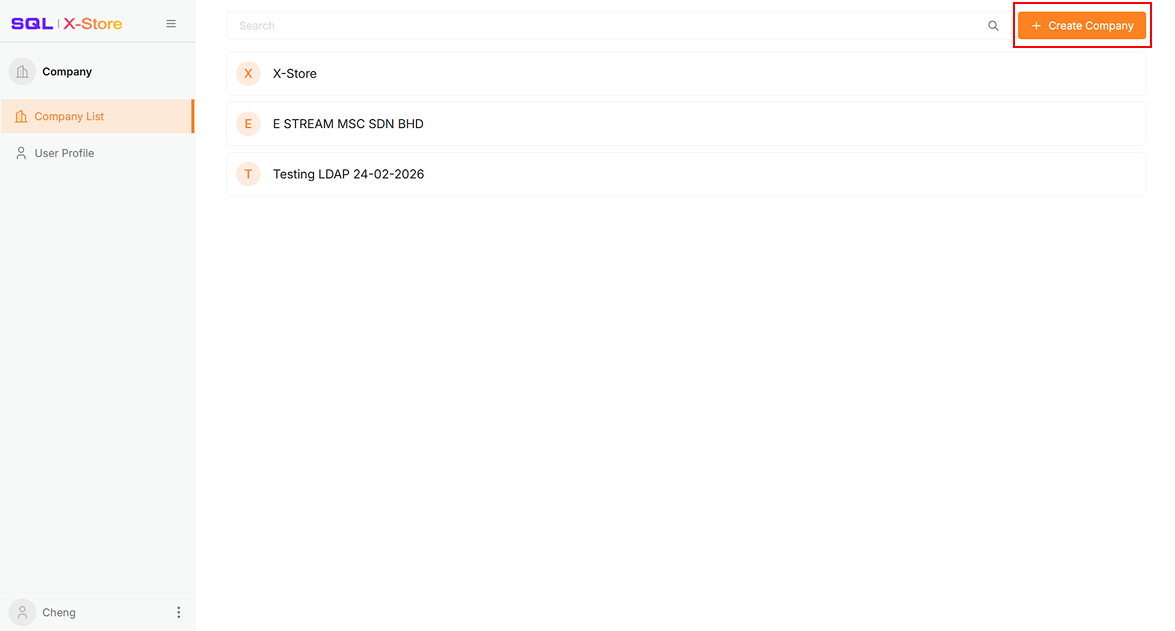
Step 1: Create Company
-
Click Create Company on the Company List page
-
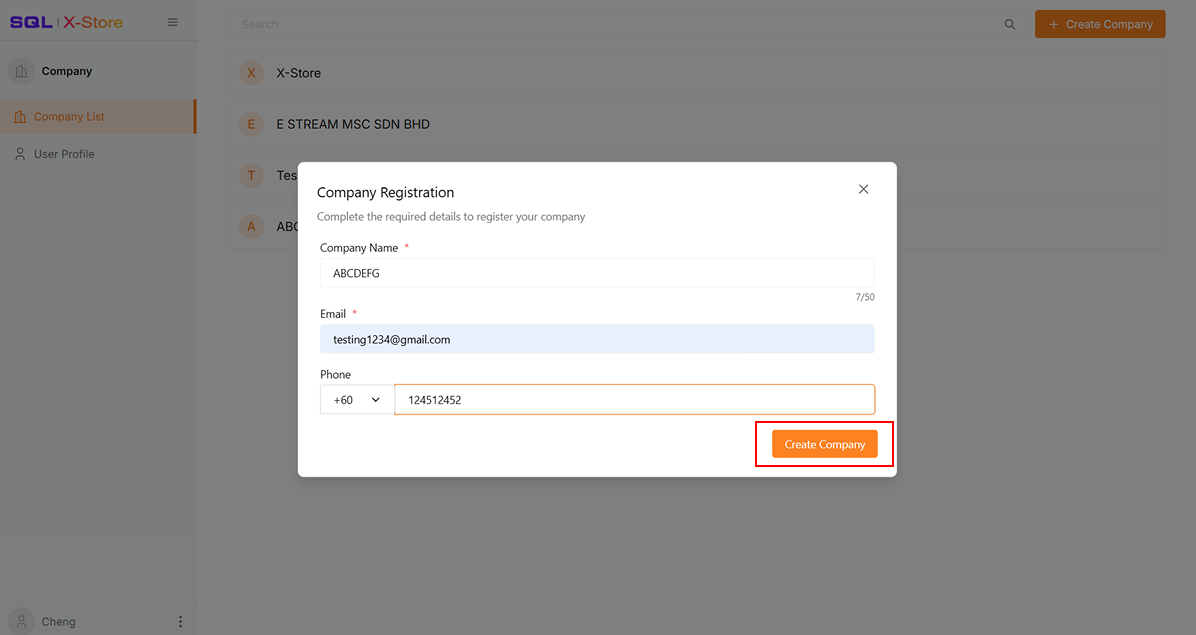
Enter the Company Name, Email, and Phone Number
-
Click Create Company
-
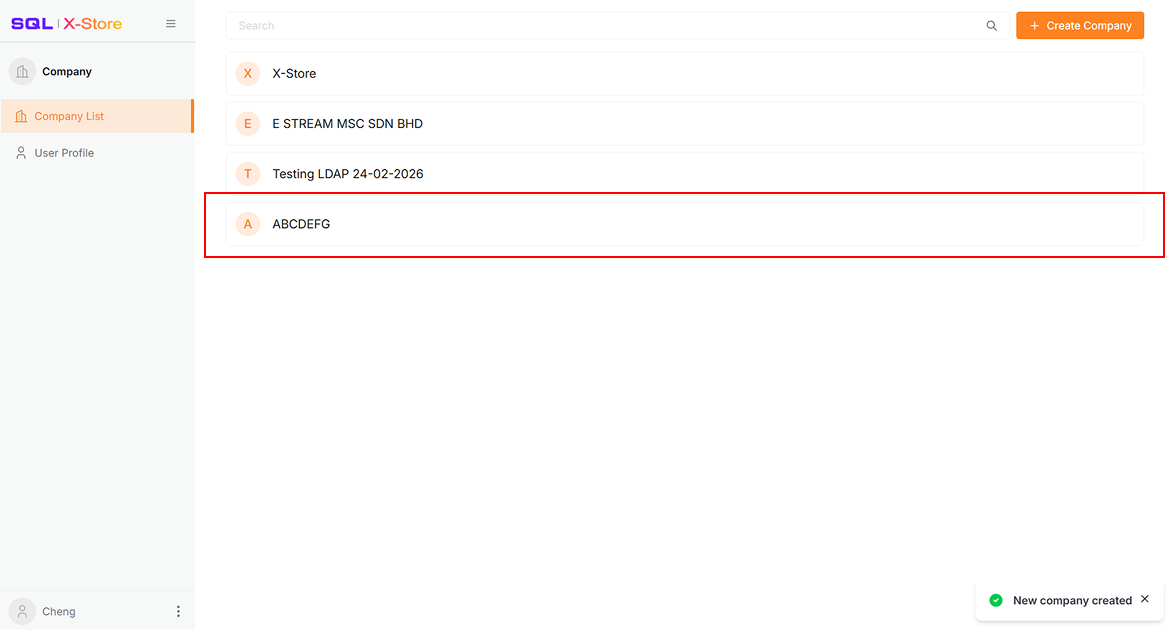
Select the newly created company
-
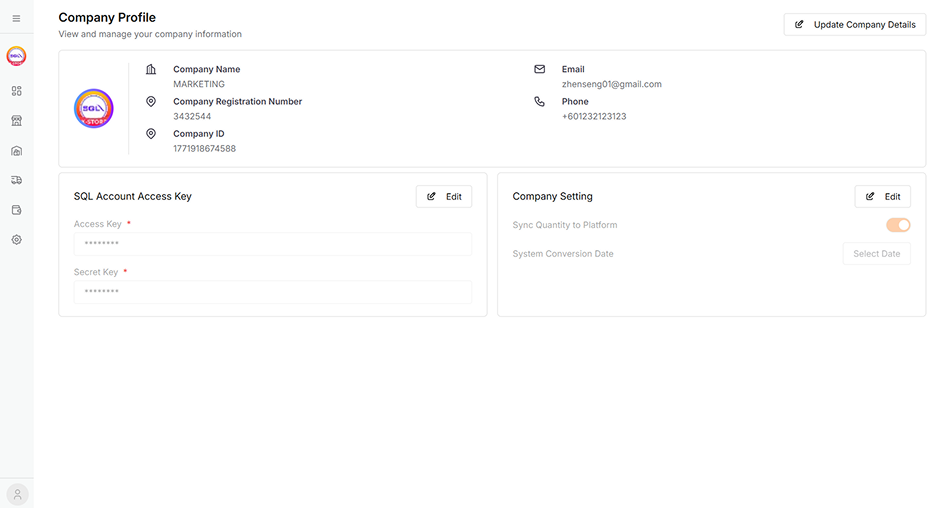
The system will navigate to the Company Profile page
Step 2: Link Store
Connect E-commerce stores to sync store, product, order, and payment data.
-
Click Stores in the sidebar
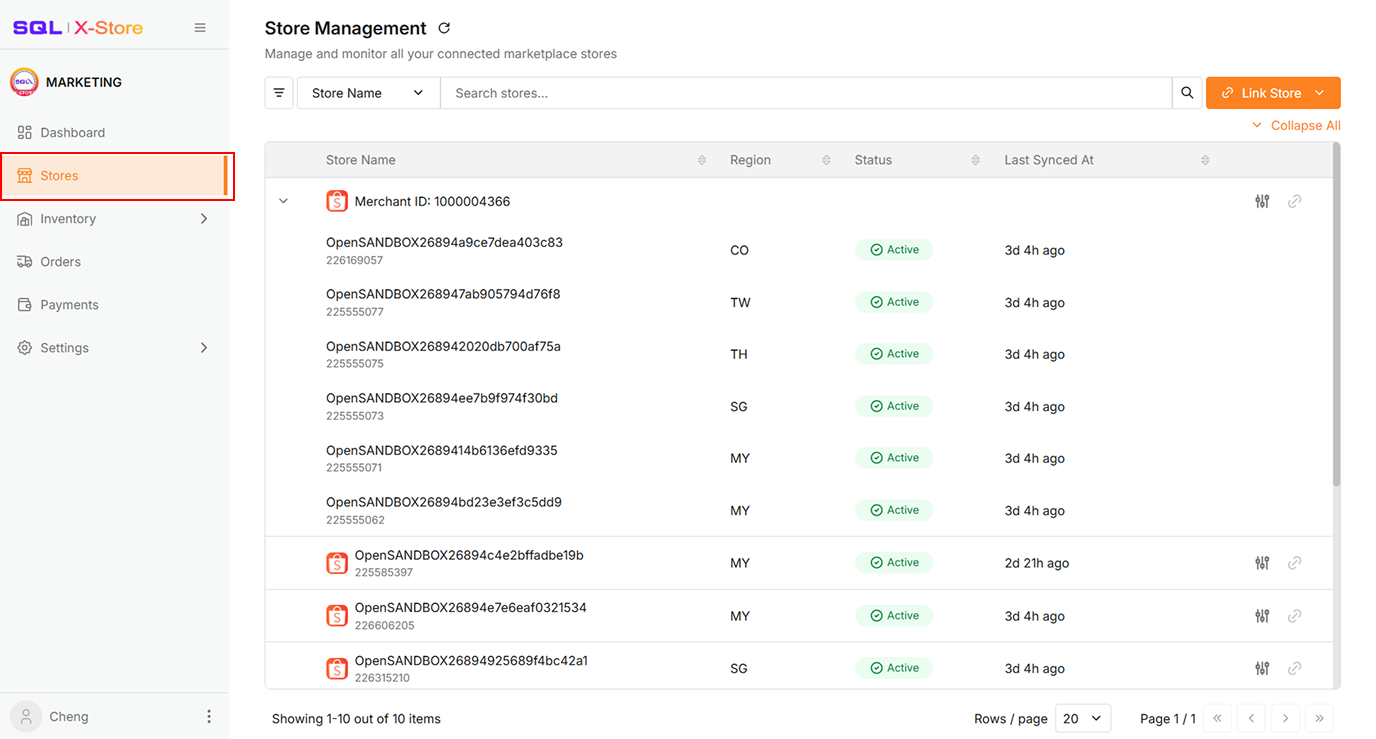
-
Click Link Store

📌 For detailed instructions on linking a store, navigate to Integration > XStore > Stores
Auto-Sync Behavior
- After linking, the system automatically syncs the past 3 days of product, order, and payment data.
- Sync actions are locked for 10 minutes to prevent overload.
- After 10 minutes, manual sync becomes available.
Step 3: Configure Company Settings
-
Click Settings > Company from the sidebar
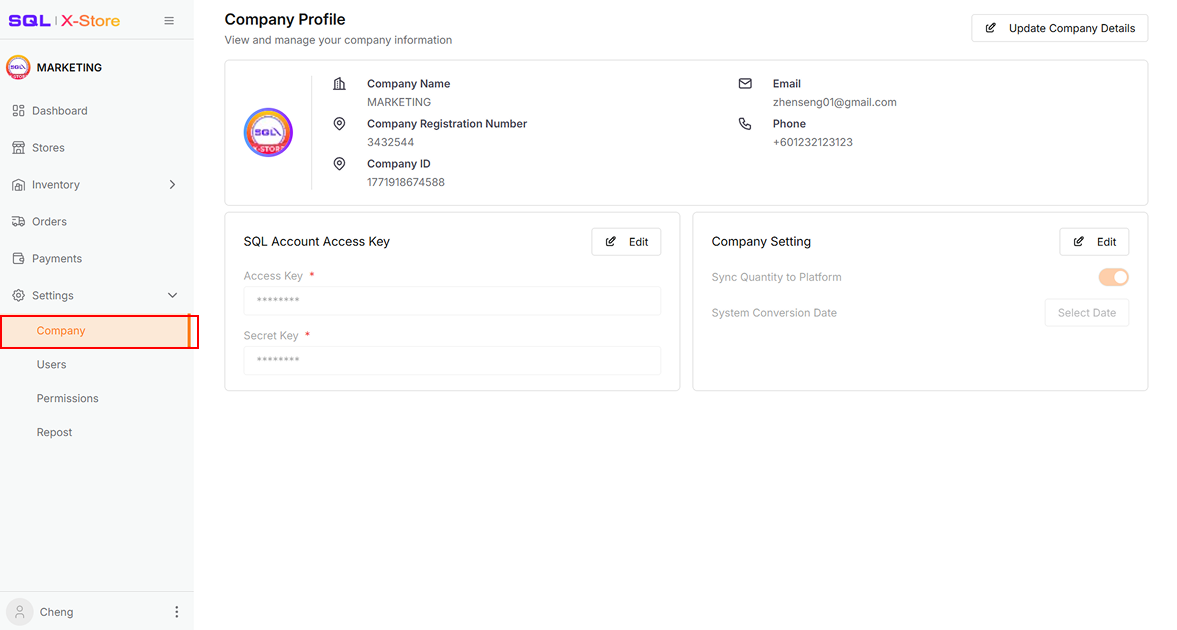
-
Click Edit

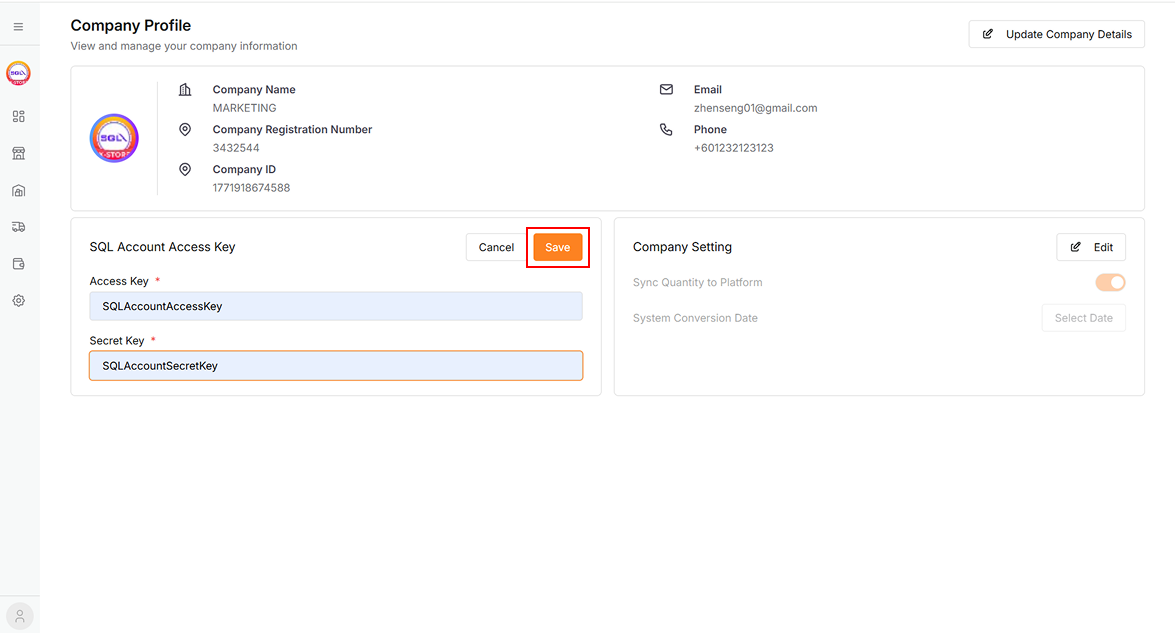
-
Copy the Access Key and Secret Key from SQL Account and fill in both fields to enable SQL sync
-
Click Save
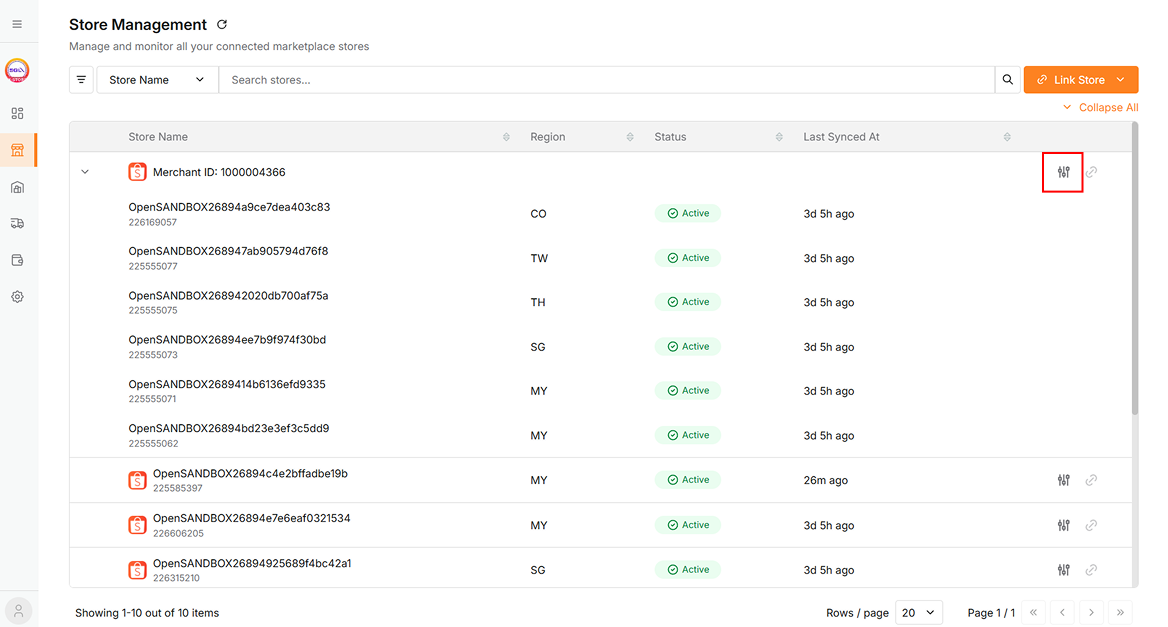
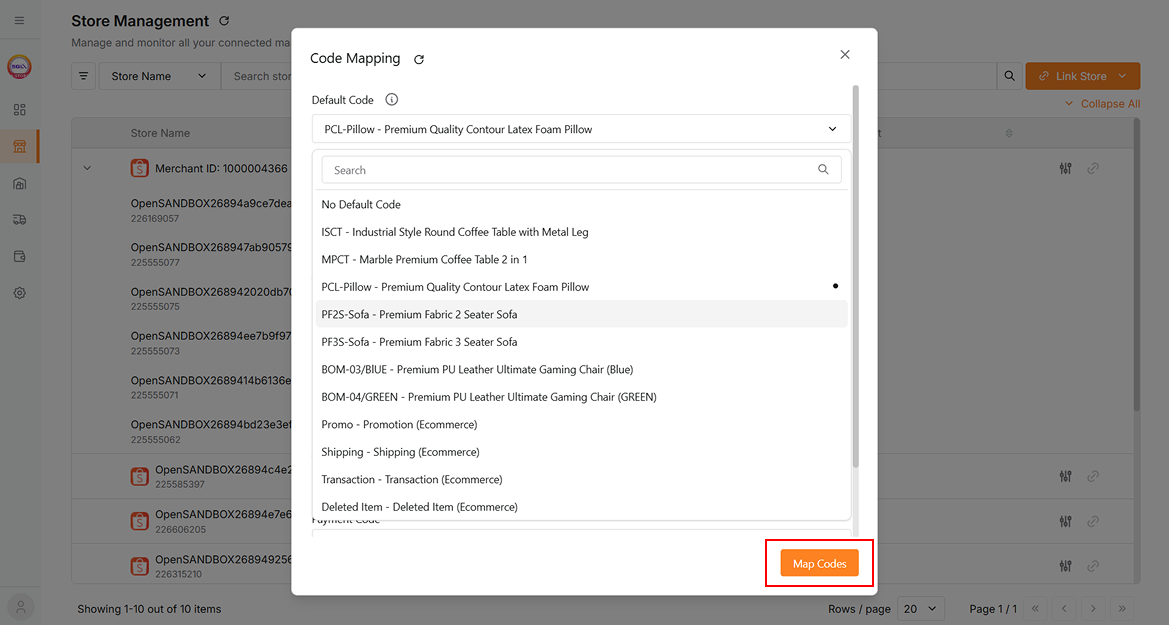
Step 4: Code Mapping
Sync Stock, Customer, Location, and Payment codes from SQL Account to map codes such as Location, Project, Voucher, Discount, Shipping, Transaction, Payment, and Customer codes for invoice posting to SQL Account.
-
Click Stores in the sidebar
-
Click the icon of any store
-
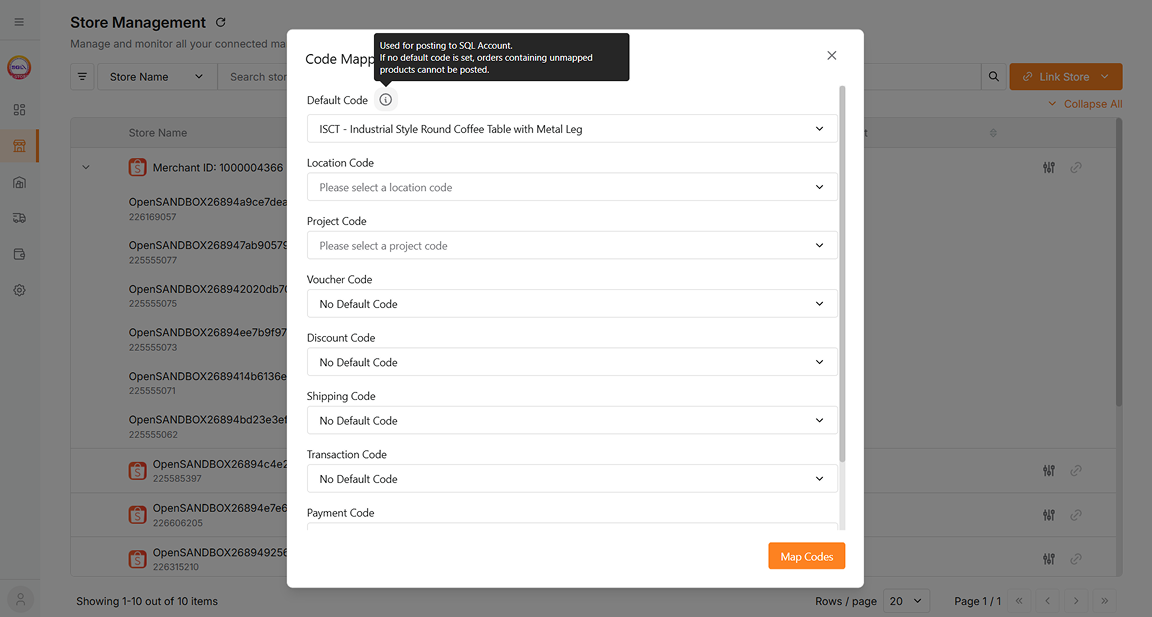
A dialog will open:
-
Select the code type from the dropdown
-
Click Map Codes
-
To post orders to the SQL Account, a default code must be configured. Without it, orders that include unmapped products cannot be posted.
-
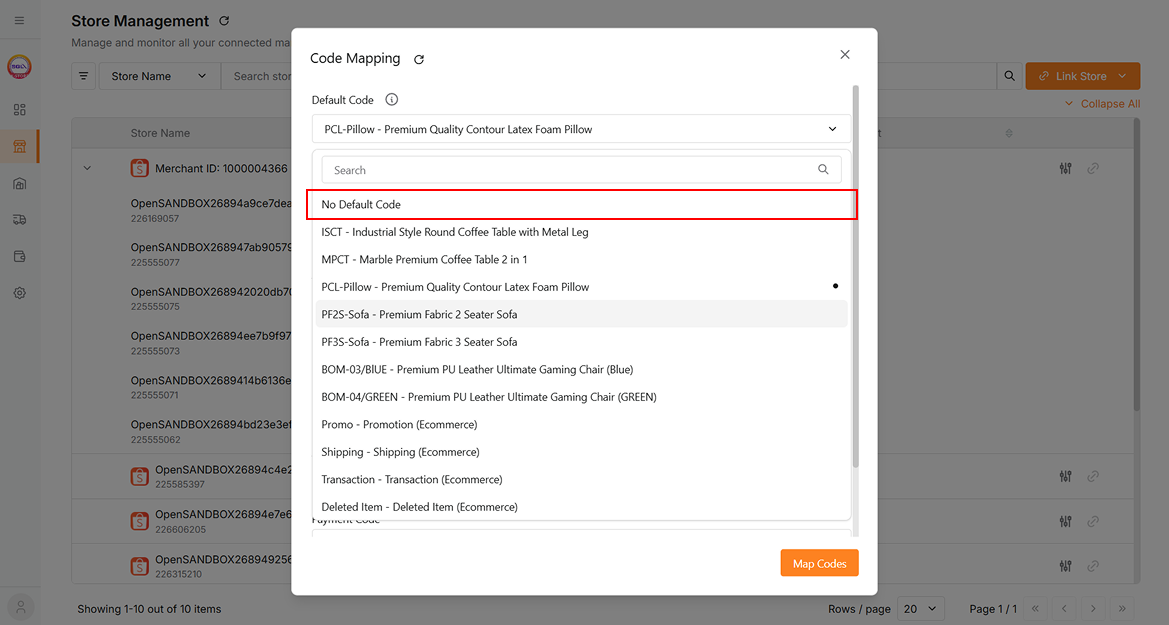
Select No Default Code to clear the previously selected default code.
-
-
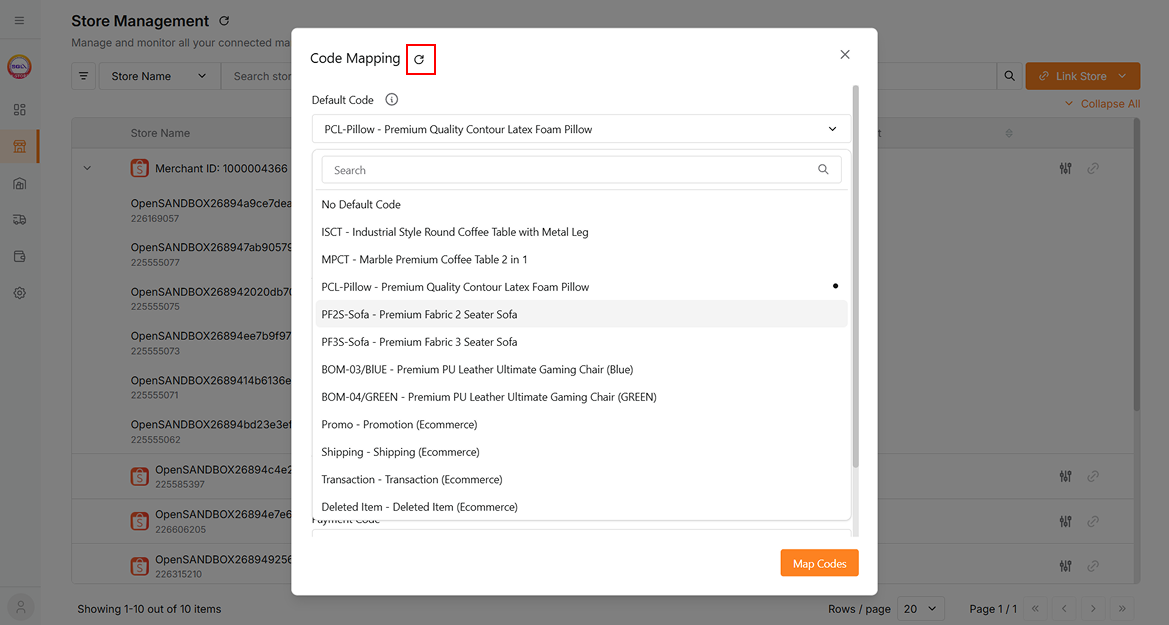
Click the refresh icon to get the latest code data.
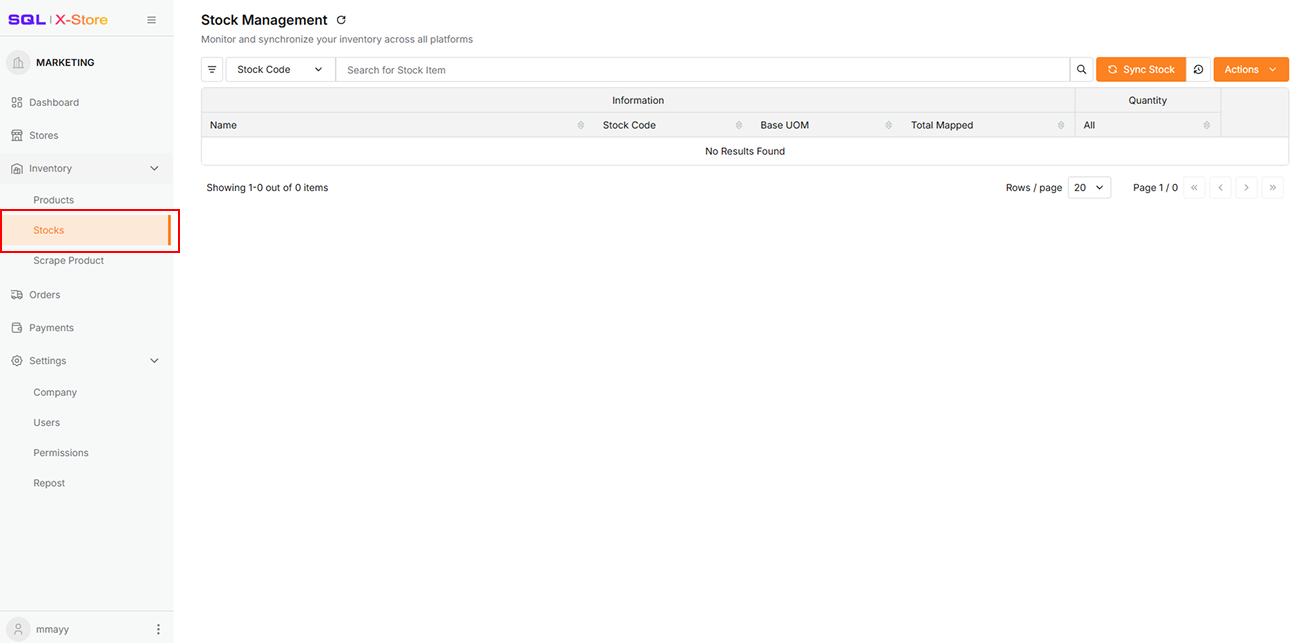
Step 5: Sync Stock Items from SQL Account
Sync stock items from SQL Account for product mapping and quantity control.
If an item has been mapped in the SQL Account E-Commerce module (using an Alternative Code), the mapping information will be used to auto match with the corresponding SKU in X-Store. You do not need to perform the mapping action again in Stock.
Ensure your store is mapped to the correct stock item location, or mapped items won't appear.
-
Click Inventory > Stocks in the sidebar
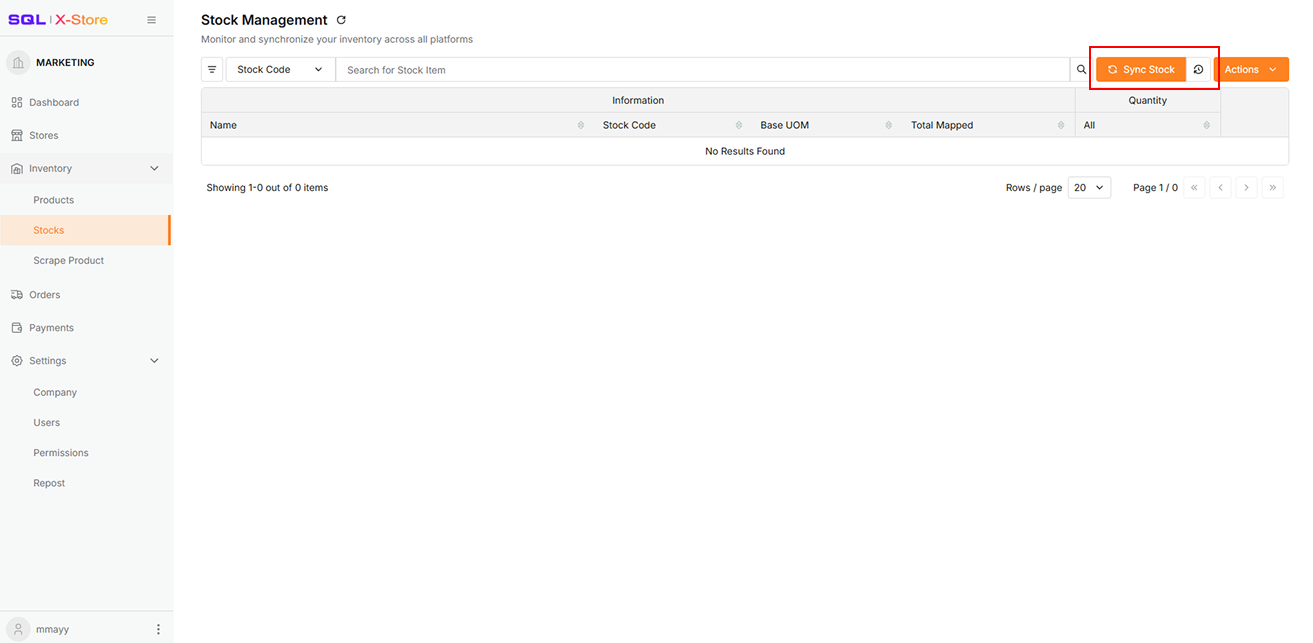
-
Click Sync Stock
-
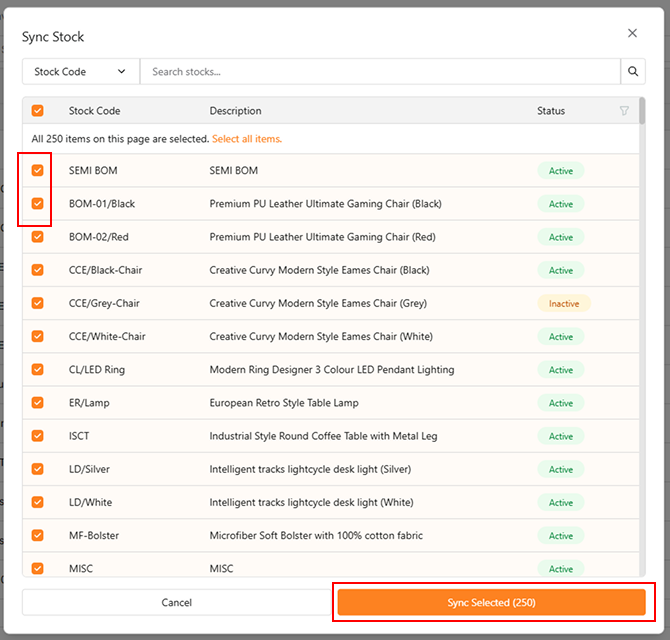
Choose sync method:
-
Sync All, or
-
Tick checkboxes and click Sync Selected
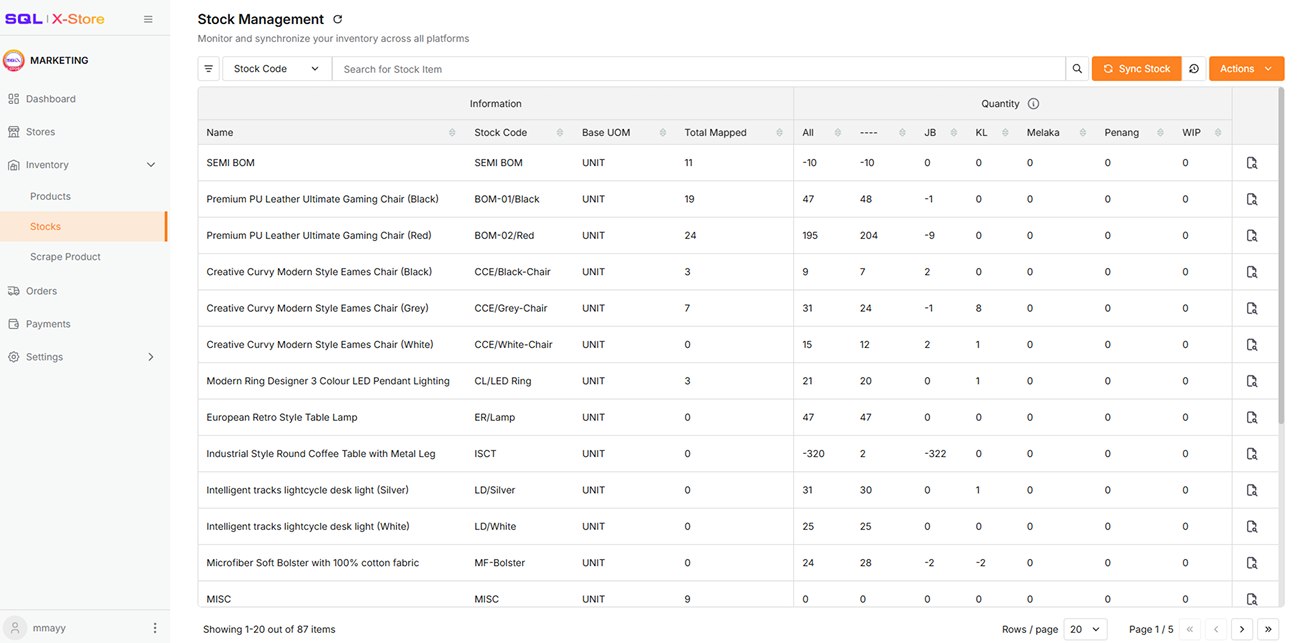
-
-
Synced stock items will appear in the Data Table
Manual Sync
If platform data failed to sync during store linking, you can sync manually.
Sync Product Data
-
Click Inventory > Products in the sidebar
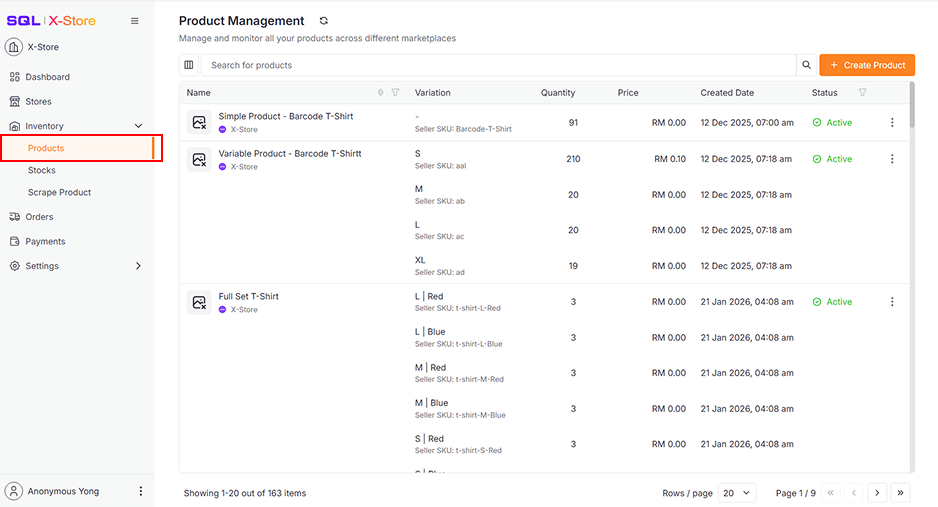
-
Click (⟲) icon
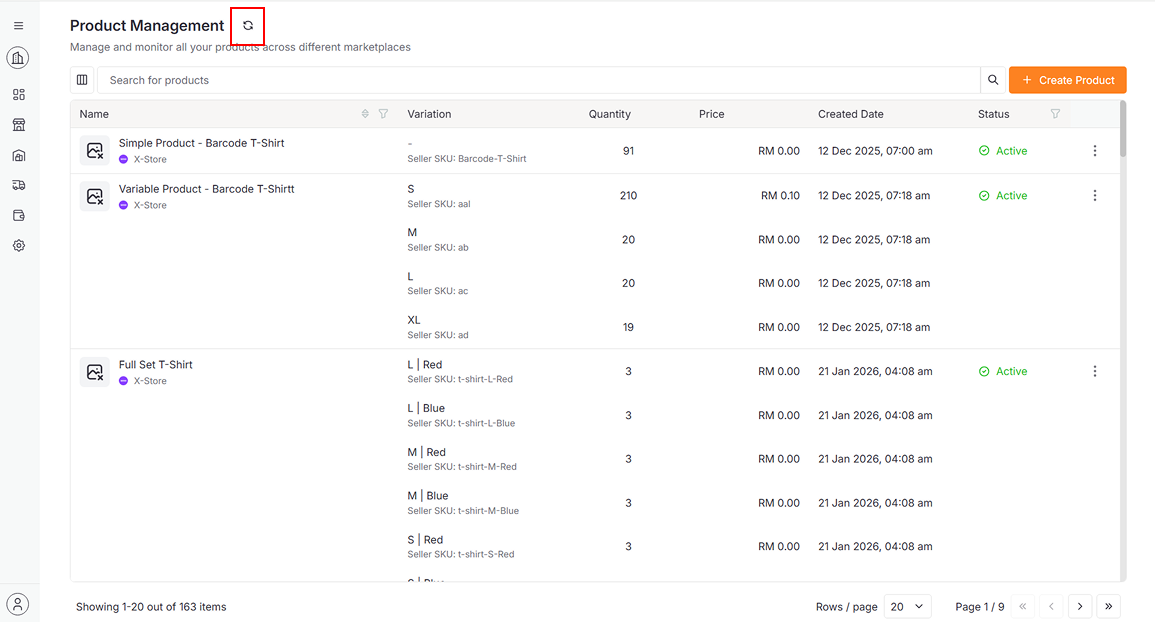
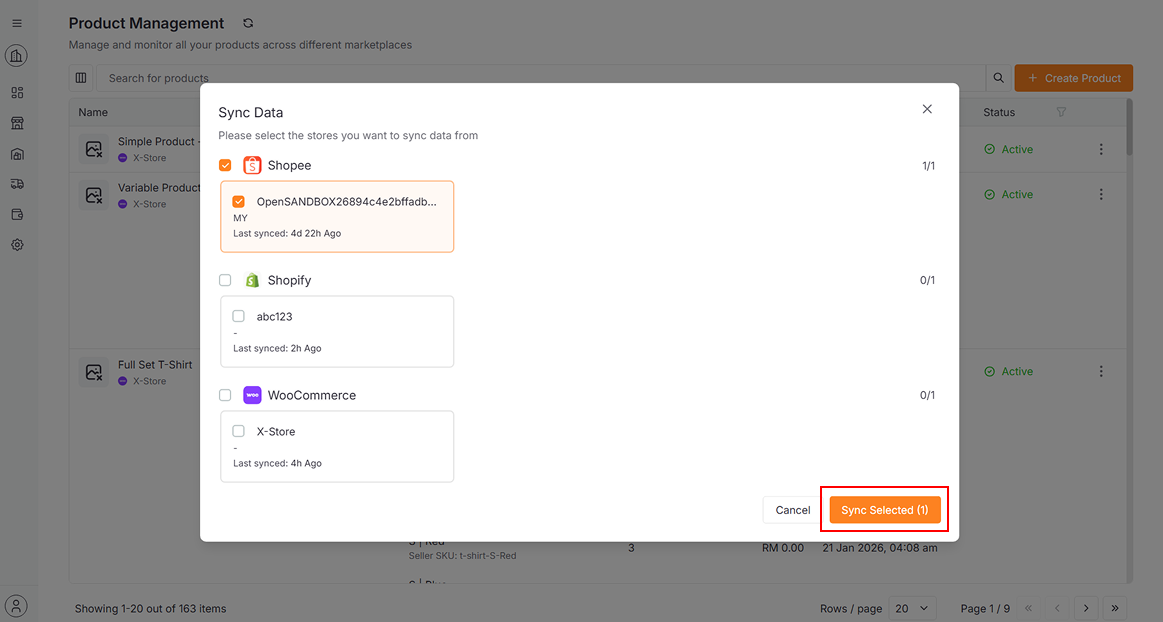
-
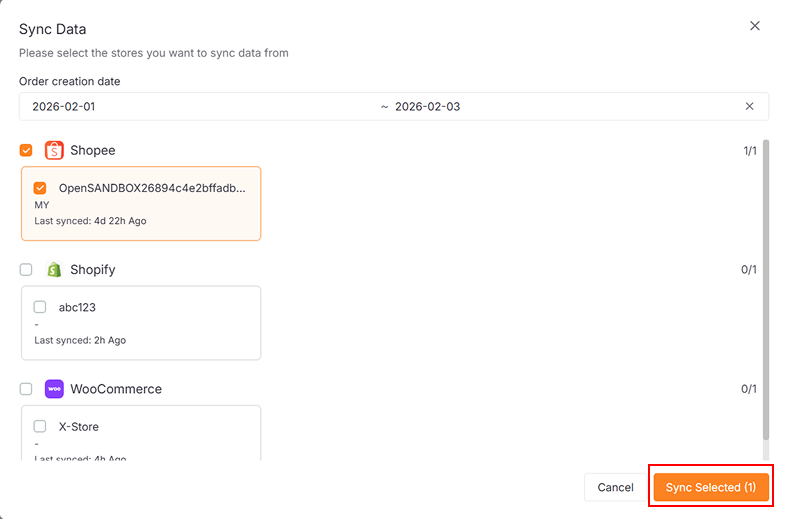
A dialog will open:
-
Tick checkboxes to select stores
-
Click Sync Selected
-
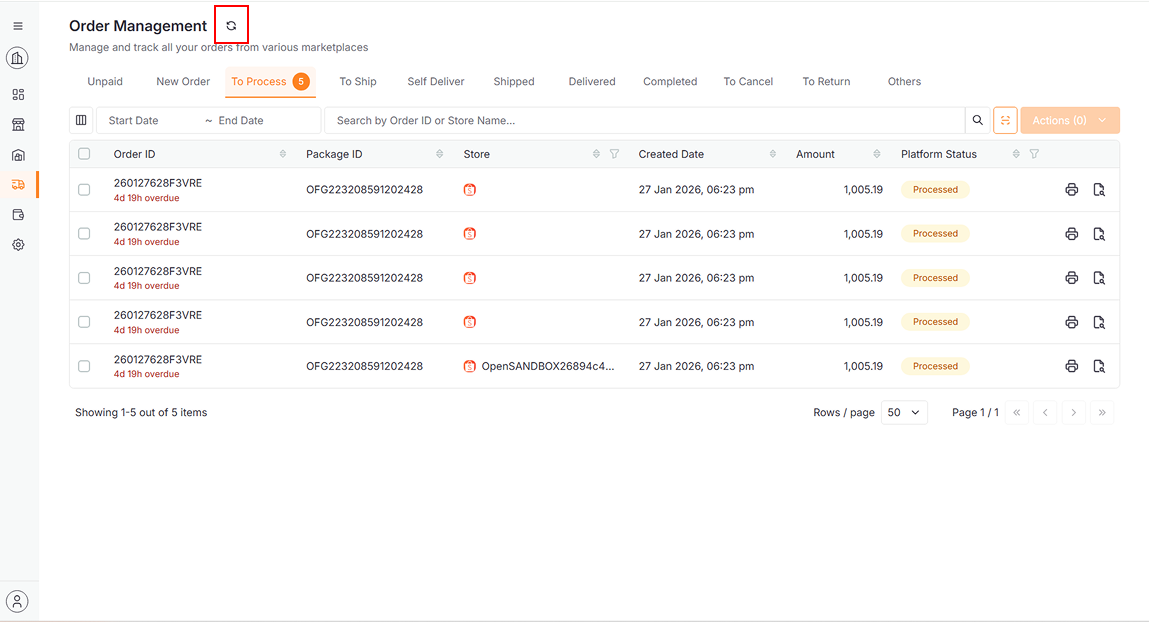
Sync Order Data
-
Click Orders in the sidebar

-
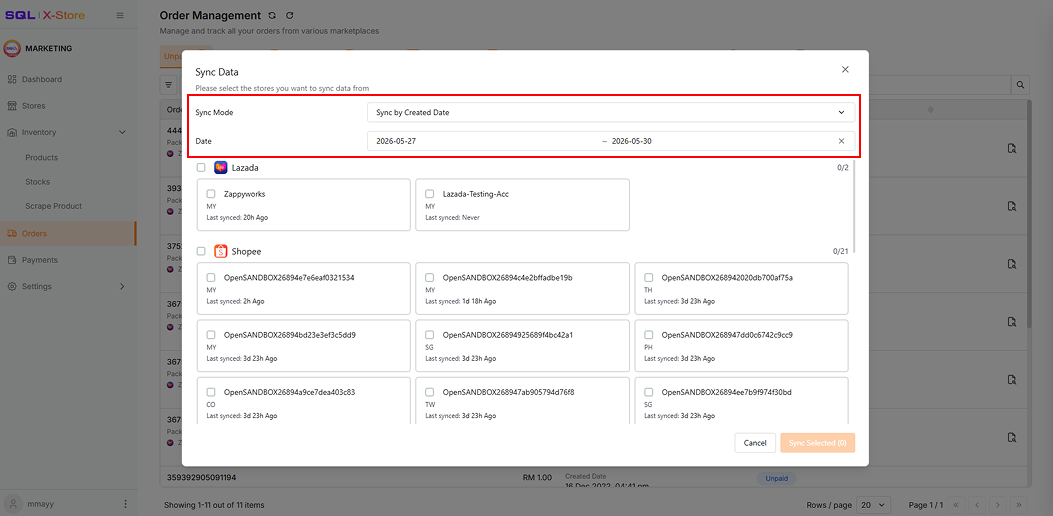
Click (⟲) icon
-
A dialog will open:
-
Select Sync Mode and Date (default sync data from past 3 days)
-
Tick checkboxes to select stores
-
Click Sync Selected
-
Sync Payment Data
-
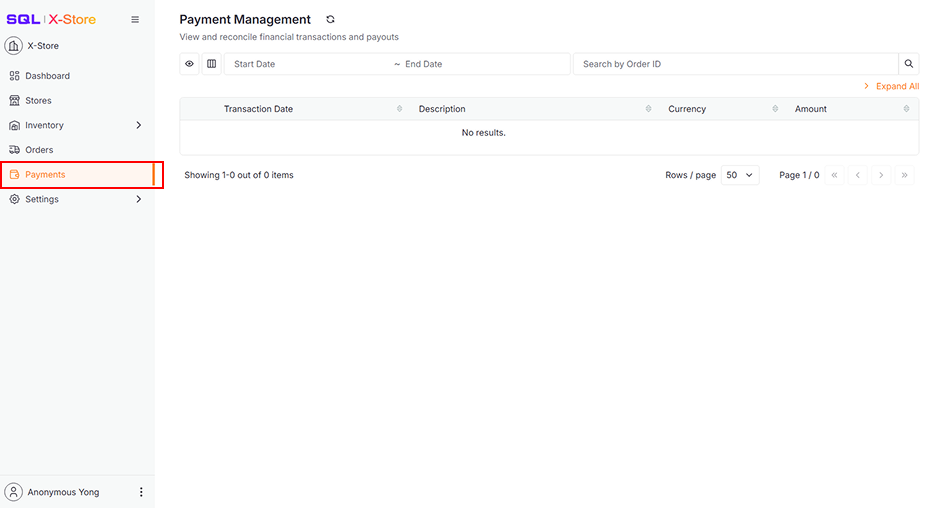
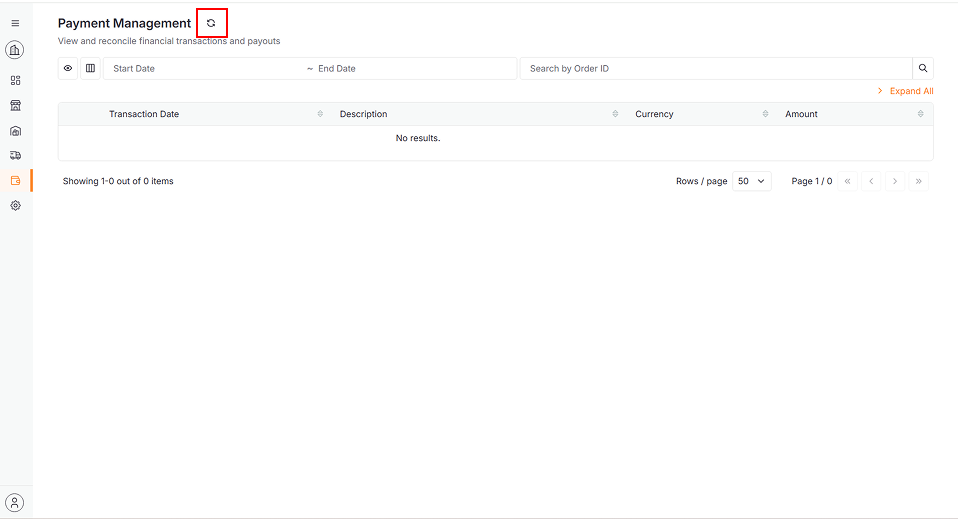
Click Payments in the sidebar
-
Click (⟲) icon
-
A dialog will open:
-
Select Sync Mode and Date (default sync data from past 3 days)
-
Tick checkboxes to select stores
-
Click Sync Selected
-