Stores
Linking Stores
-
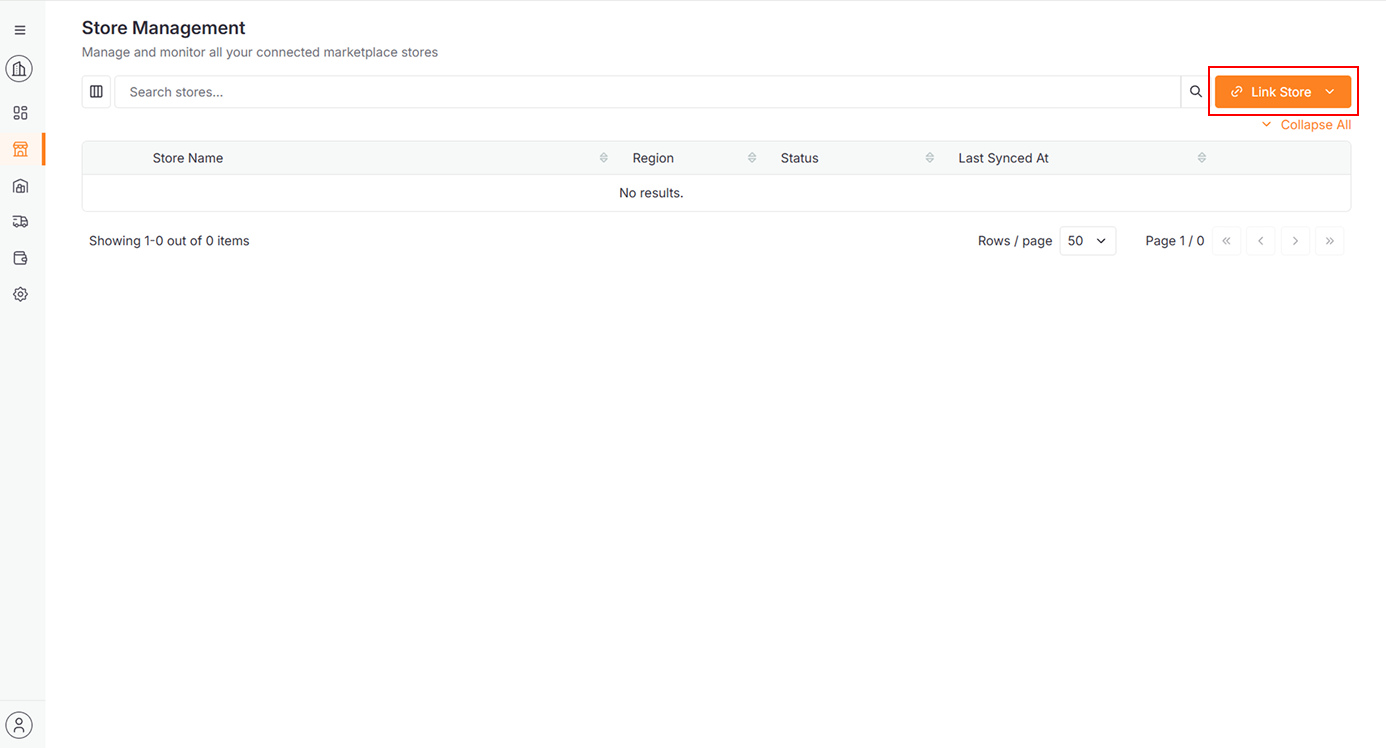
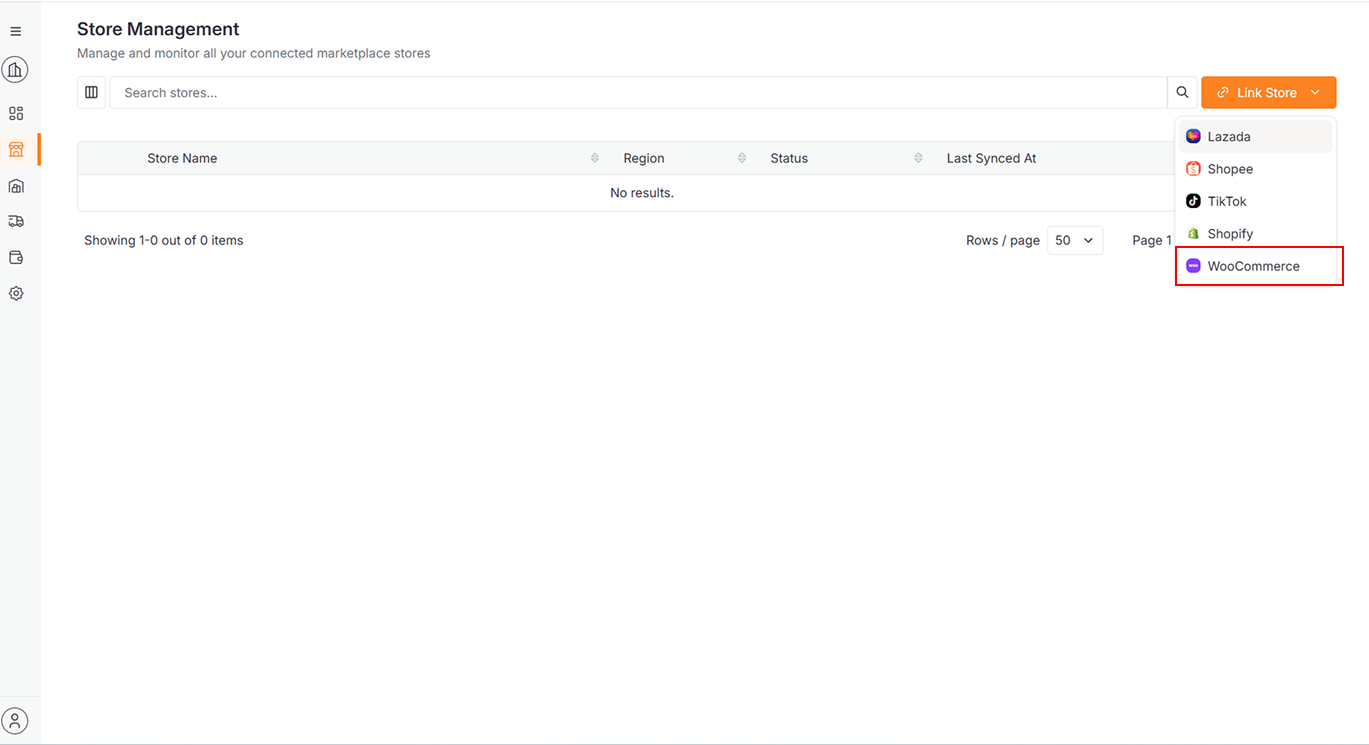
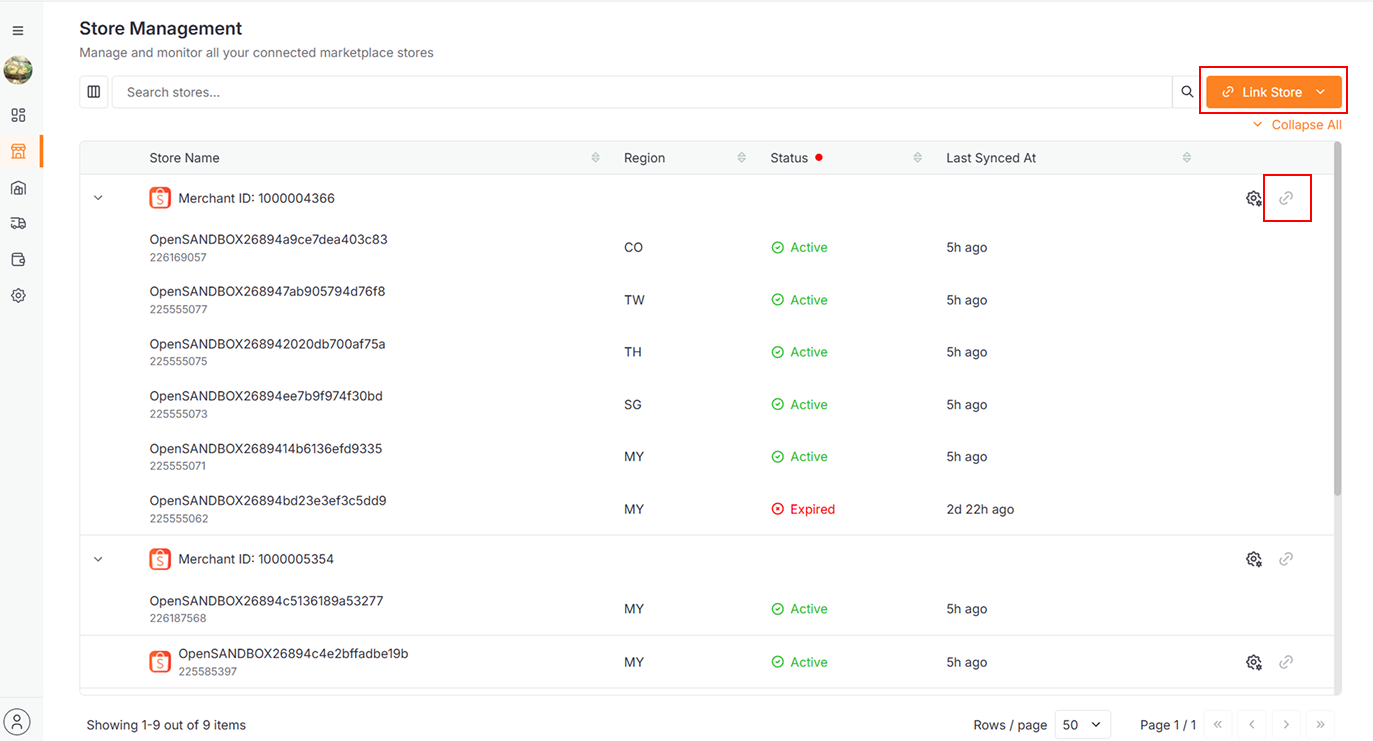
Click Stores in the sidebar

-
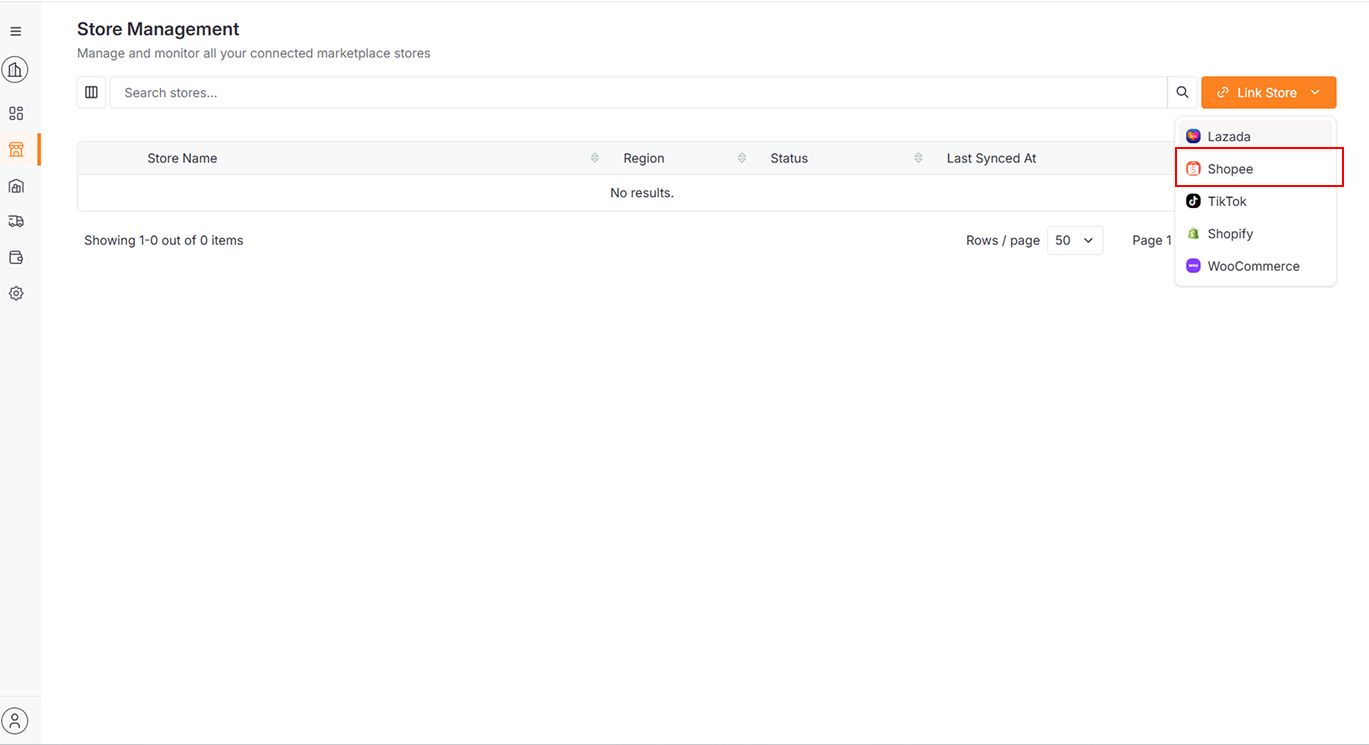
Click Link Store
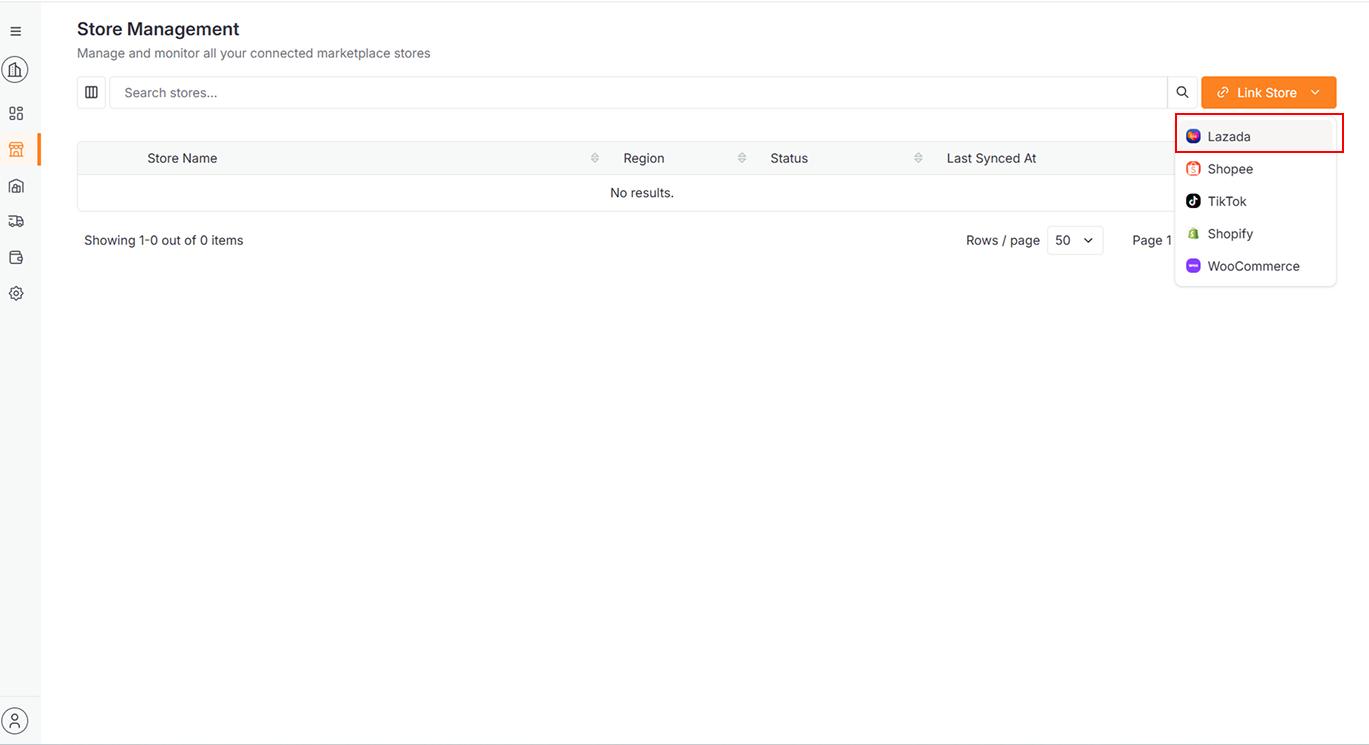
Lazada
-
Select Lazada from dropdown
-
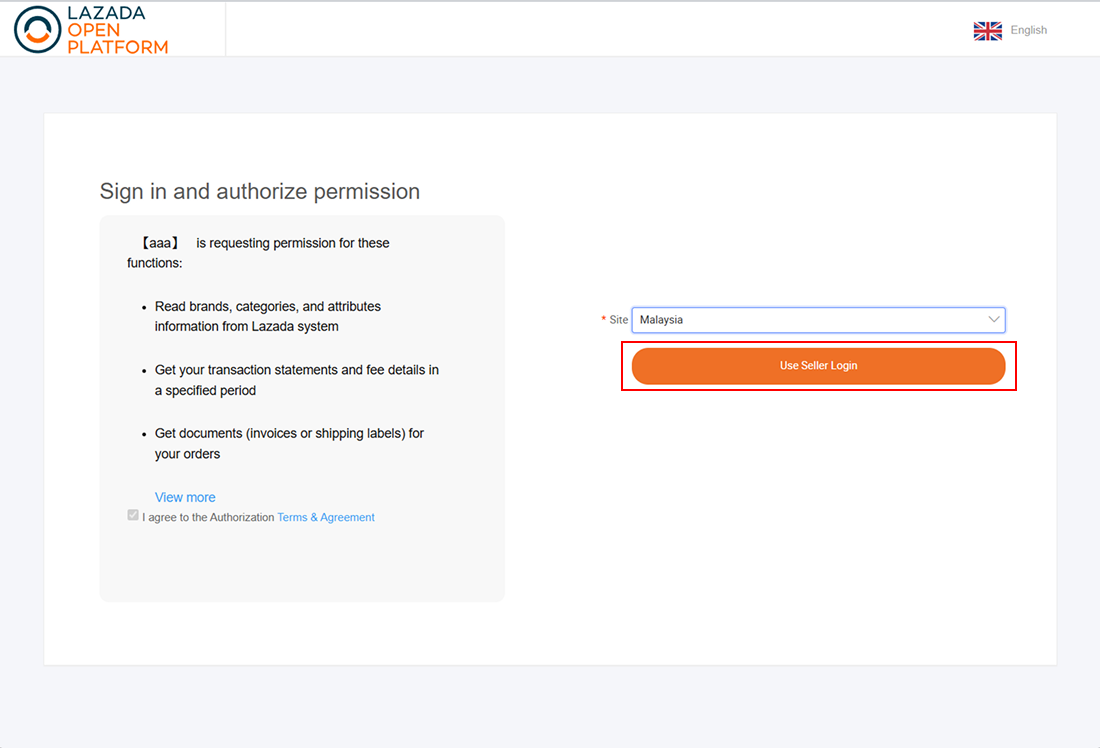
Select Region
-
Click Use Seller Login.
-
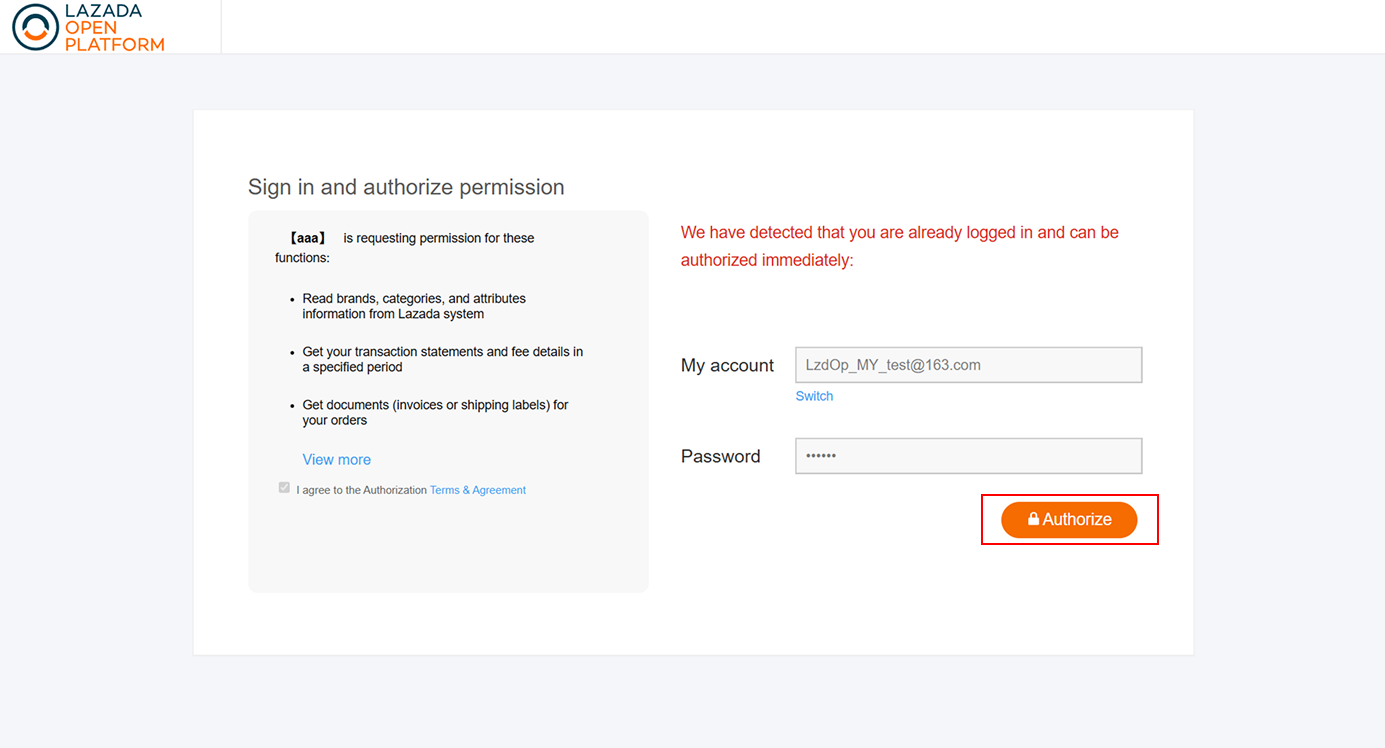
Log in using your Lazada credentials

-
Click Authorize
-
After successful linking
-
A success message will appear
-
The linked store will be added to the data table.
-
Shopee
-
Select Shopee from dropdown
-
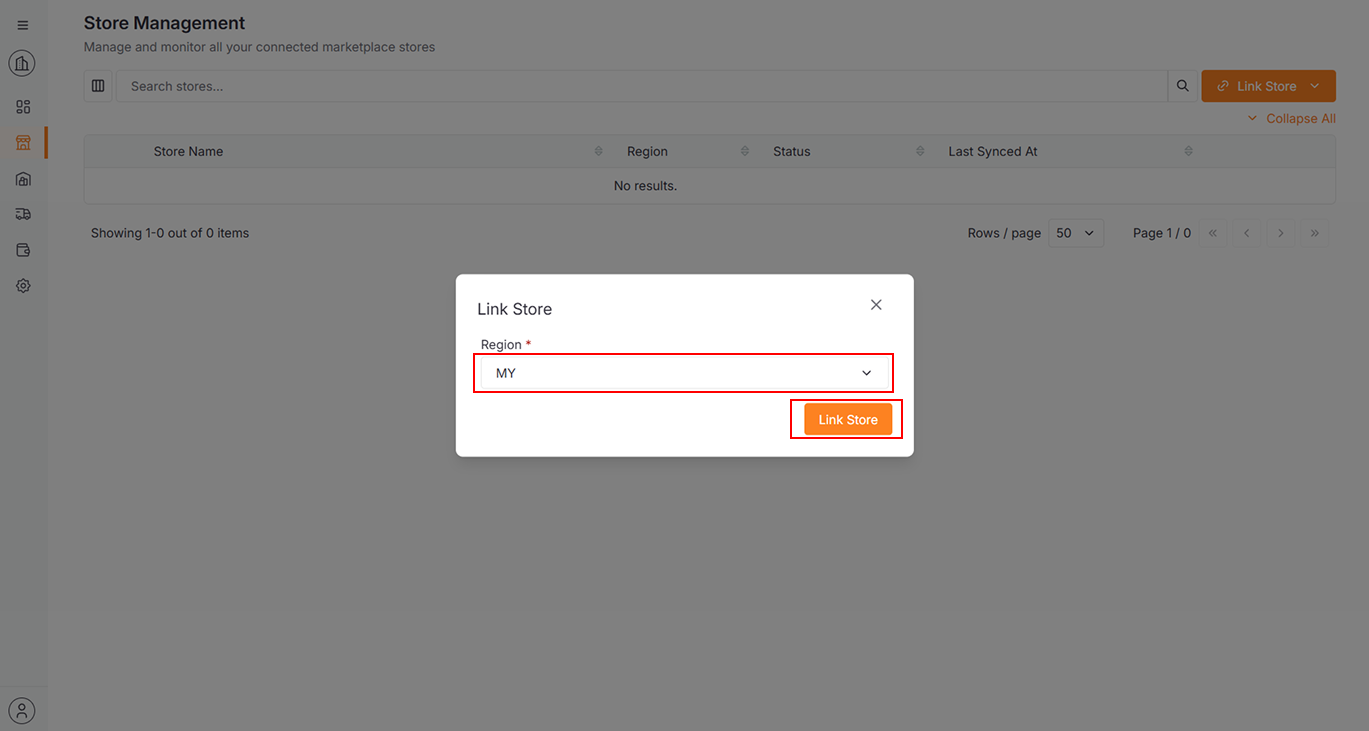
Select Region
-
Click the Link Store button
-
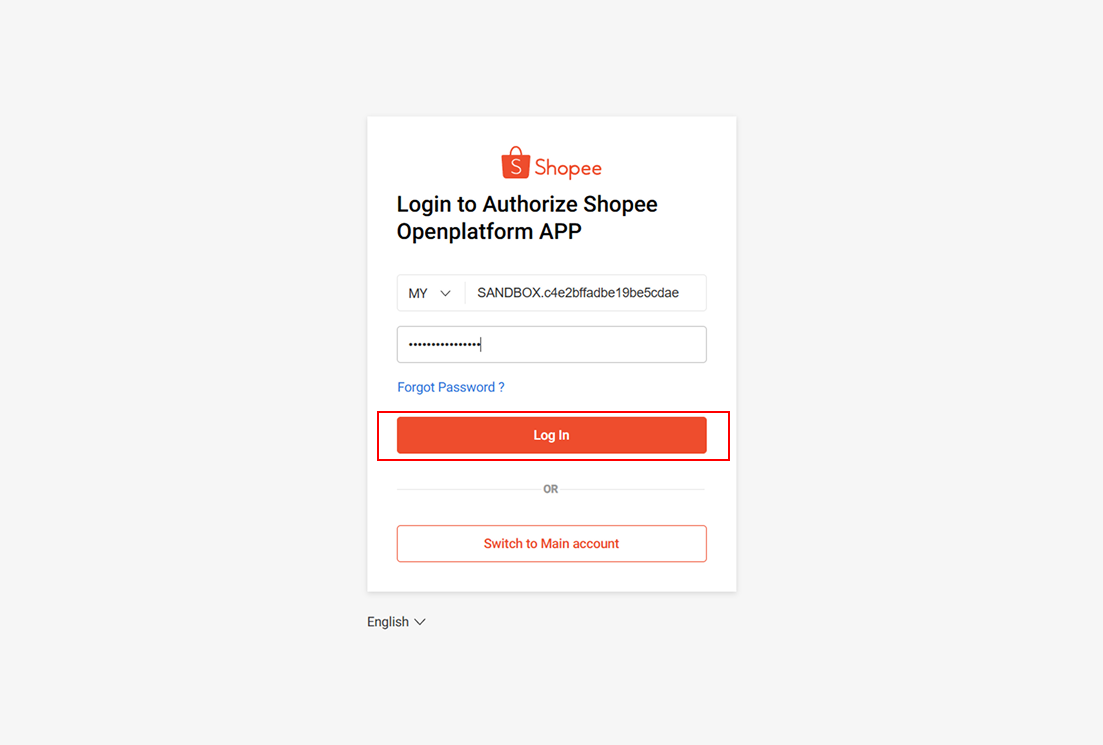
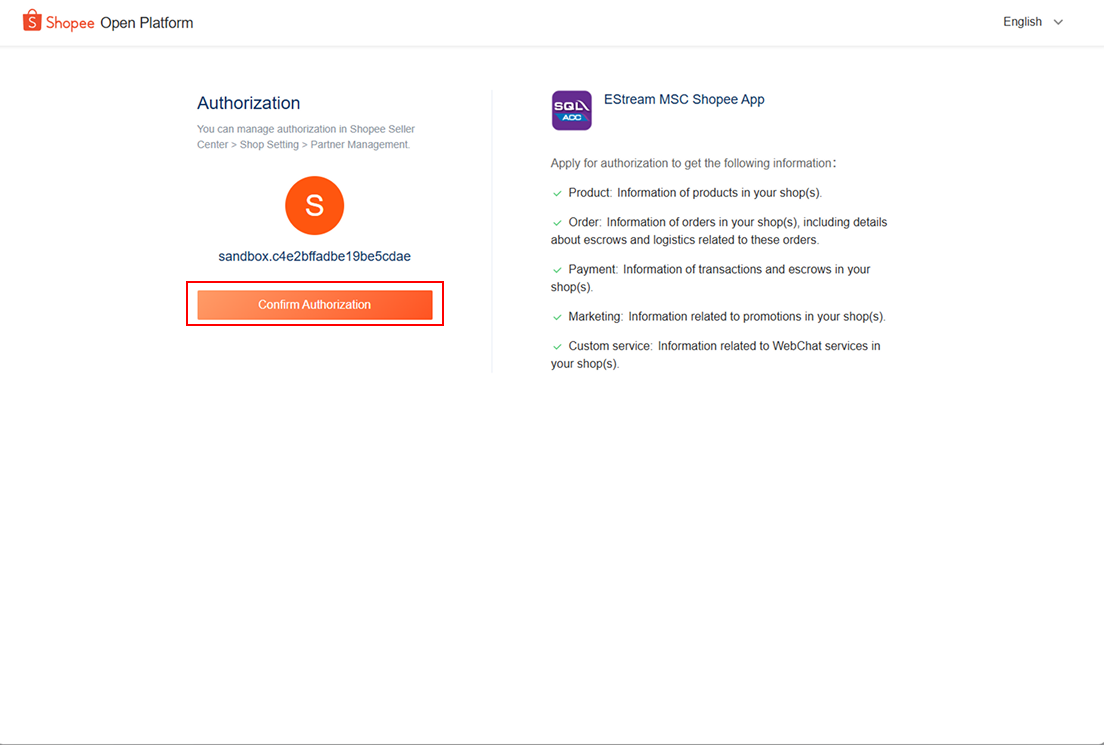
If Linking a Shop Account:
-
Enter shop account credentials
-
Click Confirm Authorization
-
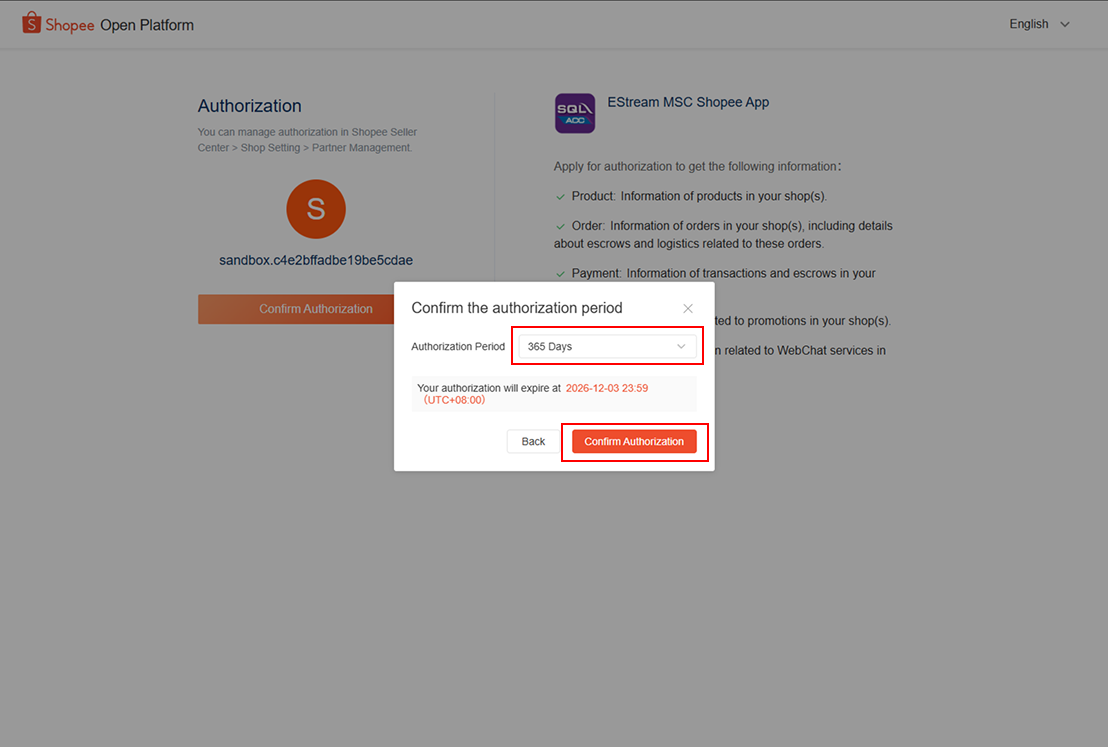
Select the Authorization Period
-
Click Confirm Authorization
-
-
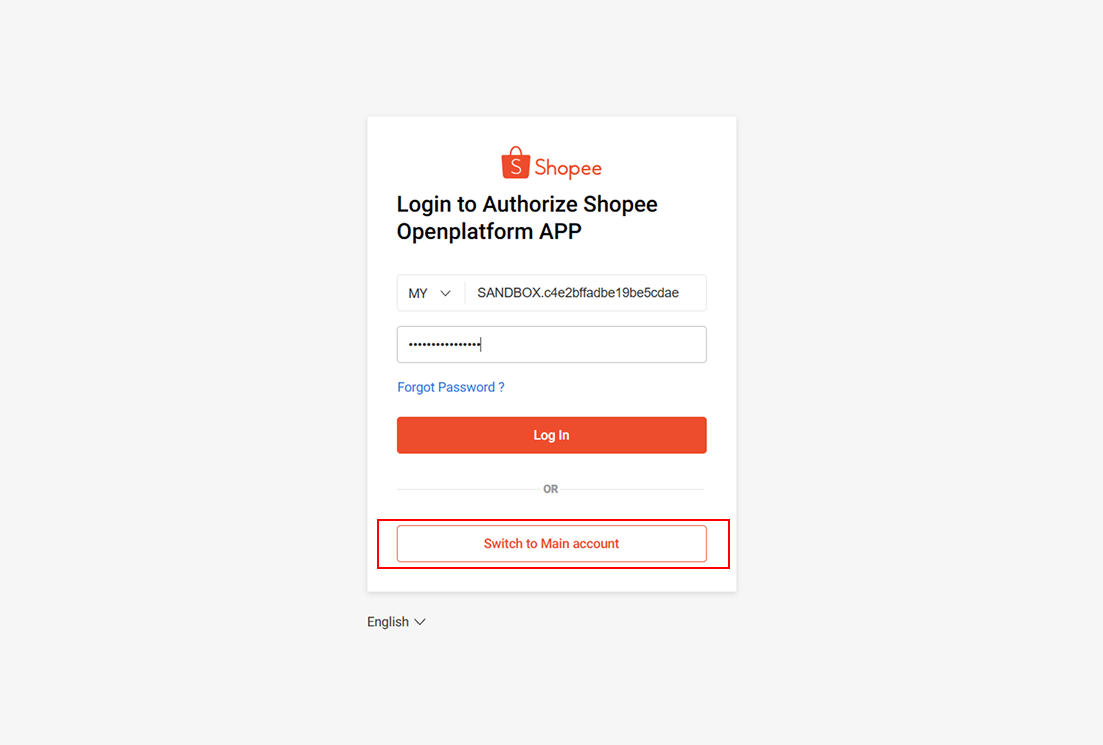
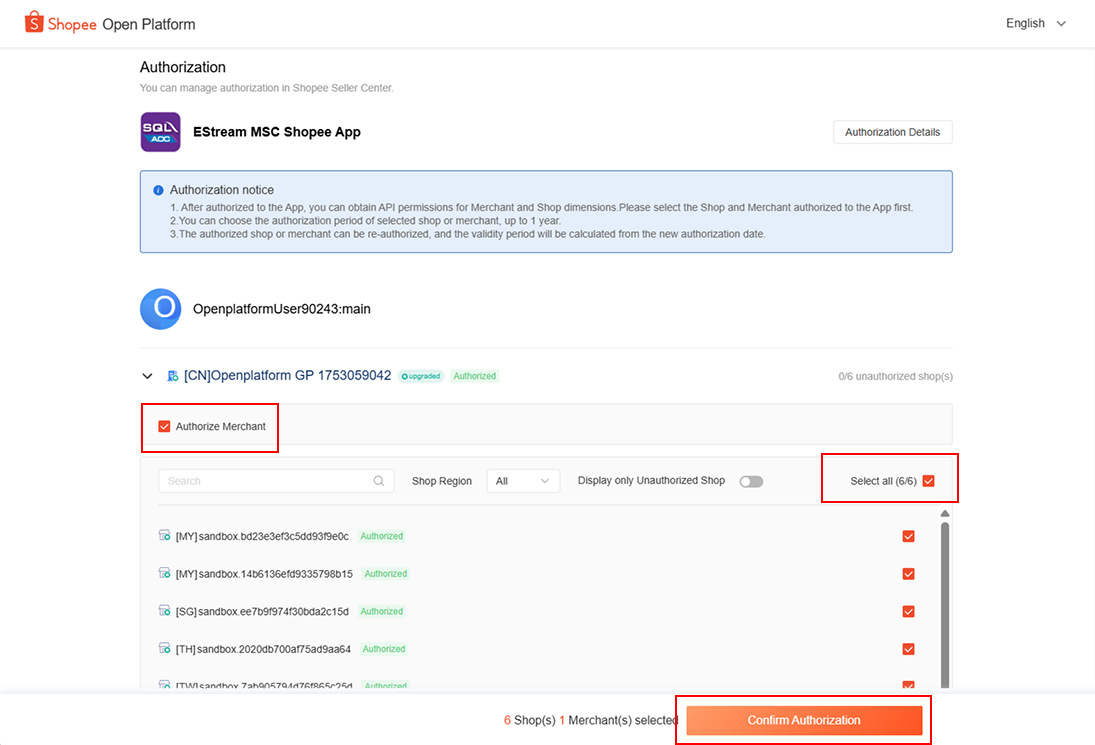
If Linking a Main Account:
-
Click Switch to Main Account
-
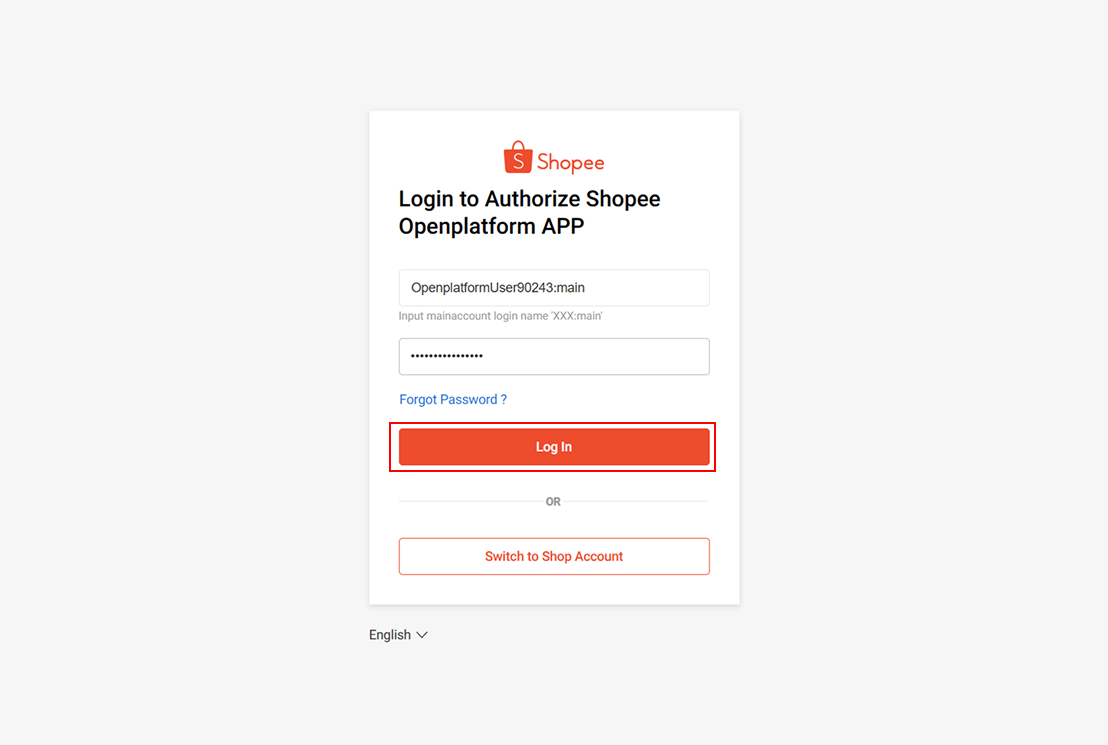
Enter Main Account credentials
-
Select the Shop and Merchant authorized for your App
-
Click Confirm Authorization
-
Select the Authorization Period
-
Click Confirm Authorization

-
-
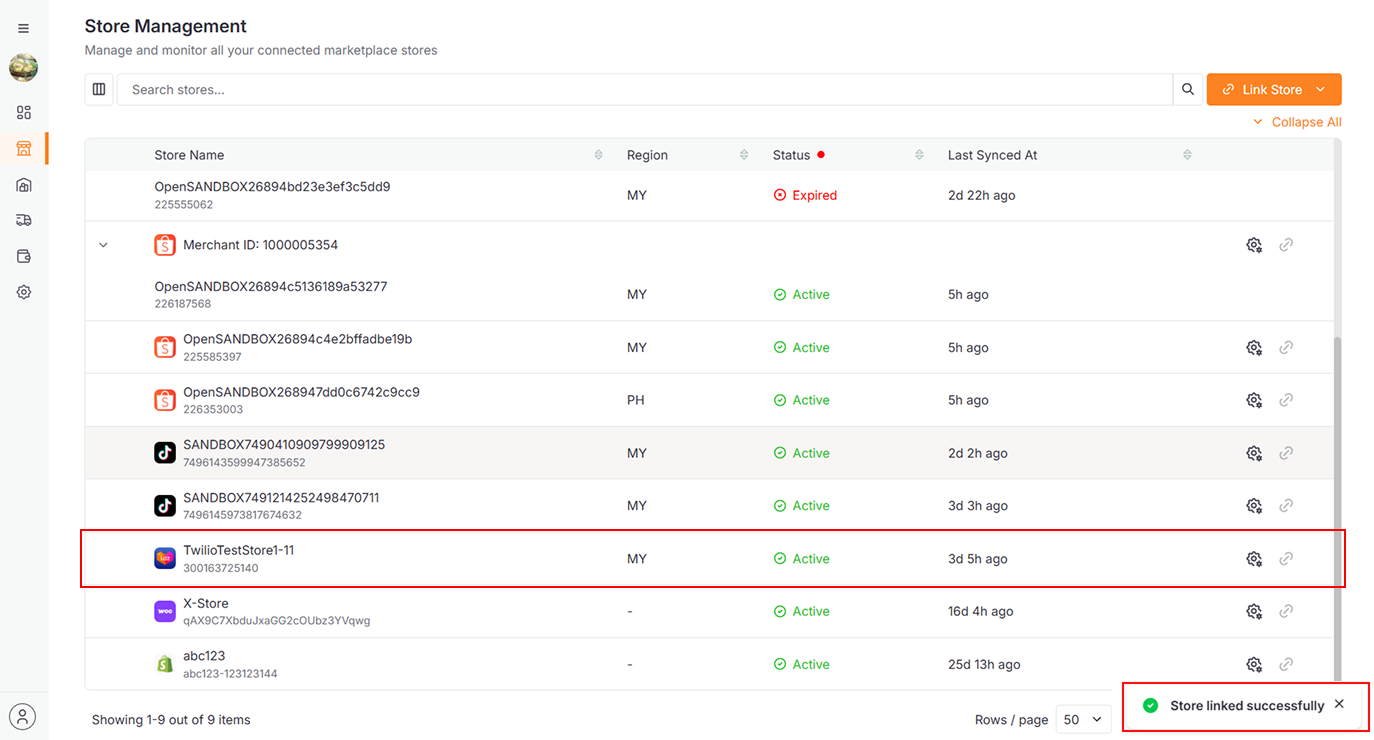
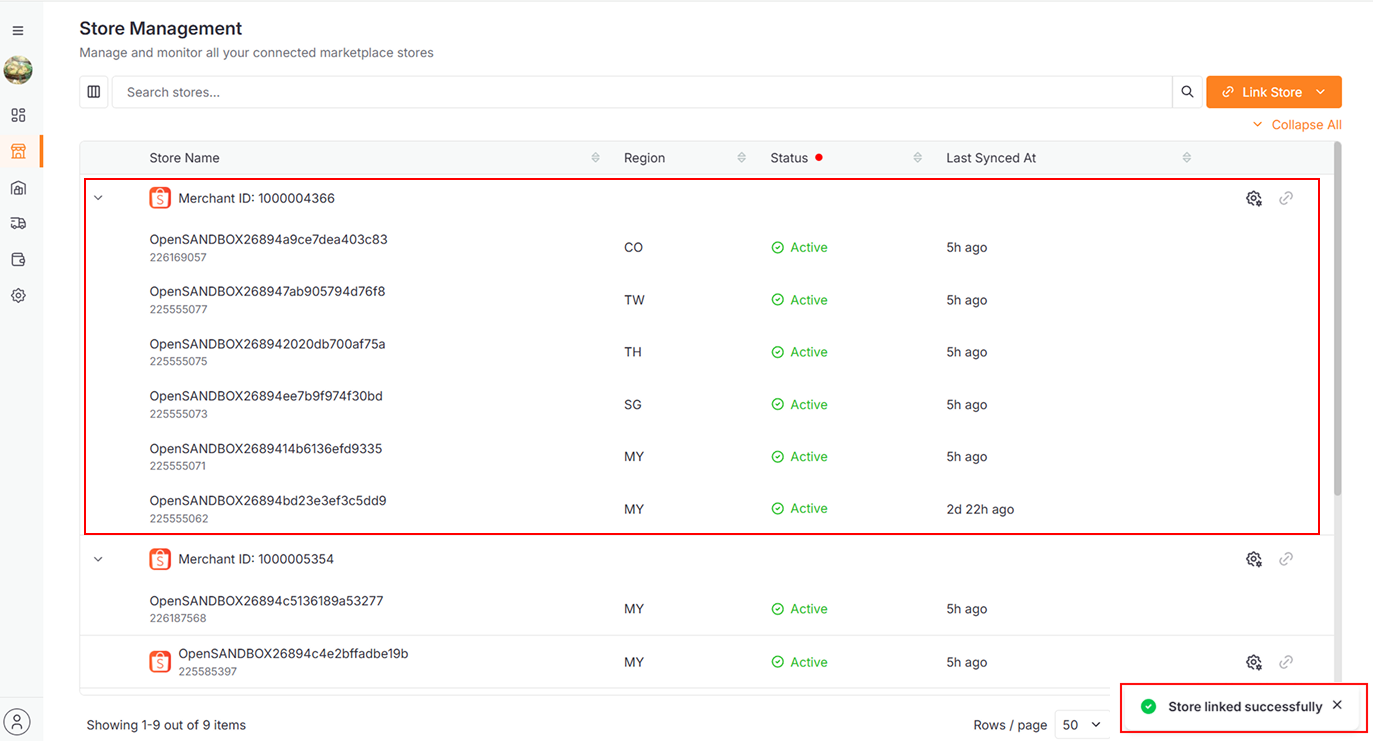
After successful linking
-
A success message will appear
-
The linked store will be added to the data table.
-
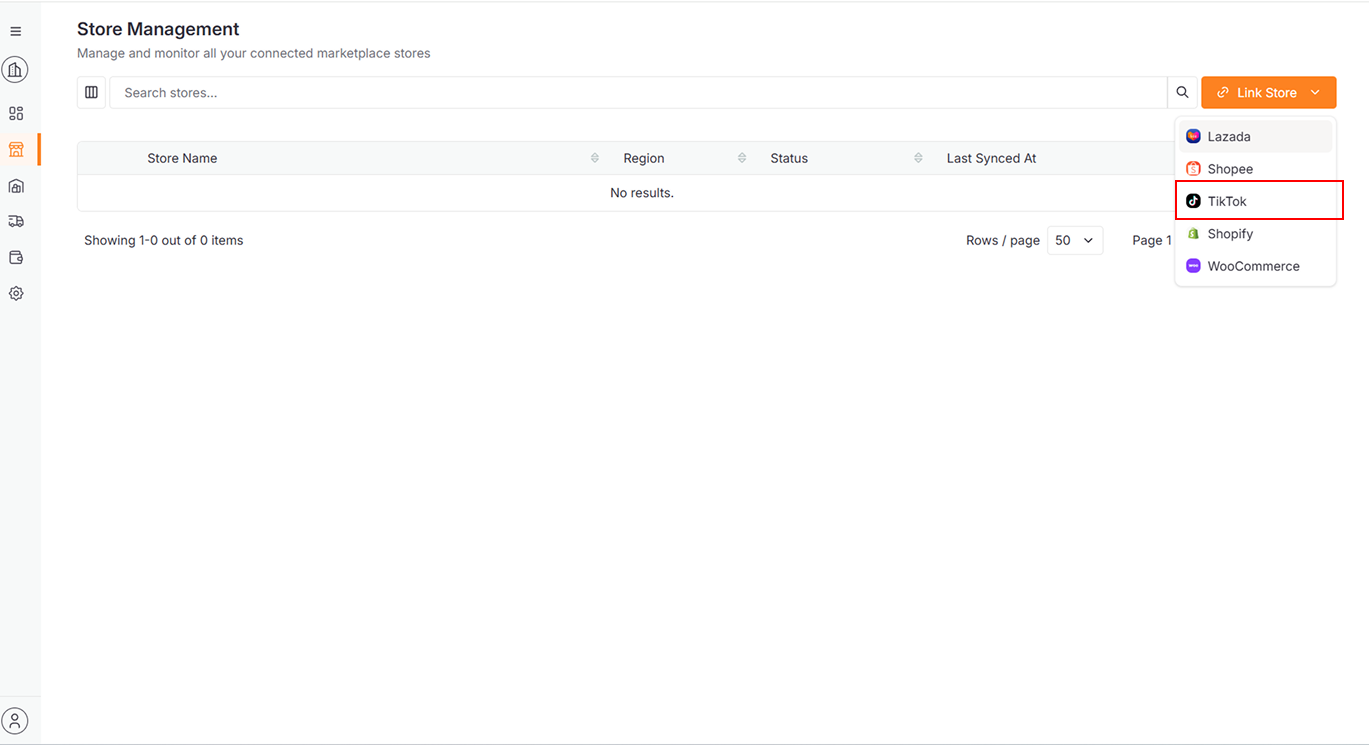
TikTok
-
Select TikTok from dropdown
-
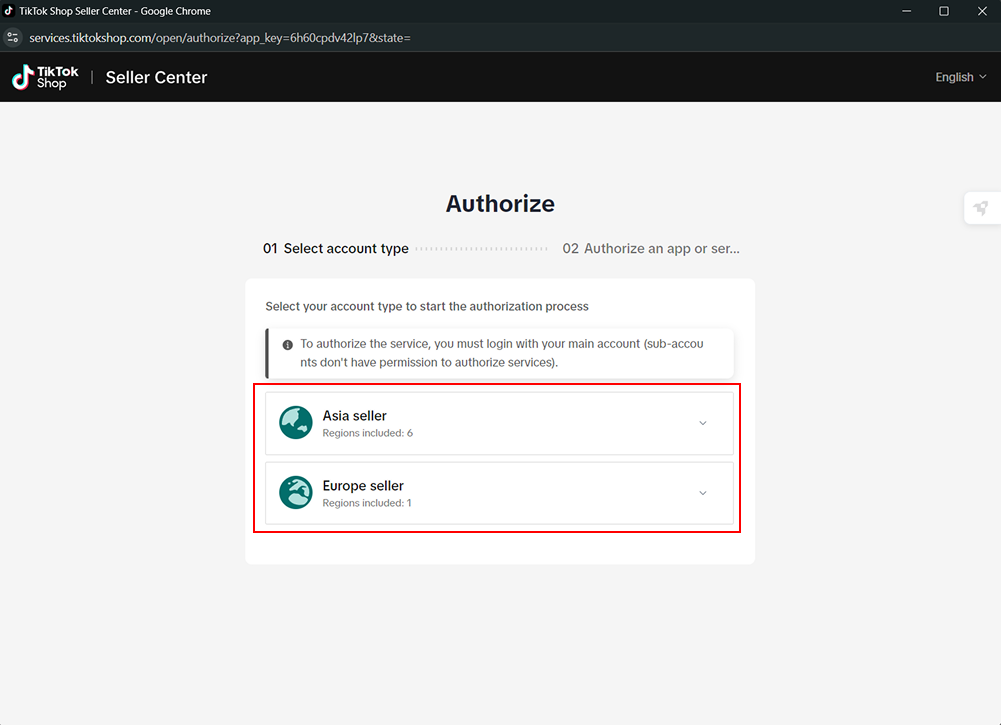
Select your account type to start the authorization process
-
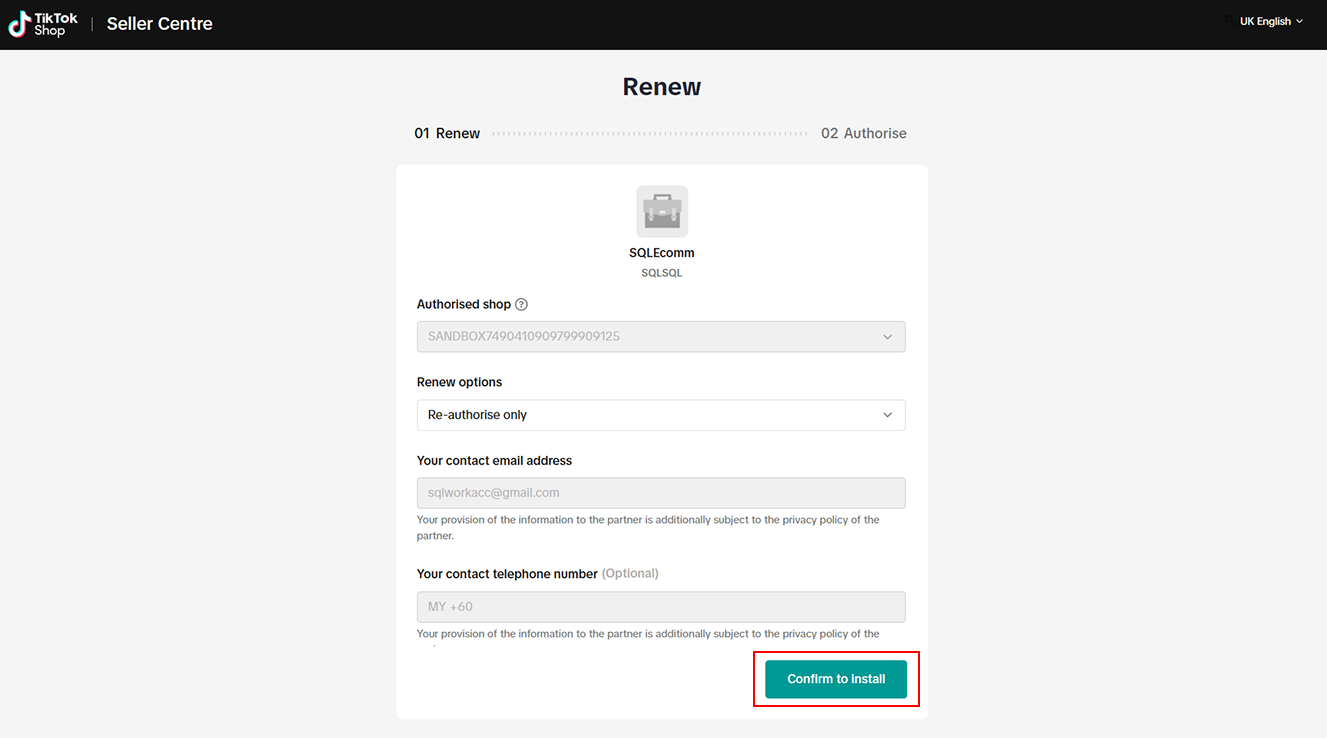
Select and input your TikTok account credentials
-
Click Confirm to Install.
-
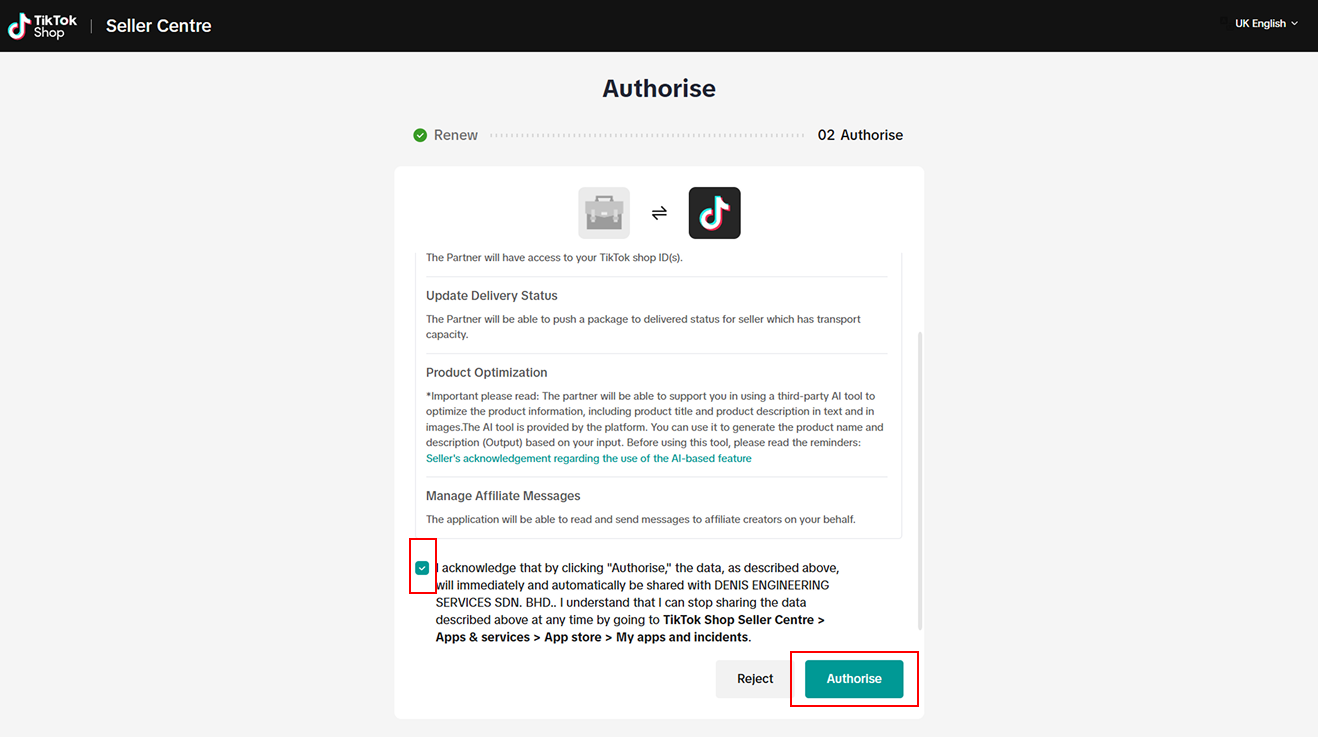
Review the data-sharing permissions and tick the checkbox to acknowledge.
-
Click Authorize.
-
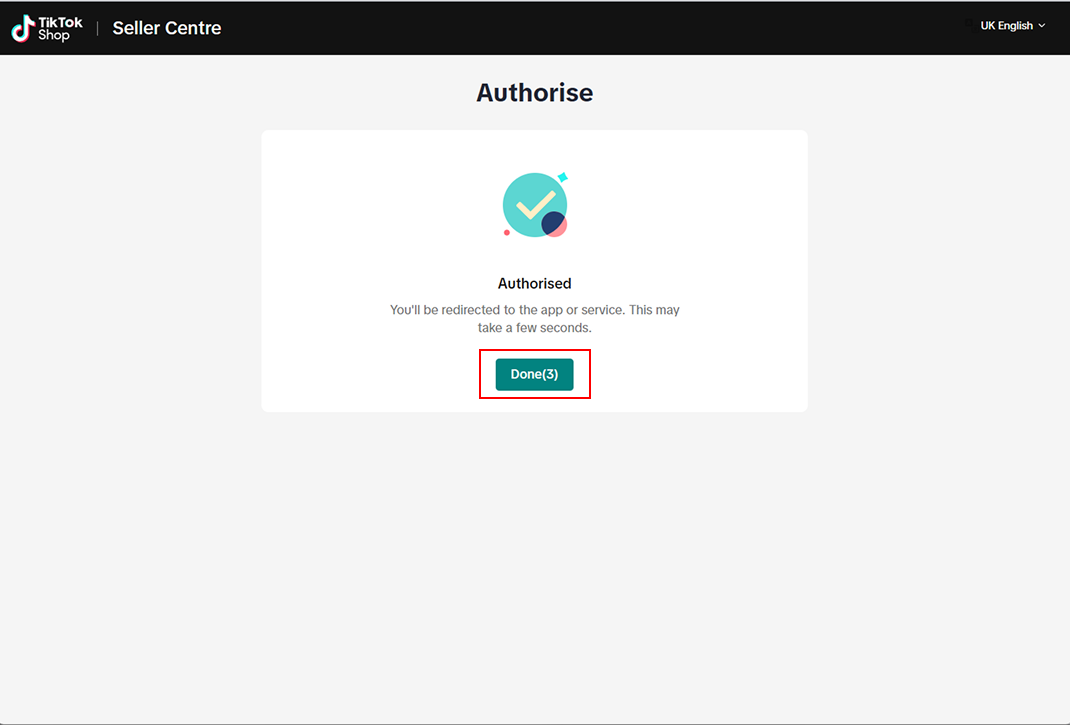
Click Done to complete the setup.
-
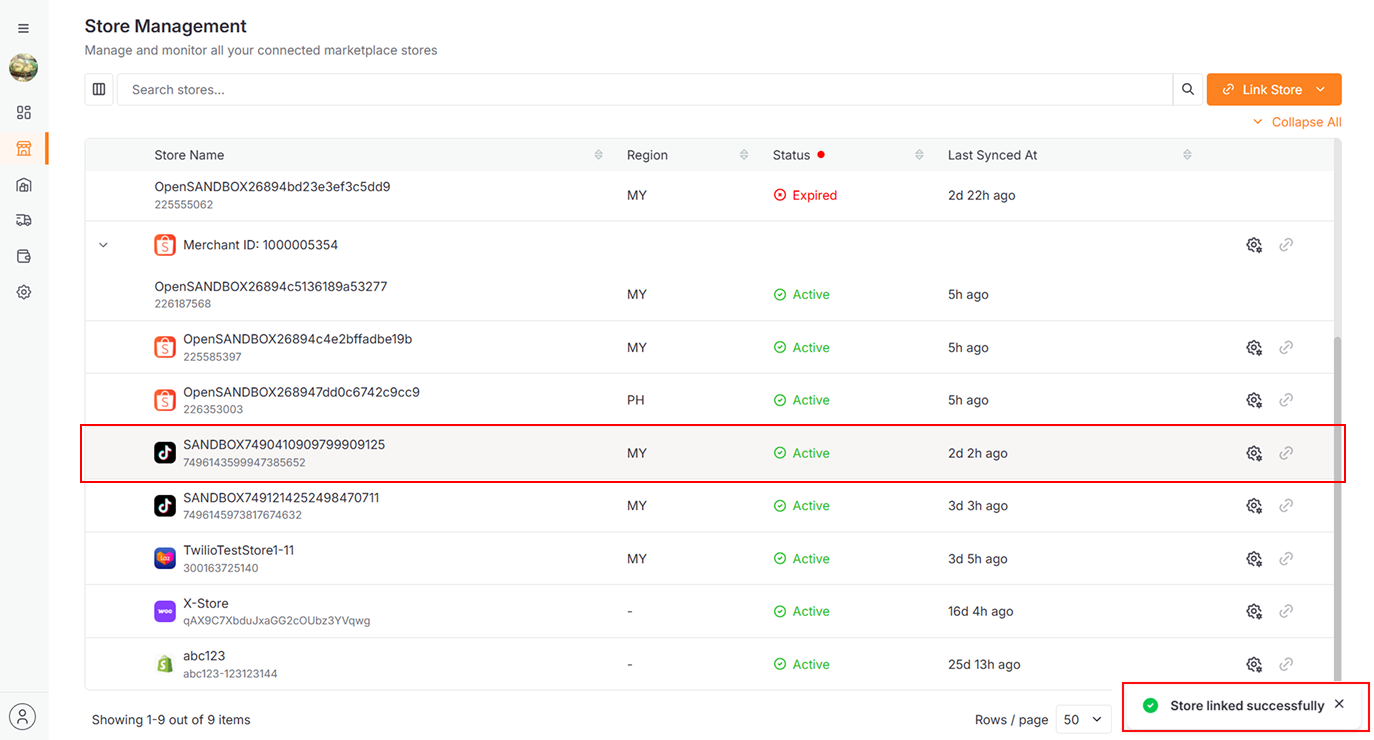
After successful linking
-
A success message will appear
-
The linked store will be added to the data table.
-
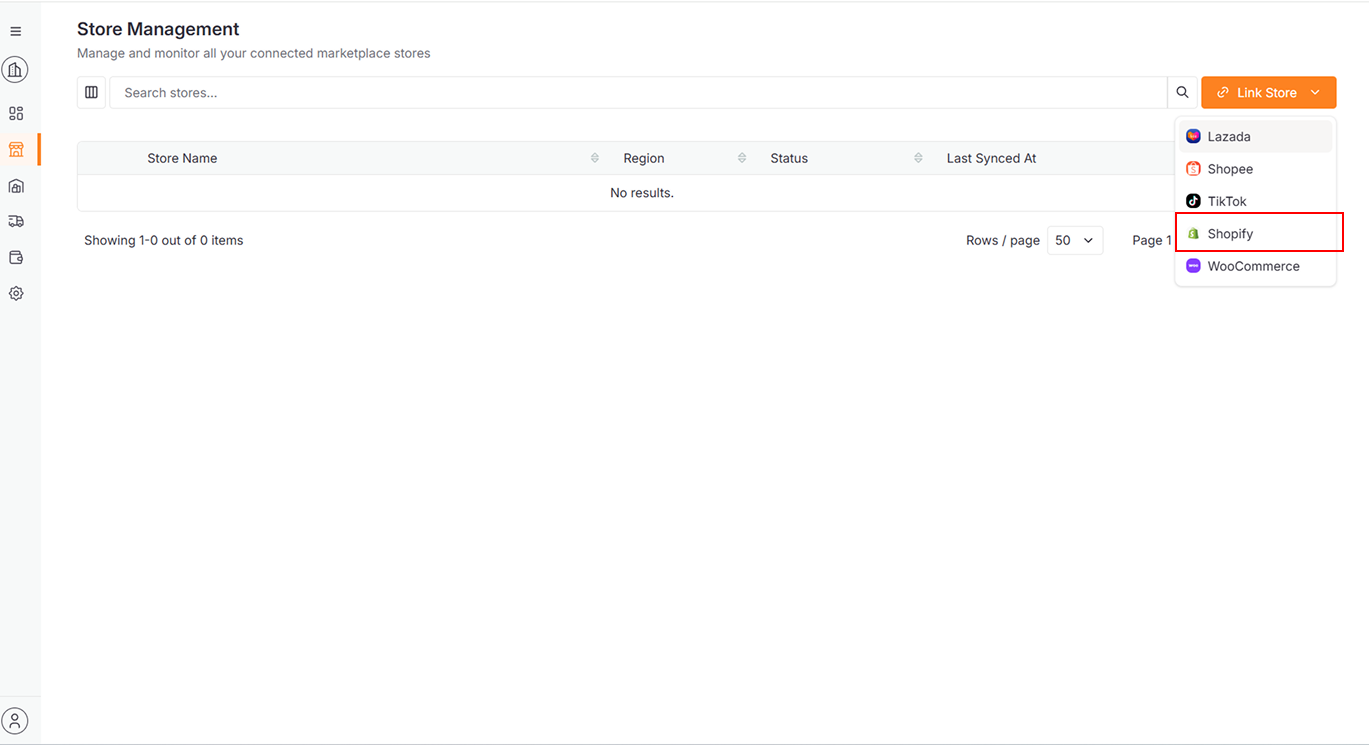
Shopify
-
Select Shopify from dropdown
-
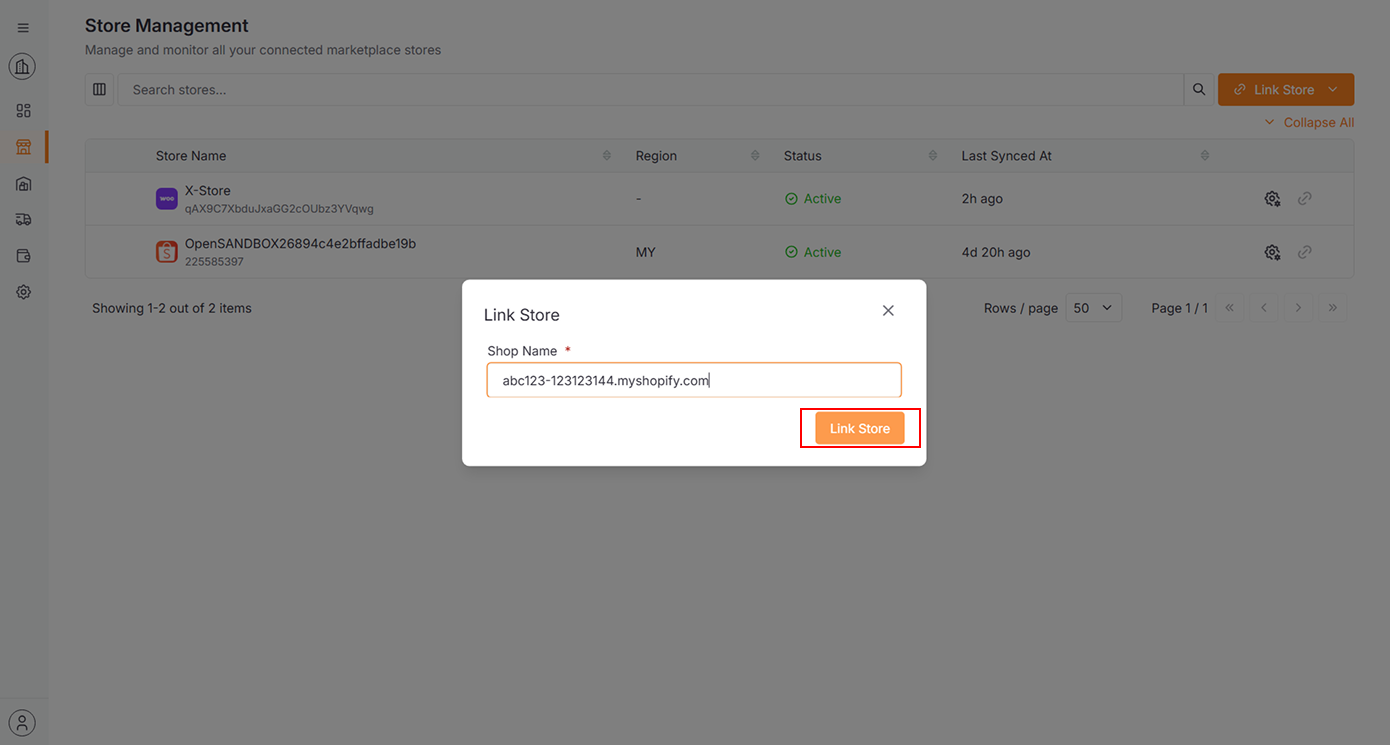
A dialog will open, allowing you to enter store credentials.
-
Enter Shop Domain and click Link Store
-
You can obtain the domain via the store dashboard

-
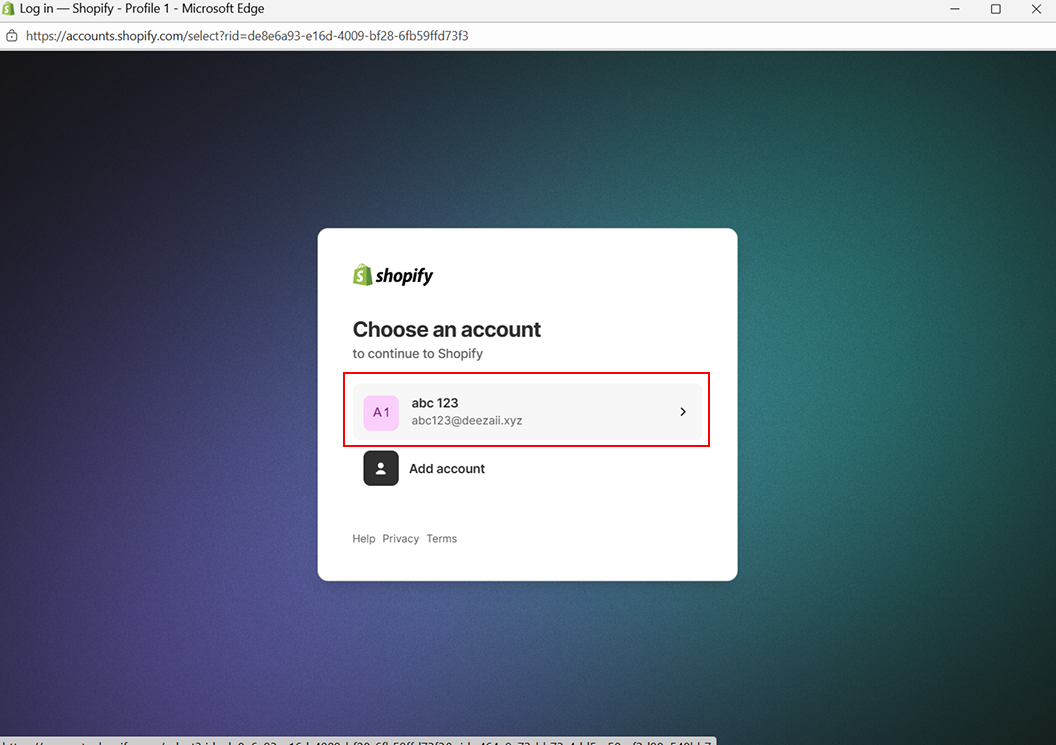
The Shopify authorization page will open, where you can enter your account credentials or select an existing account to log in
-
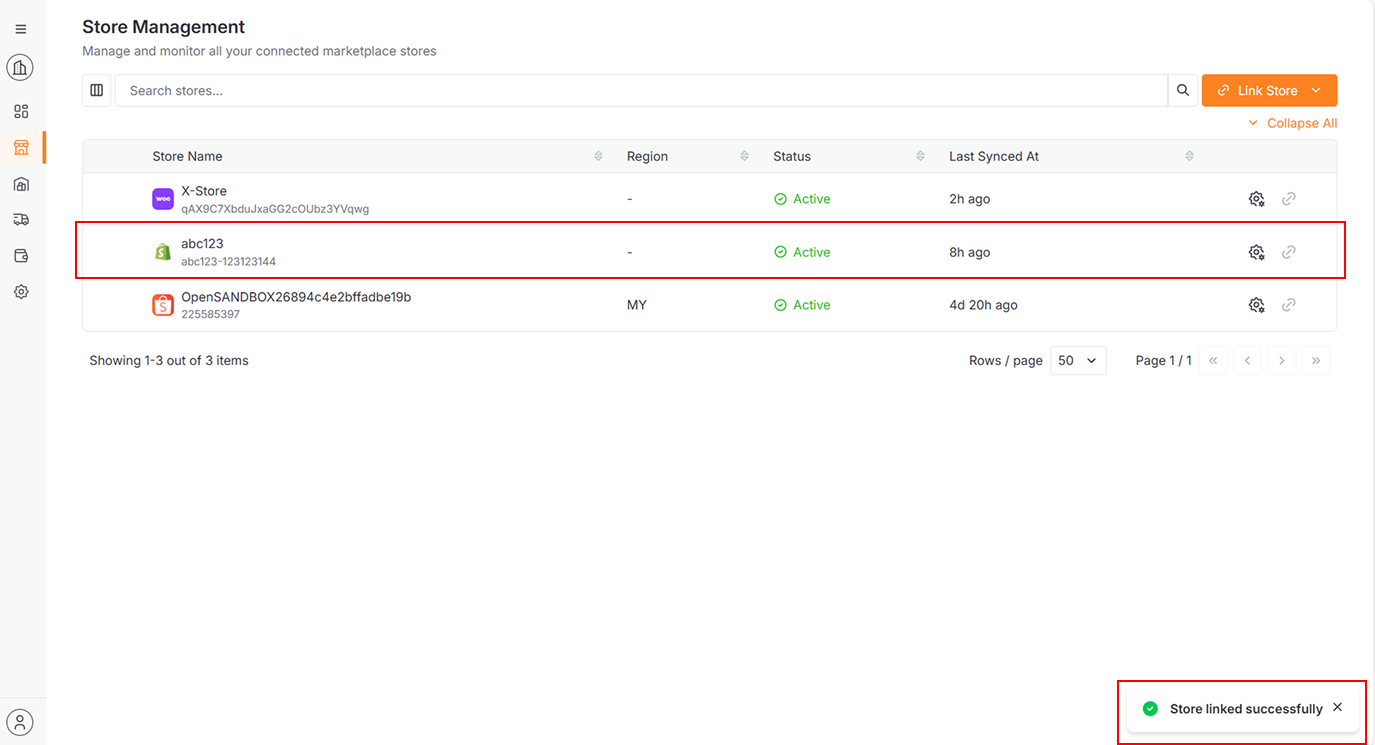
After successful linking
-
A success message will appear
-
The linked store will be added to the data table.
-
WooCommerce
-
Select WooCommerce from dropdown
-
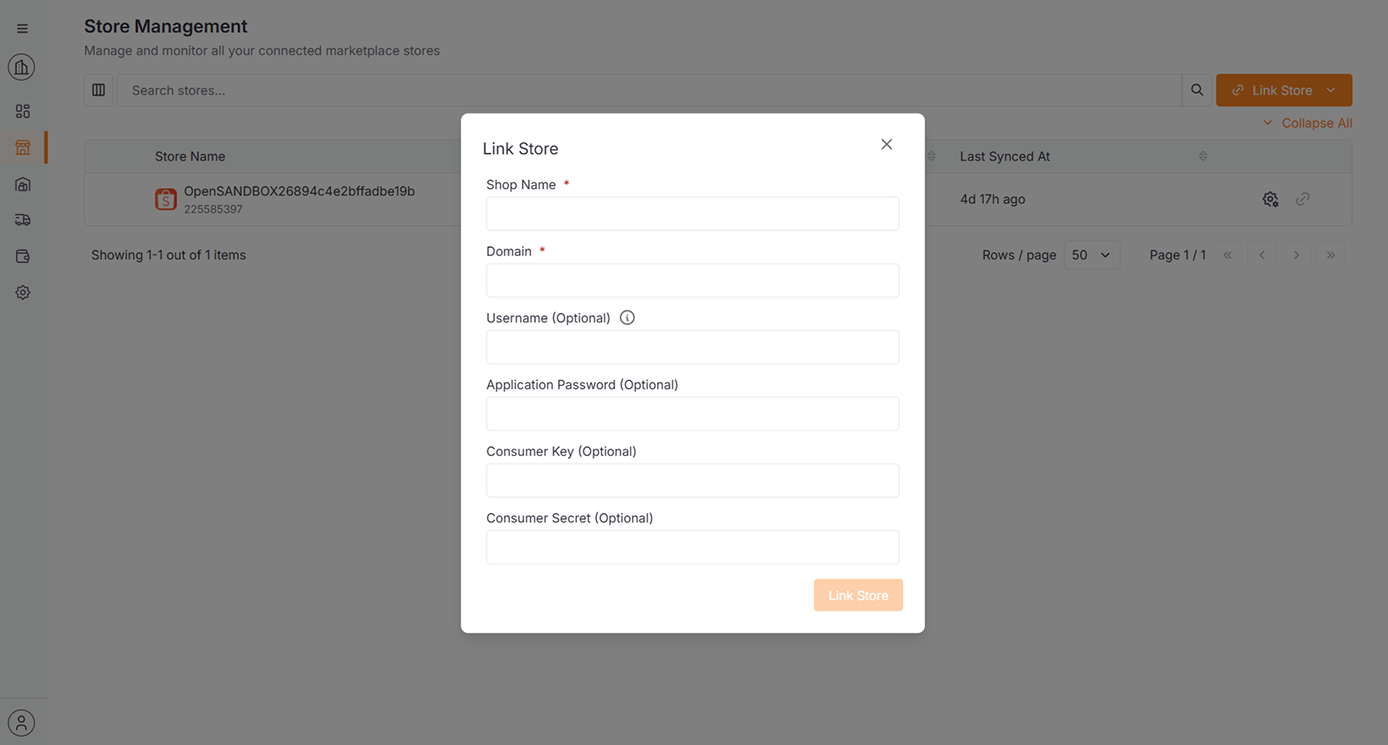
A dialog will open, allowing you to enter store credentials.
-
There are two ways to link a store:
-
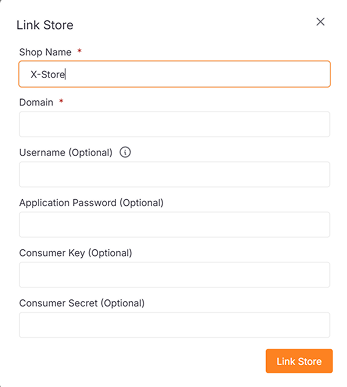
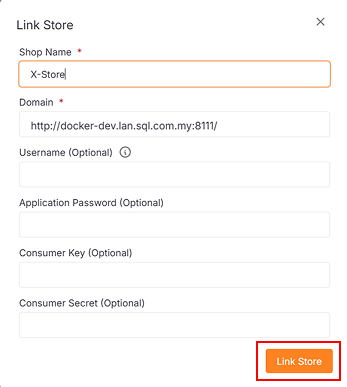
Link via Authorization Page
-
Enter the shop name
-
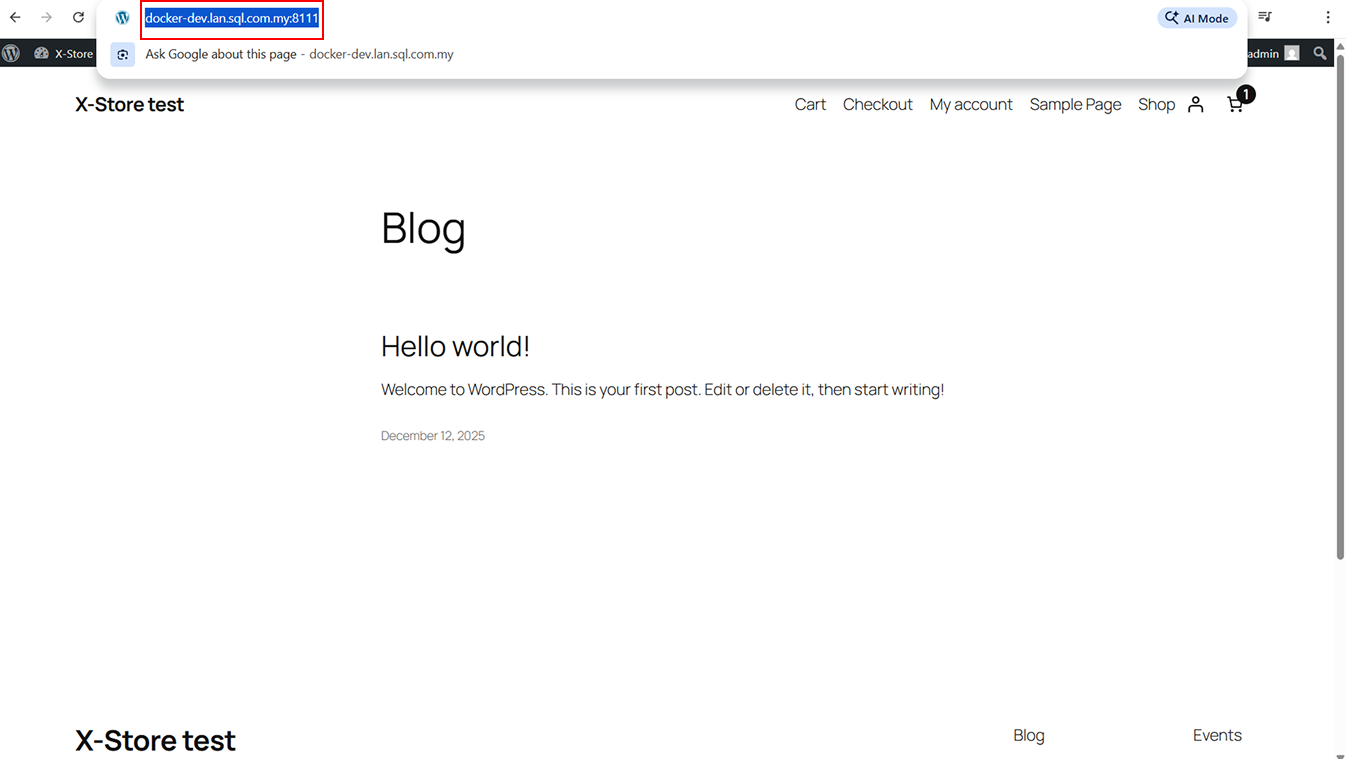
Obtain the shop domain:
a. If you are on the admin site, copy the site URL and remove /wp-admin or any additional path.
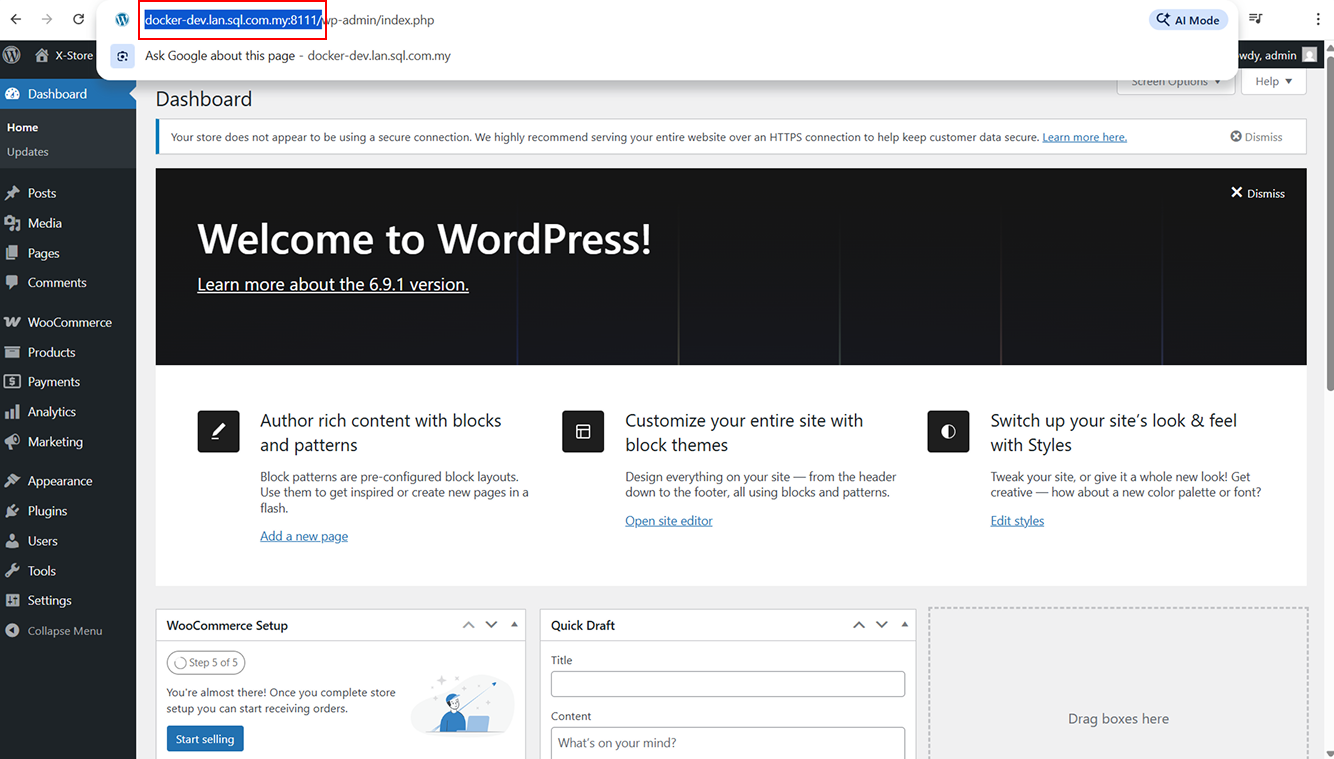
b. If you are on the shop front page, simply copy the URL directly.
-
Paste the domain into the Domain field
-
Click Link Store
-
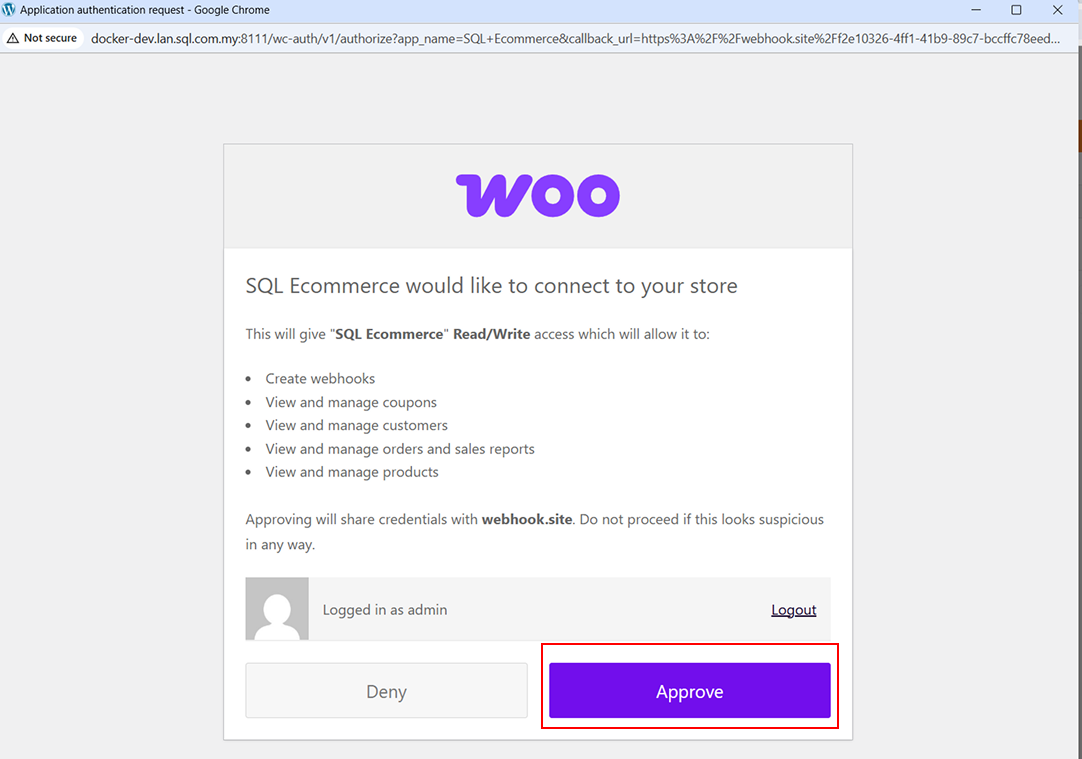
The app will redirect you to the WooCommerce authorization page
-
Click Approve to grant access
-
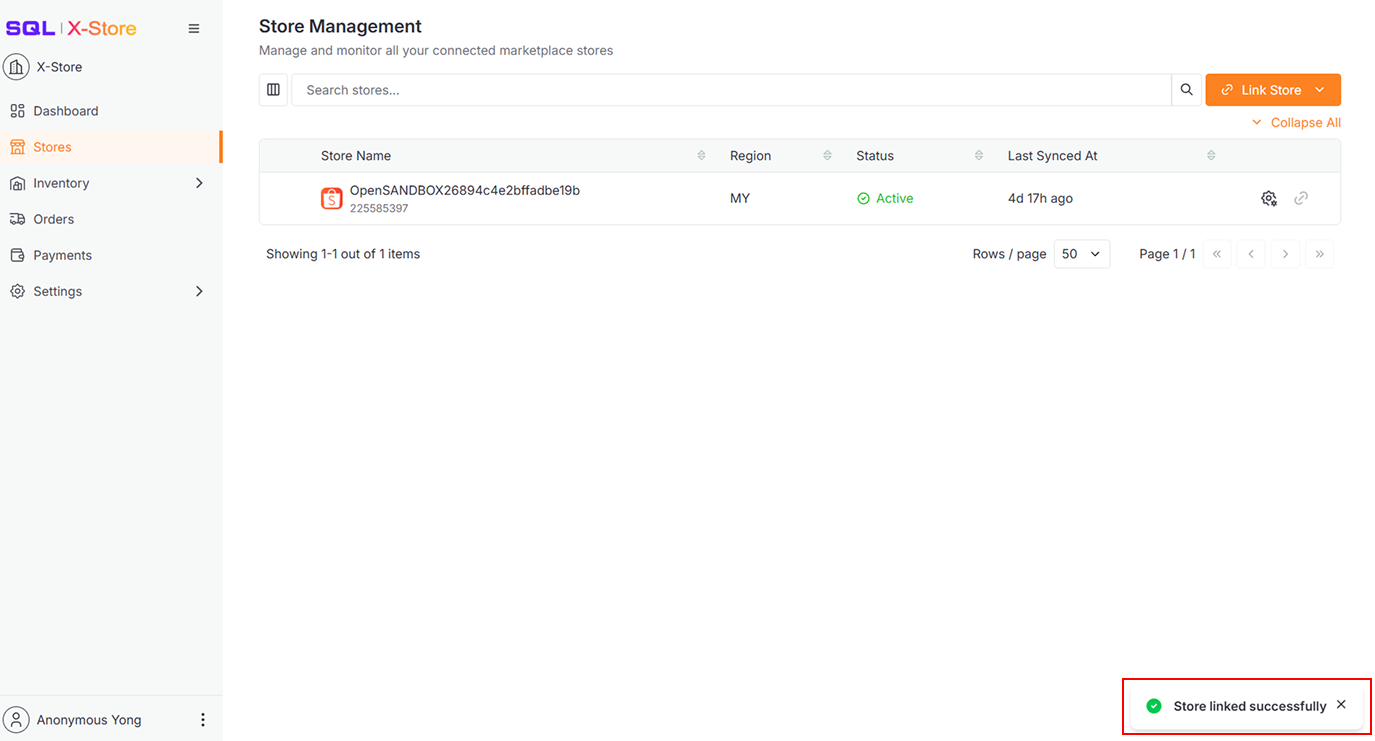
After successful linking
a. A success message will appear
-
-
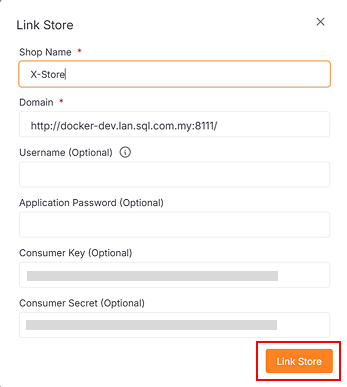
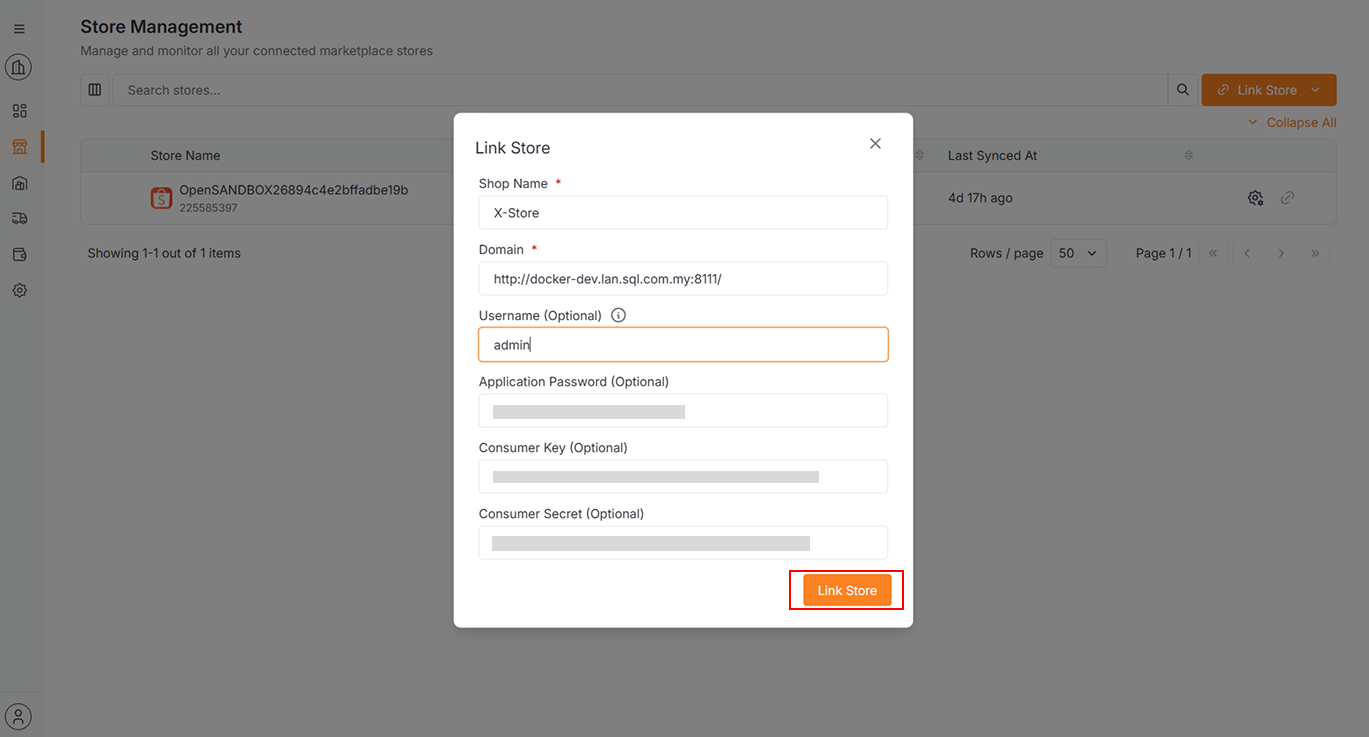
Link via Manual API Key Entry
-
Enter the shop name and shop domain (use the same method described above).
-
Access the admin site
-
In the sidebar, click WooCommerce → Settings
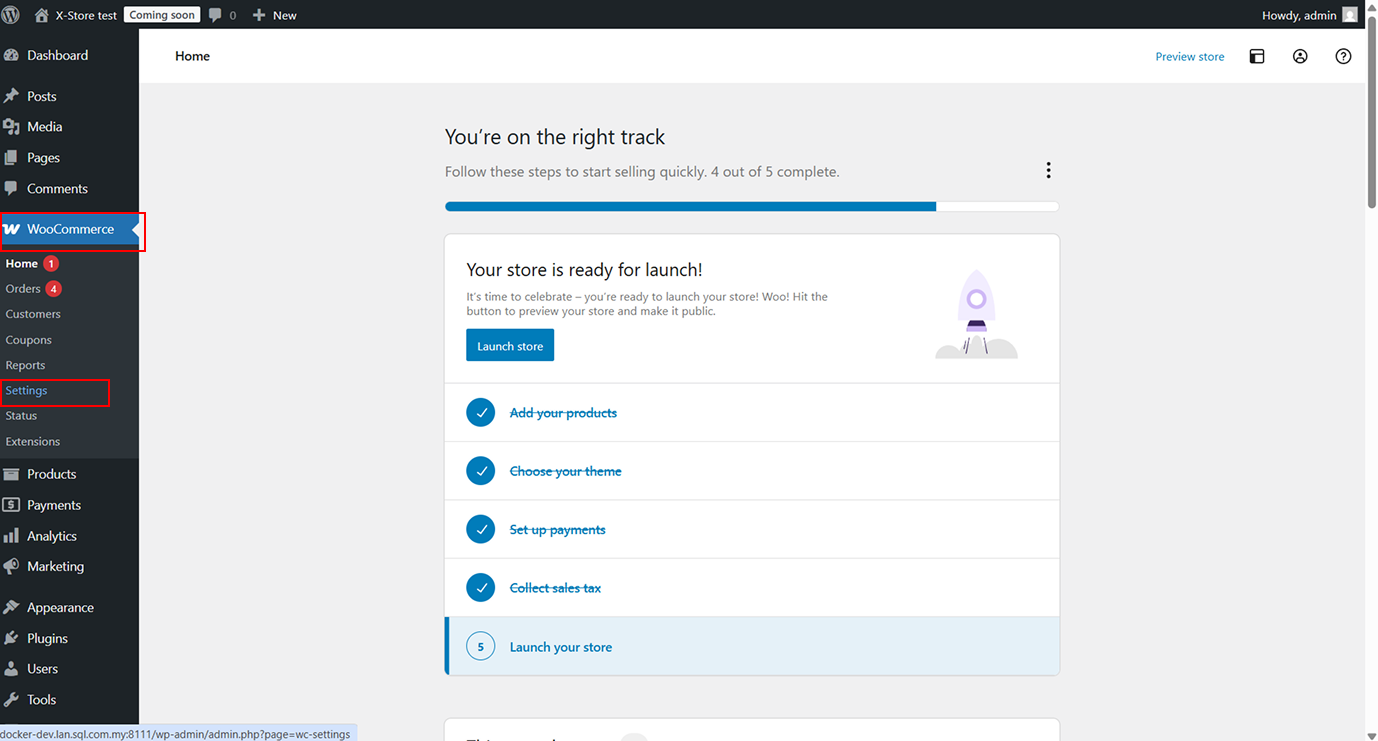
-
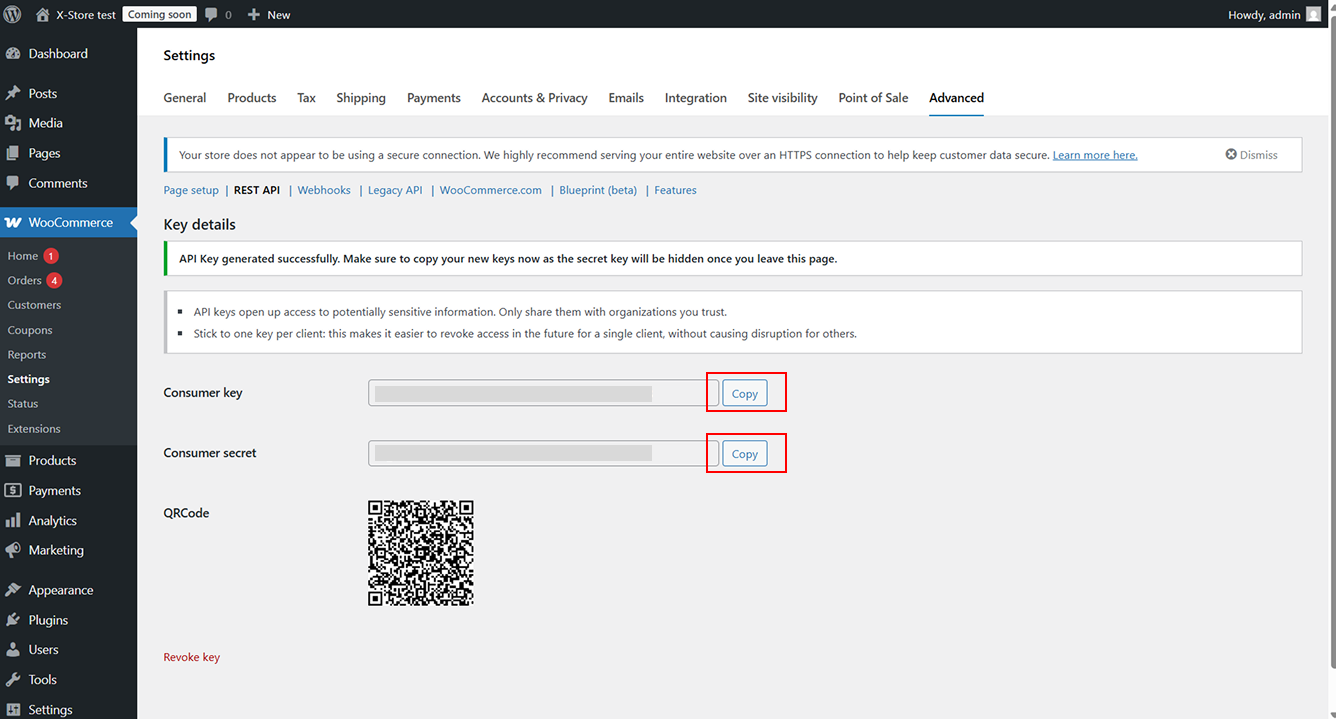
Go to Advanced, then select REST API
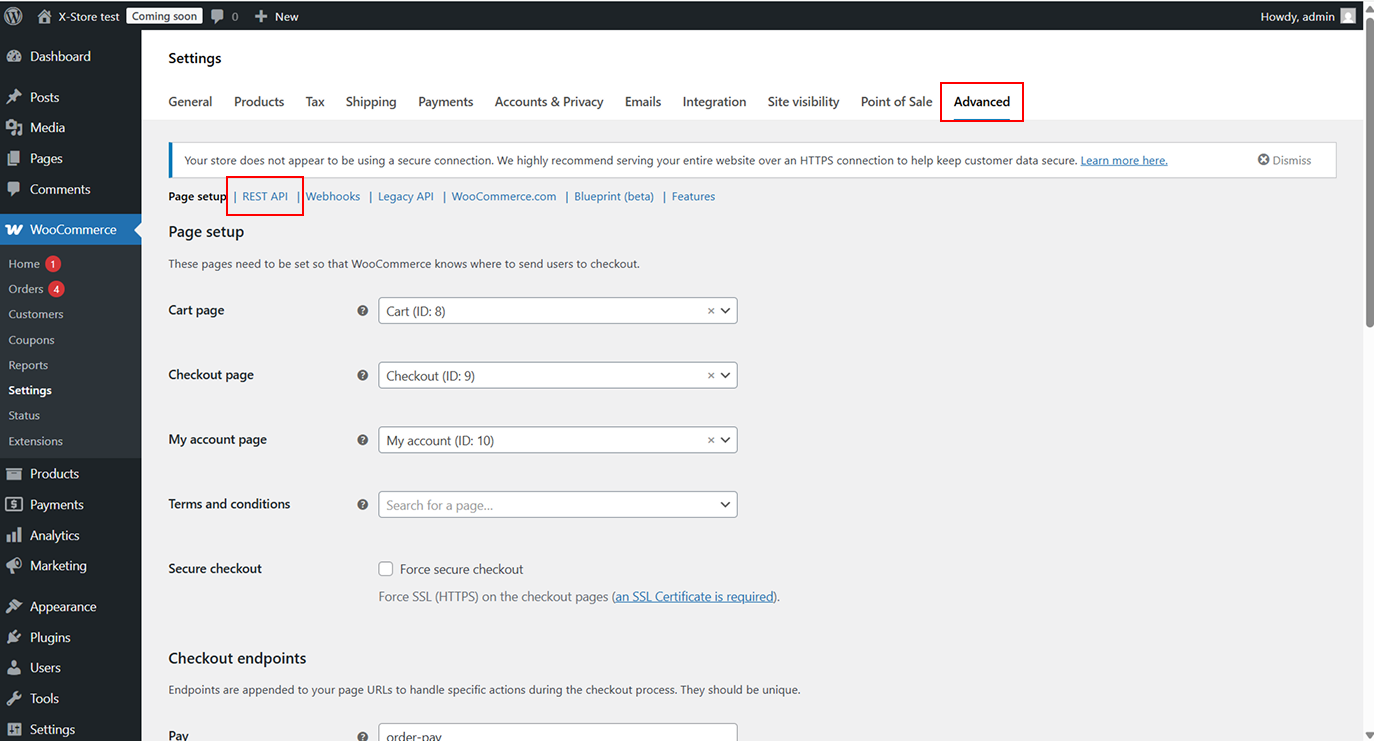
-
Click Add Key
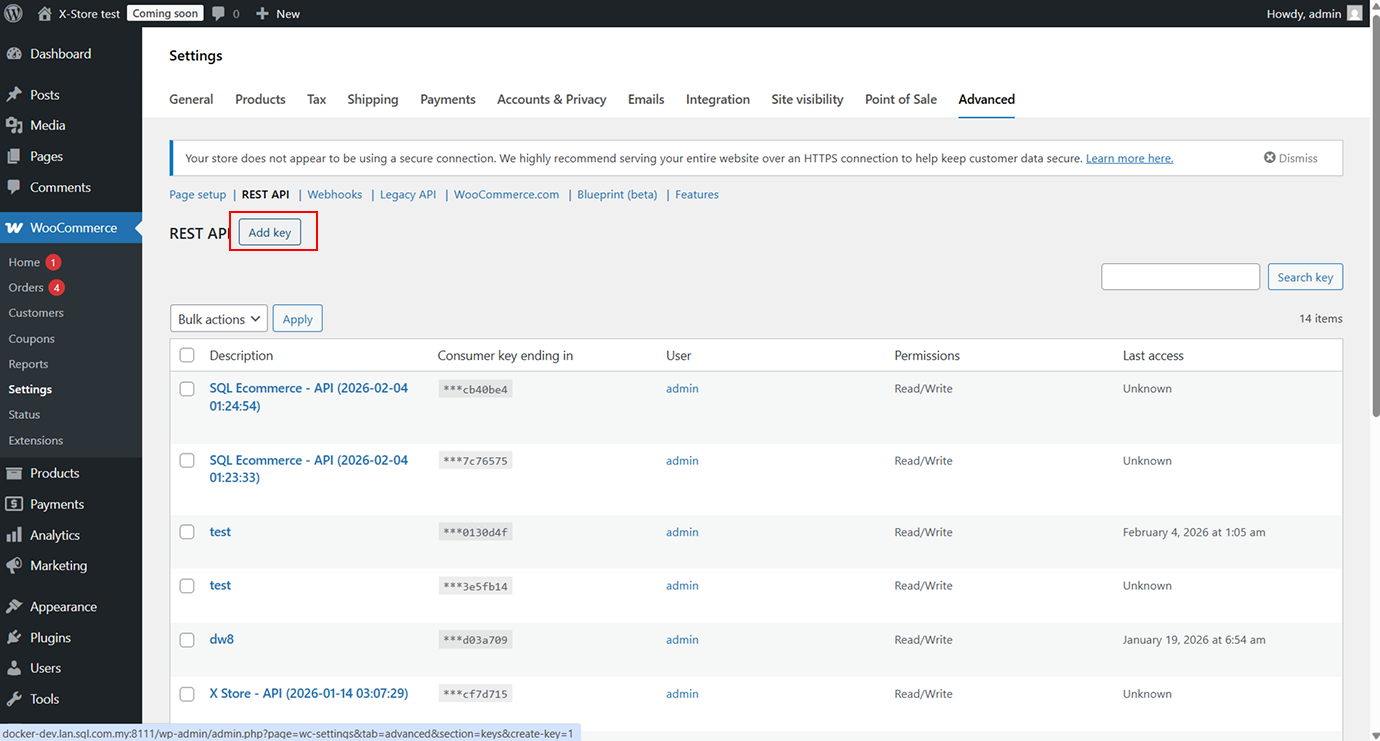
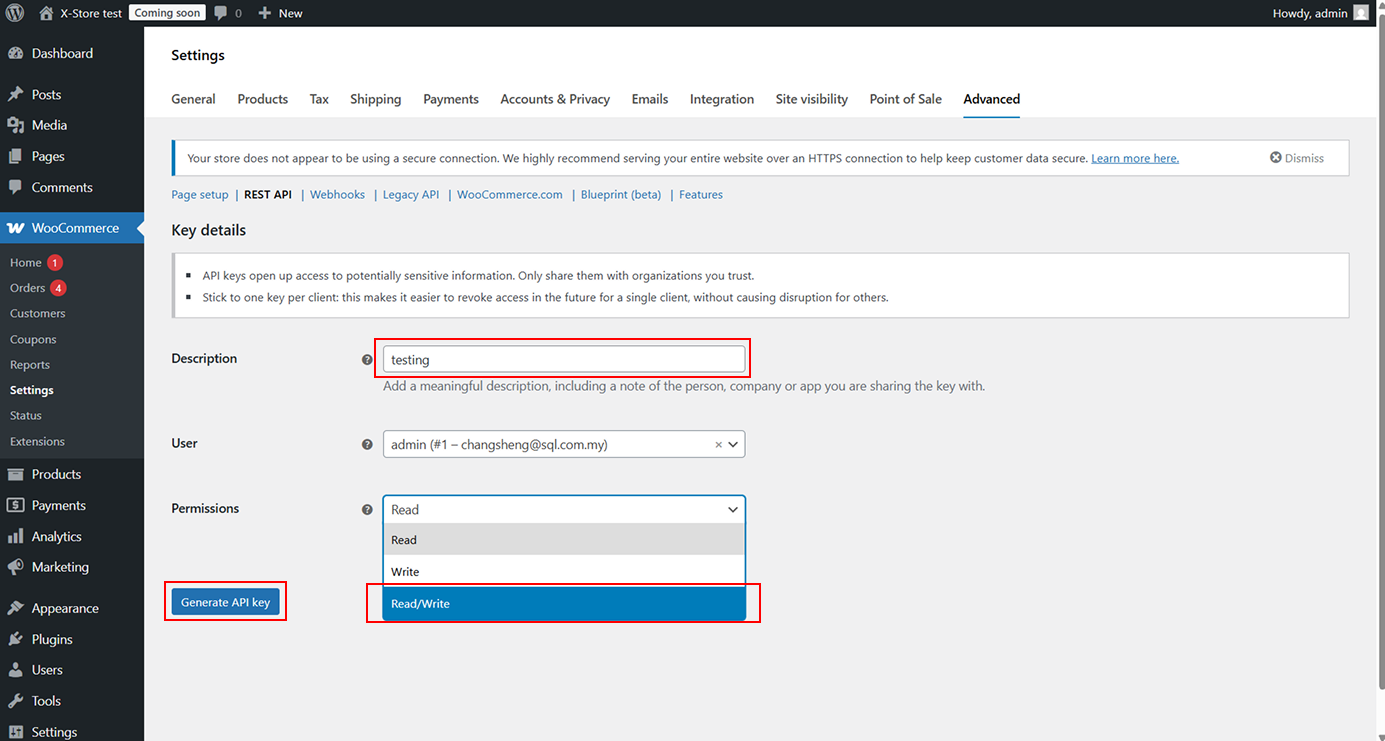
-
Enter a meaningful description and select Read/Write as the permission
-
Click Generate API Key
-
After the API key is generated, copy Consumer Key and Consumer Secret
-
Paste them into the dialog and click Link Store
-
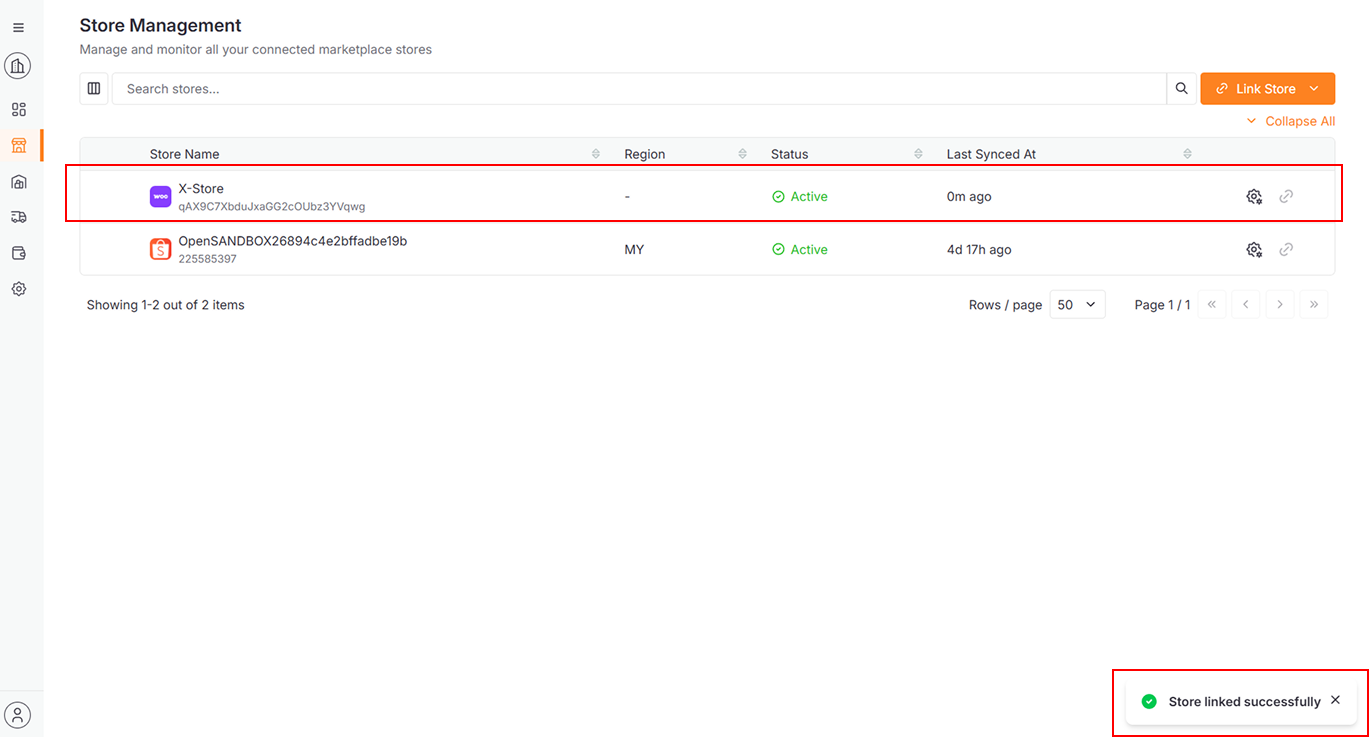
After successful linking
a. A success message will appear
b. The linked store will be added to the data table.
-
-
-
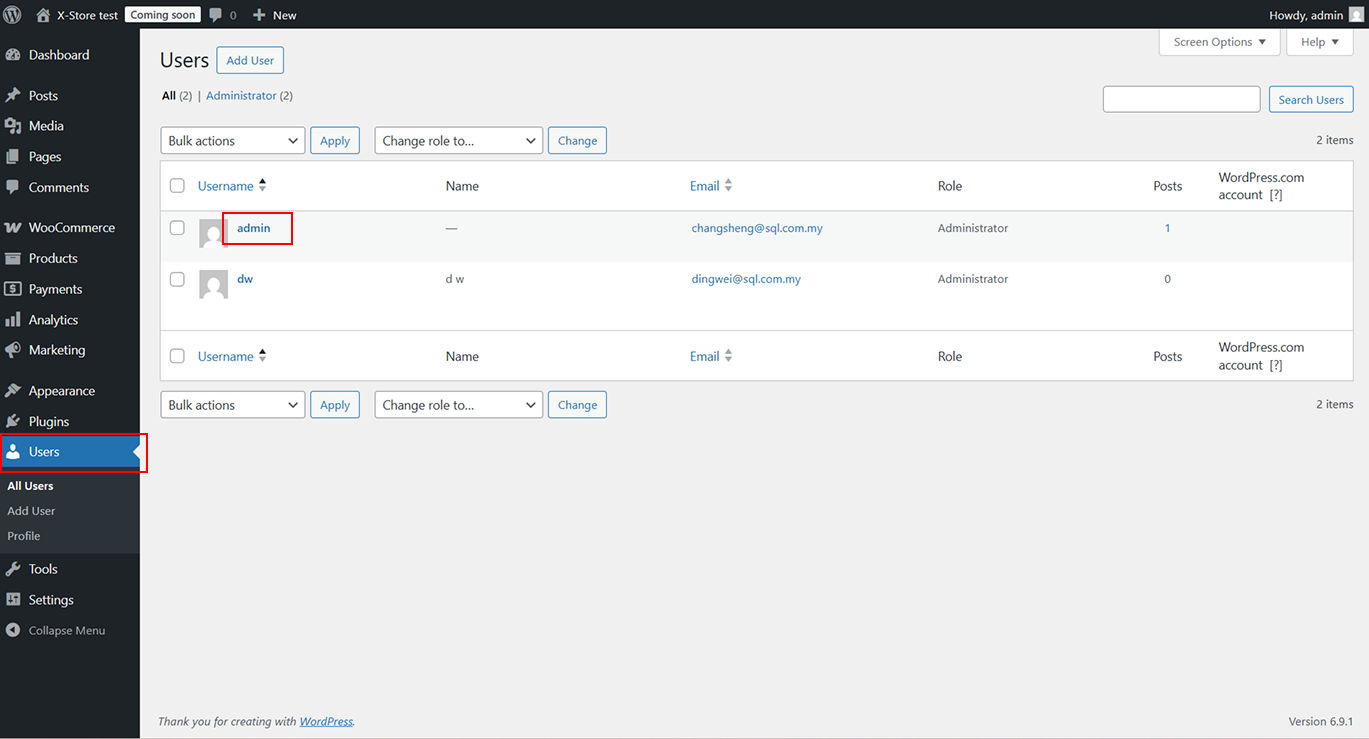
If you want to upload images when creating products later, you must also provide a Username and Application Password:
-
Access the admin site
-
Click Users in the sidebar
-
Copy the username and paste it into the Username field
-
Click the username to open the user profile
-
Enter a name for the application password and click Add Application Password
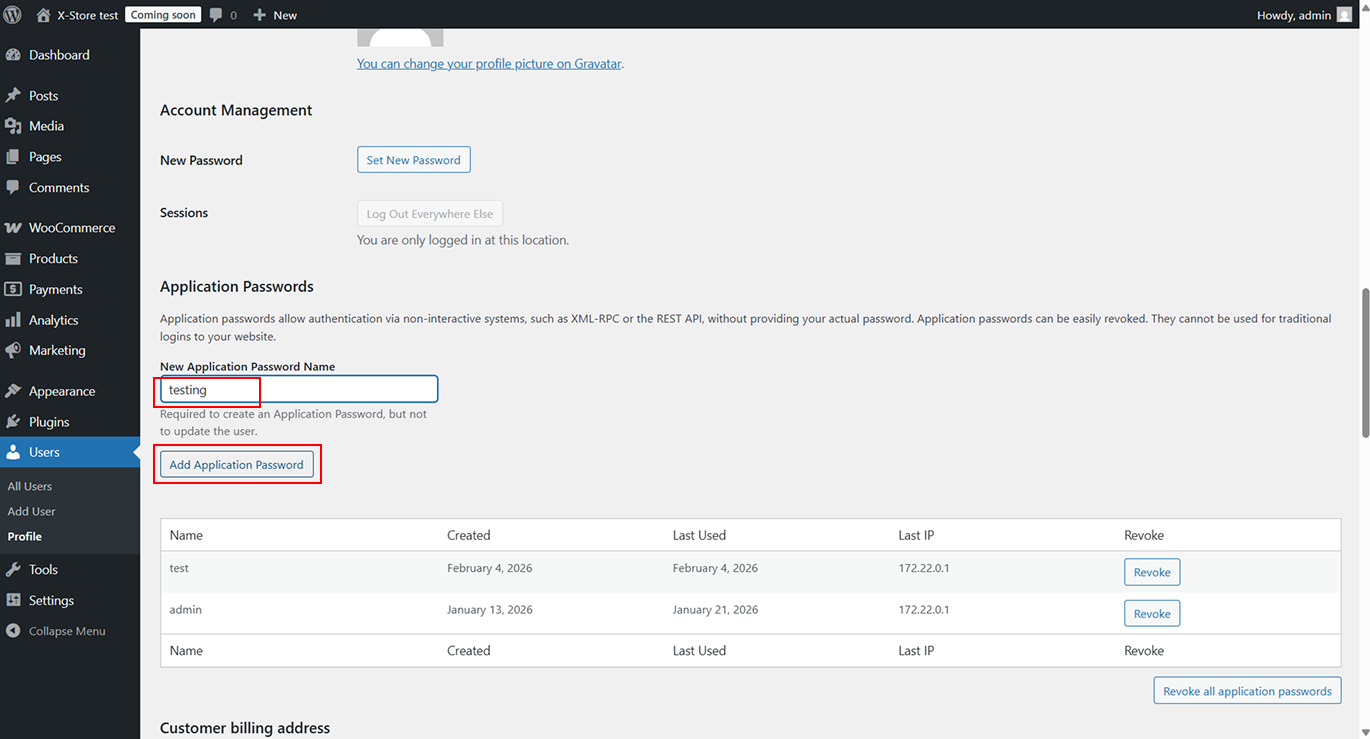
-
Copy the newly generated application password and paste it into the Application Password field
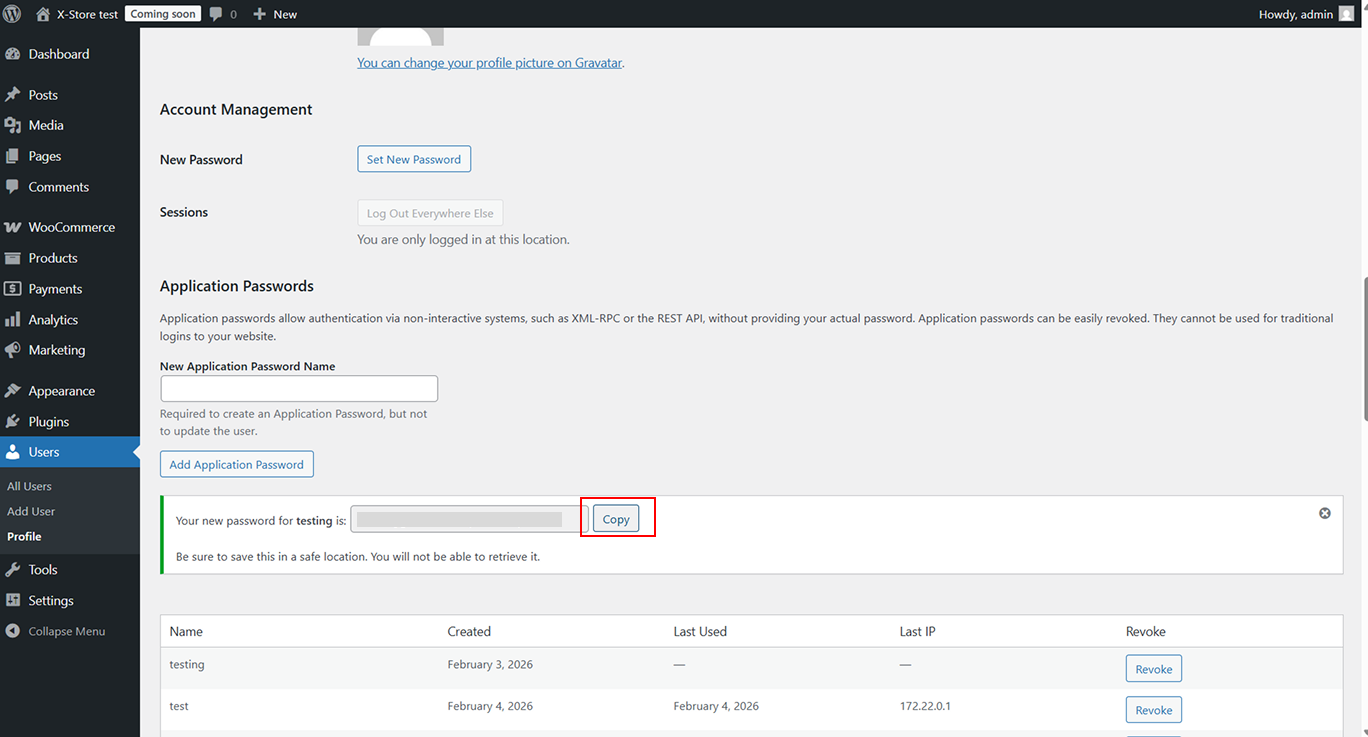
-
Once all fields are completed, click Link Store
-
📌 If store authorization expires, click the link icon (🔗) to re-link the store, or click Link Store.
General Features

| Features | Description |
|---|---|
| 1. Refresh | Click the refresh icon to get the latest data. |
| 2. Search | Select a filter and input a value to search stores. |
| 3. Pagination | Choose to display 50, 100, 150, or 200 records per page. |
| 4. Collapse All | Hide all child-level details. |
| 5. Expand All | Expand all child-level details to view complete information at once. |
| 6. Sorting | Sort data in ascending or descending order. |
| 7. Column Visibility | Show or hide specific columns to customize the table view according to preference. |