Order
Overview
The Order module allows you to view, process, and manage orders from all your connected e-commerce platforms (Lazada, Shopee, TikTok, etc.) in one centralized location.
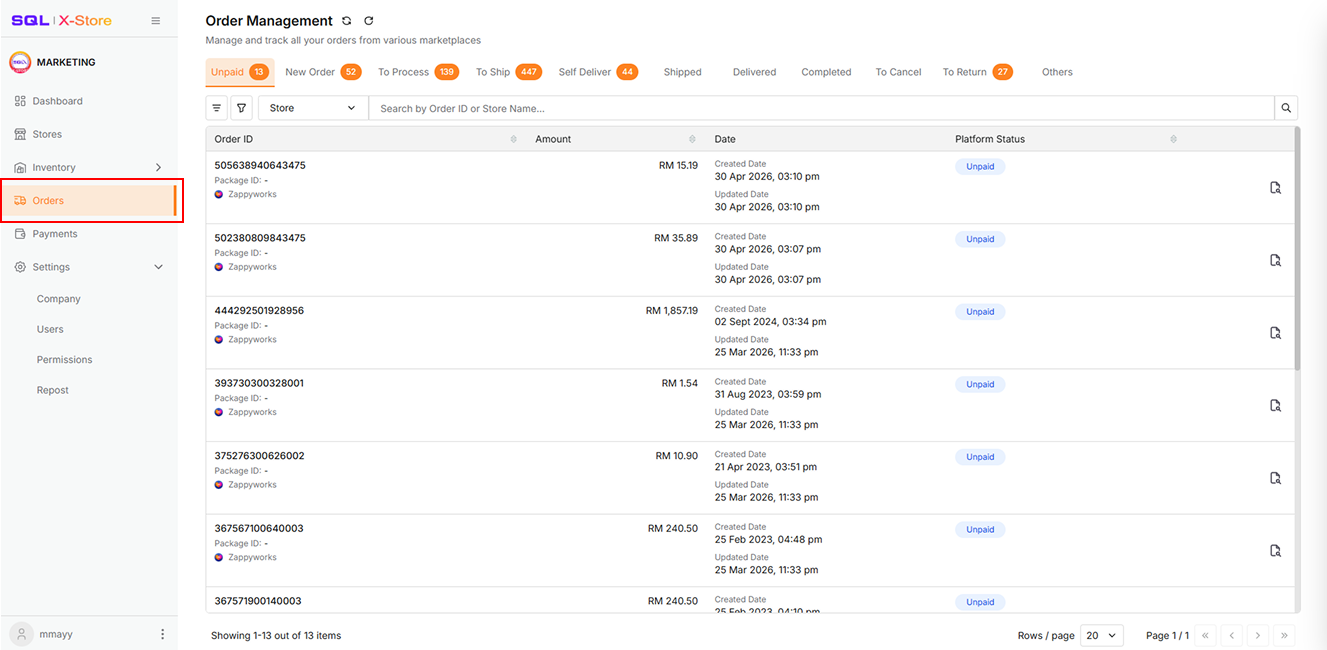
To access this page, navigate to Orders in the sidebar menu.
The Order Management interface is organized into tabs representing each stage of the order lifecycle. You can:
- Filter orders by date range
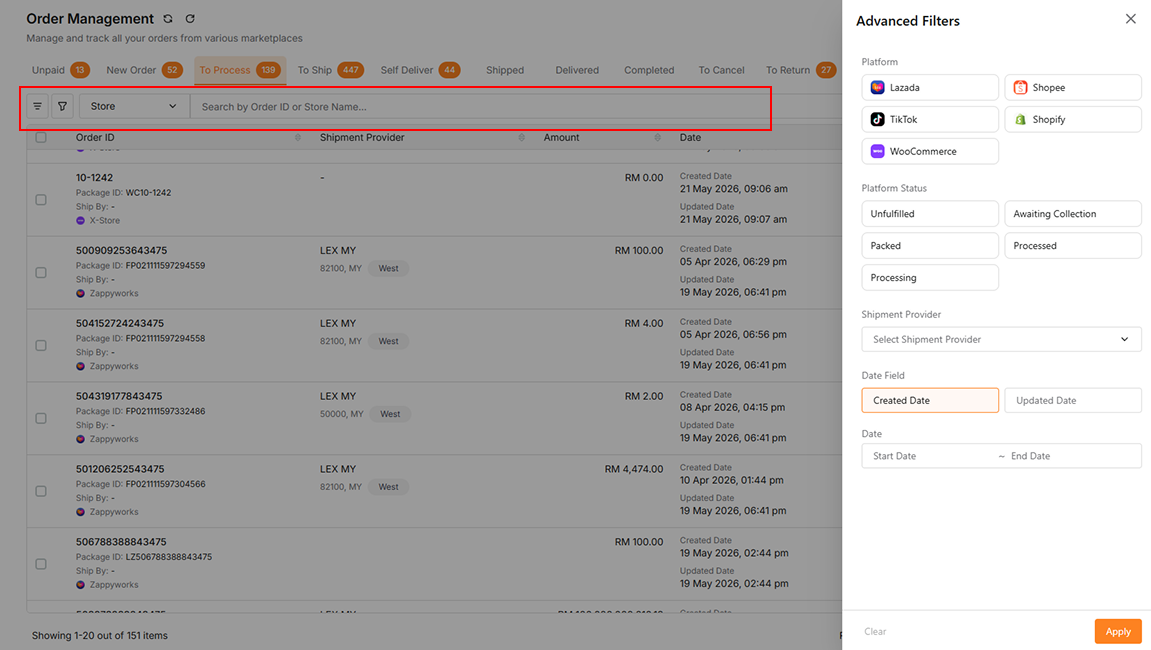
- Search by Order ID or Store Name
- Perform bulk actions (packing, shipping, printing)
- Track order status across all platforms
Order Statuses
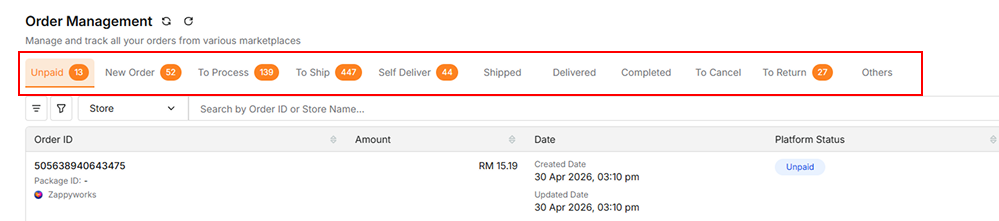
Orders are categorized into the following status tabs:
| Status | Description |
|---|---|
| Unpaid | Orders placed but not yet paid by the customer |
| New Order | Paid orders ready to be processed |
| To Process | Packed orders waiting to be shipped |
| To Ship | Orders ready for courier handover |
| Shipped | Orders currently in transit |
| Delivered | Orders successfully delivered to the customer |
| Completed | Orders finalized and closed |
| To Cancel | Buyer-initiated cancellation requests pending seller approval |
| To Return | Buyer-initiated return requests pending seller approval |
| Others | Orders with special or exceptional statuses |
Order Processing Workflow
The order processing flow moves through several stages. Different actions are available at each stage.
Step 1: Pack New Orders
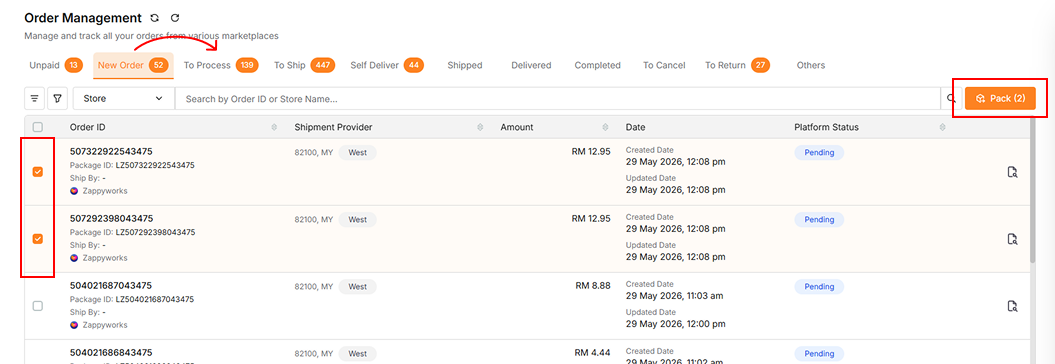
- Select orders by clicking the checkbox next to each order
- Click the Pack button
- Packed orders will move to the To Process tab
Step 2: Process Orders for Shipping
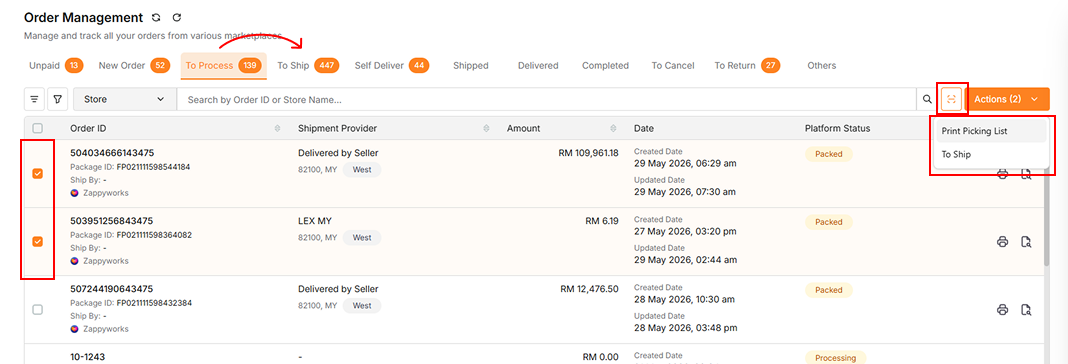
- Select orders by clicking the checkbox next to each order
- Click the To Ship button
- Orders will move to the To Ship tab
- (Optional) Click the Scan icon to use the Scan To Ship feature for faster processing
Print Picking Document
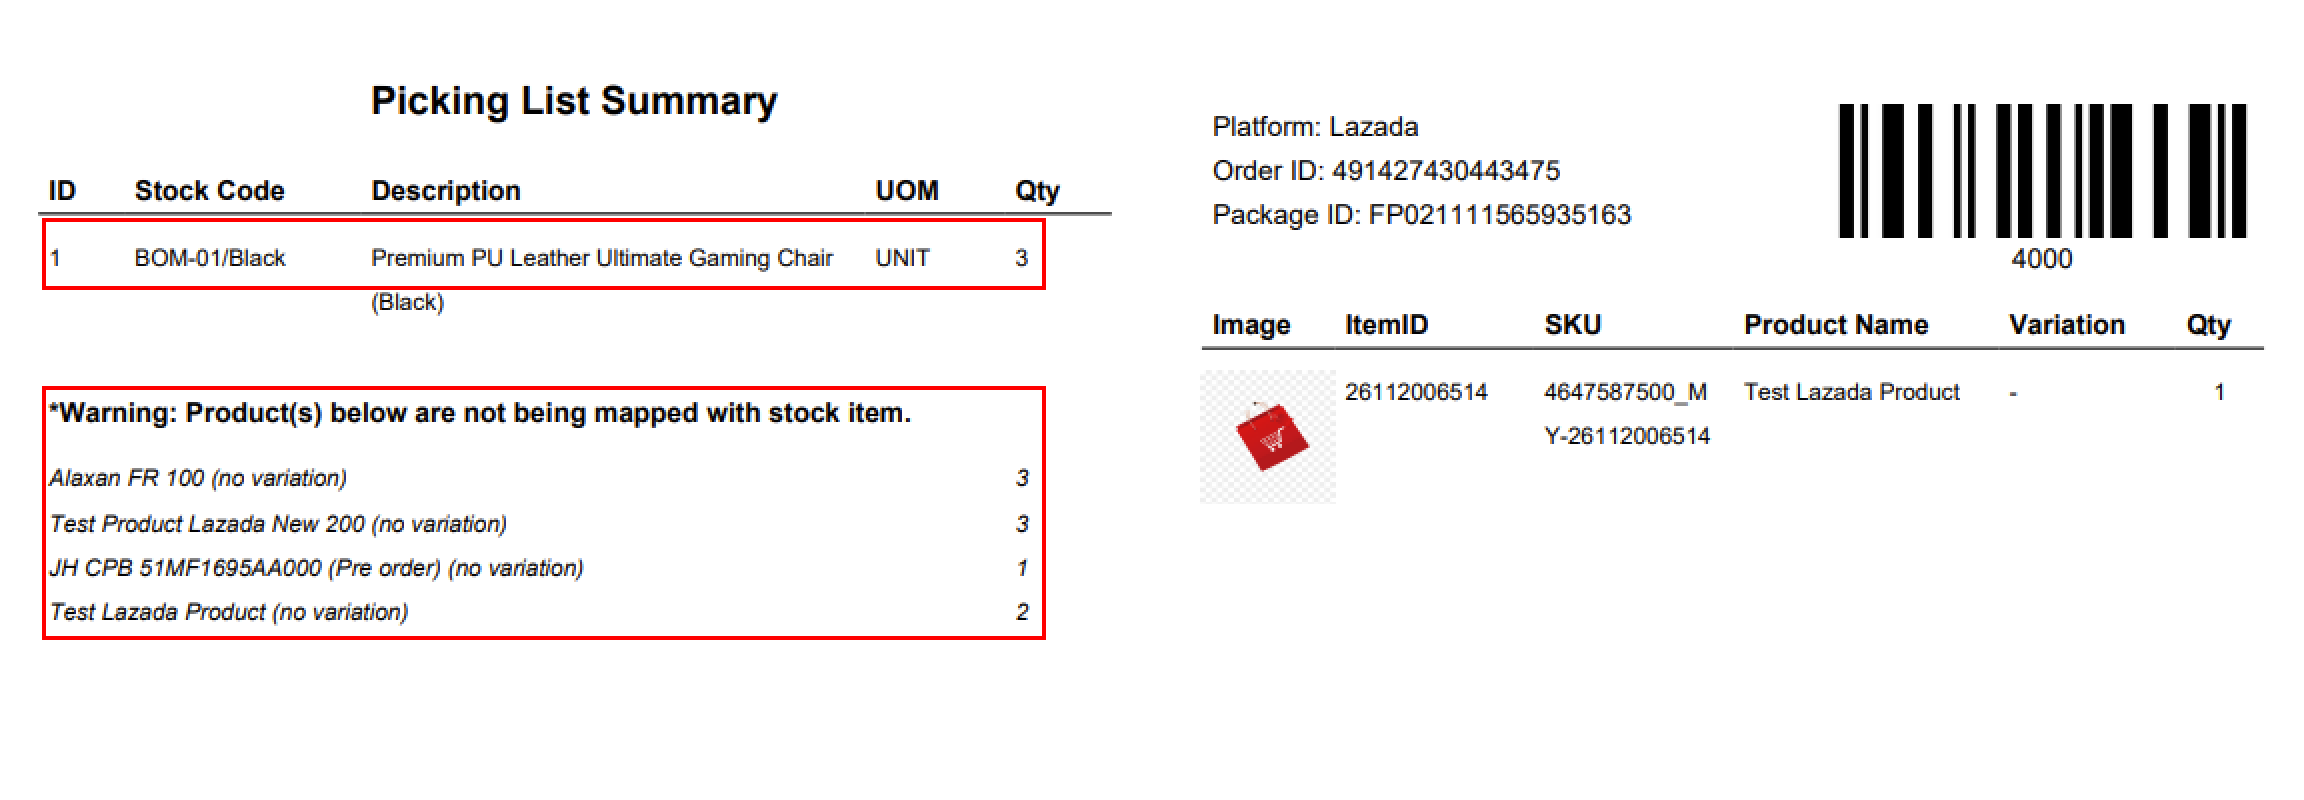
- Click the Print Picking List button to generate the following:
- Picking List Summary: A consolidated list of all order items for batch picking
- Picking List: Individual picking lists generated per order, including barcodes
- The printed picking list can be used together with the Scan To Ship feature to speed up order fulfillment
Step 3: Scan To Ship (Optional)
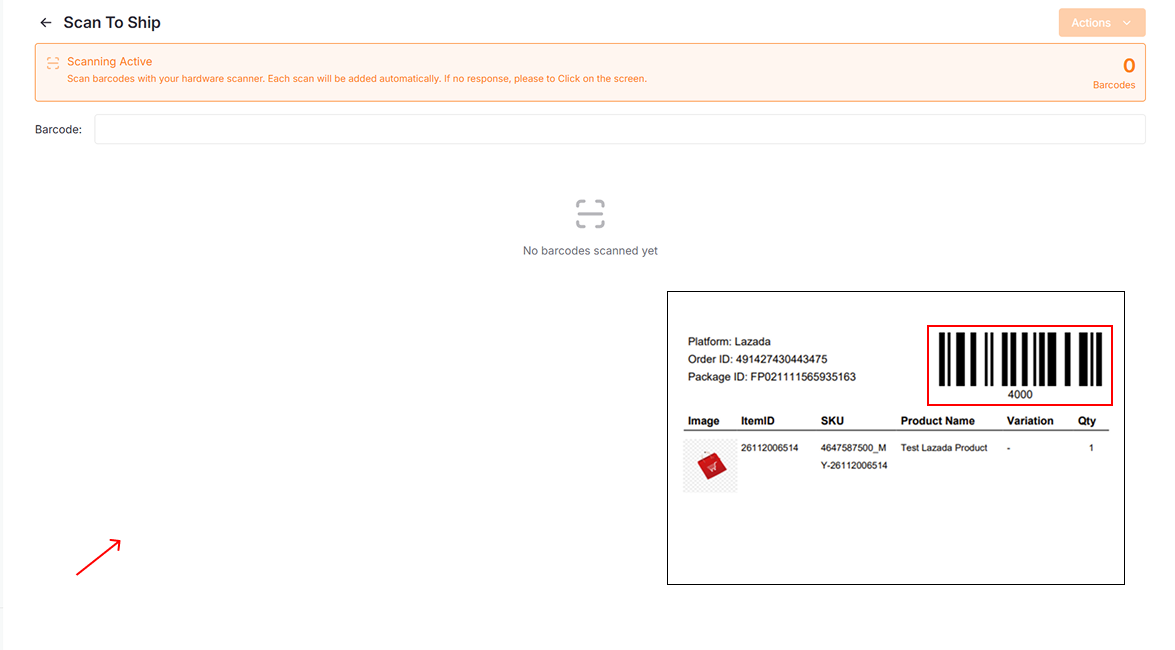
- Click on the screen and scan the barcode from the picking list
- Alternative: Type the barcode number manually and press Enter
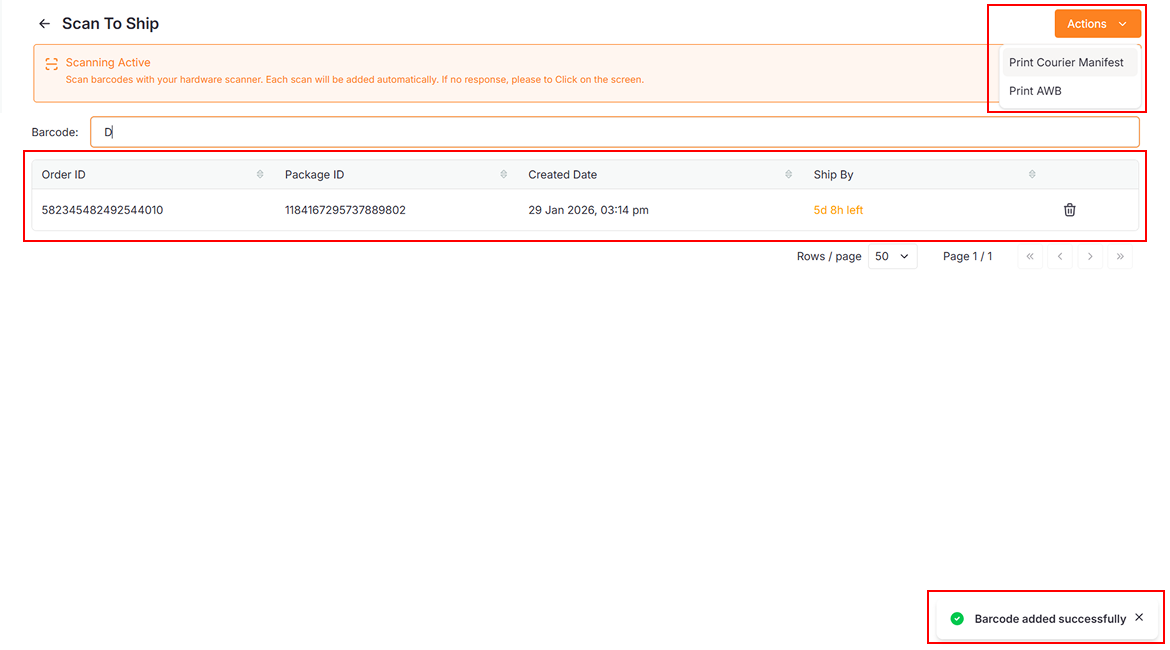
| Action | Description |
|---|---|
| Print AWB | Print Air Waybills for selected orders |
| Print Courier Manifest | Generate a manifest for courier pickup |
Step 4: To Ship
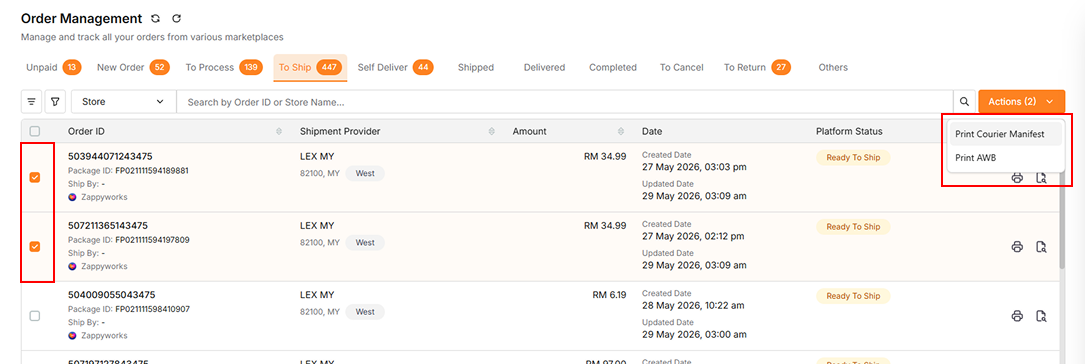
| Action | Description |
|---|---|
| Print AWB | Print Air Waybills for selected orders |
| Print Courier Manifest | Generate a manifest for courier pickup |
Step 5: Self Deliver

| Action | Description |
|---|---|
| Mark as Delivered | Mark the order as delivered |
Step 6: Post Orders to SQL Account
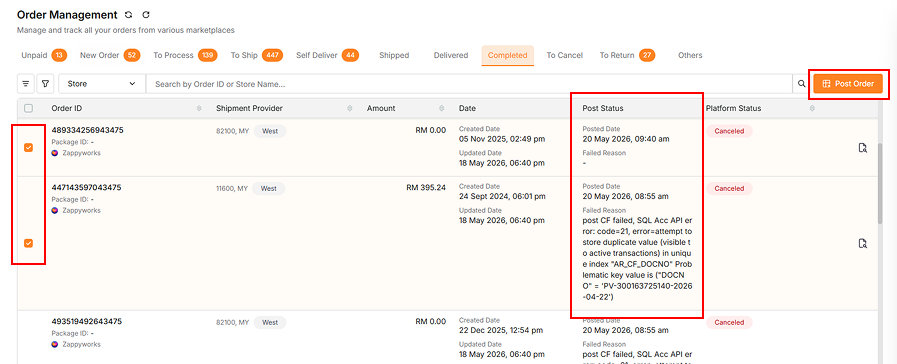
Once orders reach Shipped, Delivered, or Completed status, you may post orders to SQL Account:
-
Select orders by clicking the checkbox next to each order
-
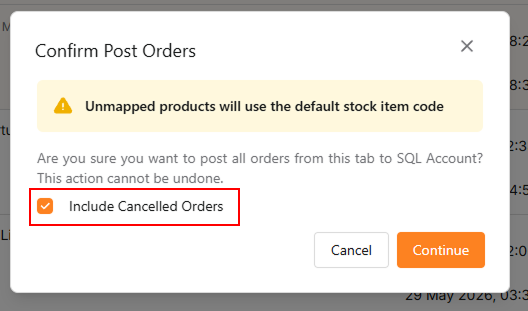
Click the Post Order button; a popup dialog will appear as shown below
-
Select Include Cancelled Orders to post the cancelled orders too
-
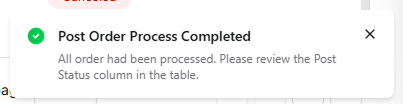
Once the post order is complete, a toast notification will appear as shown below
-
Each order's post status can be checked in the table under the Post Status column:
- Failed Reason: there is some error when posting the order
- Posted Date: the order had been posted before. May try to repost in Settings > Repost
General Features
| Feature | Description |
|---|---|
| Search | Find orders by Order ID, Store Name, Package ID or Tracking Number using the search bar |
| Column Visibility | Click the leftmost button to show/hide specific table columns |
| Filter by Platform | Displays orders based on platform filtered |
| Filter by Platform Status | Displays orders based on platform status filtered |
| Filter by Shipment Provider | Displays orders based on shipment provider filtered |
| Date Range | Filter orders by created or updated date using the date picker |